原料
雞蛋: 5個, 牛奶: 50g, 色拉油: 50g, 展藝蛋糕粉: 60g, 展藝細砂糖: 10g, 展藝紅曲粉: 8-10g, 展藝細砂糖: 60g(加蛋白), 檸檬汁: 5滴
步驟
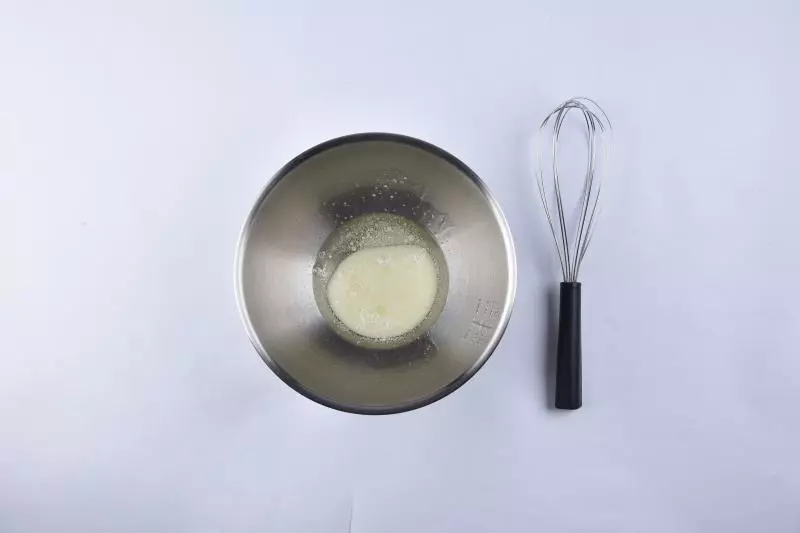
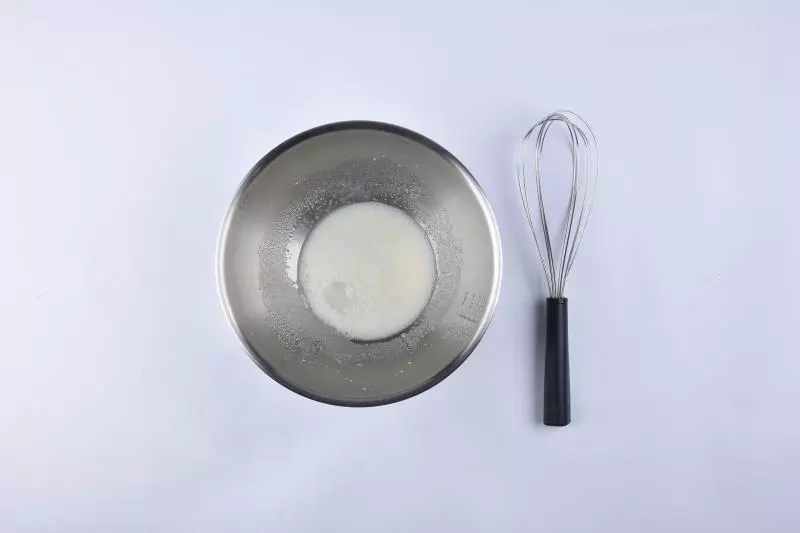
1牛奶和色拉油混合攪拌到完全乳化
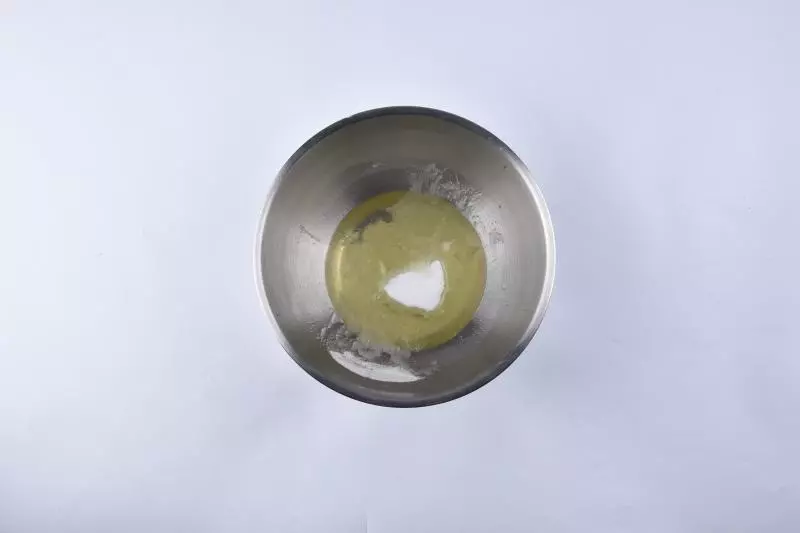
2加入細砂糖攪拌均勻無顆粒
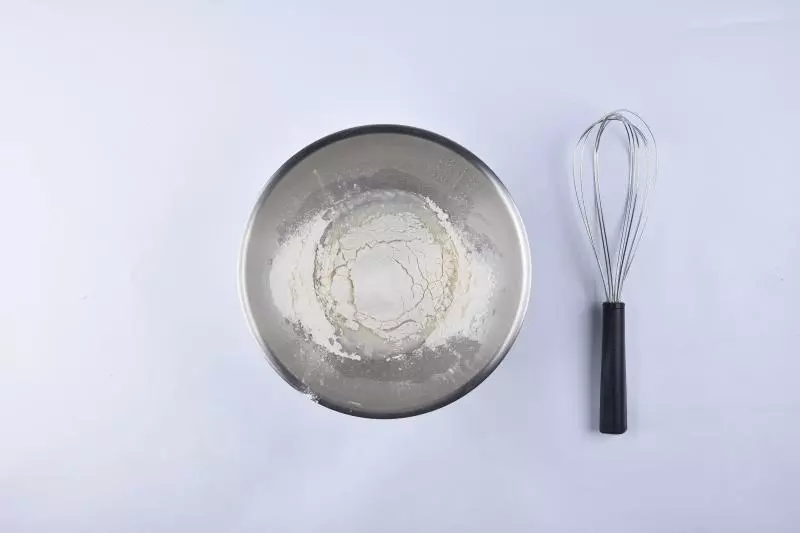
3加入蛋糕粉攪拌均勻無顆粒
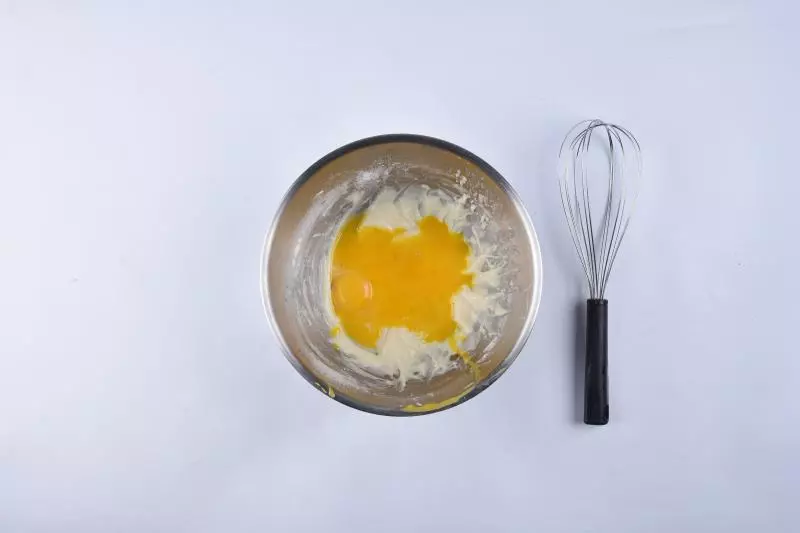
4加入蛋黃攪拌到光滑細膩無顆粒
5攪拌蛋黃時將蛋白放入冰箱冷凍
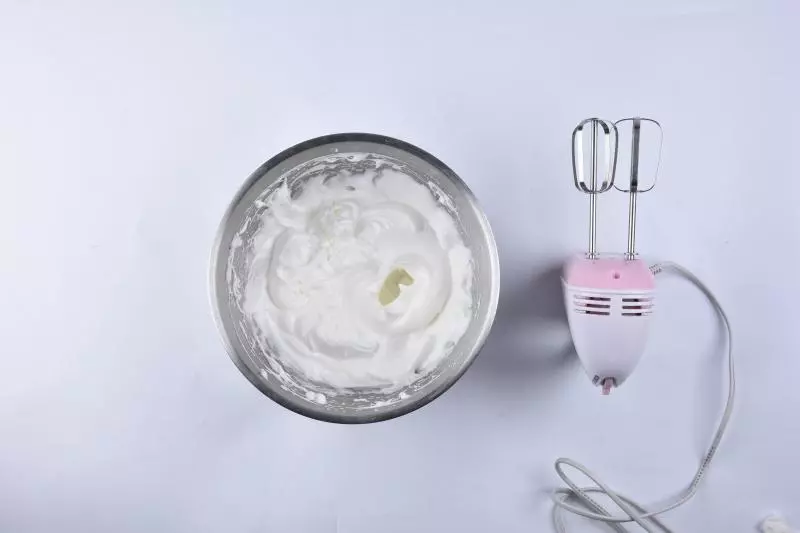
6蛋黃攪拌均勻後拿出加入細砂糖,檸檬汁打發
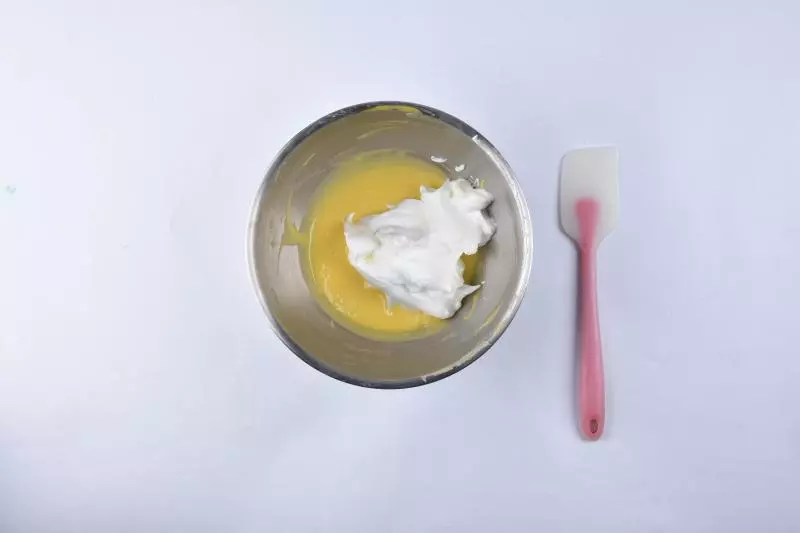
7將1/3蛋白加入蛋糊中翻拌均勻
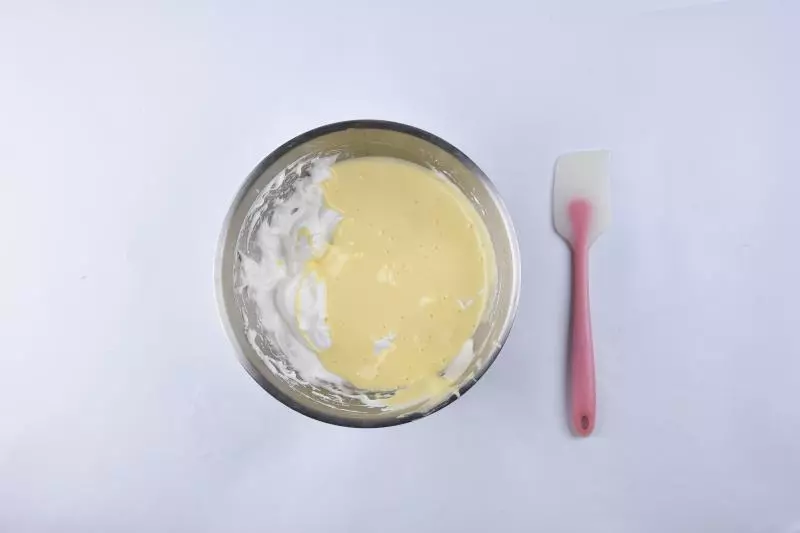
8再將拌好的蛋糕糊倒回剩下的蛋白中翻拌均勻,取150g蛋糕糊加入10g紅曲粉翻拌均勻
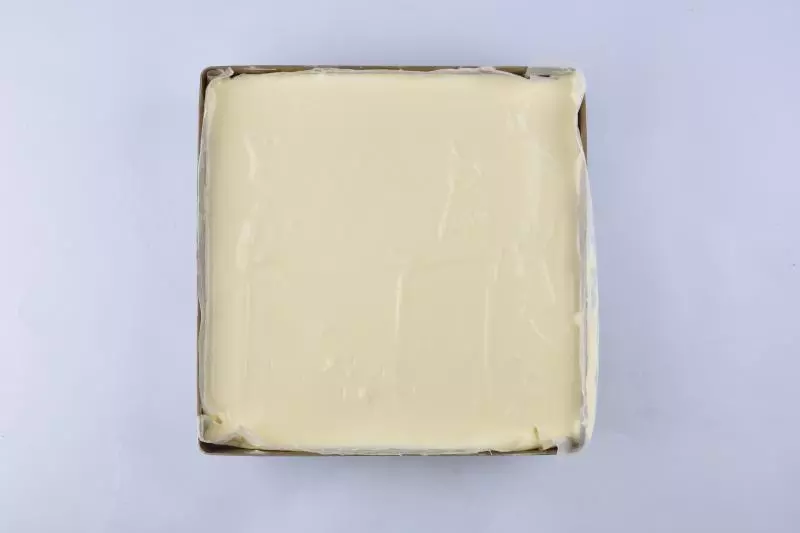
9先將原味的蛋糕糊倒入烤盤中抹平
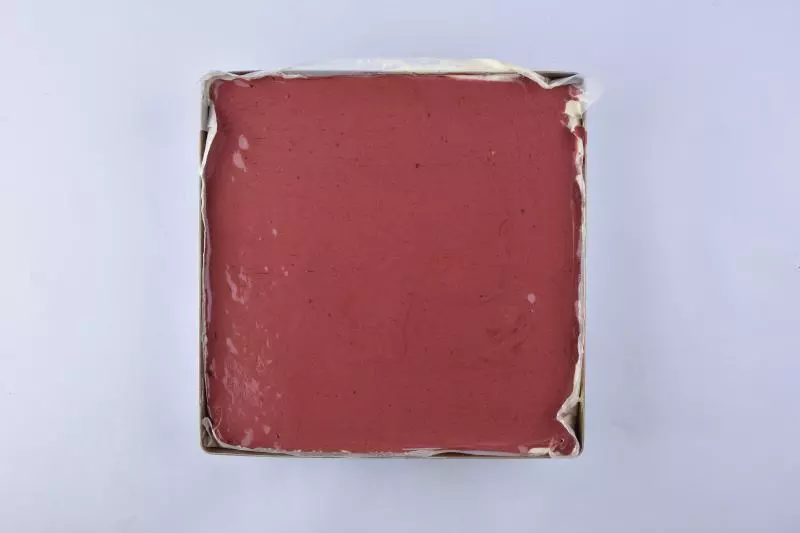
10再擠上紅絲絨蛋糕糊
11用手指插入蛋糕糊中畫s型
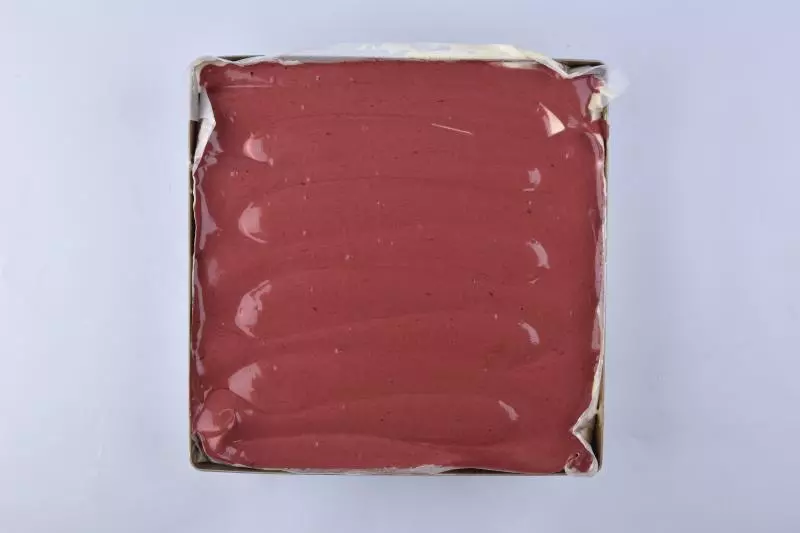
12烤盤往右轉90度在畫s型

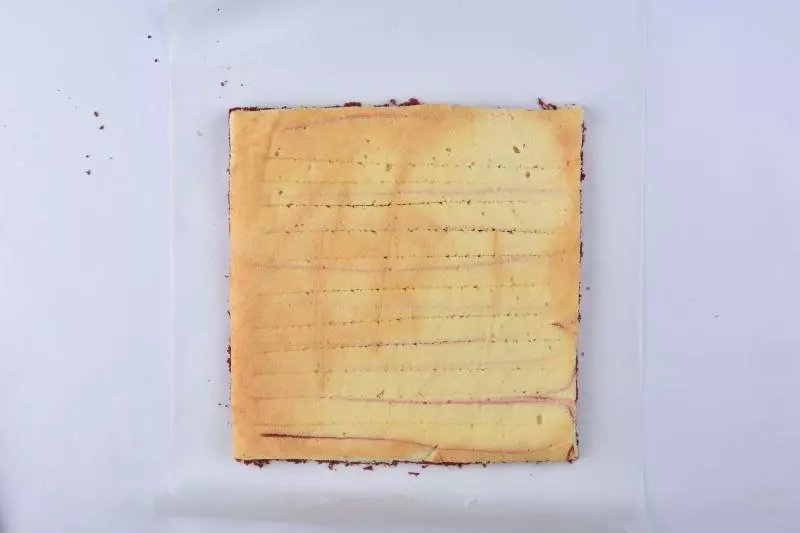
13烤箱預熱160度烘烤25分鐘出爐倒扣冷涼後切開4邊
14淡奶油加糖打發
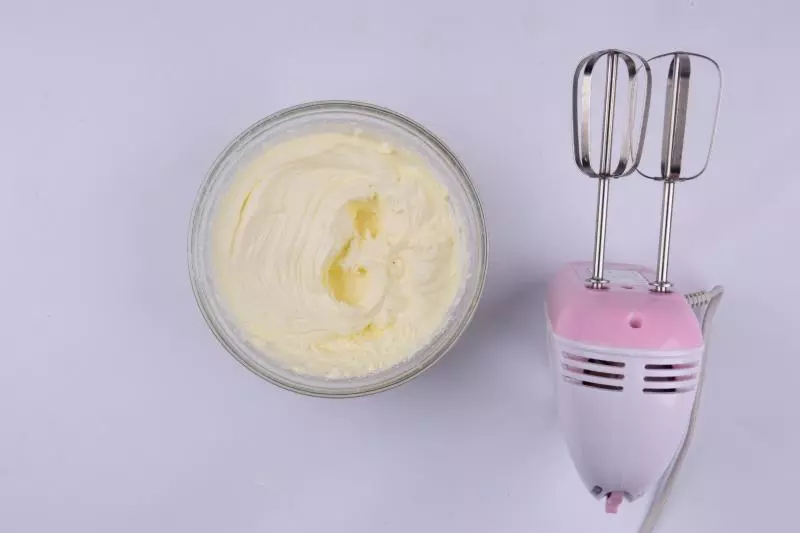
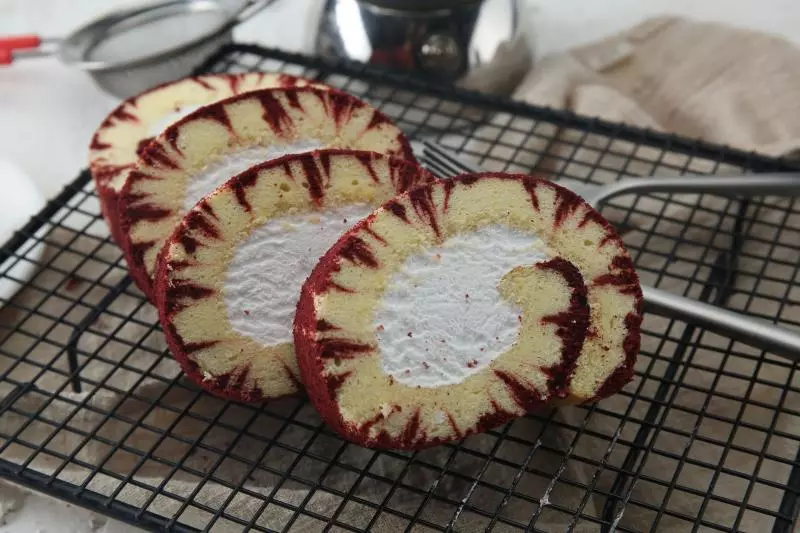
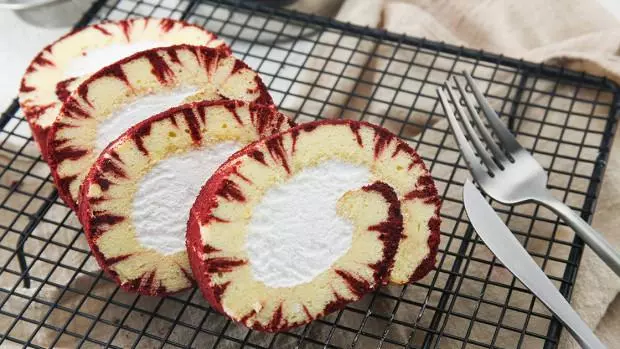
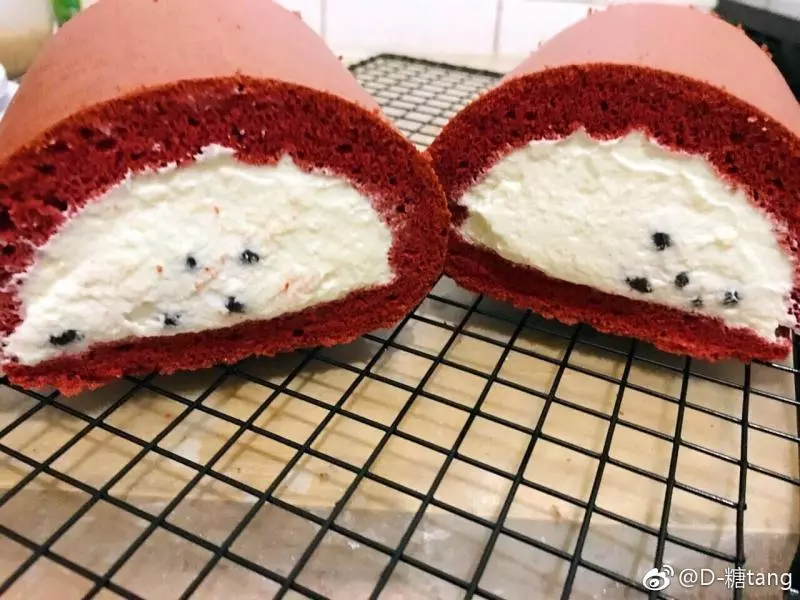
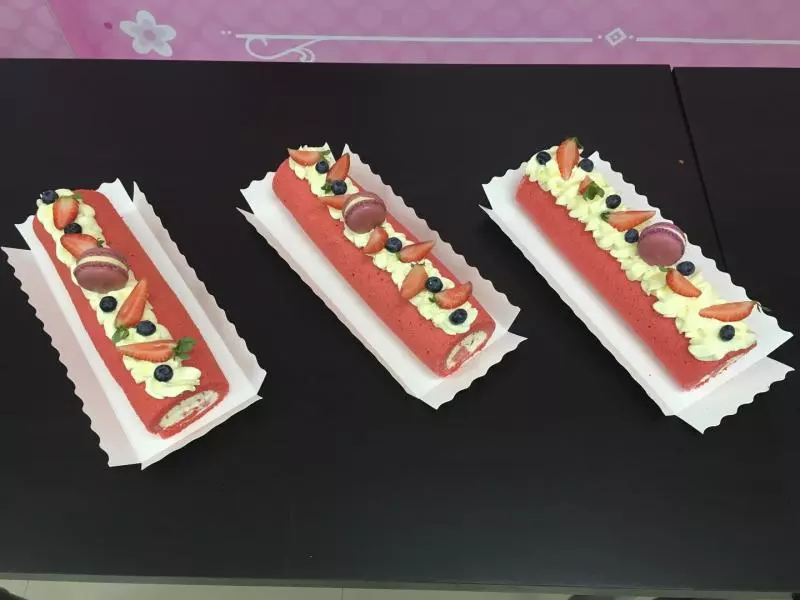
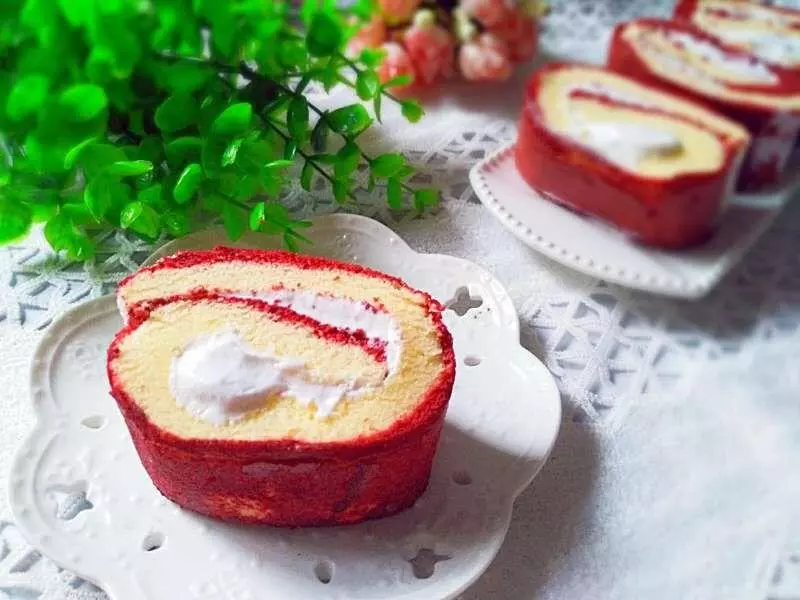
15在冷卻好的蛋糕上抹上奶油

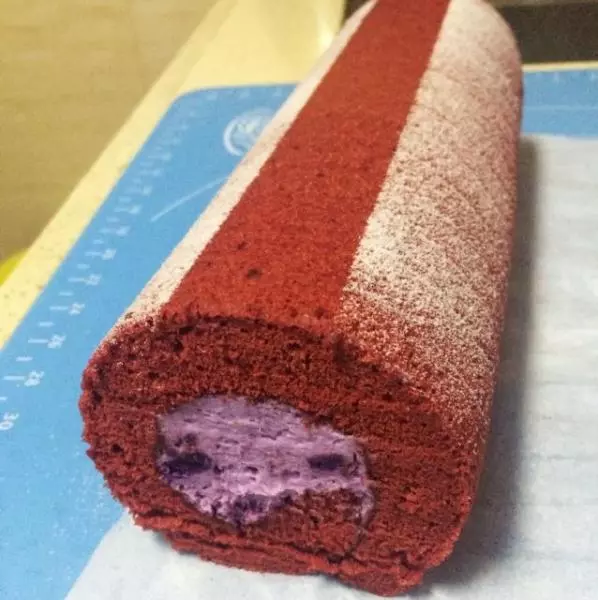
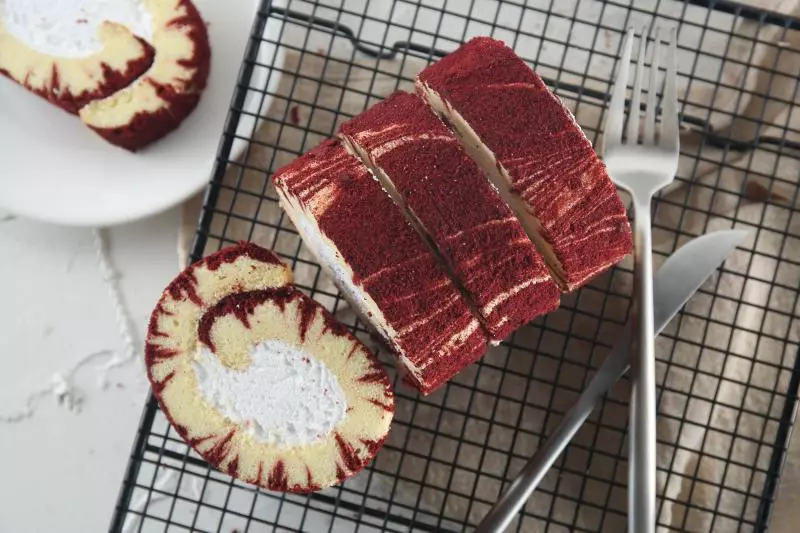
16捲起來放入冰箱冷凍30分鐘
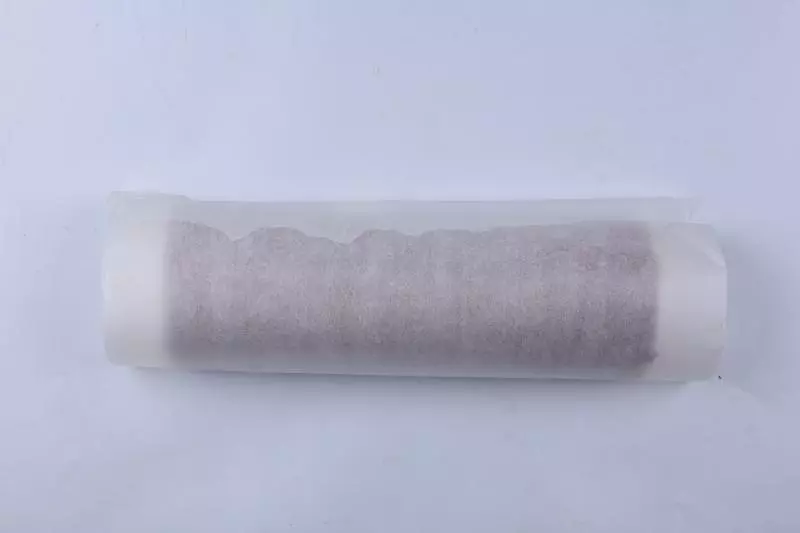
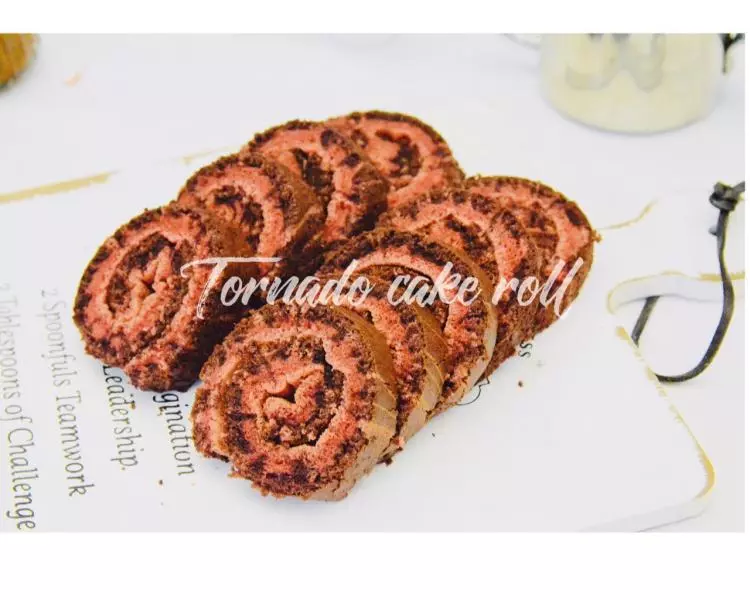
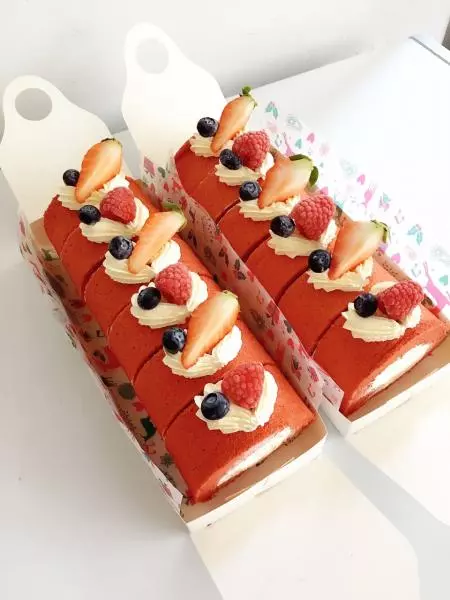
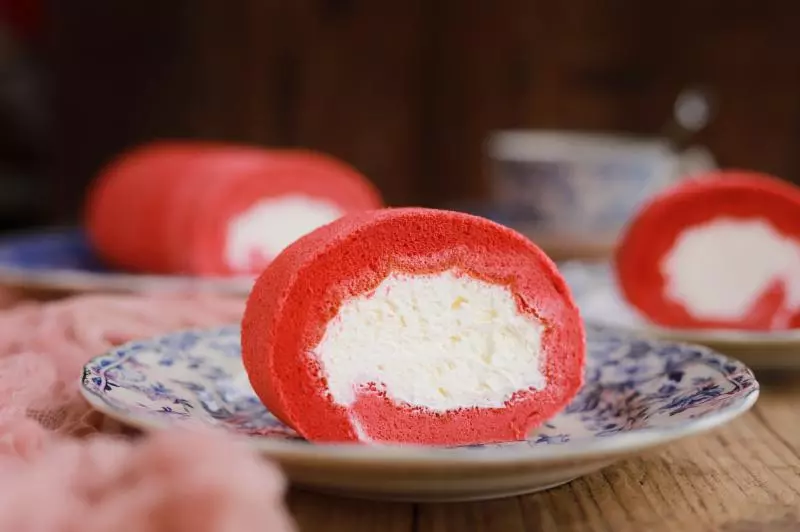
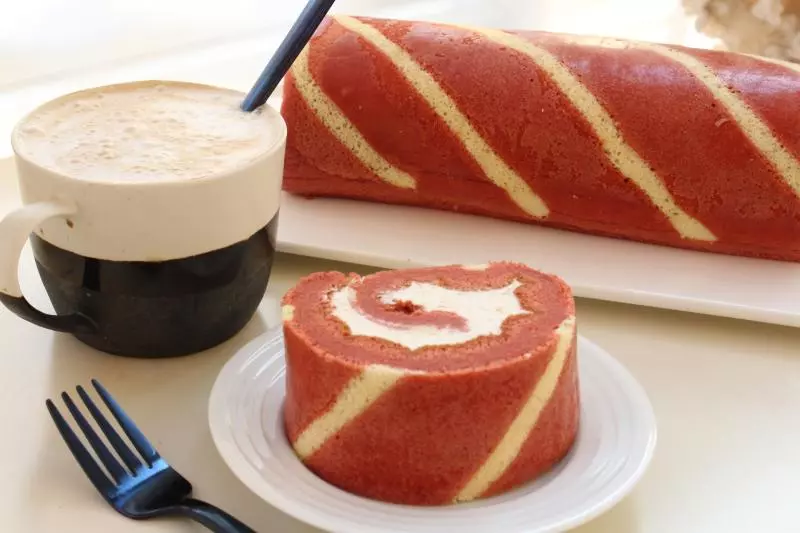
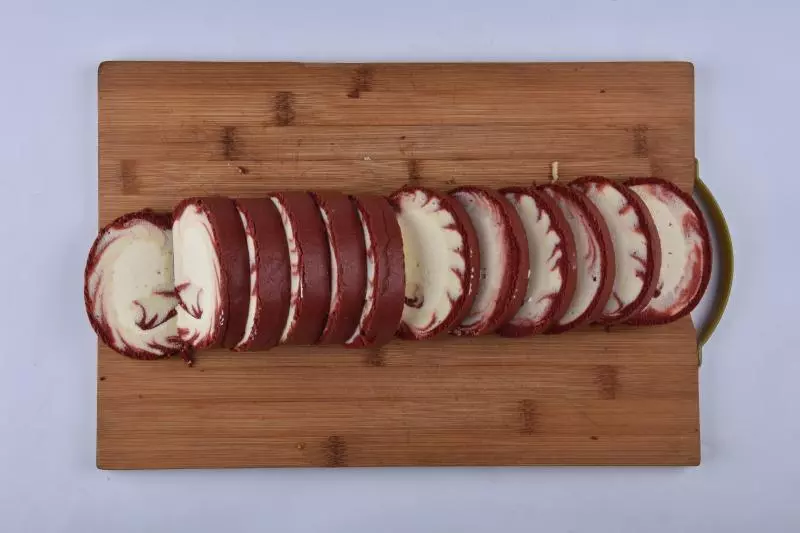
17凍為稍硬即可切開食用
18φ(゜▽゜*)♪