原料
蛋糕胚 :: 6寸的量, 純牛奶: 40克, 細砂糖: 30克, 雞蛋: 2個, 水果: 適量, 低筋麵粉: 48克, 奶油:: , 色拉油: 32克, 植物淡奶油: 500克, 細砂糖: 25克
步驟
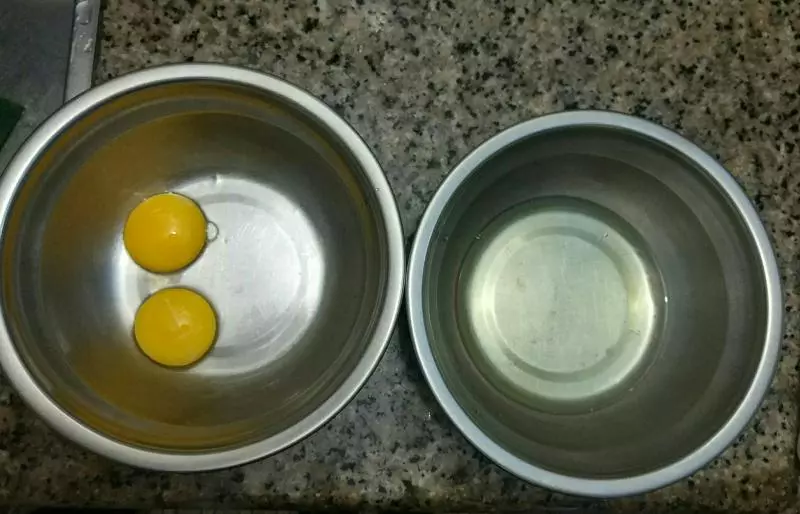
1雞蛋白與蛋清分開(注: 容器要干不可以有水)
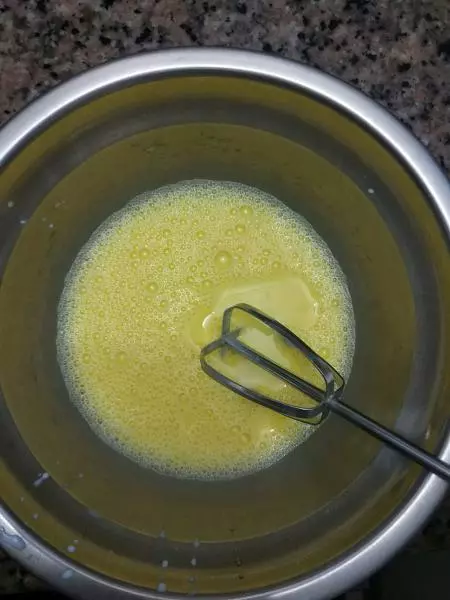
2蛋黃加入牛奶喝色拉油攪拌勻再加入12G細砂糖與低筋麵粉待用
3蛋清微打發氣泡分兩次加入28G細砂糖 打發至挑起有一個小尖尖即可

4勺三分之一蛋清加入蛋黃糊中用刮刀N型加翻轉法把攪拌均勻後再把剩下的蛋清加進去拌勻後慢慢放入模具中
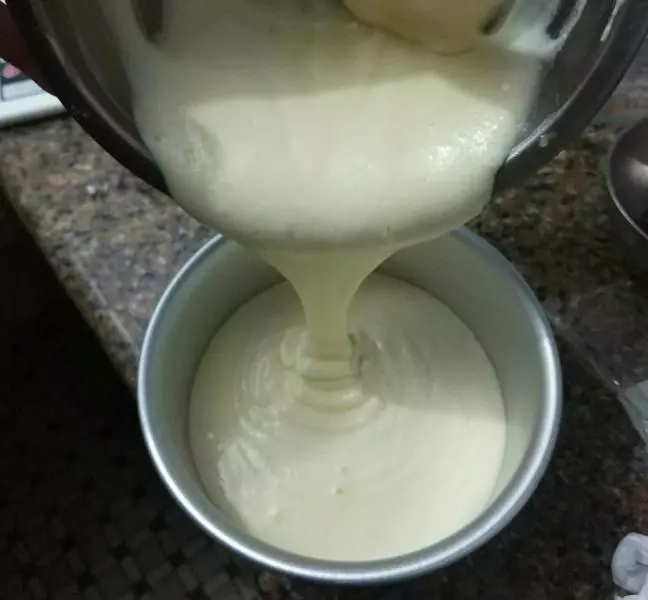
5輕輕搖晃與上下敲打把氣泡去除 (若覺得氣泡很多可靜止蛋糕糊10-20分鐘)
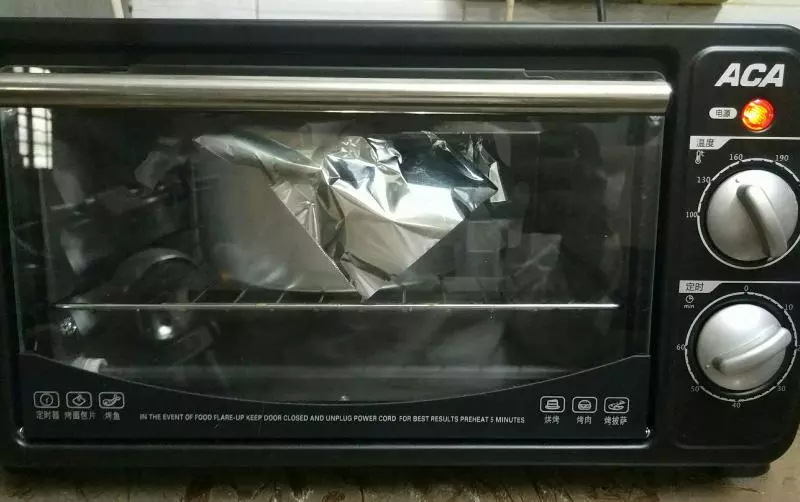
6160°預熱烤箱把蛋糕糊放進烤箱150°加熱50-60分鐘(大烤箱上面不需加錫紙 迷你烤箱上層家錫紙防止粘頂)
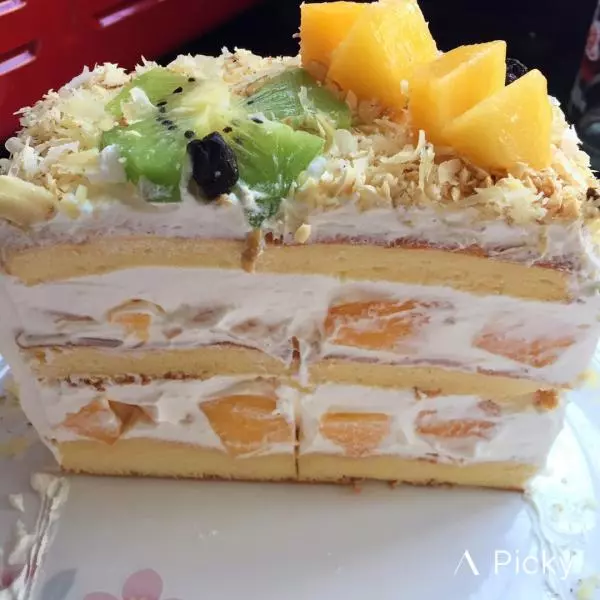
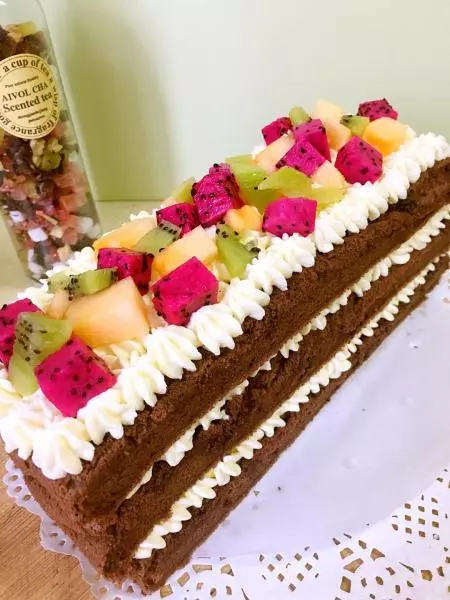
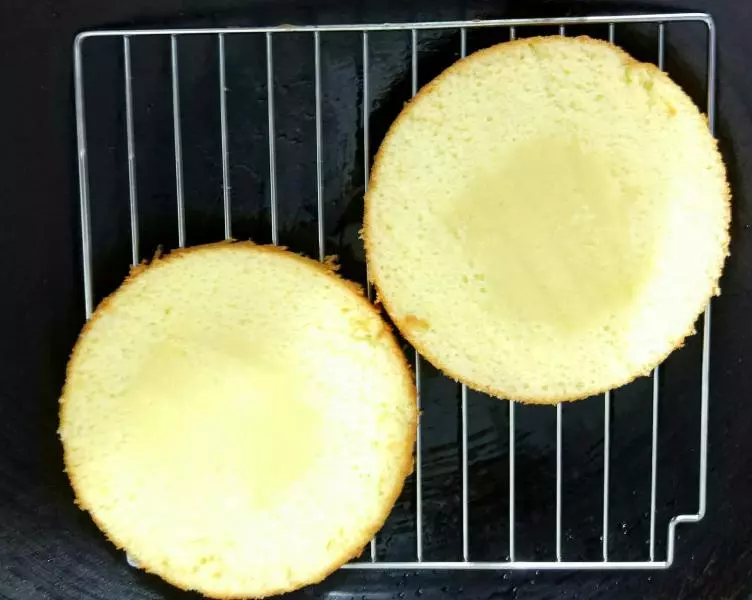
7烤好待涼後脫模把蛋糕胚切三等份備用
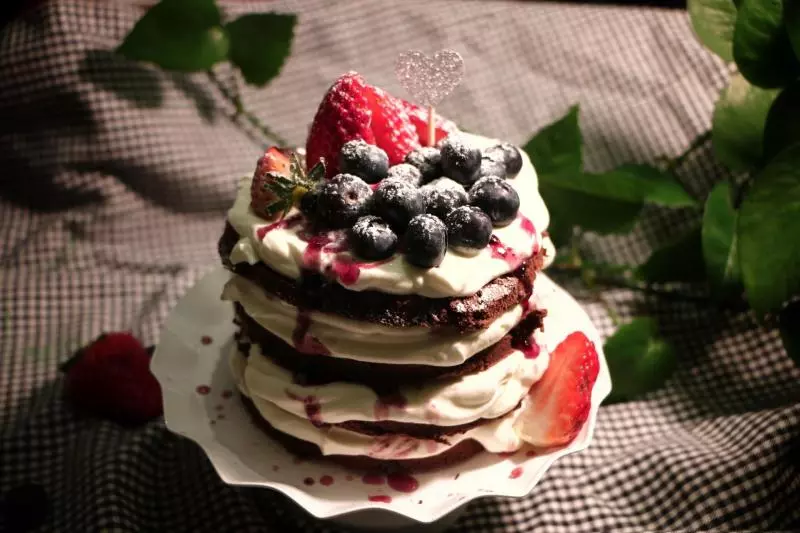
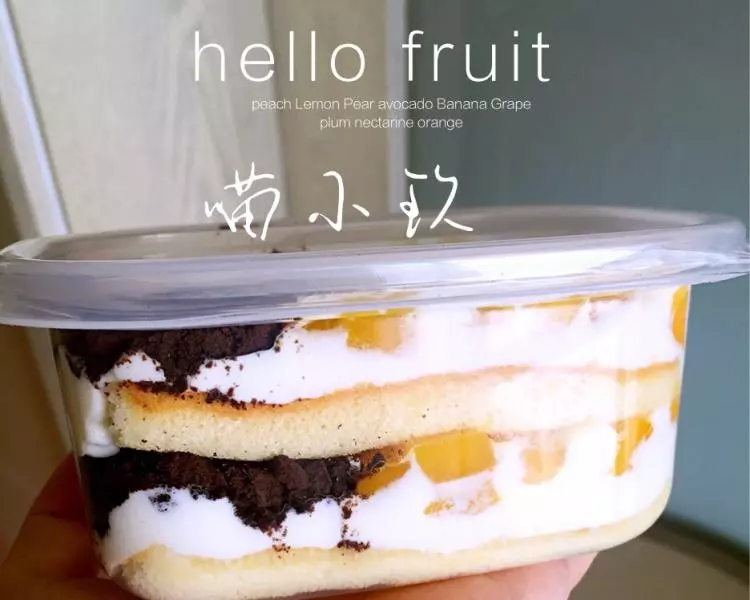
8取一層蛋糕胚上面加奶油與水果再蓋一層奶油 然後在上面再加一層蛋糕胚(第二層同上)
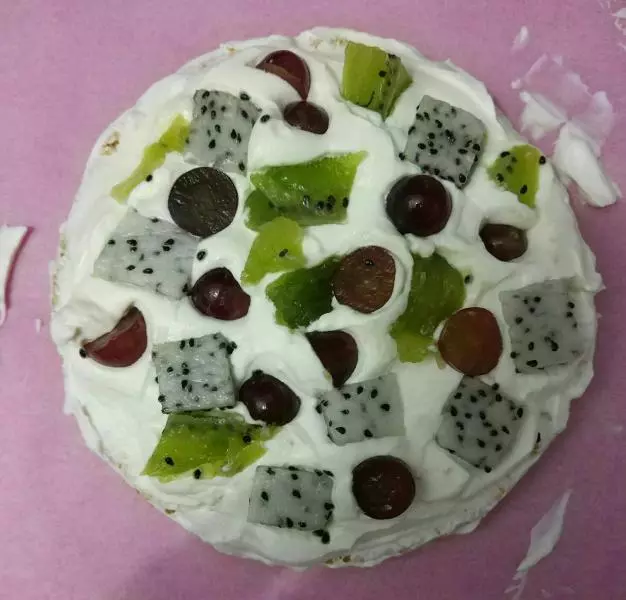
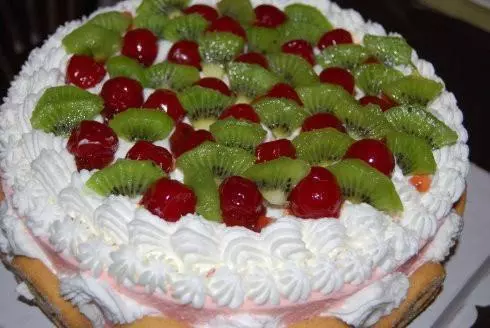
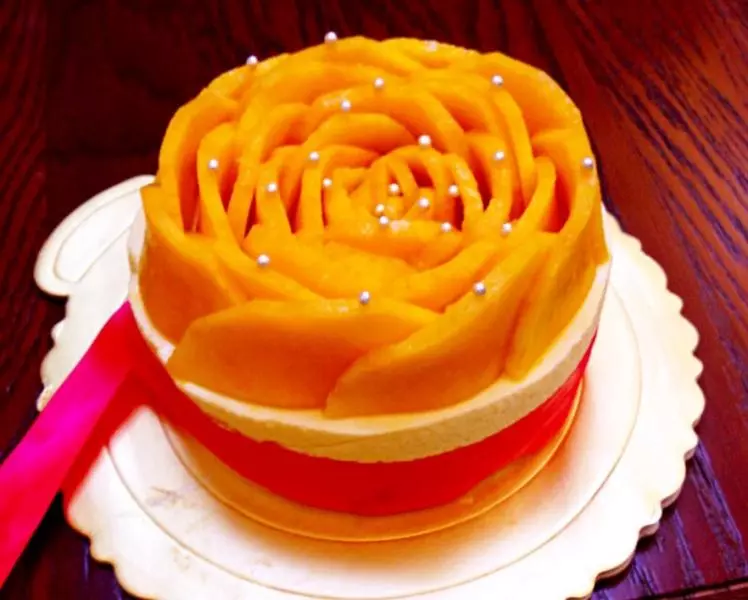
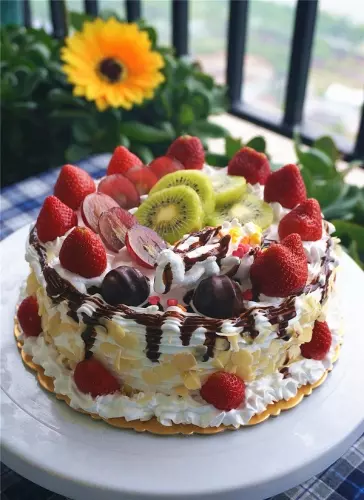
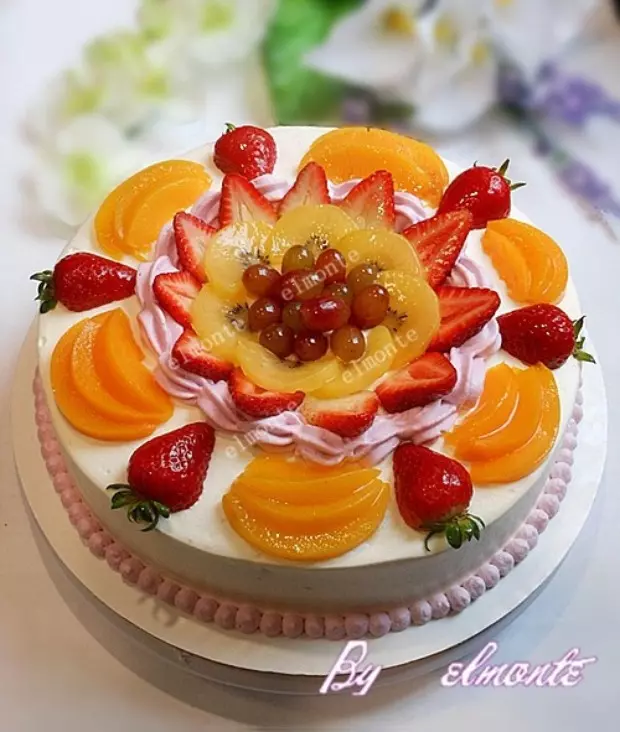
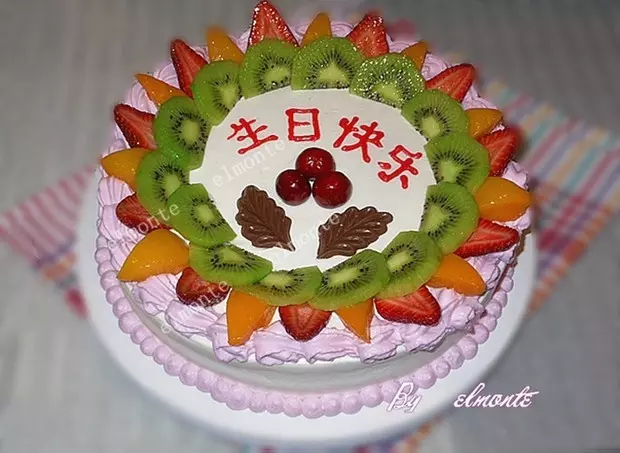
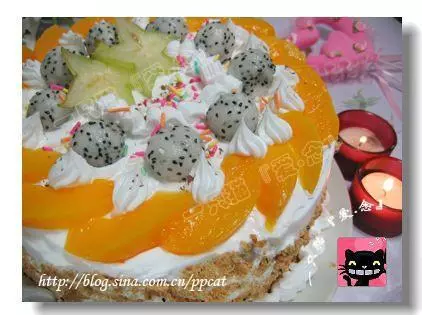
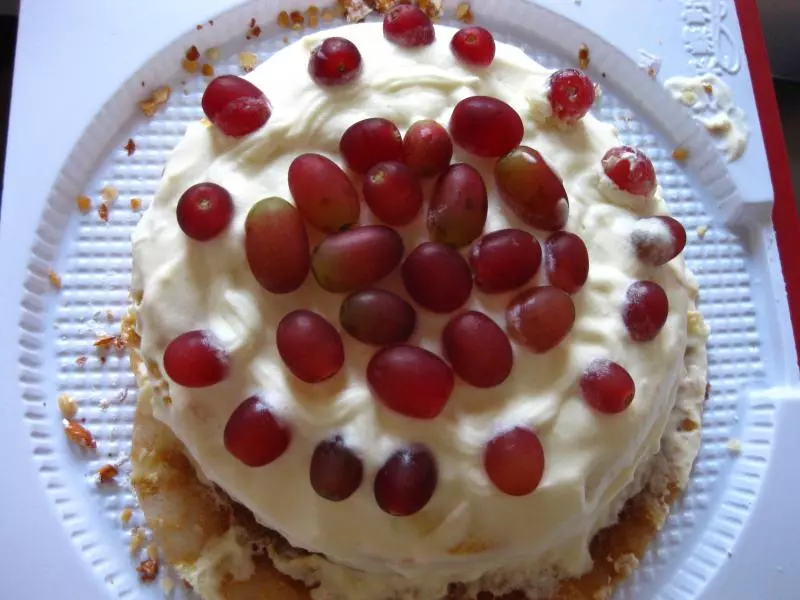
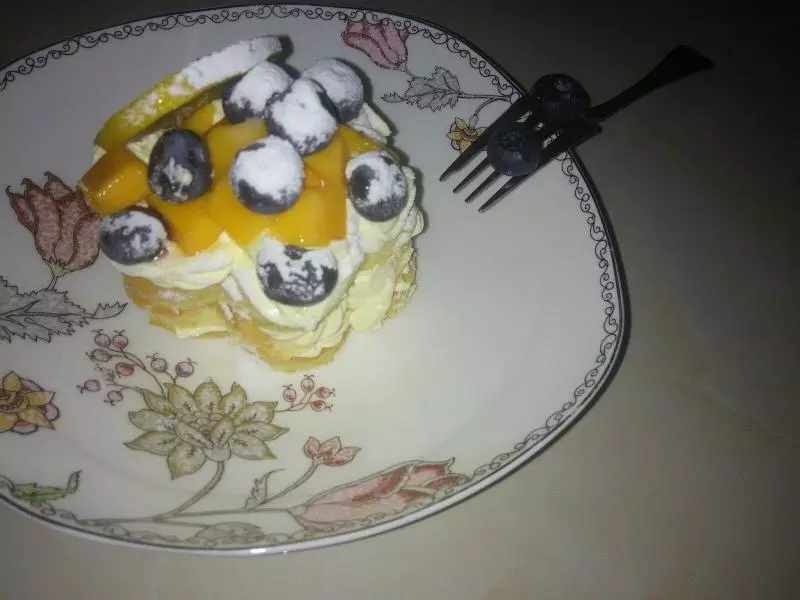
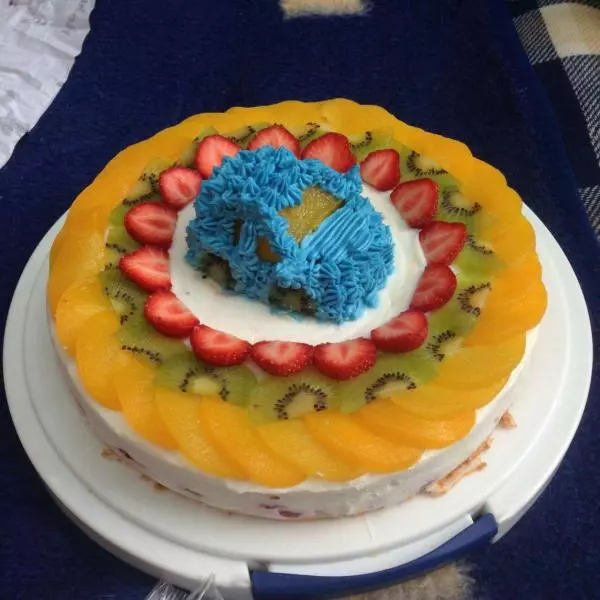
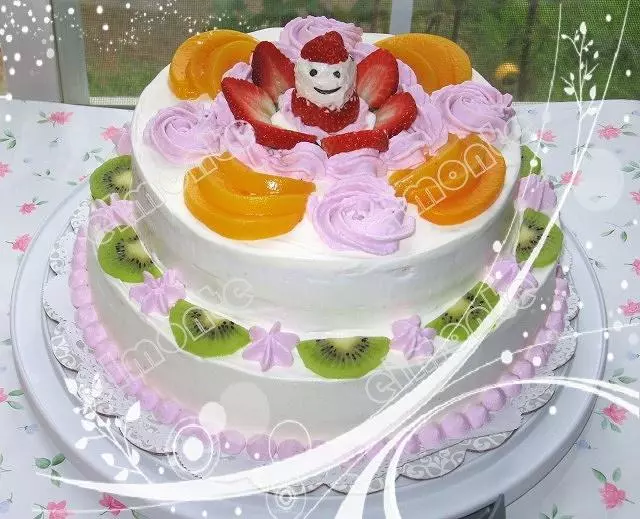
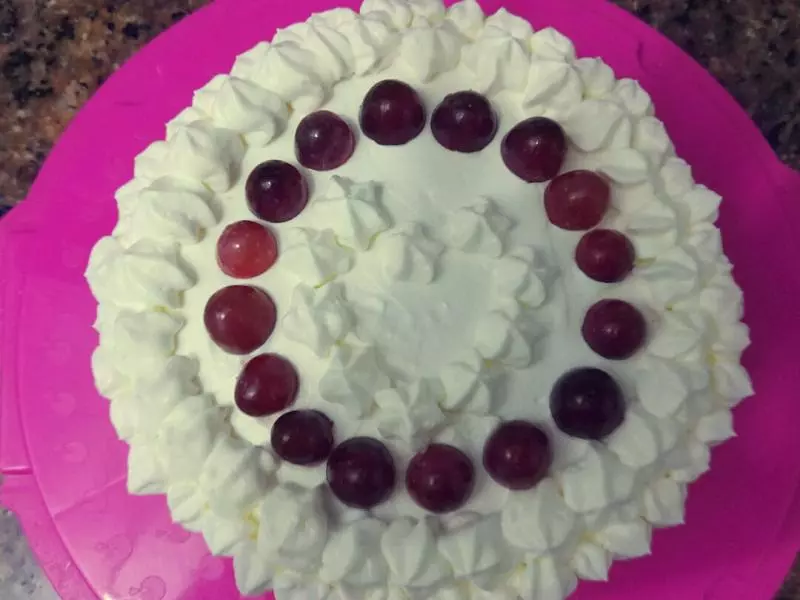
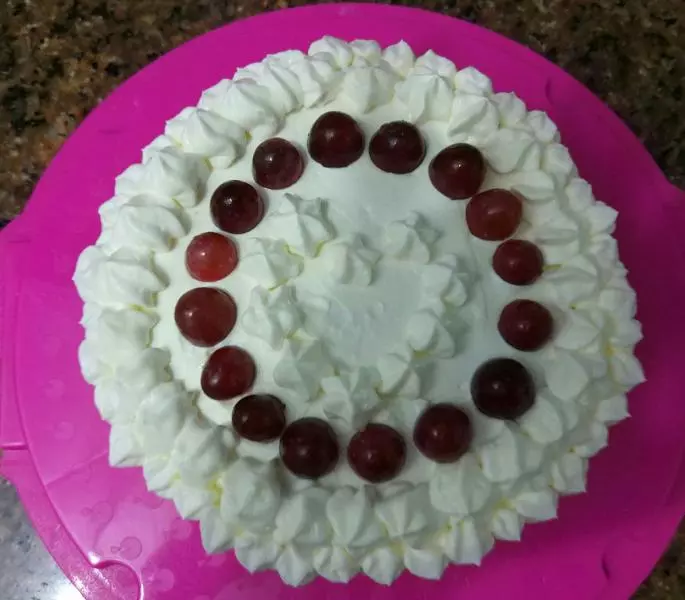
9最後把表層與蛋糕壁都包上奶油加上自己喜歡的裝飾即可
小技巧
放水果時最好周圍放些方形能做支撐用的