原料
雞蛋: 4個, 低粉: 35克, 糖粉: 50克(蛋白), 糖粉: 30克(蛋黃), 油: 30克, 牛奶: 30克, 淡奶油: 250ml, 糖粉和鹽: 適量, 奧利奧餅乾: 一包
步驟
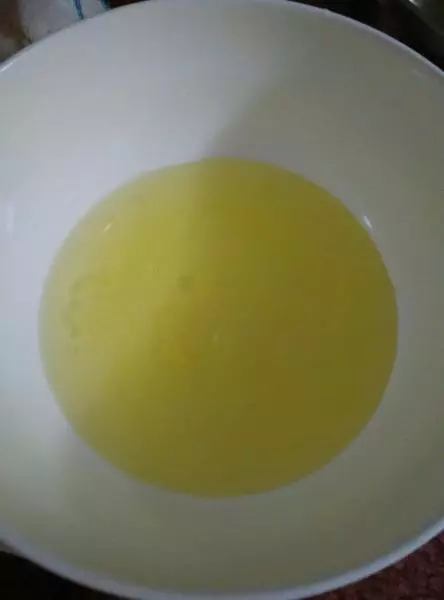
1蛋清分離(無水無油的盆子裝)
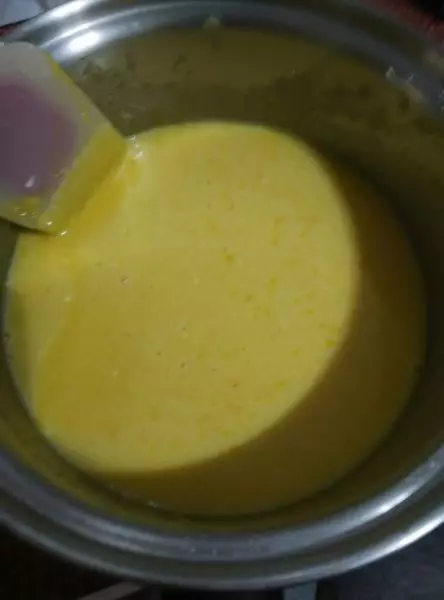
2蛋黃,糖粉,油,牛奶,低粉,攪拌均勻,製作蛋黃糊
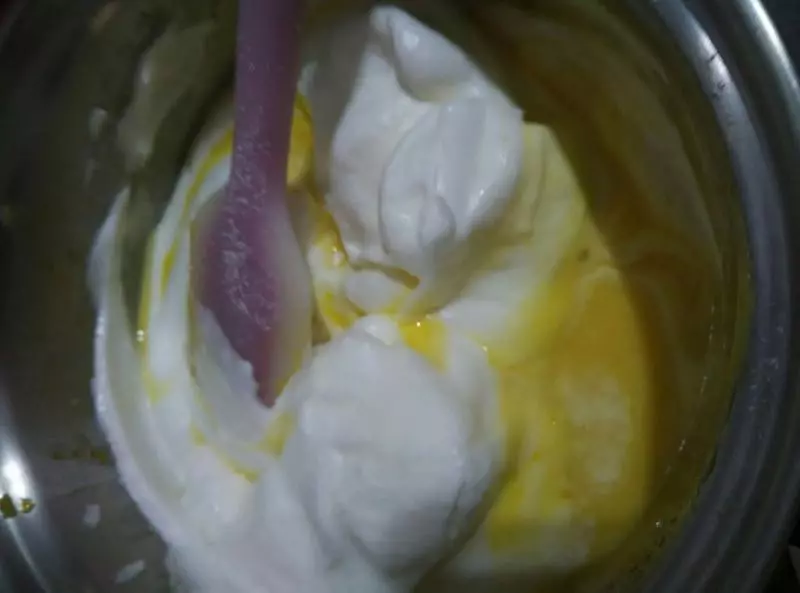
3蛋白打發。分三次加入糖粉,高檔打發蛋白,直至能拉出彎鉤。

4蛋白膏分兩次加入蛋黃糊,攪拌均勻。由下往上攪拌。
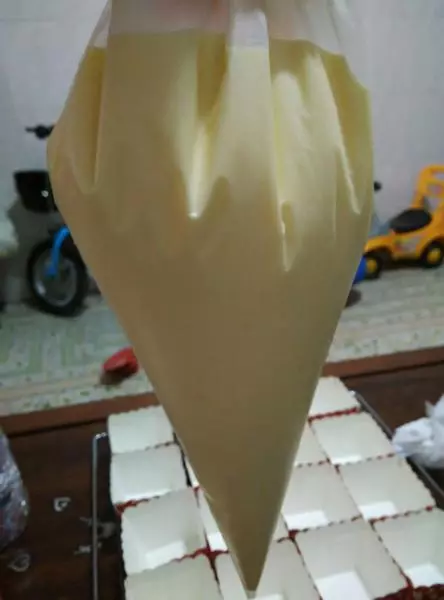
5把攪拌好的蛋糕漿放入裱花袋中
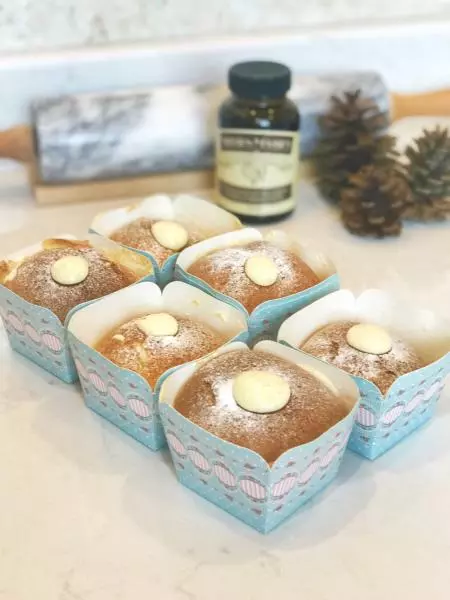
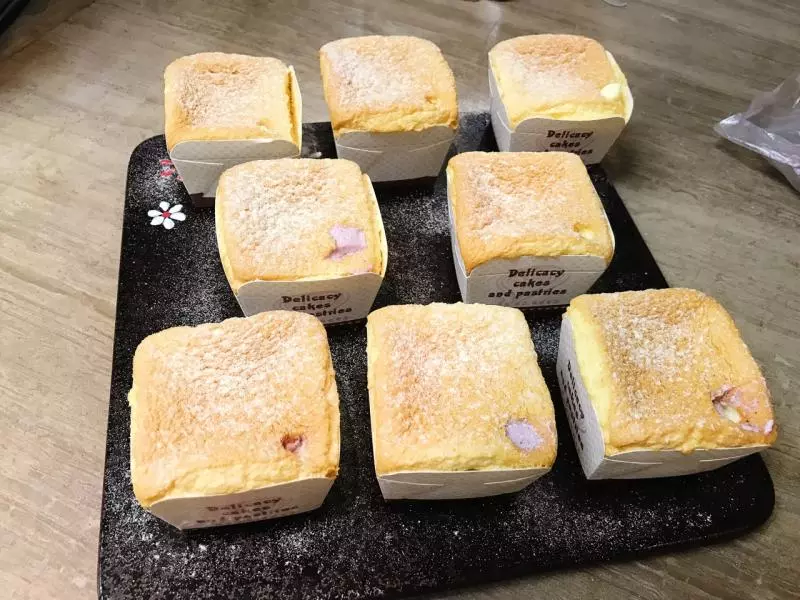
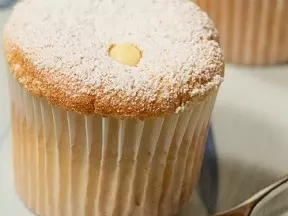
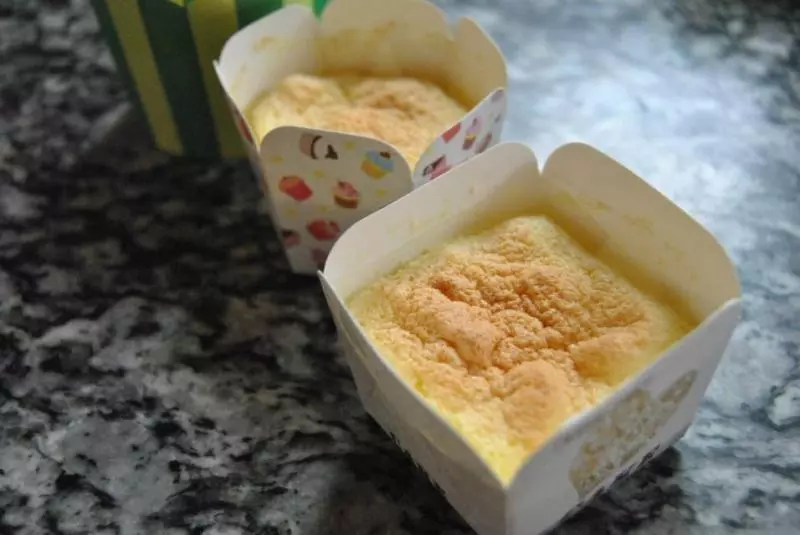
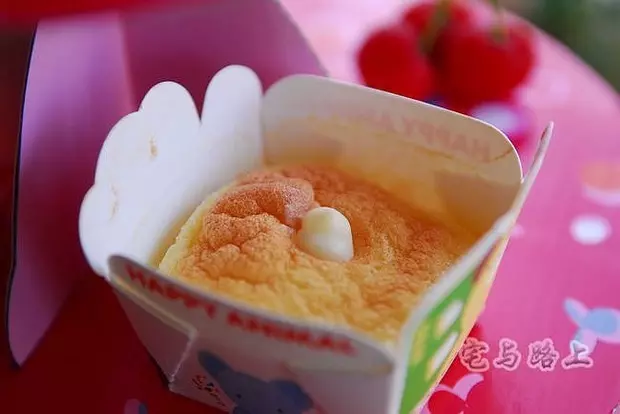
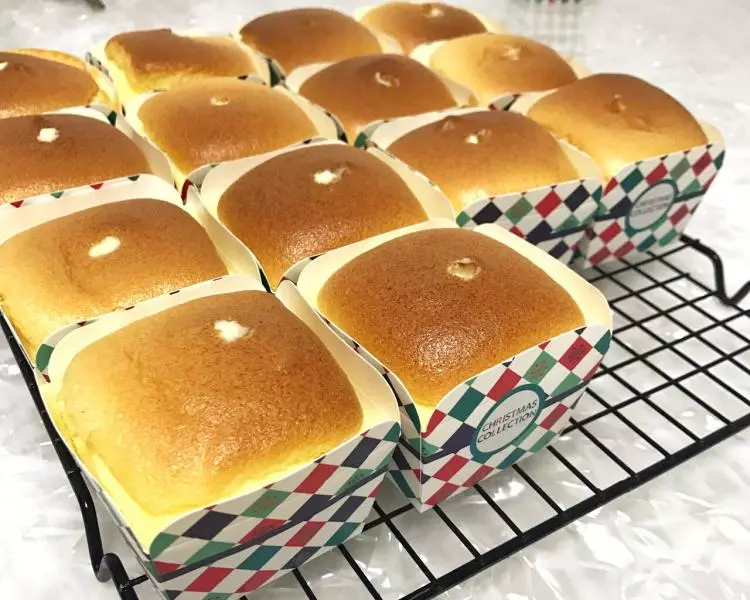
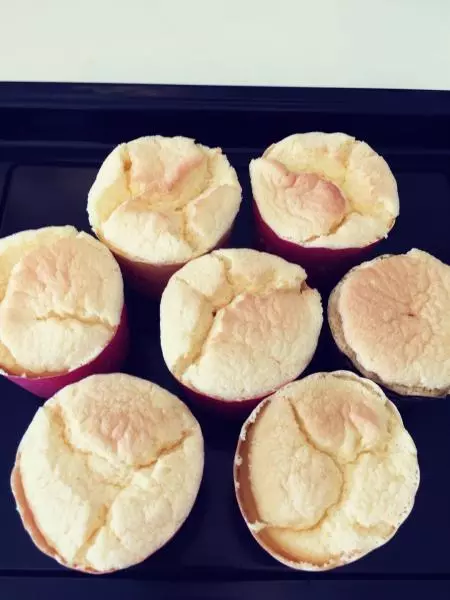
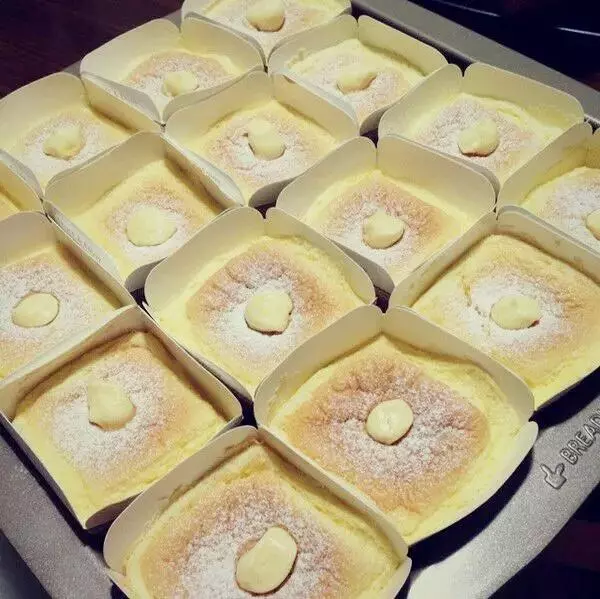
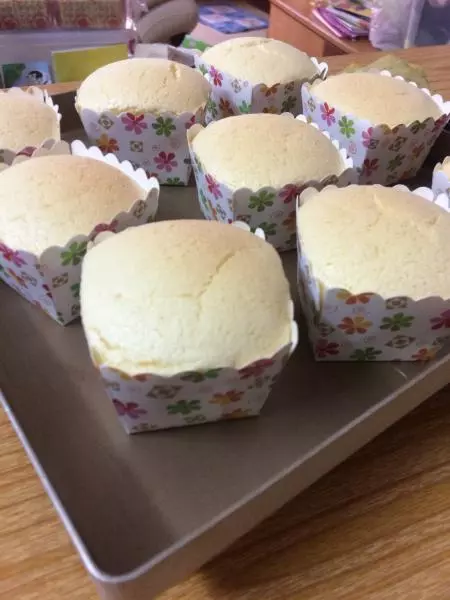
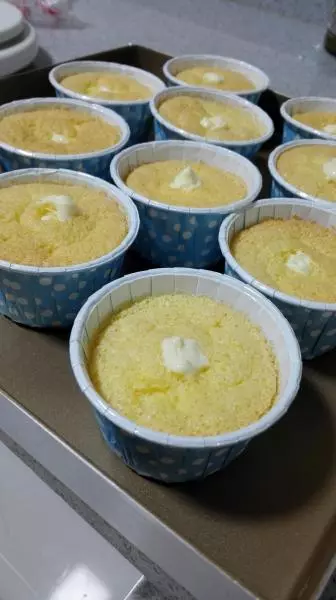
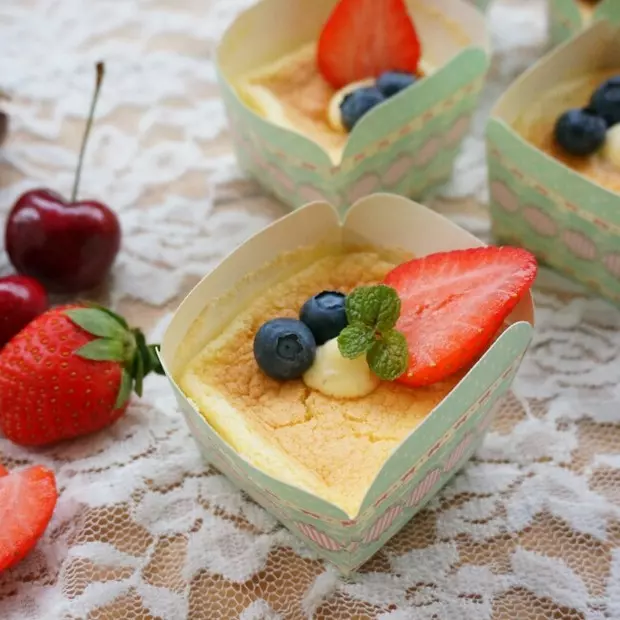
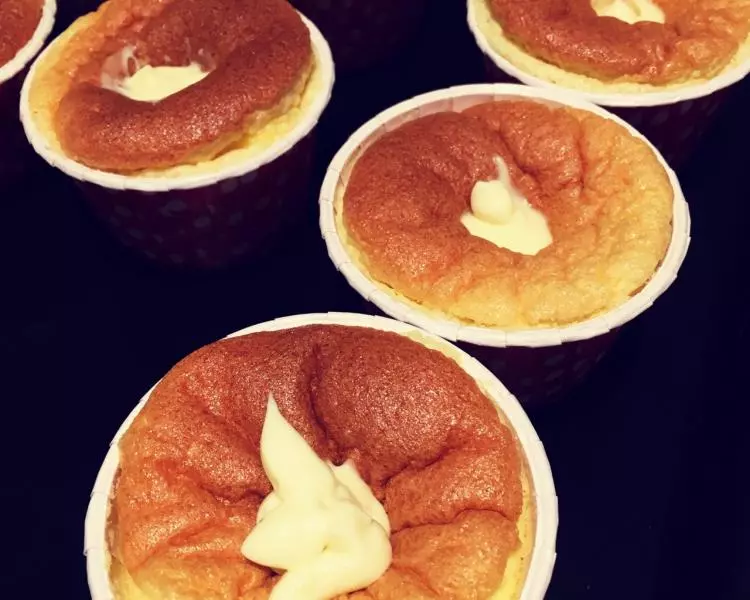
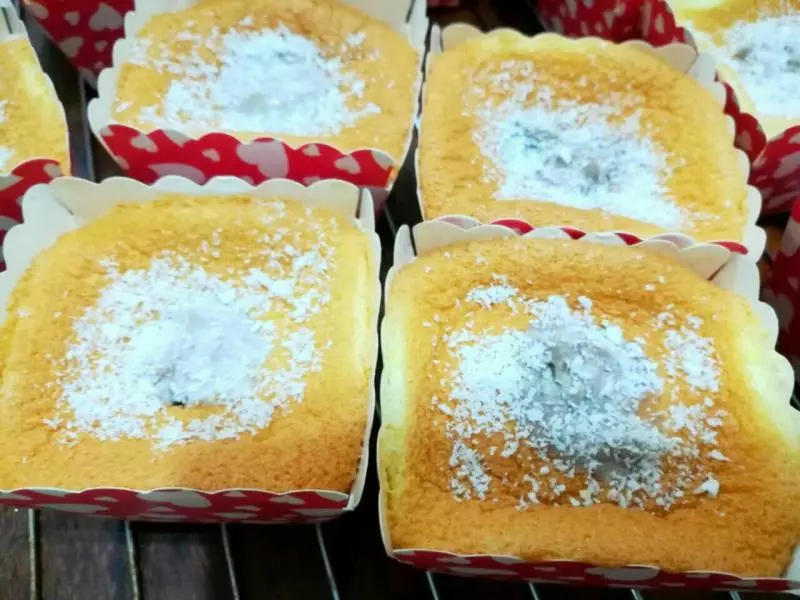
6大概擠了12個杯子,一個5分滿。放入預熱好的烤箱,165℃,20分鐘左右。表面金黃即可。

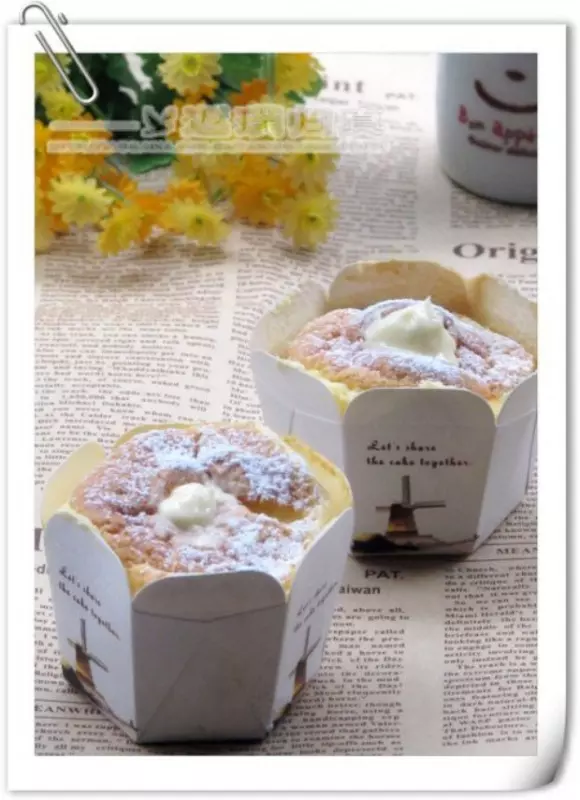
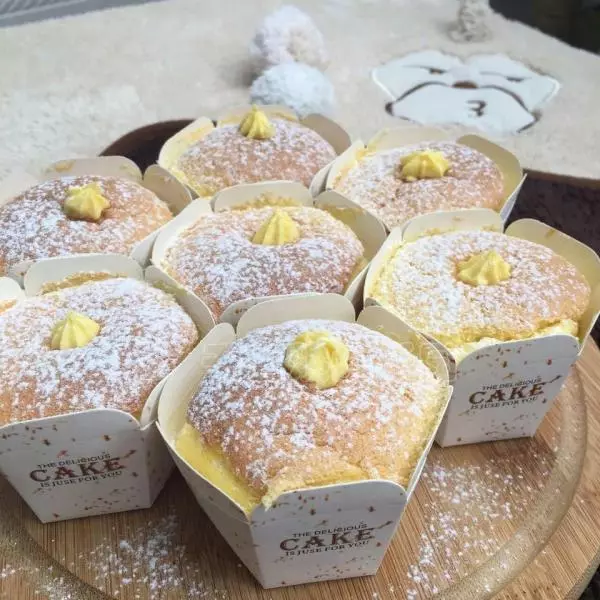
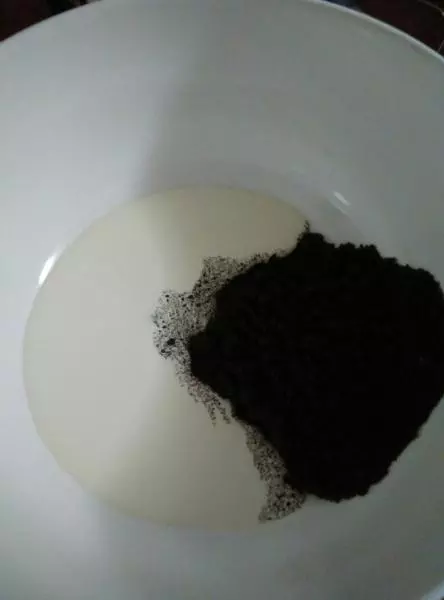
7奧利奧餅乾去夾心醬,打成非常細膩的餅乾碎,加入奶油,適量的糖粉和鹽(口味隨個人喜歡,也可以不加鹽),先攪拌均勻,然後打發奶油至紋路不容易消失。
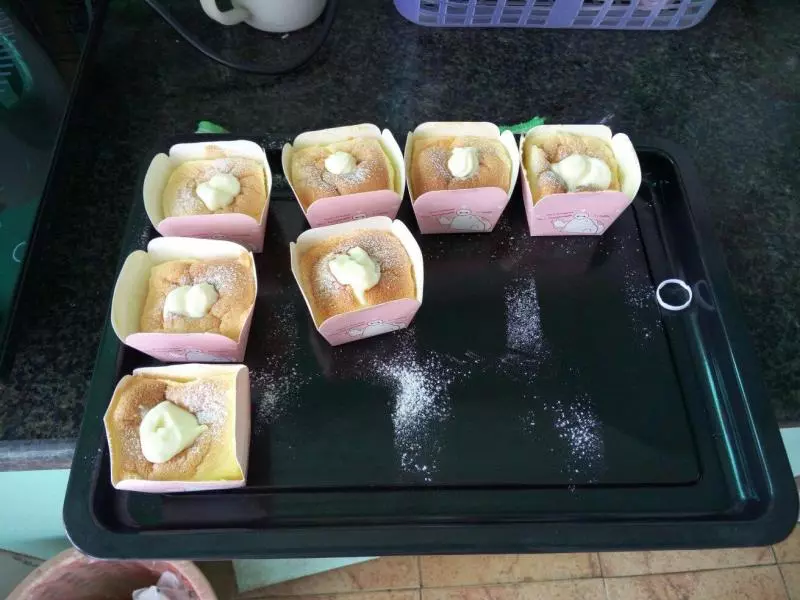
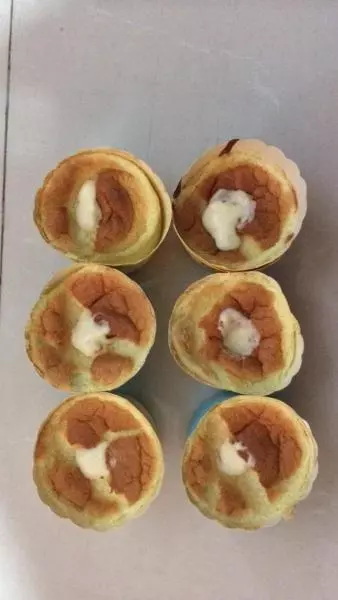
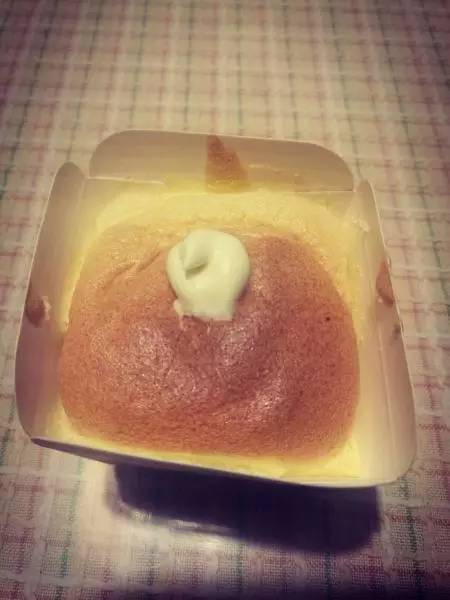
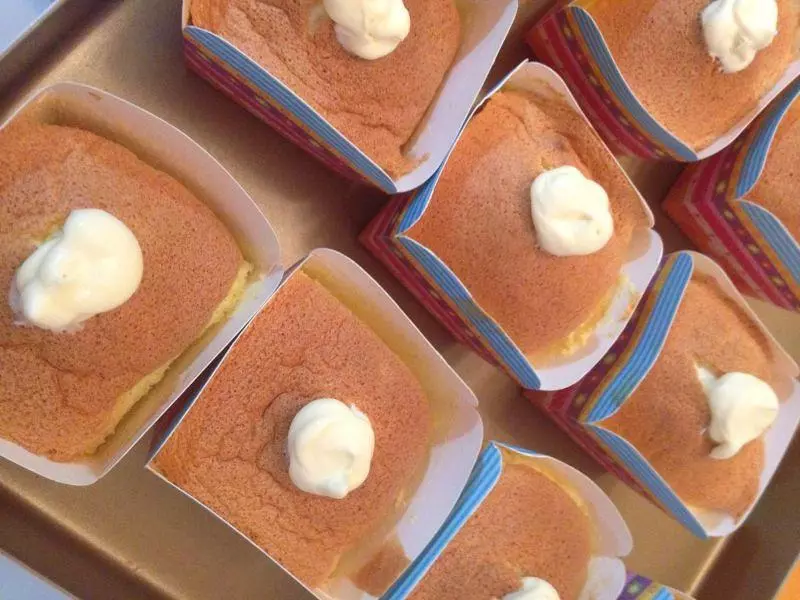
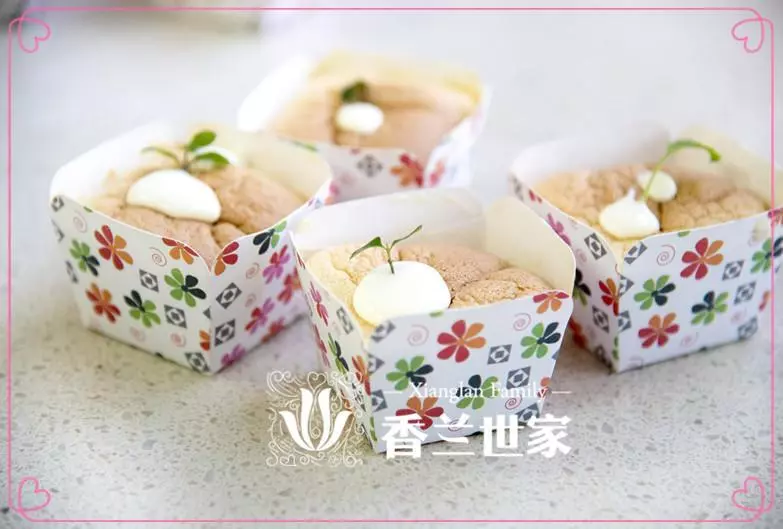
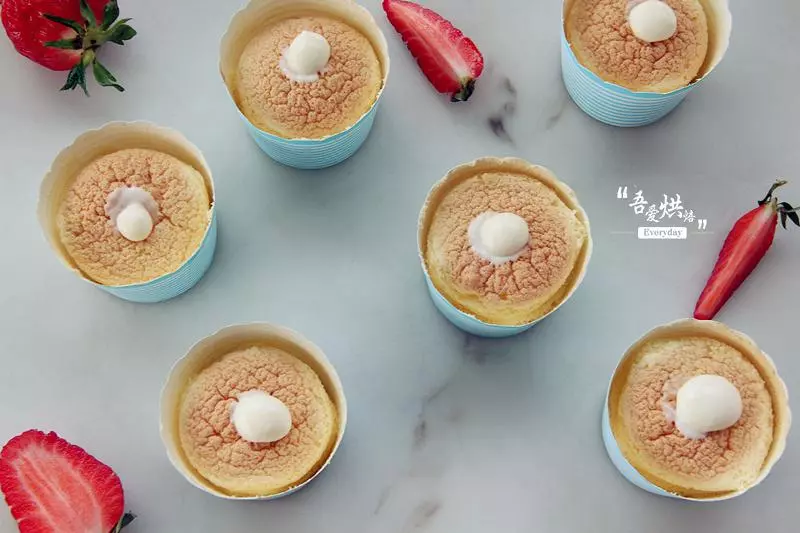
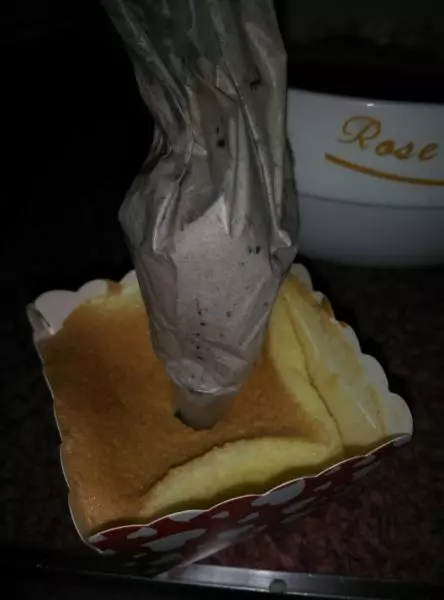
8用2號圓形裱花嘴注入已經涼卻的蛋糕中,直至蛋糕表面隆起
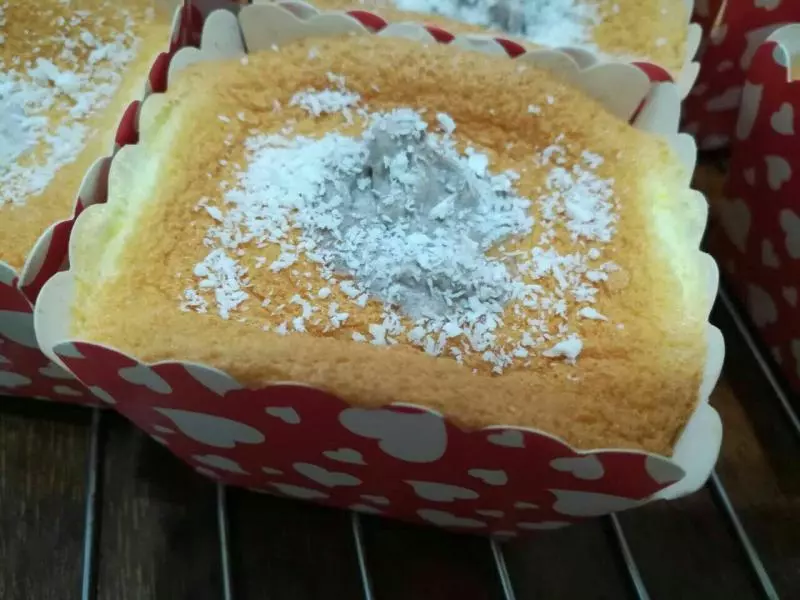
9表面可以灑上糖粉,椰蓉等裝飾
小技巧
1.蛋糕餡可隨自己喜歡配置。咸奶油不會膩,又有餅乾的香味,非常好吃。 2.用裱花袋擠蛋糕漿到杯子中,操作更方便。 3.溫度也要根據自己烤箱定。 4.這種蛋糕是會塌陷的,靠奶油餡撐起來。