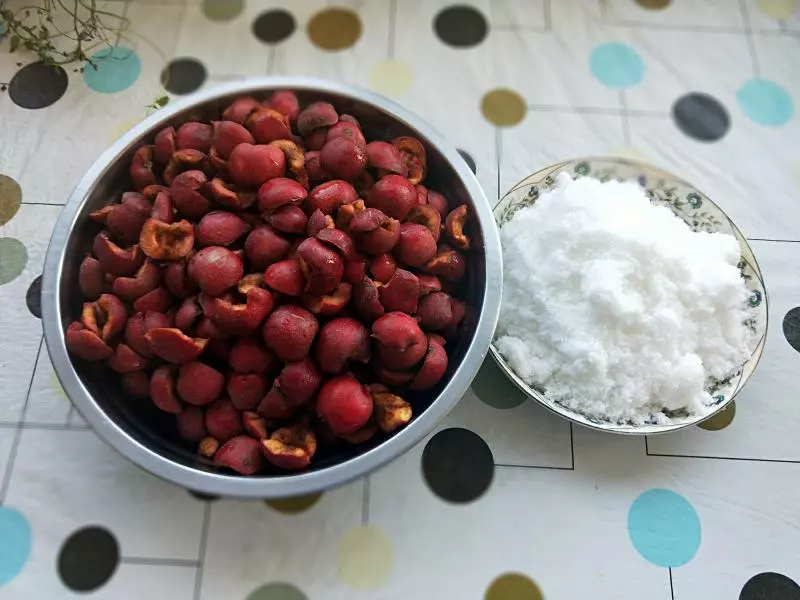
原料
山楂: 500g, 白糖: 200g
步驟
1準備材料~
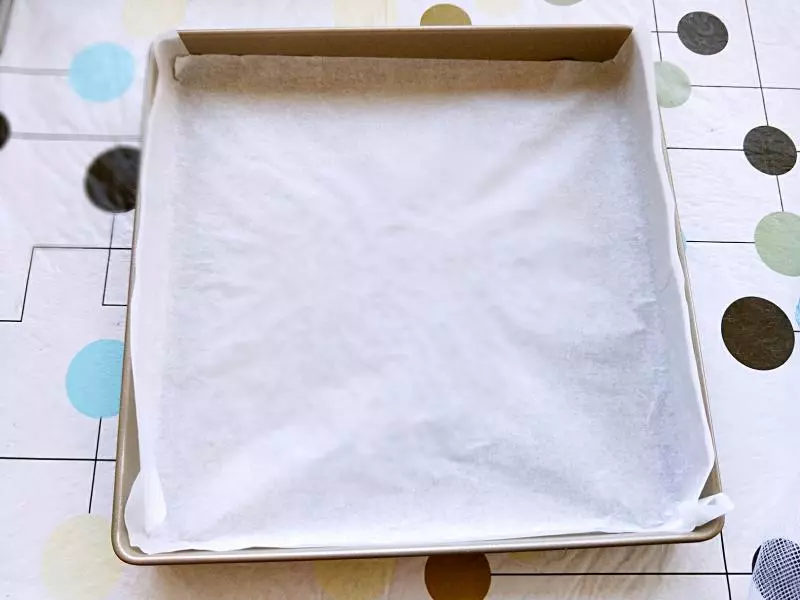
2模具中鋪好油紙(提前做好準備)~
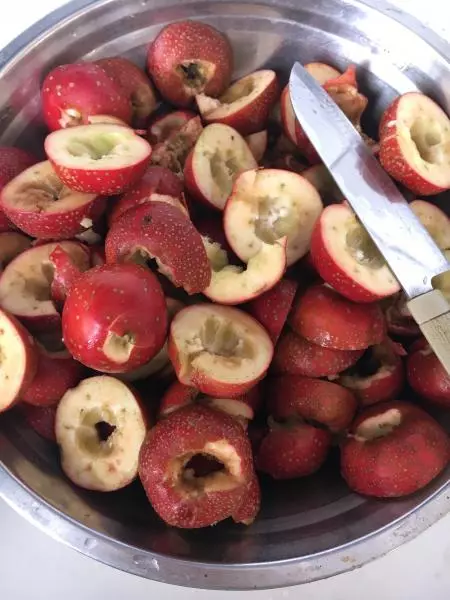
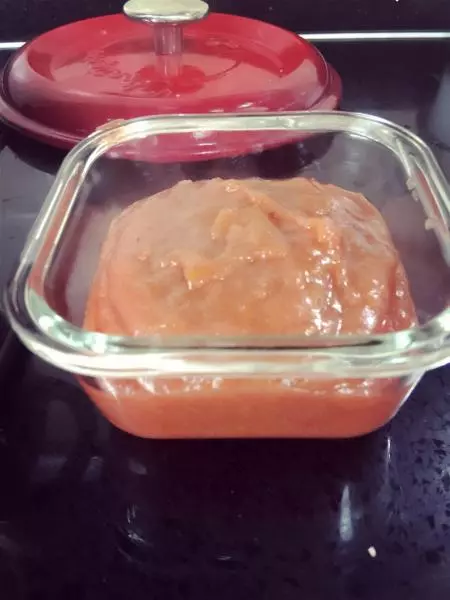
3山楂洗凈控水去核去籽去花嘴備好~ 倒入全部的白糖~ 放入蒸鍋中,蓋上蓋子隔水蒸30分鐘~ 蒸至熟透軟爛~

4將蒸好的山楂分次放入料理盒內打成泥狀~
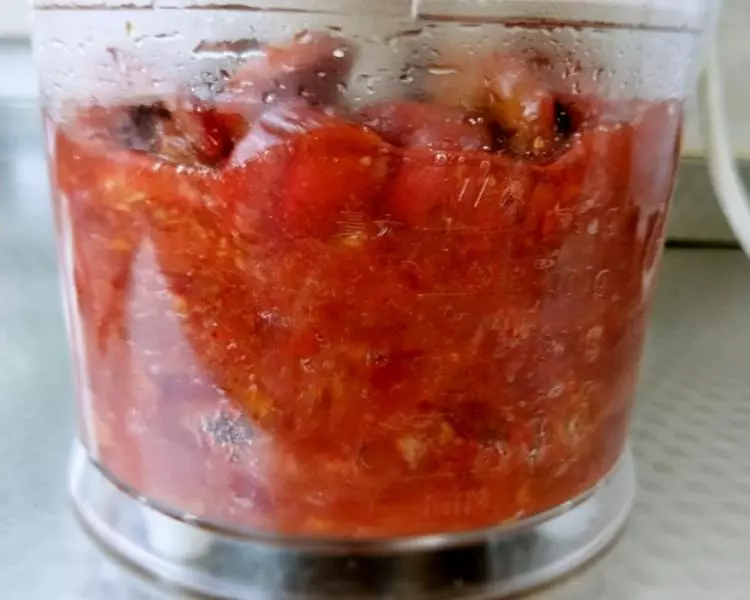
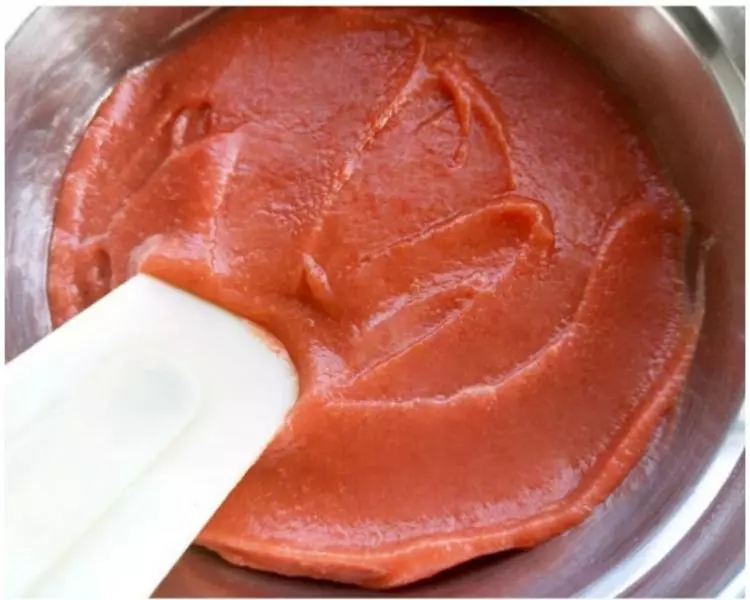
5將山楂泥過篩(我用的是紗網)~
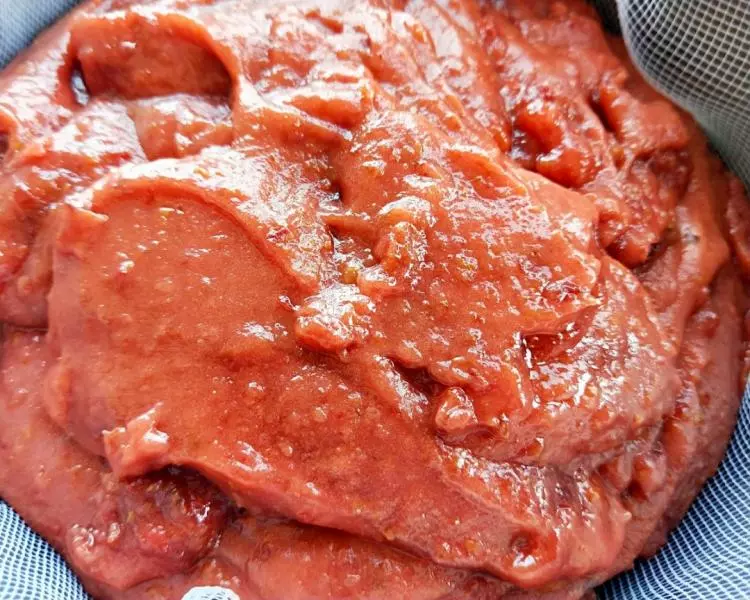
6過篩後很細膩(此步驟不能省略,要不然做好的山楂卷很粗糙)~
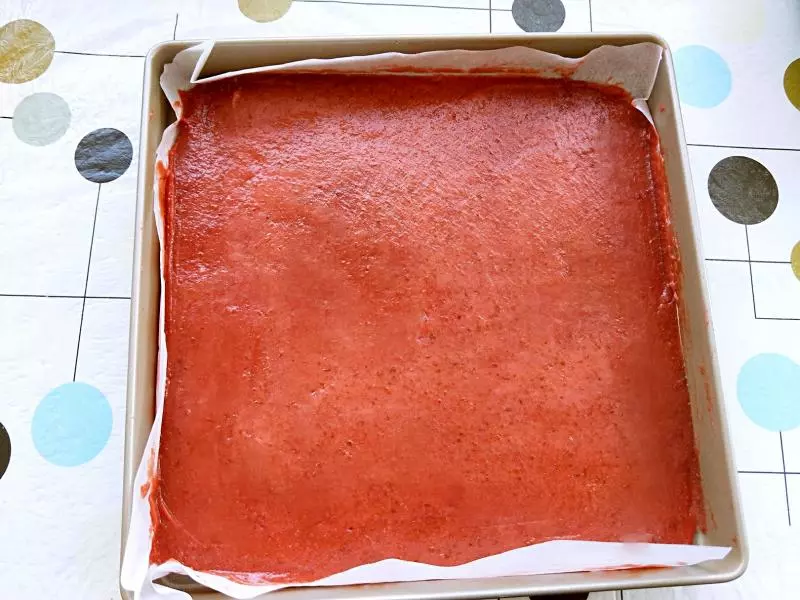
7將山楂泥「薄薄」均勻的鋪在烤盤內,用刮刀刮平~
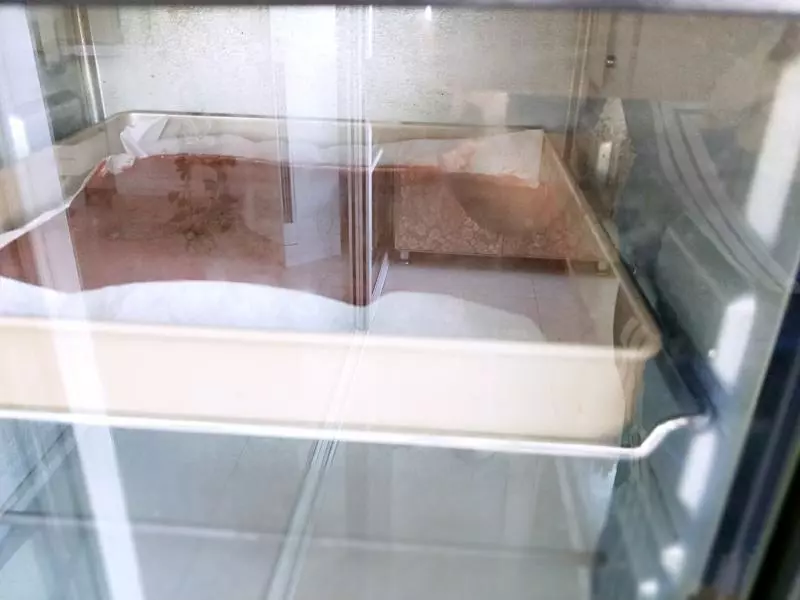
8烤箱預熱110°,上下火,中層,烤3個小時(若是山楂泥太薄的,2.5小時看看情況,太薄的烤時間長就硬了不好吃,厚的根據情況調整)~
9烤好的山楂卷,輕鬆從油紙上撕下來(表面不沾手的)~

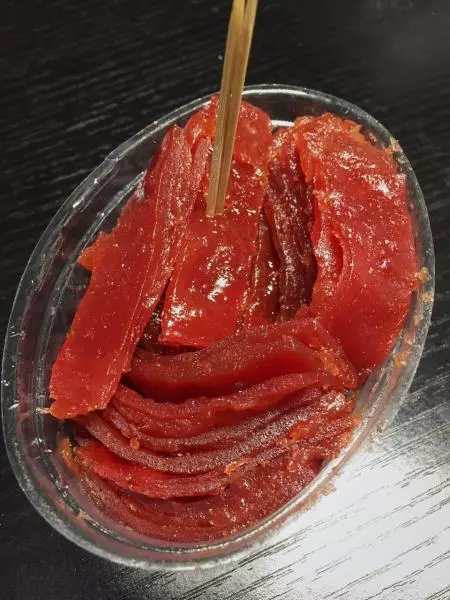
10切去邊緣的硬邊~
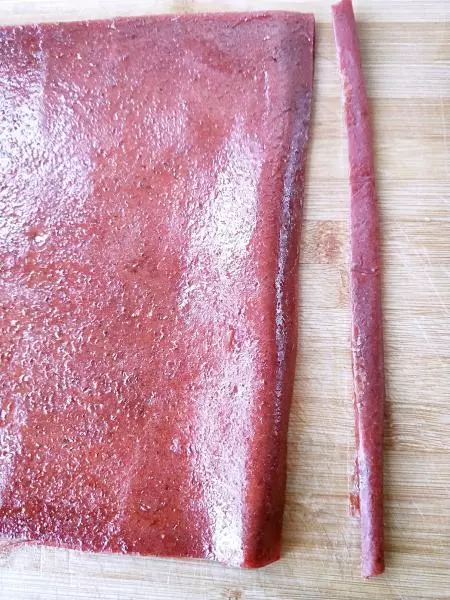
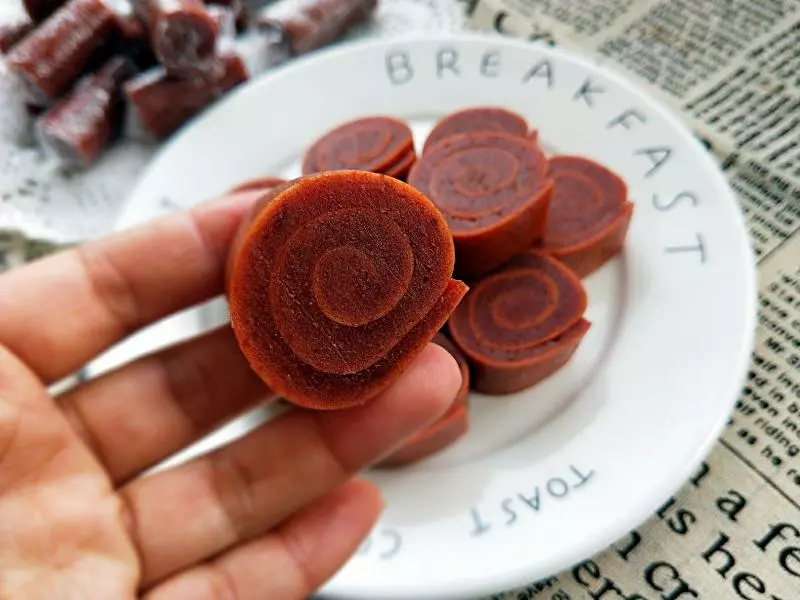
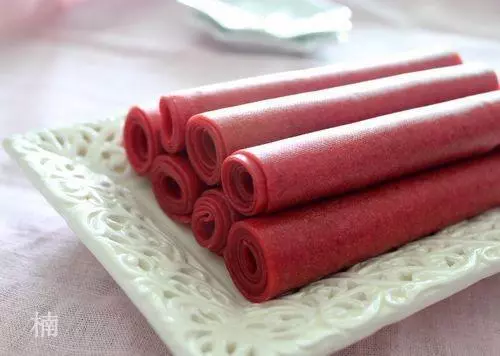
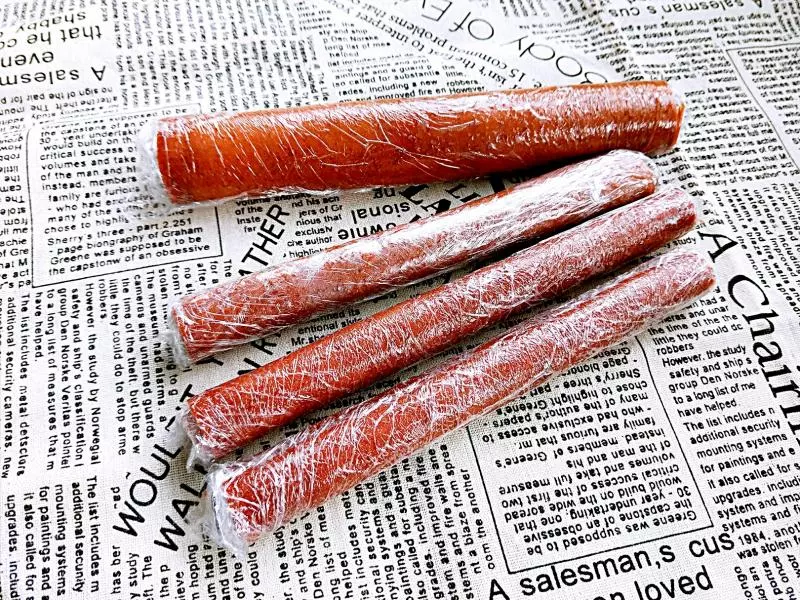
11從一側捲起,卷緊些(層次面才好看~)
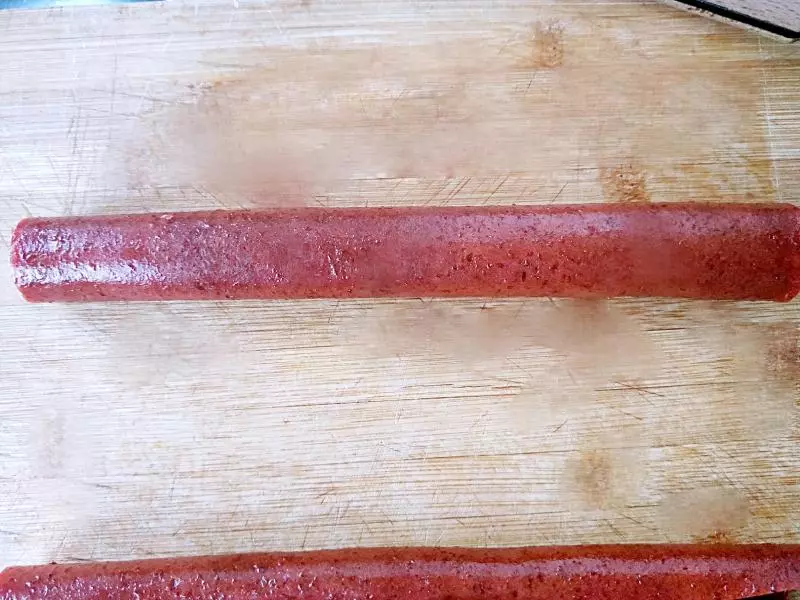
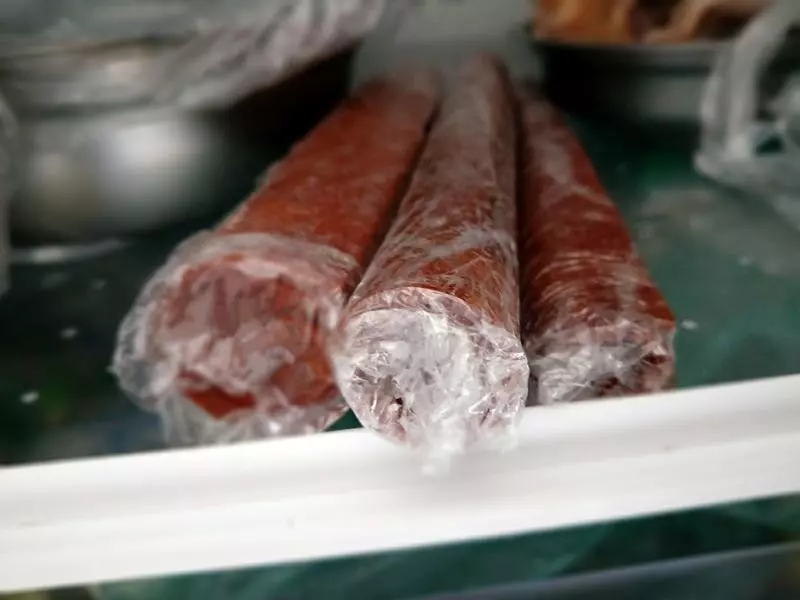
12❤:(定型層次面好看) 可以卷好後包裹一層保鮮膜,定型(讓山楂卷果膠自然粘合)我頭天晚上做好的,置涼放冰箱冷藏了一夜(可不放冰箱內)~
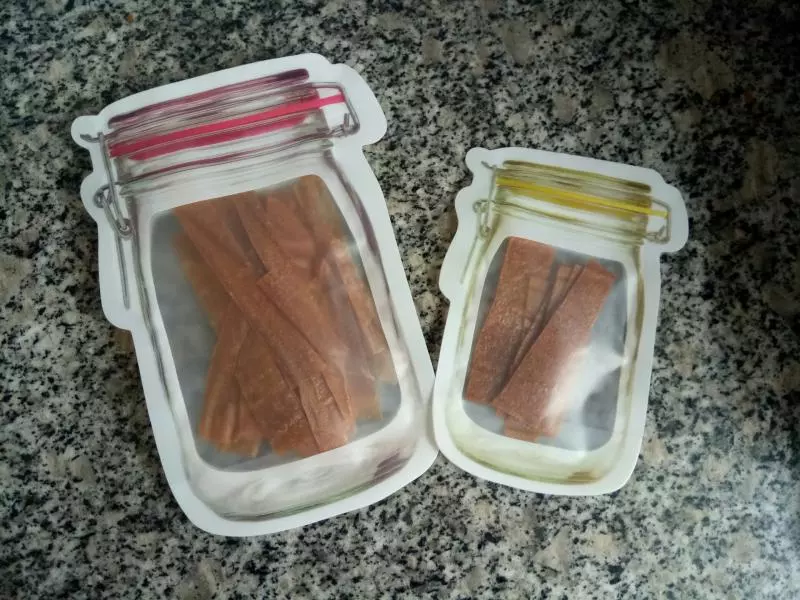
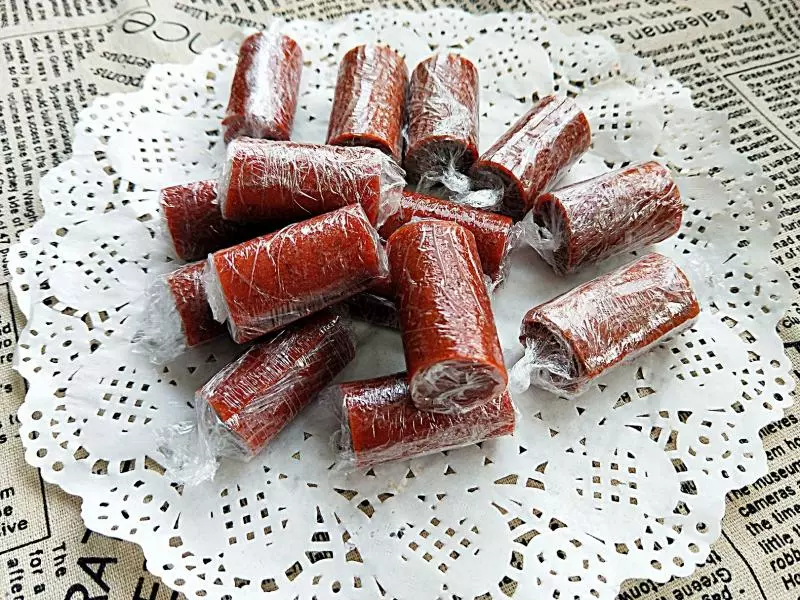
13切下來的邊緣不要扔,裝進保鮮袋中,會軟下來的~
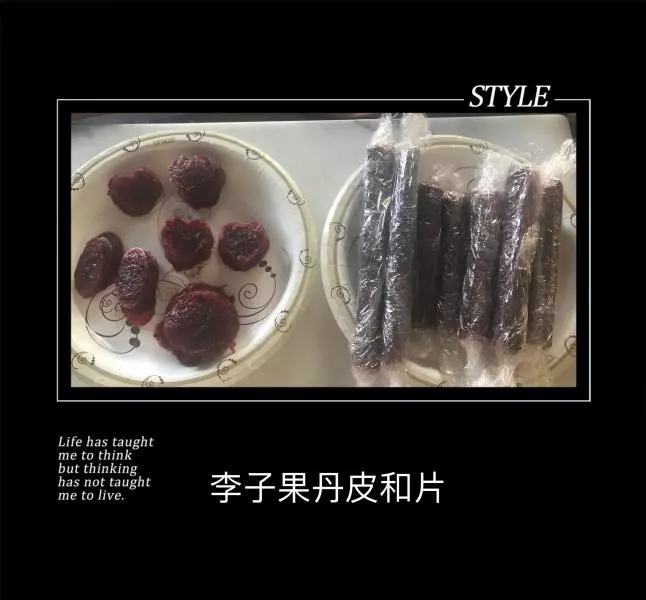
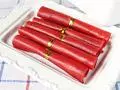
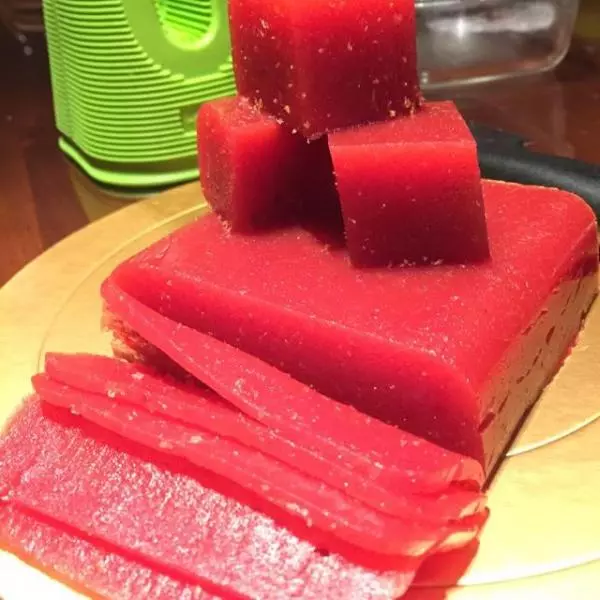
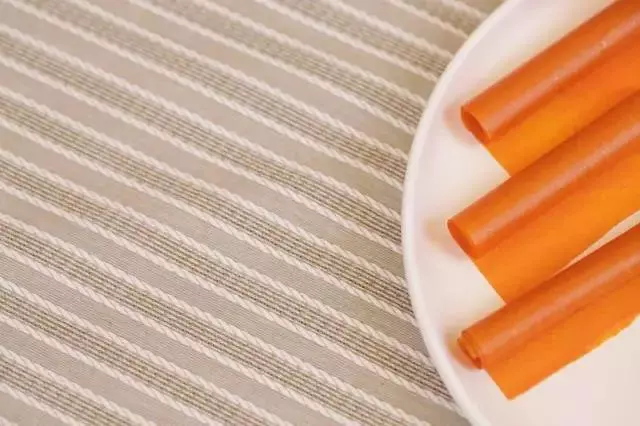
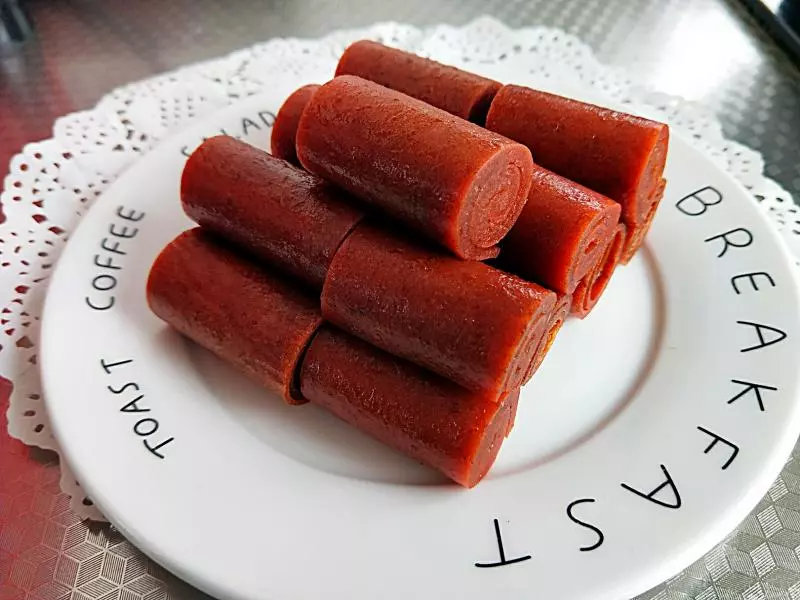
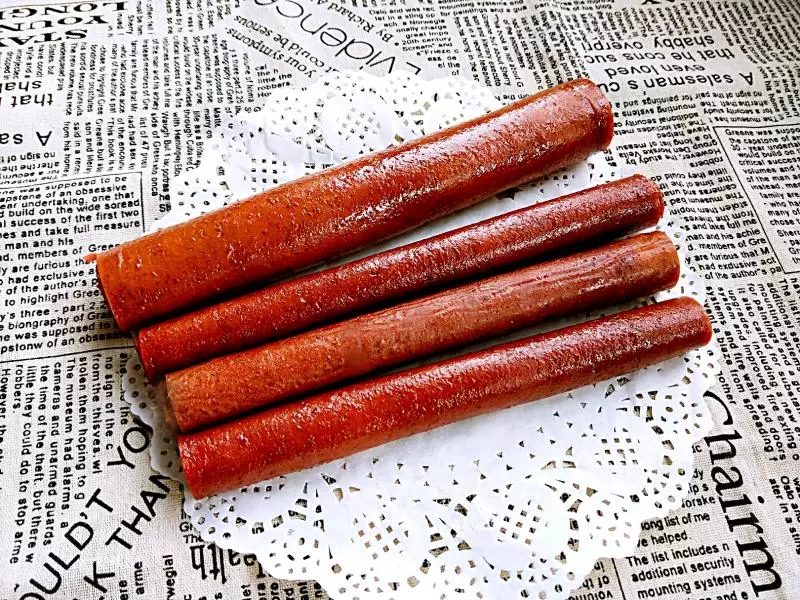
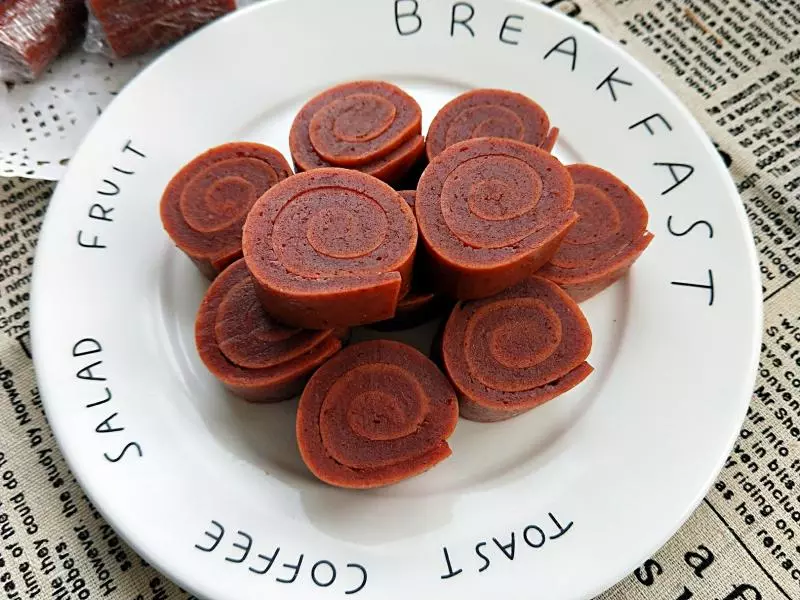
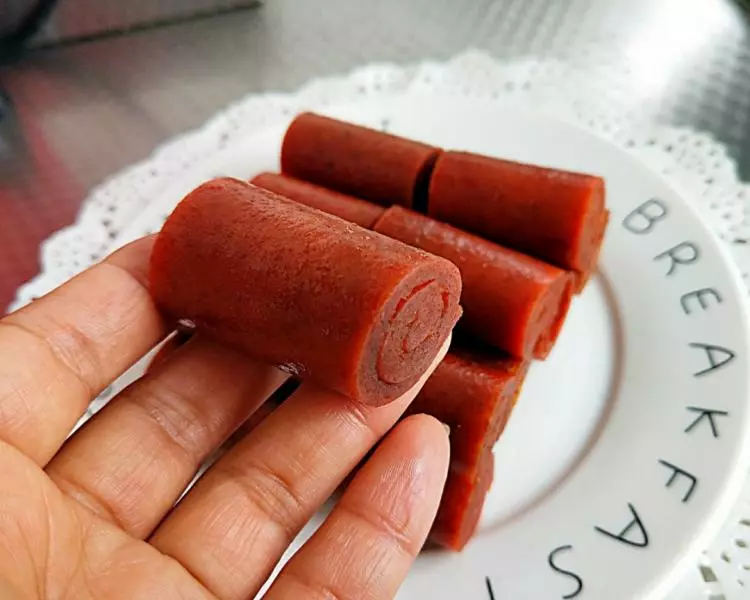
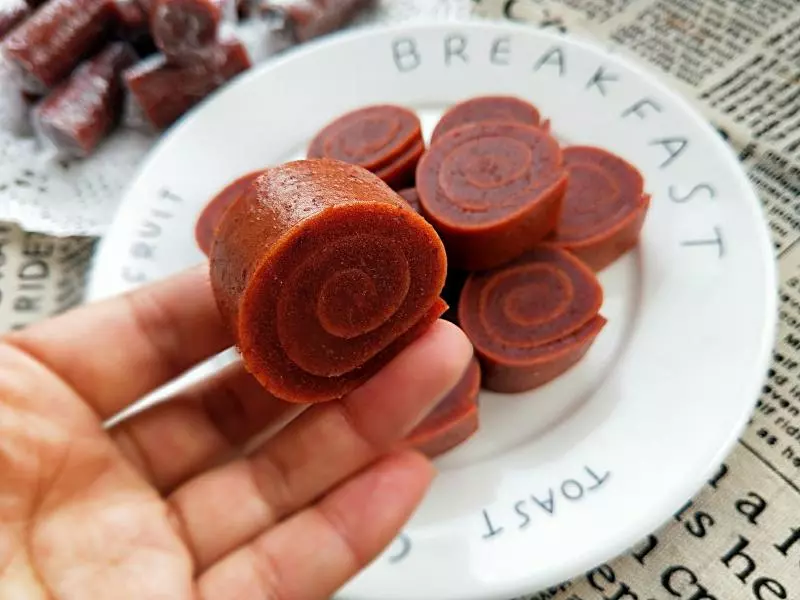
14山楂卷就做好啦~
15光澤度特別好(軟硬適中)~
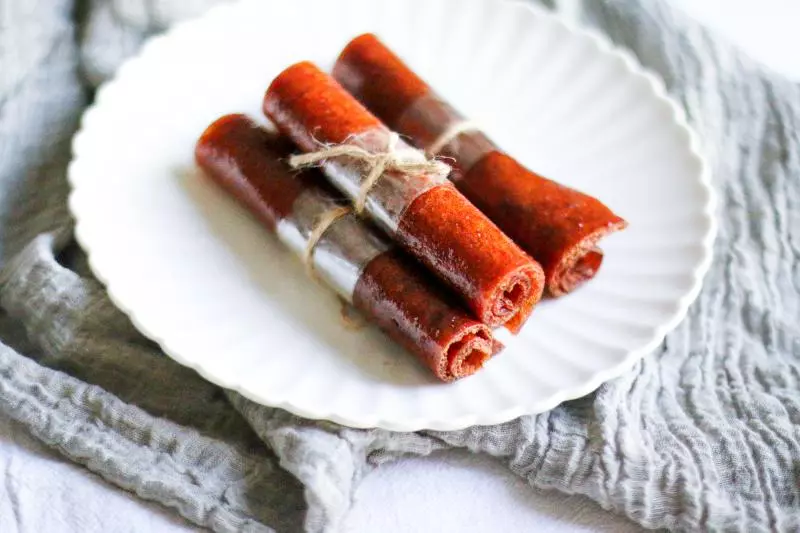
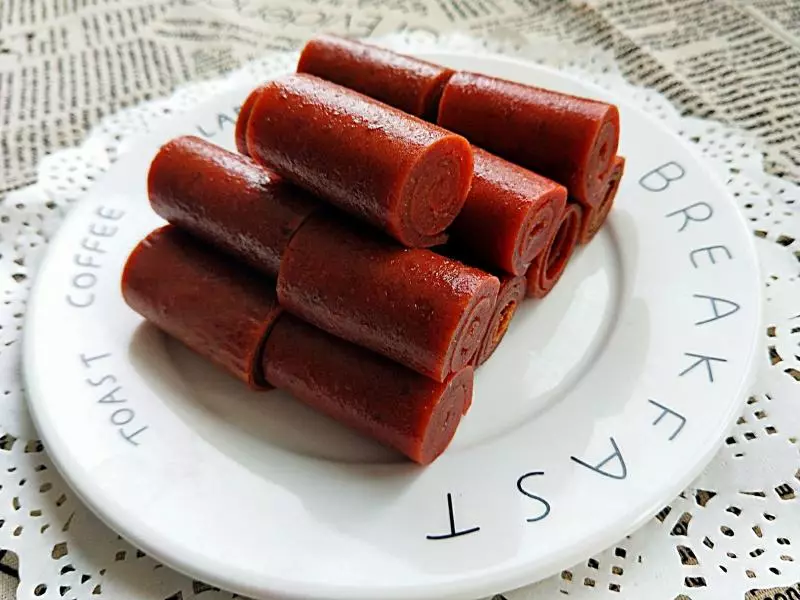
16切成小段食用方便~
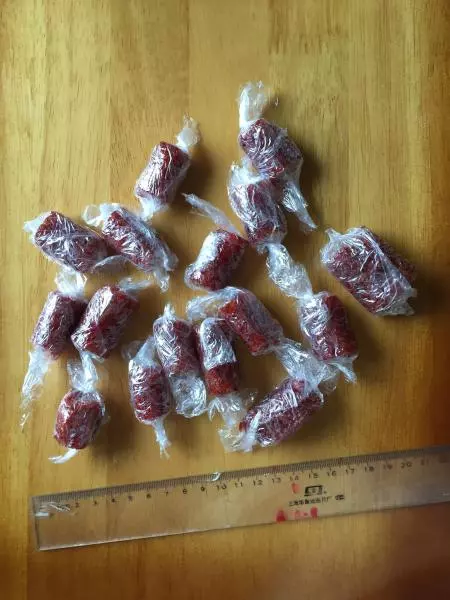
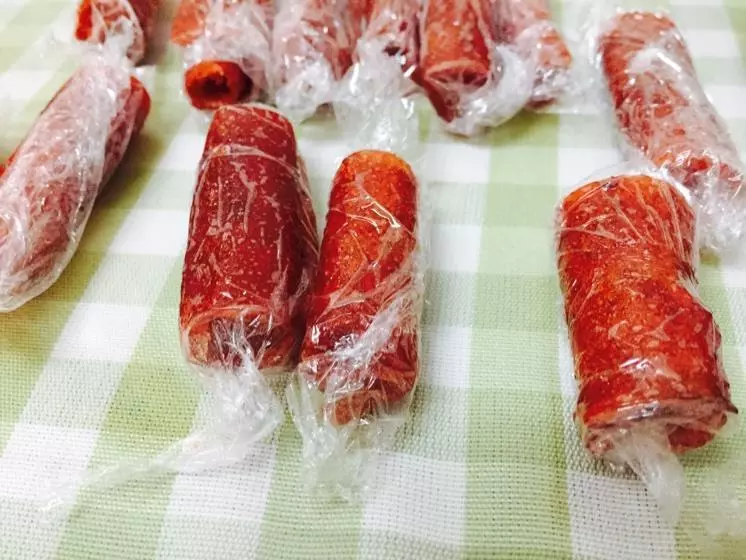
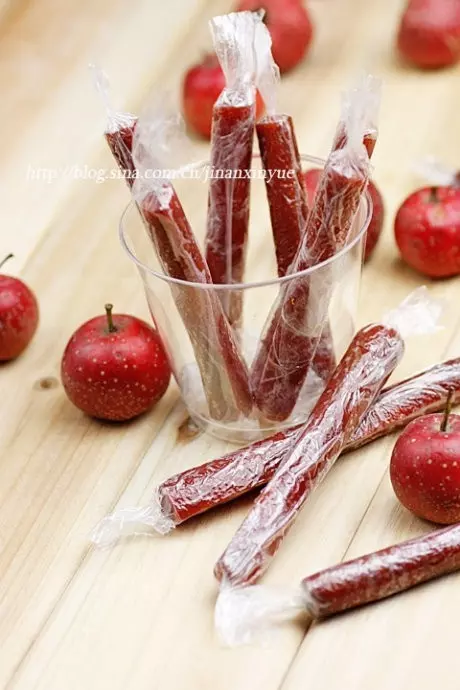
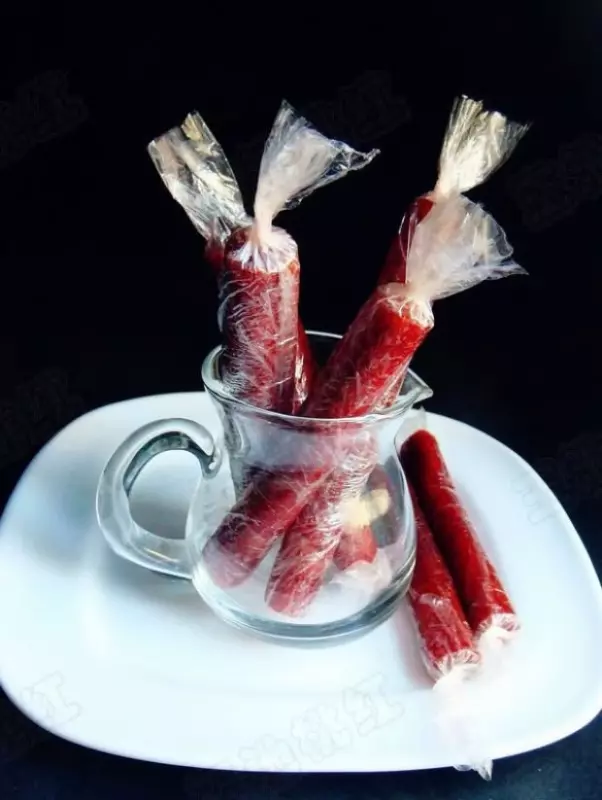
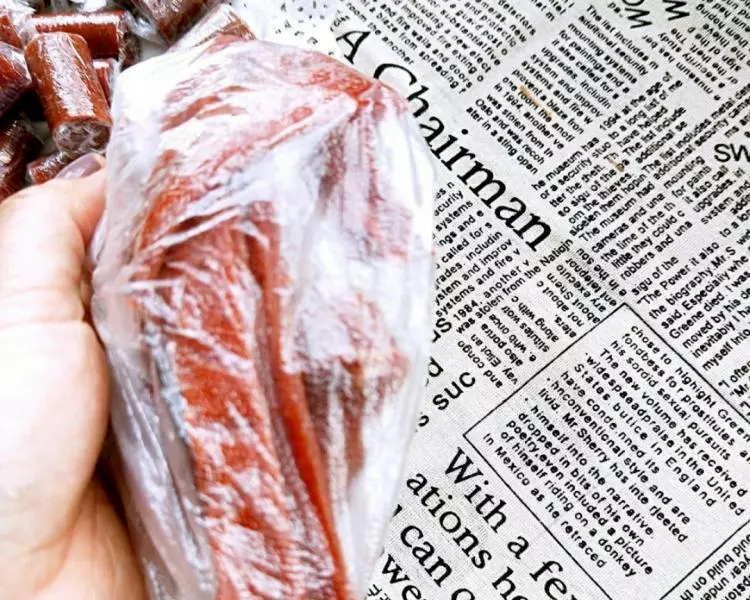
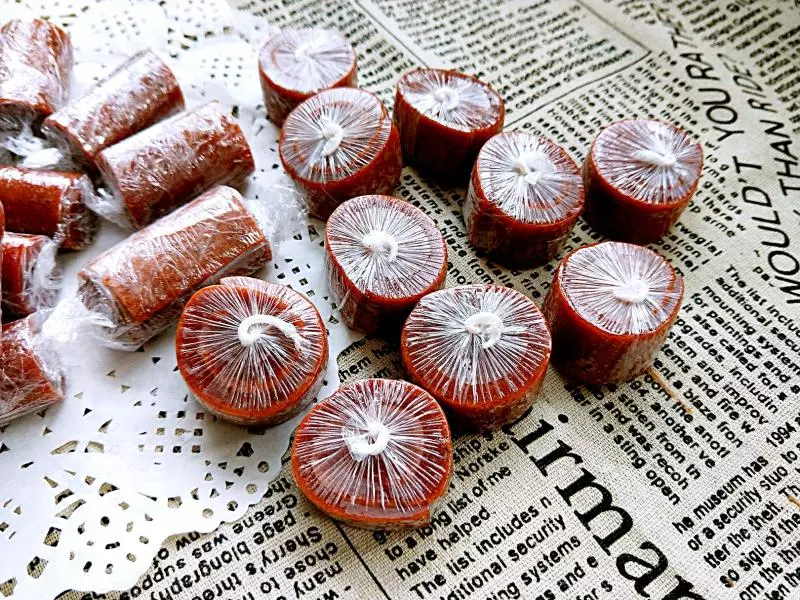
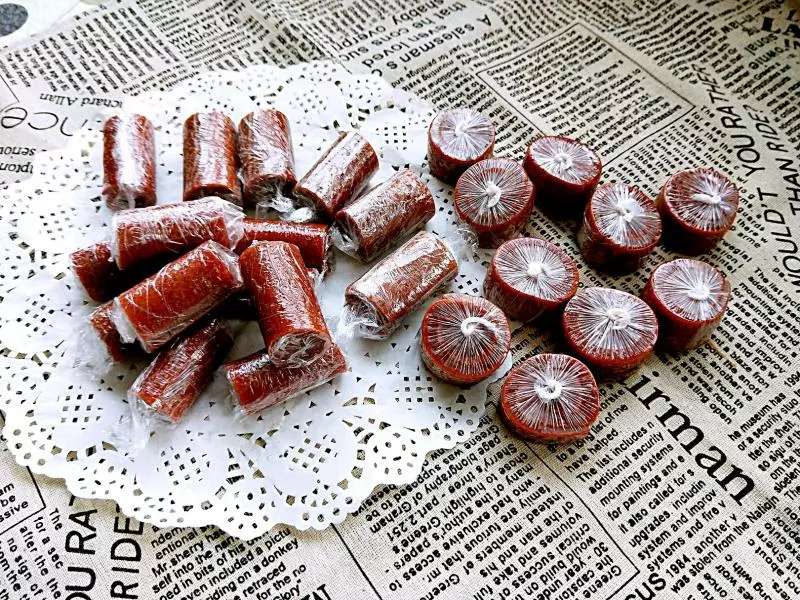
17可將每個山楂卷用保鮮膜包好~
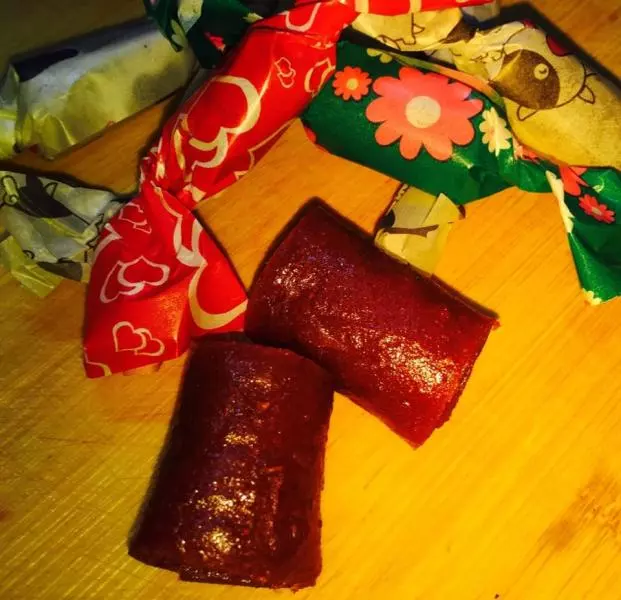
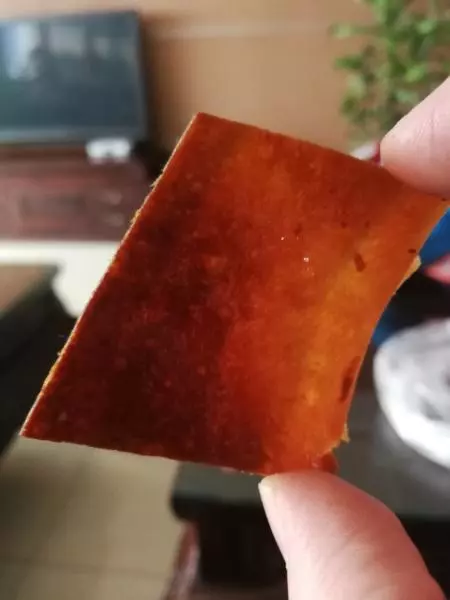
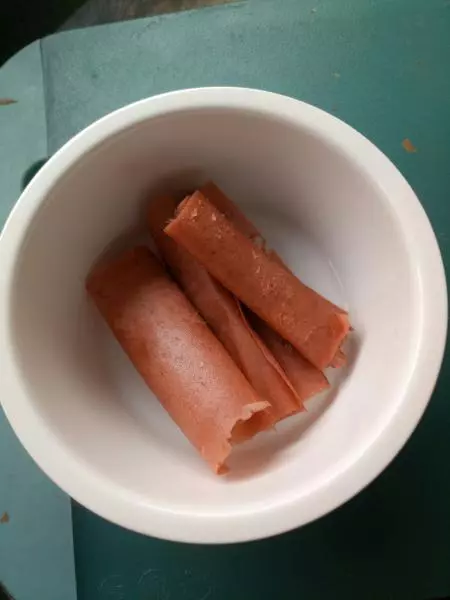
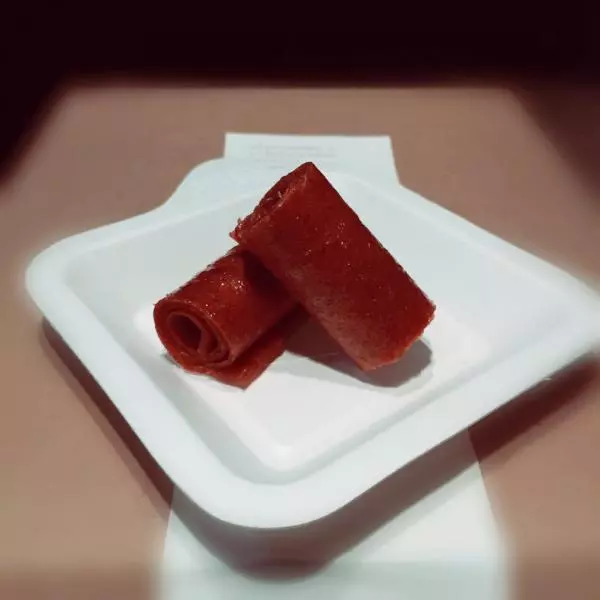
18這個是我烤的「稍微」厚些的,烤至時間都一樣(祥雲山楂卷?,比薄薄的稍微厚一點點)~
19也是用保鮮膜包好~
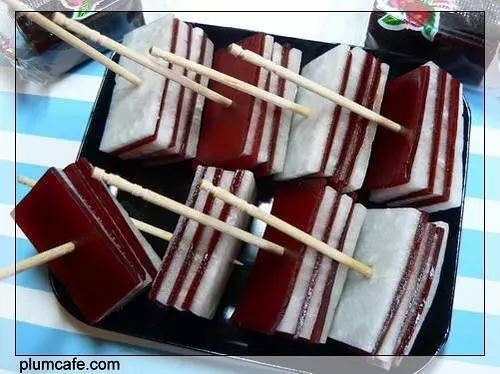
20有木有很好看~
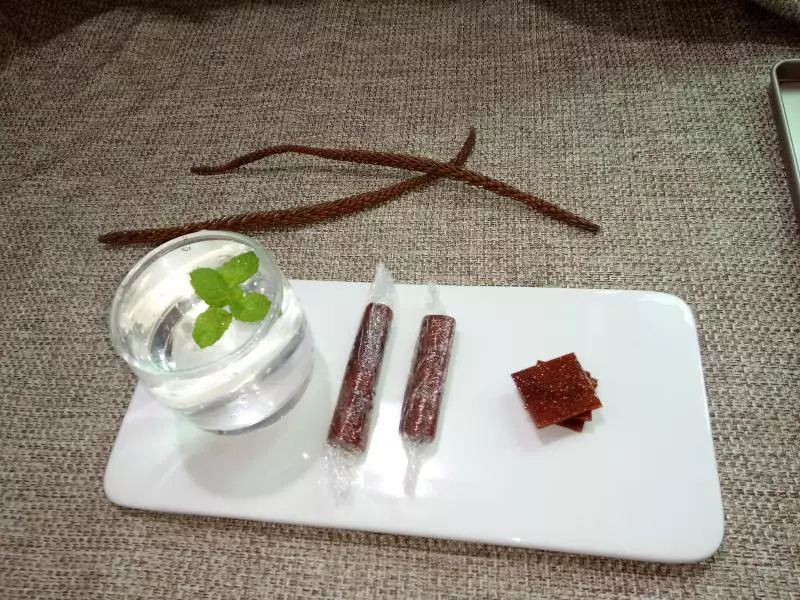
21好吃!薄噠~
22厚些噠,味道棒棒噠~
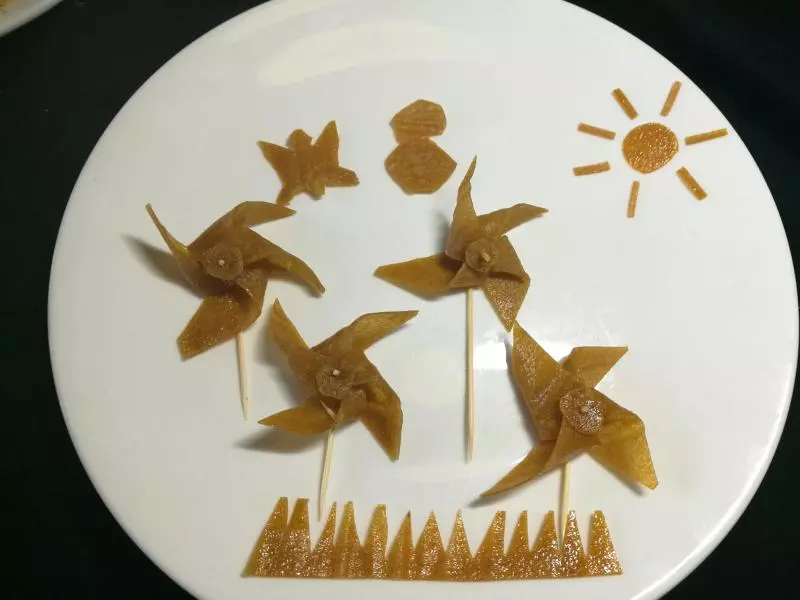
23誒呀媽呀,太好看啦?~