原料
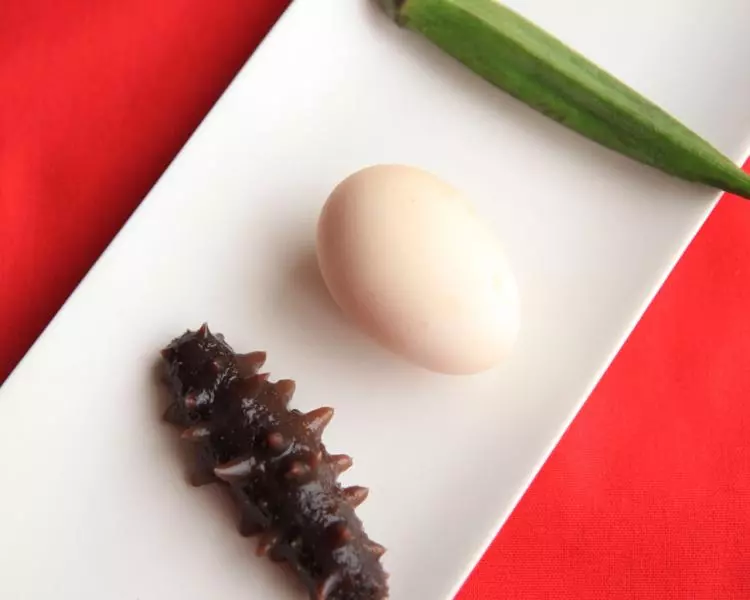
海參: 1隻, 雞蛋: 1個, 秋葵: 1隻, 香油: 1勺, 醬油: 1勺
步驟
1即食海參提前解凍,秋葵洗凈
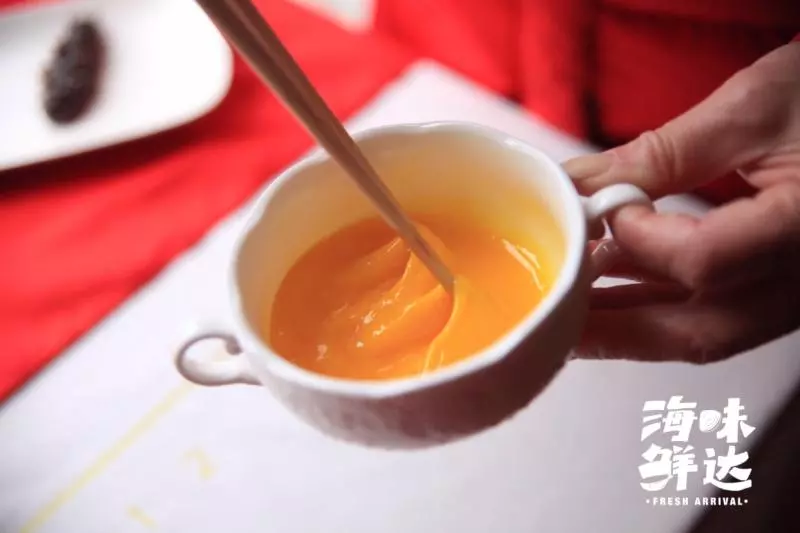
2雞蛋打散,加入1:1的水
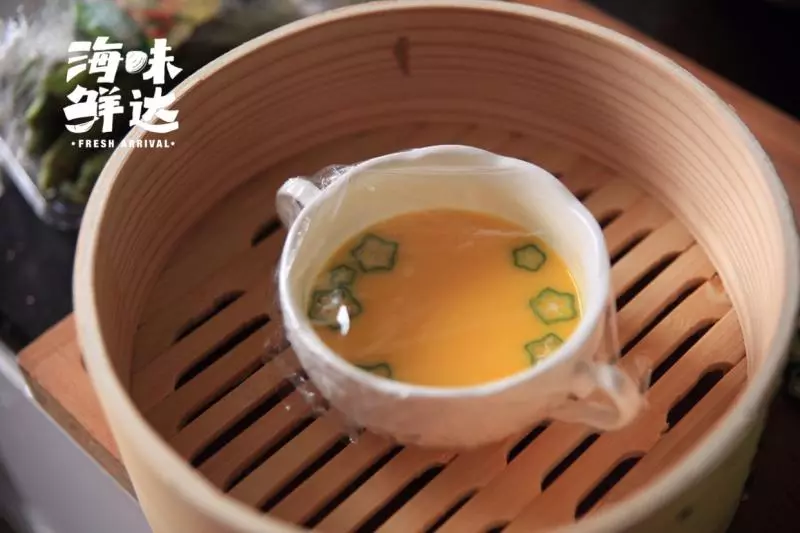
3秋葵切片

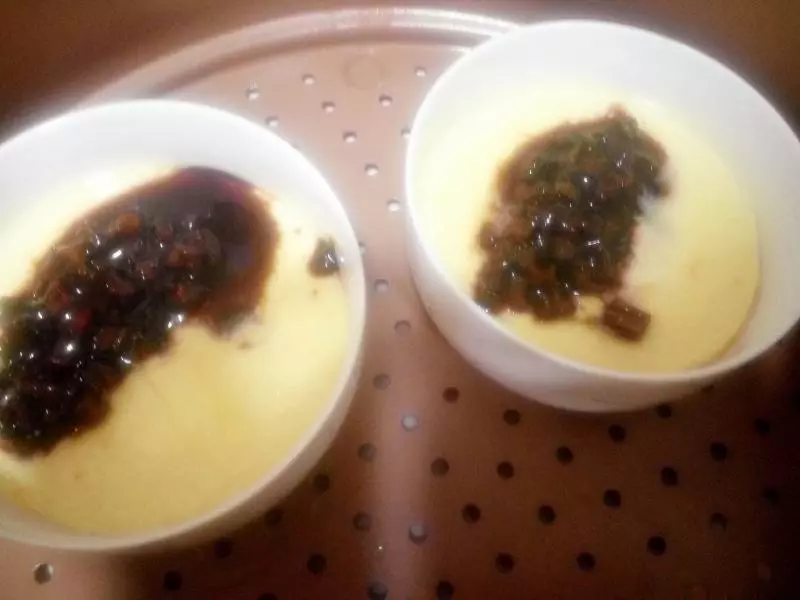
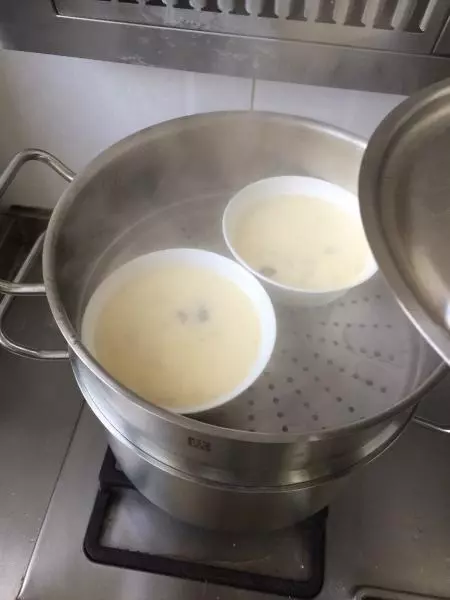
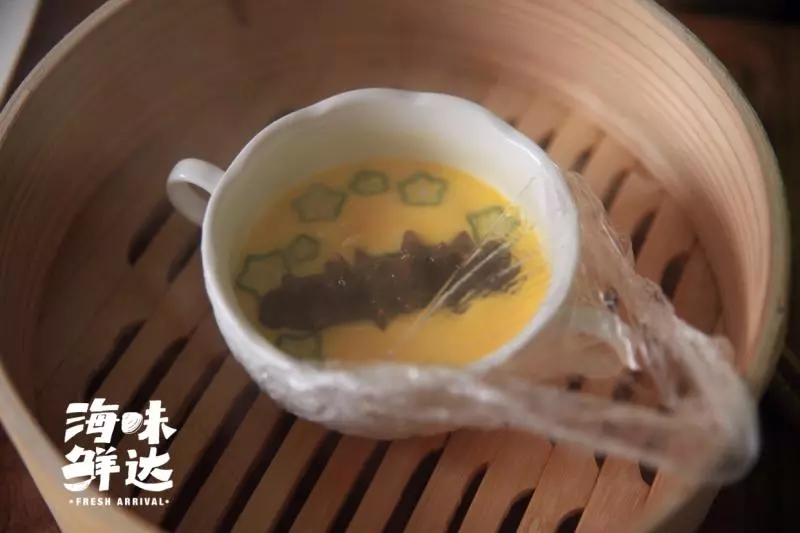
4秋葵放在蛋液中,水燒開,大火上鍋蒸5-8分鐘,注意秋葵的位置儘量在碗邊,中間留出位置放海參,蒸蛋沒有氣孔更嫩滑的方法是在碗上覆蓋一層保鮮膜。不喜歡的也可以不覆蓋
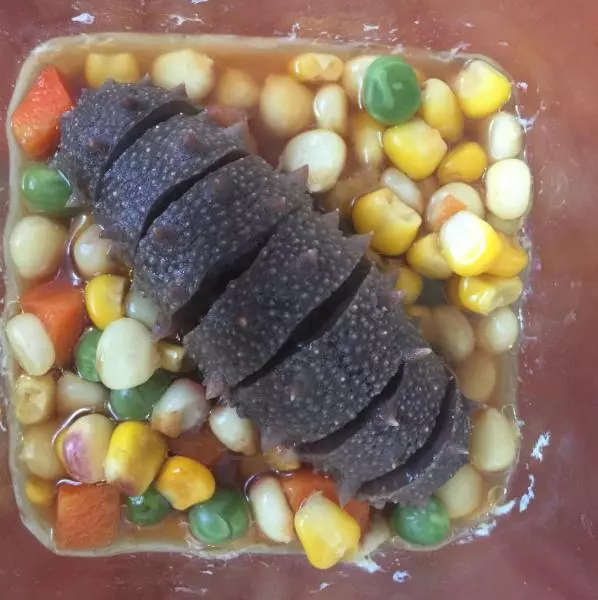
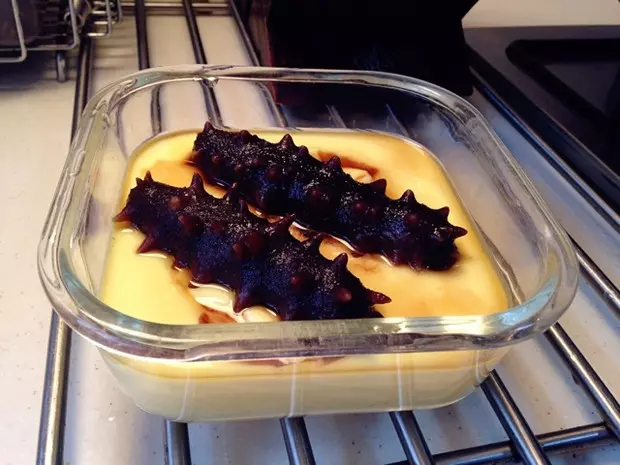
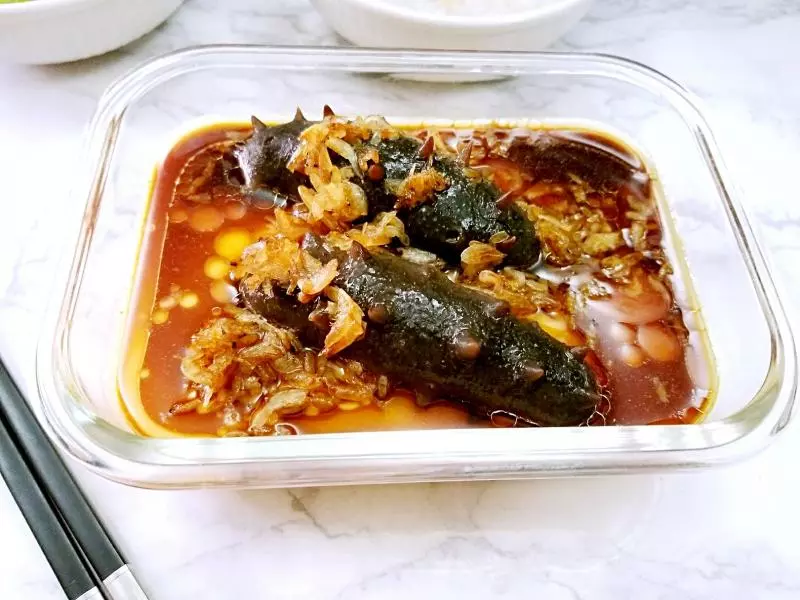
5放上海參,再蒸5分鐘
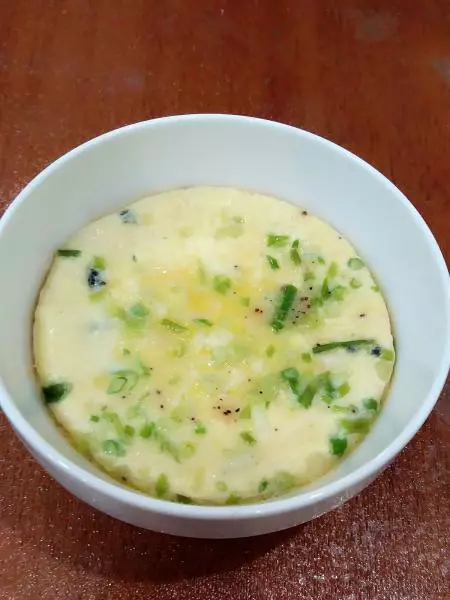
6出鍋淋上香油和生抽即可
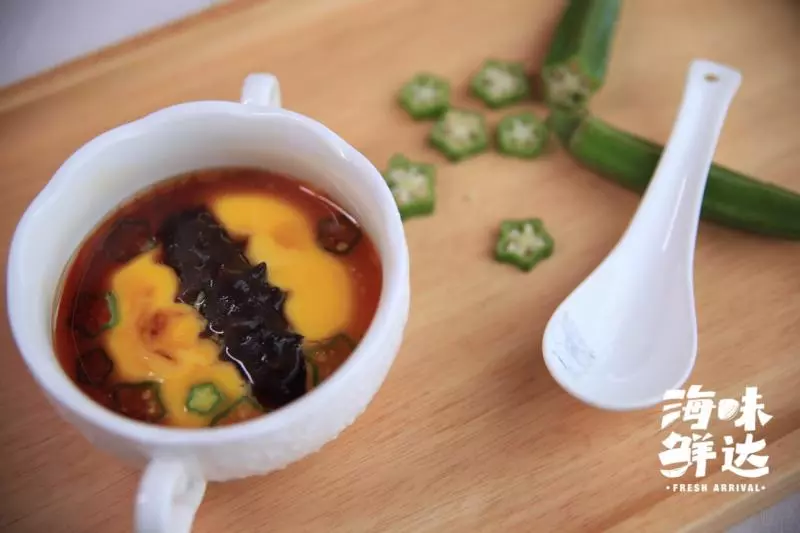
7為了成品好看放了整根的海參,你們也可以將海參切碎,和蛋液拌勻撒一點點鹽,一起蒸約10分鐘,更容易入味 秋葵不是必備,秋葵和蔥花都是顏值保證,你懂的