原料
低筋麵粉: 72g,B, 檸檬汁: 15ml,B, 蛋白: 4個,A, 細砂糖: 50g,B, 玉米粉: 7g,B, 色拉油: 48g,B, 牛奶: 45g,B, 蛋黃: 4個,B
步驟
1將蛋白與蛋黃分開,蛋白液中加入2-3滴檸檬汁
2將電動打蛋器裝上打蛋網
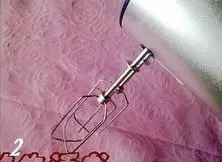
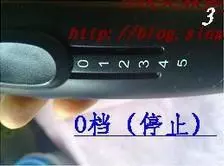
3檢查檔位,通電之前設置為0檔(停止),以防意外發生
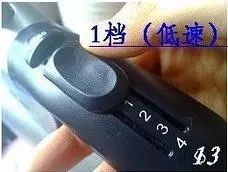
4手提打蛋器,高度使打蛋網接觸到蛋液,通電之後,將檔位調至1檔(低速)
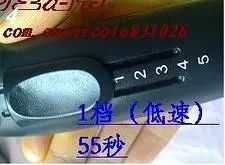
5低速攪打55秒左右,蛋白液呈現粗泡狀態,此時加入1 / 3細砂糖
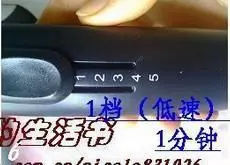
6打蛋器仍然調至1檔,低速攪打1分鐘
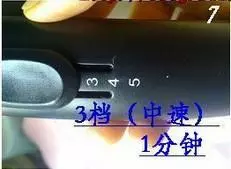
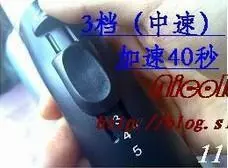
7再將打蛋器調至3檔(中速),繼續打1分鐘
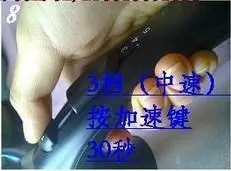
8按下加速鍵,加速攪打30秒
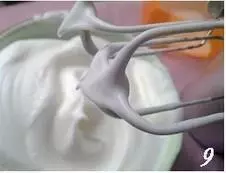
9放開加速鍵,攪打30秒左右,蛋液呈現濕性發泡狀態,此時加入剩餘的細砂糖
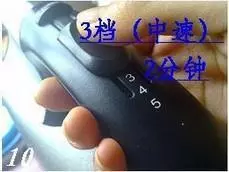
10打蛋器仍然調至1檔打1分鐘,再調至3檔,中速攪打2分鐘
11按下加速鍵,加速攪打40秒
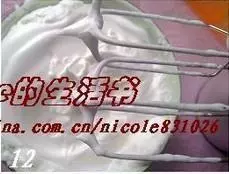
12放開加速鍵,攪打1分鐘左右,此時蛋液呈現中性發泡狀態
13將打蛋器調至1檔,最後以低速攪打1分鐘,目的使蛋白糊細膩光滑
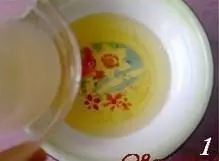
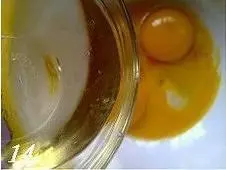
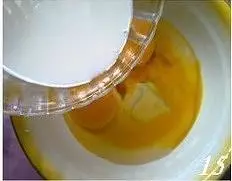
14開始準備蛋黃糊,首先把色拉油倒入蛋黃液
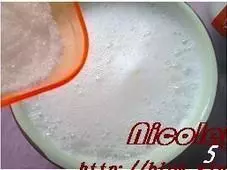
15再加入牛奶
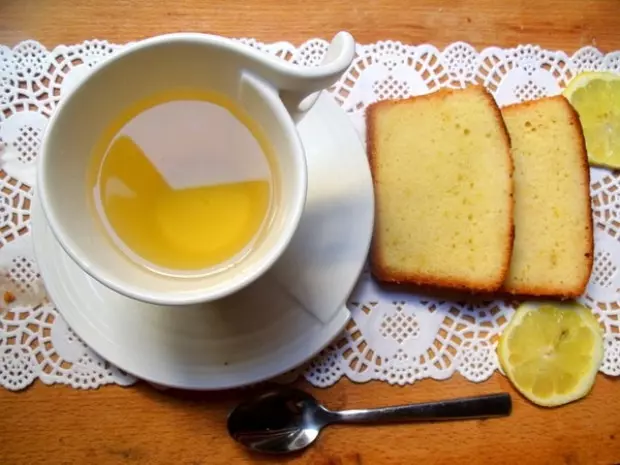
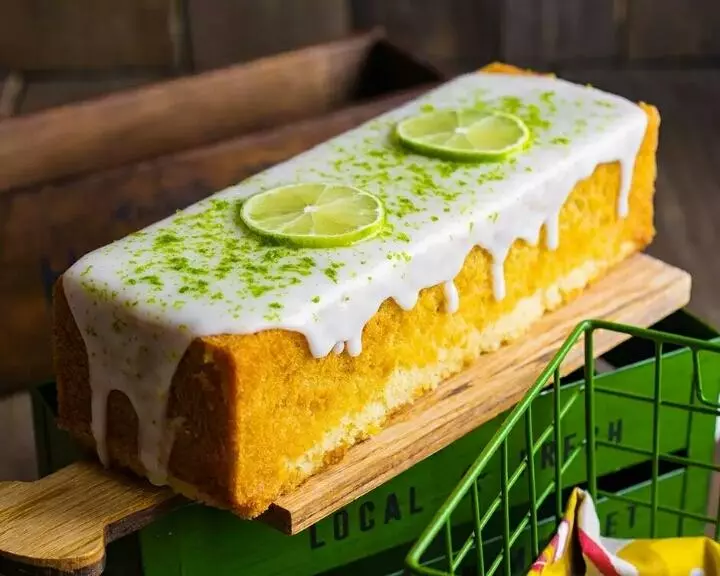
16加入檸檬汁
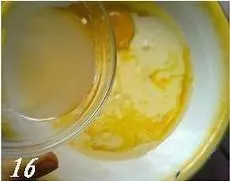
17最後加入細砂糖

18打蛋器調至1檔
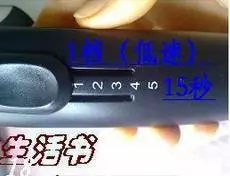
19低速攪打15秒,使溶液混合均勻
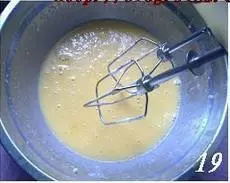
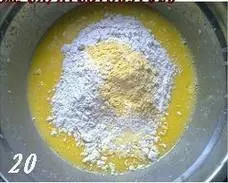
20篩入麵粉和玉米粉
21不要通電,先用打蛋網輕輕攪拌幾下,混合均勻
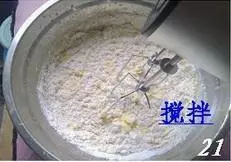
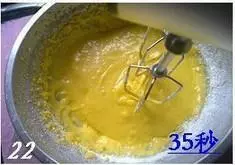
22打蛋器調至1檔,低速攪打35秒,使液體與粉類混合為均勻糊狀
23舀1 / 3蛋白糊倒入蛋黃糊,切拌使之混合均勻

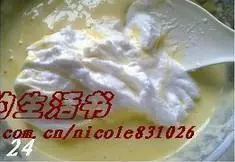
24再加入1 / 3蛋白糊,切拌均勻
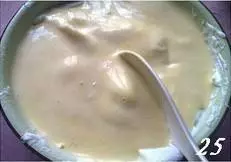
25將攪拌好的蛋黃糊與蛋白糊混合液倒回剩餘的蛋白糊,切拌均勻,成為蛋糕糊
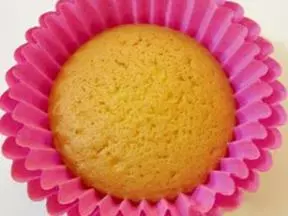
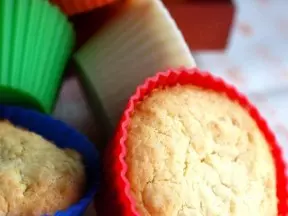
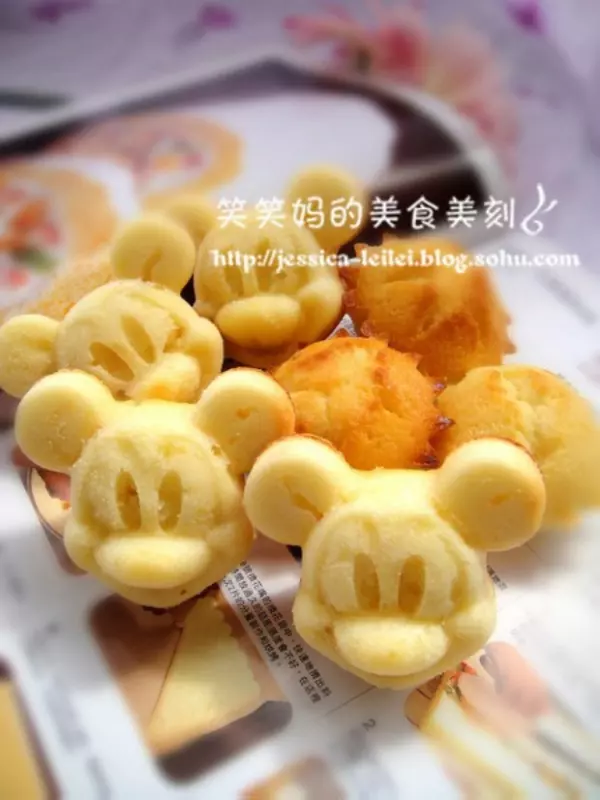
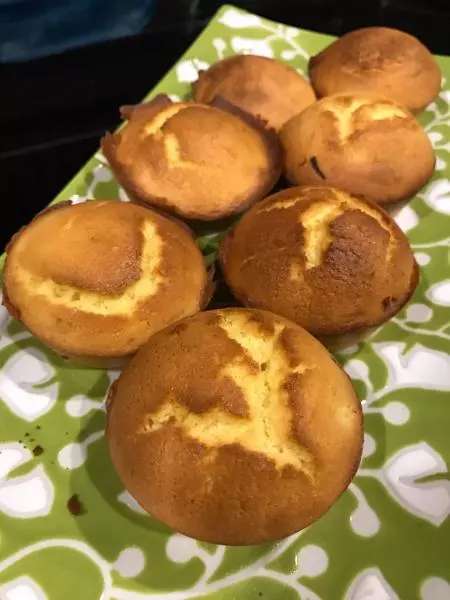
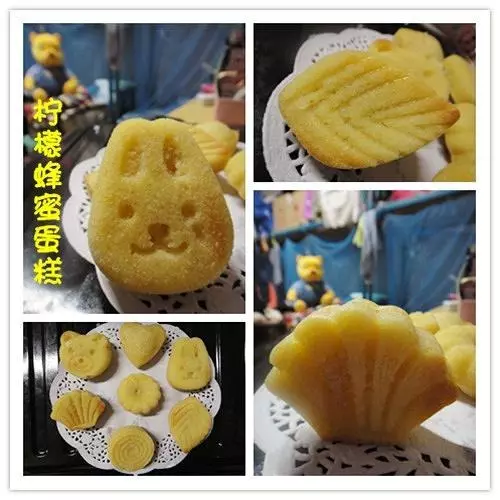
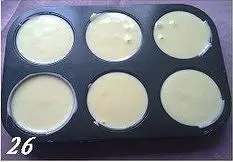
26將蛋糕糊倒入模具,輕震幾下,排除氣泡
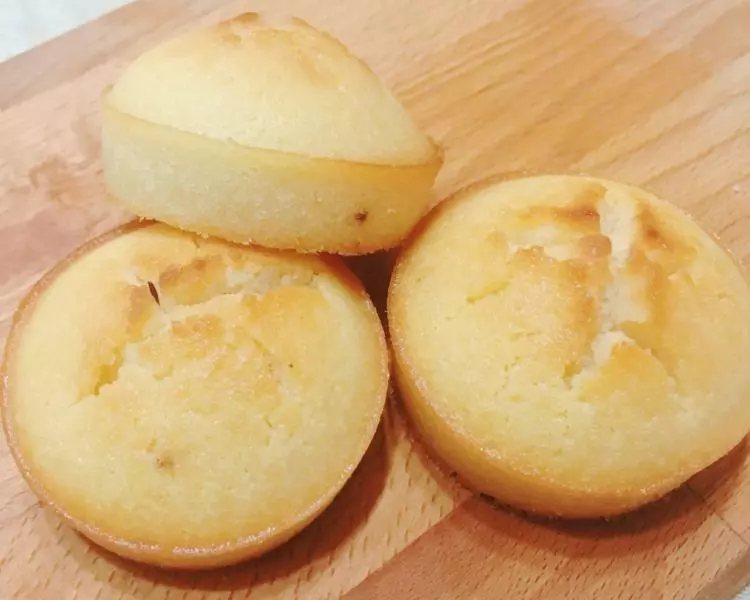
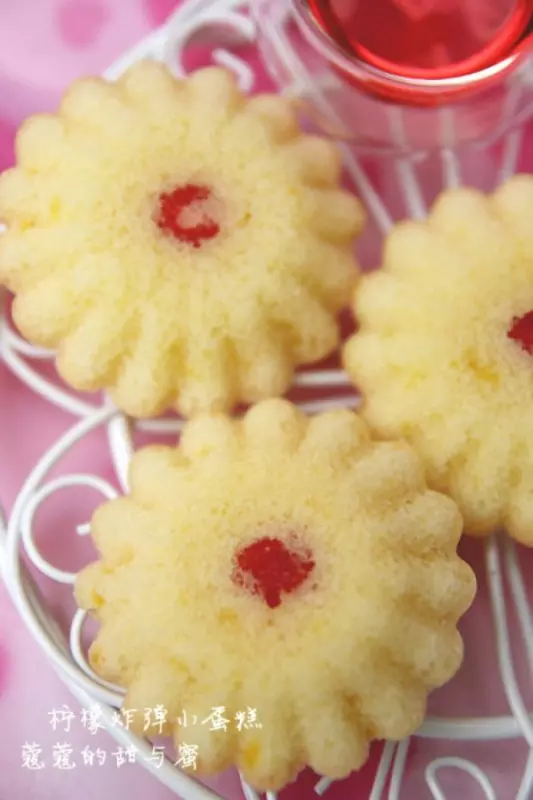
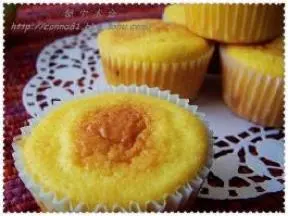
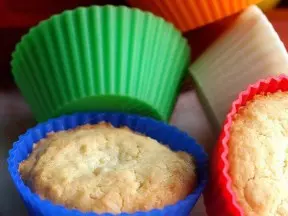
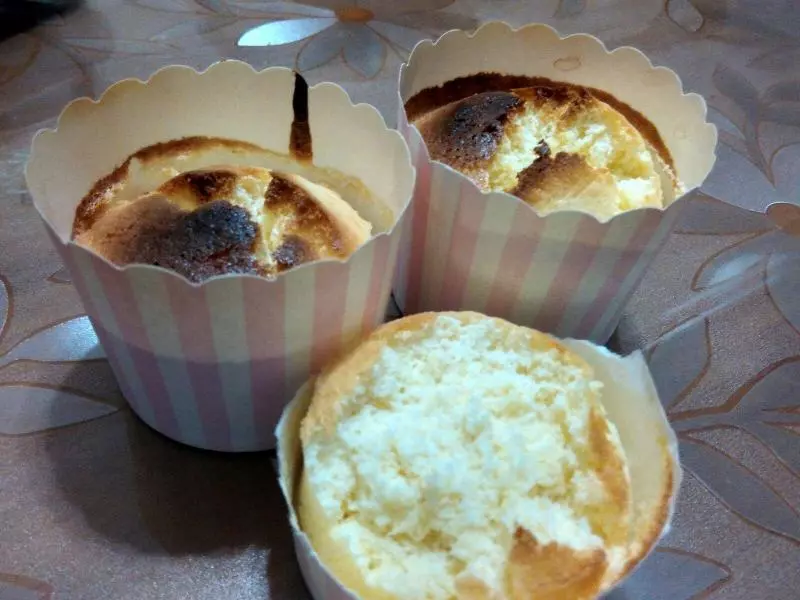
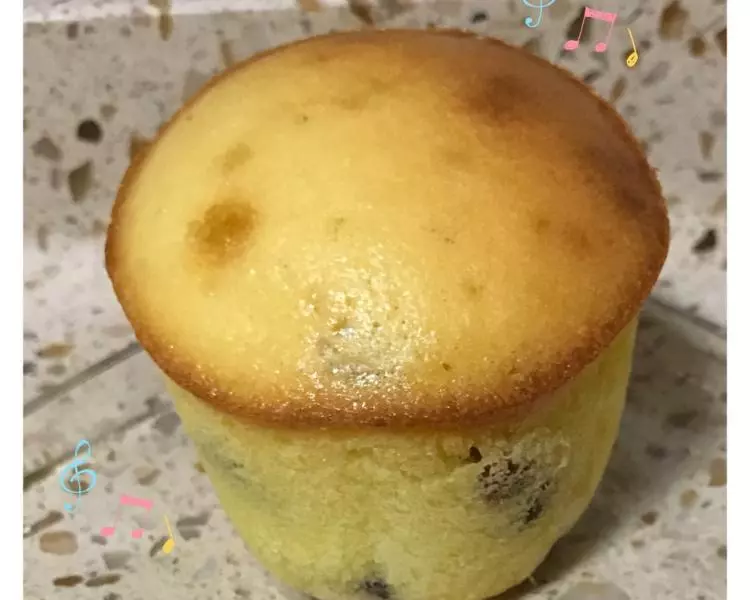
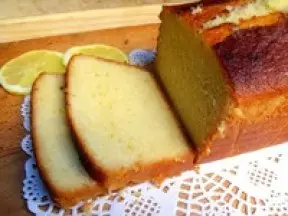
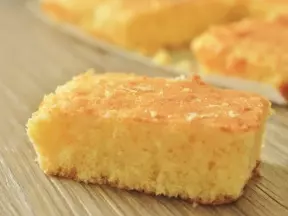
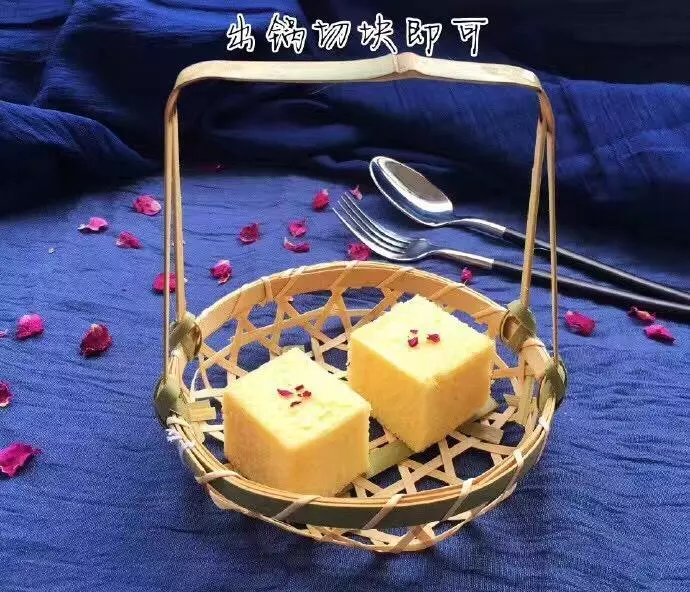
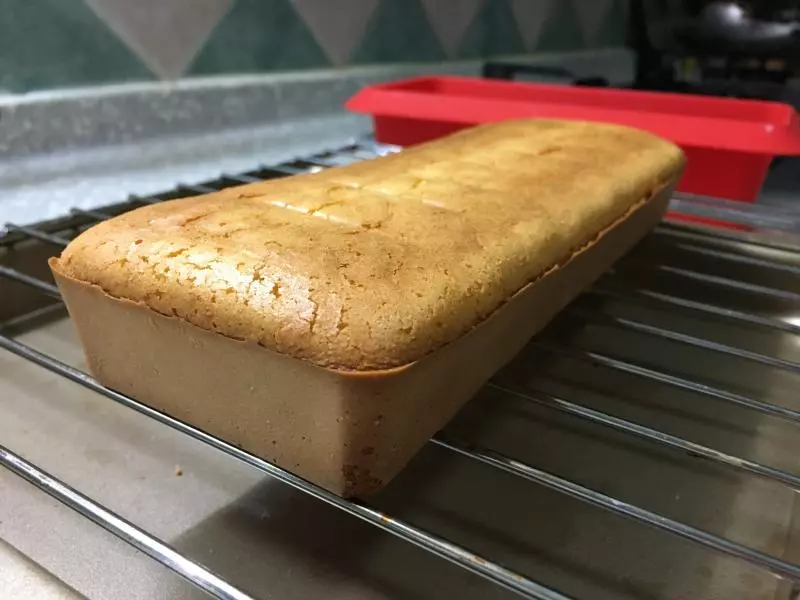
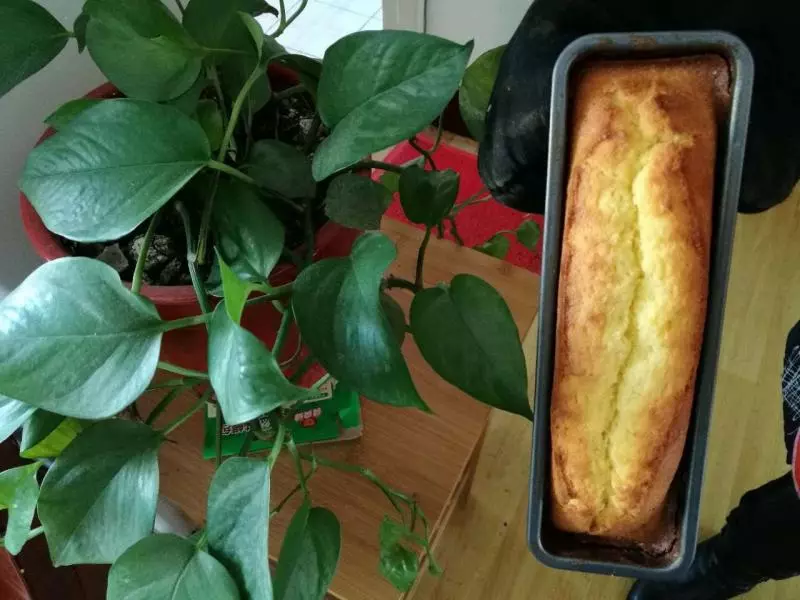
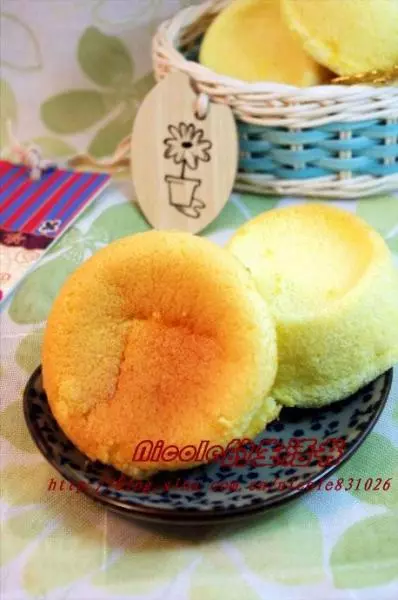
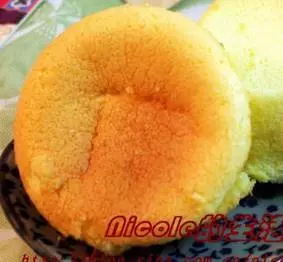
27烤箱150度預熱5分鐘,上下火、中層烤20-25分鐘;拿出模具,待蛋糕冷卻後脫模即可
小技巧
- 用電動打蛋器攪打蛋黃糊時注意要使用低速檔位,且時間不易過長,以免麵糊出筋; 2. 烘烤時間根據自己的烤箱火力和溫差自行調節; 3. 只要蛋糕沒有上色太深,可以將烘烤時間延長几分鐘,避免出爐回縮,我的就有點時間不夠,出爐後表面回縮了。