原料
低筋麵粉: 100g, 無鹽黃油: 60g, 雞蛋: 一個(帶殼約60g), 牛奶(或淡奶油): 50g, 白糖: 50g(甜度適中), 泡打粉: 3g, 蜜紅豆: 30g
步驟
11.黃油室溫軟化至可輕易用手按壓痕跡,用電動打蛋器低速打散。一次性加入白糖或糖粉,先略拌勻,然後用電動打蛋器打發至黃油體積膨脹,色澤發白。分次少量加入雞蛋液,每次加入都用電動打蛋器打至雞蛋液完全與黃油融合。
22.往1.中篩入低筋麵粉和泡打粉的混合物,倒入牛奶,用刮刀略拌勻,此時混合物呈顆粒狀,倒入蜜紅豆略拌勻。
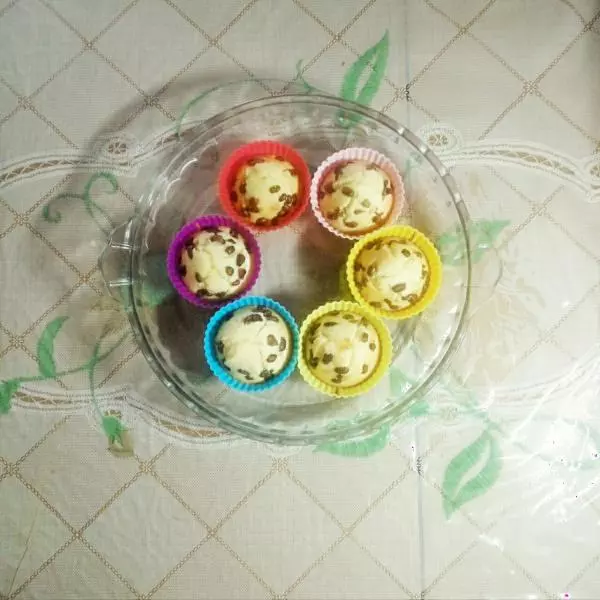
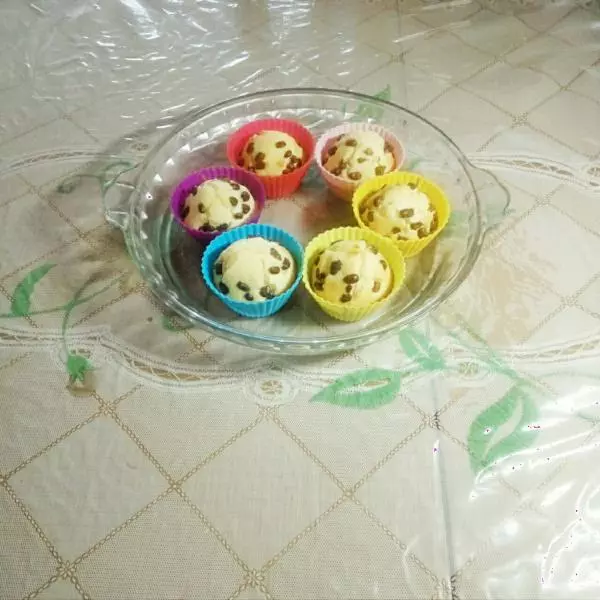
33.將混合物裝入裱花袋,將裱花袋前端剪開一個圓口,畫圈均勻擠入小紙杯中約六七分滿,表面可再撒一些蜜紅豆裝飾。

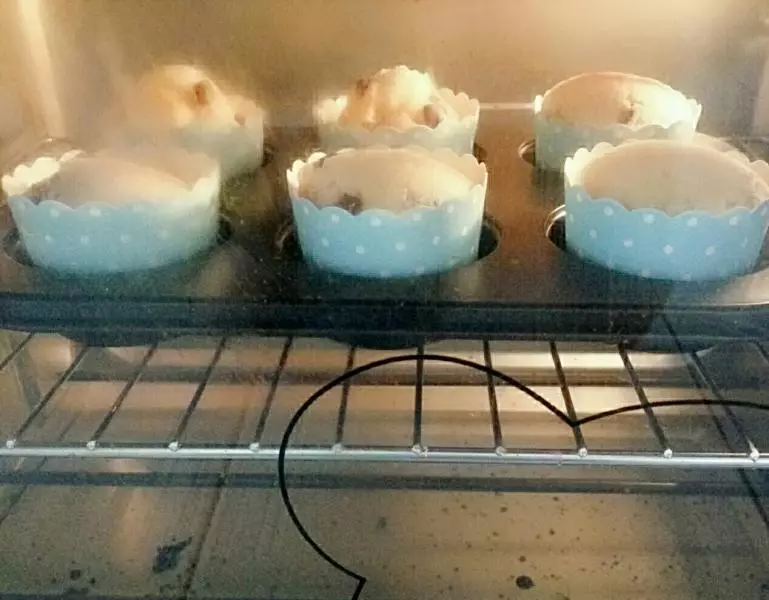
44.烤箱上火135℃,下火120℃預熱十分鐘,然後將紙杯(可裝入六連模具中,也可直接放在烤盤中)放入烤箱中層烘烤約二十分鐘即可。
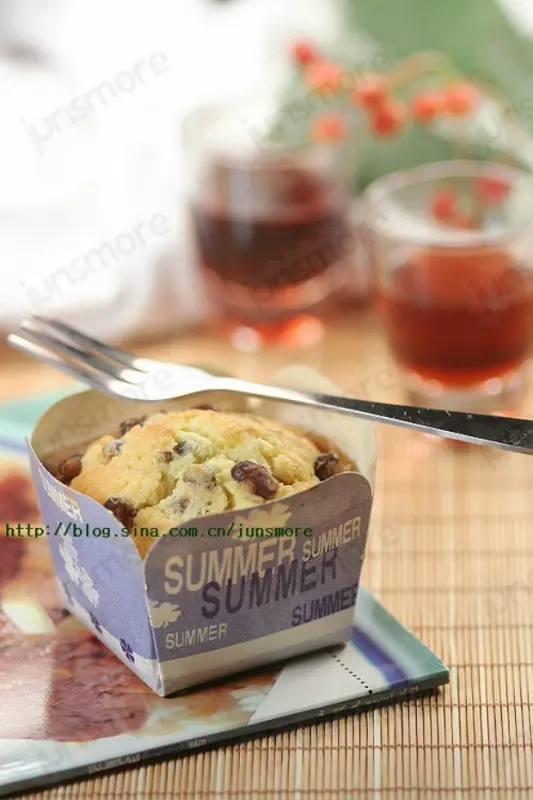
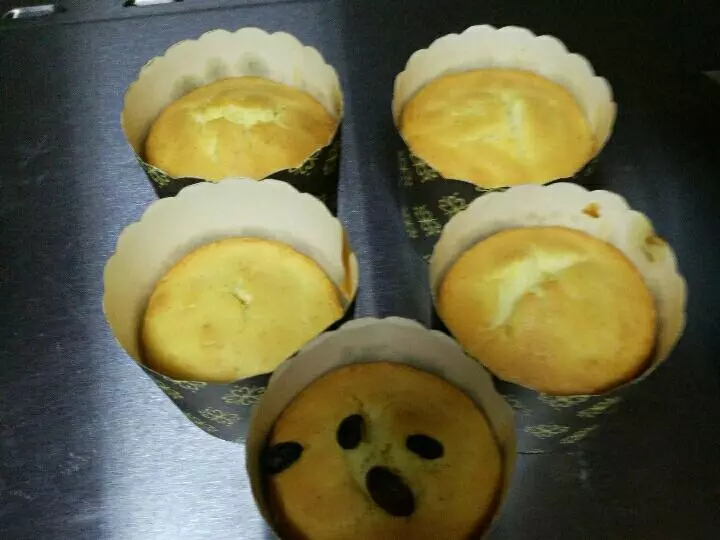
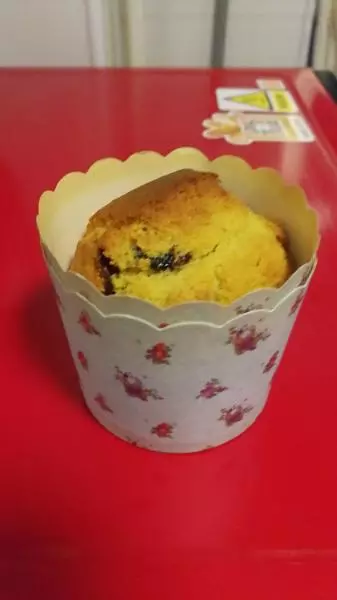
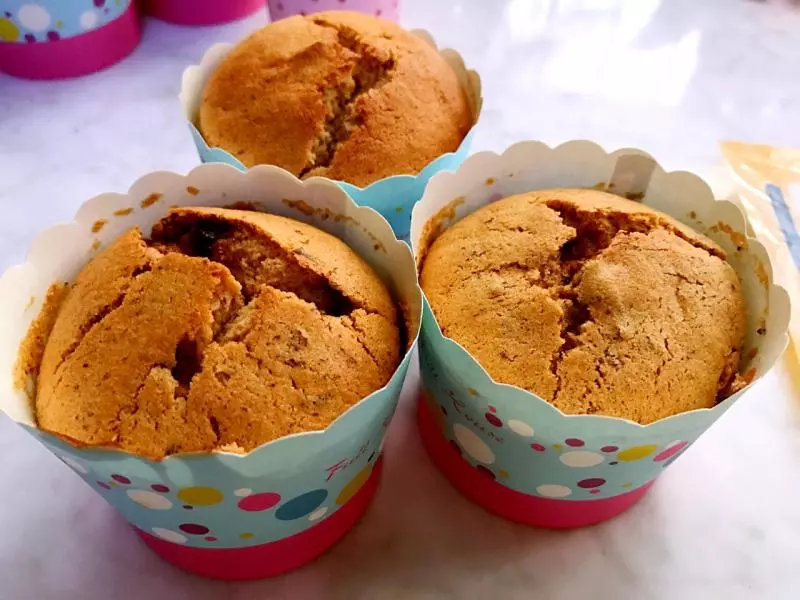
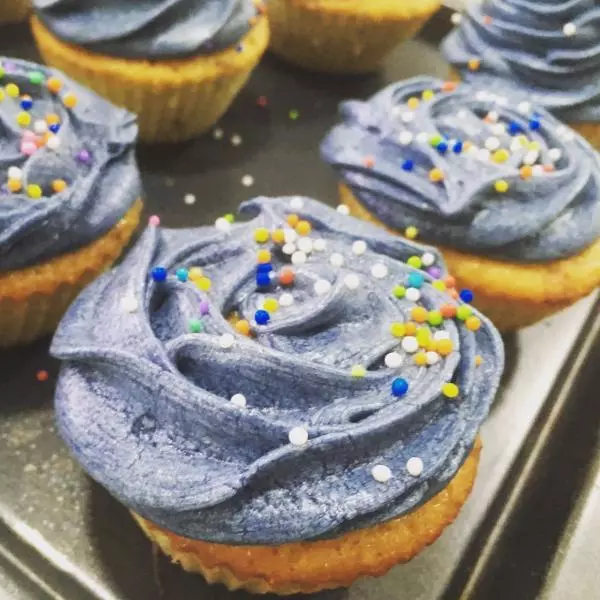
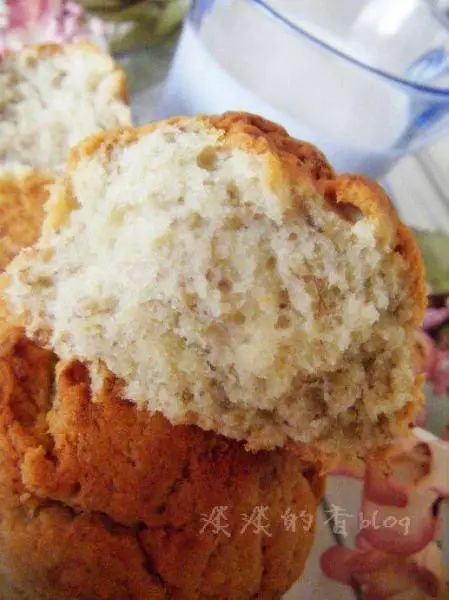
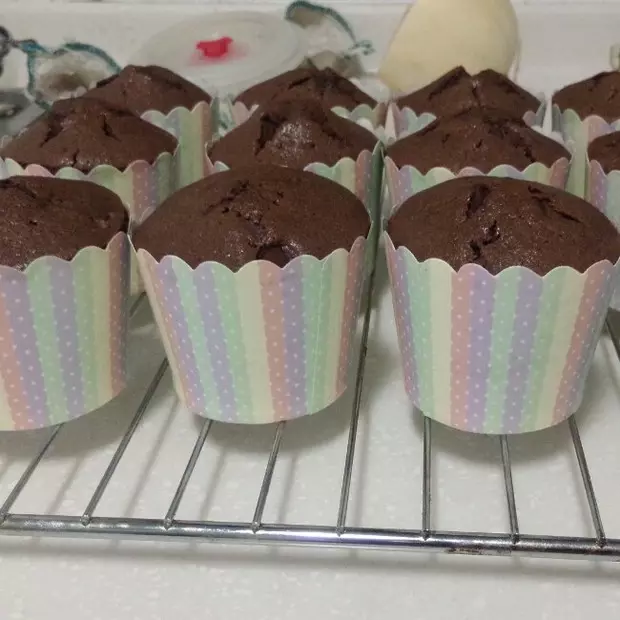
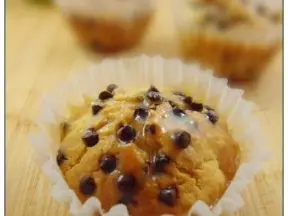
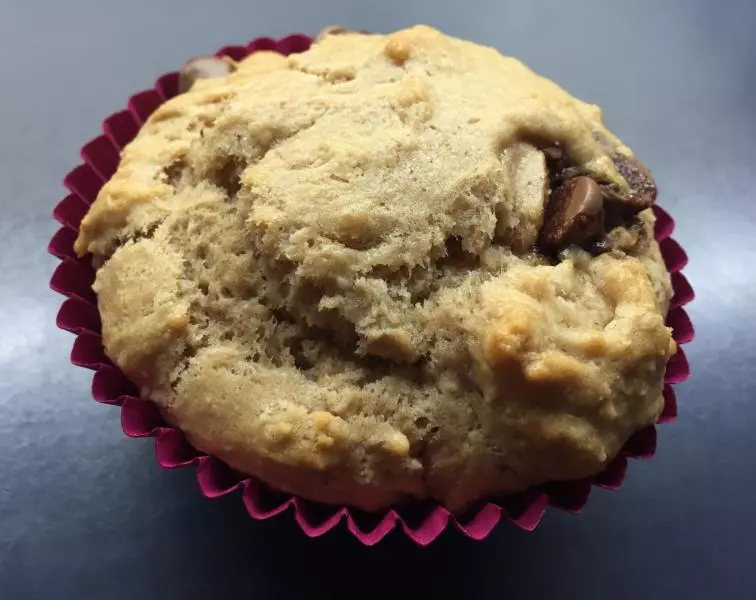
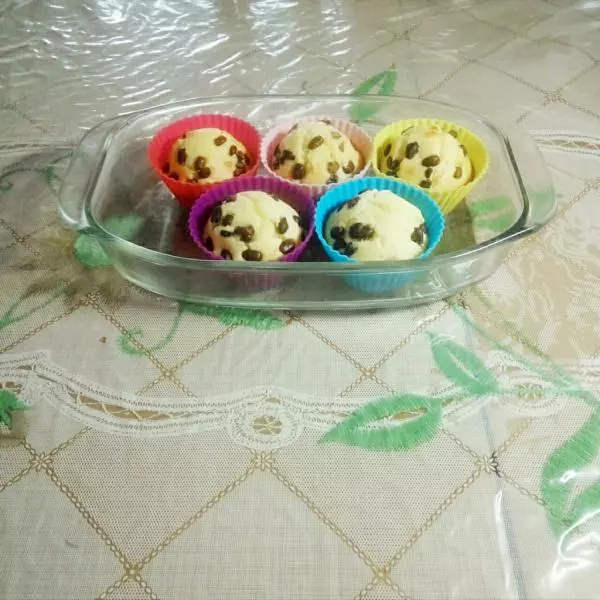
5成品圖
6成品圖

7成品圖
8成品圖
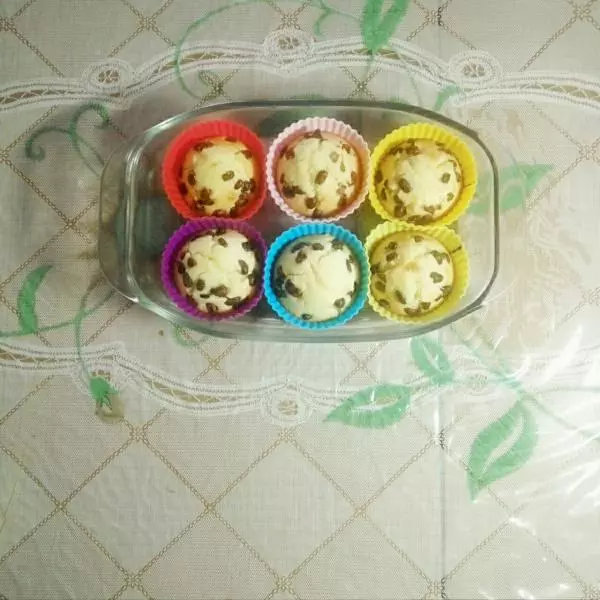
9成品圖
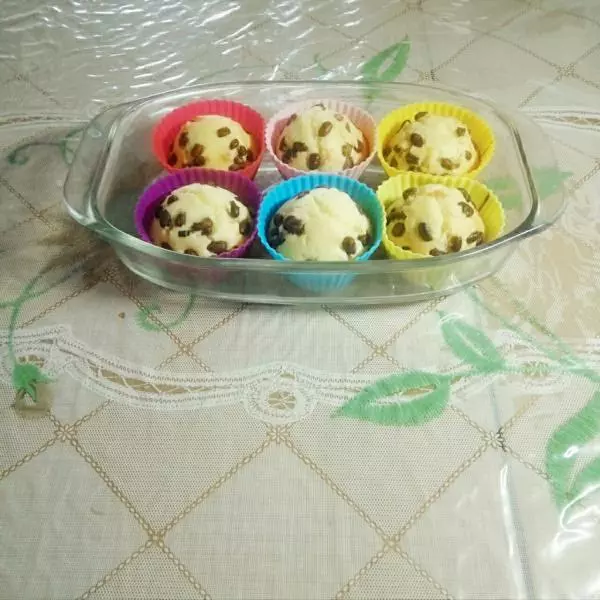
10成品圖
小技巧
此菜譜需要注意事項請看我的另一個食譜:椰香葡萄乾馬芬蛋糕,裡面有詳細說明。