原料
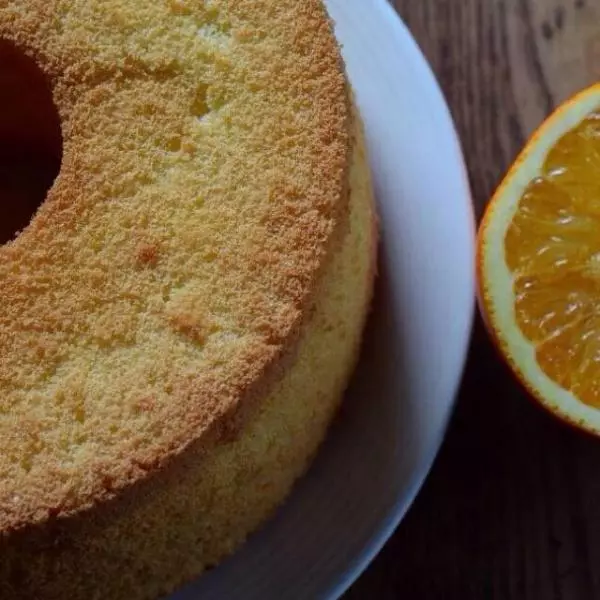
低粉: 40克, 砂糖1: 15克, 砂糖2: 35克, 紐荷蘭橙子: 1個, 榨出的橙汁: 20ml, 雞蛋: 2個, 菜籽油: 25ml
步驟
1用這樣的工具將橙子皮削下來

2削皮後的橙汁榨汁備用
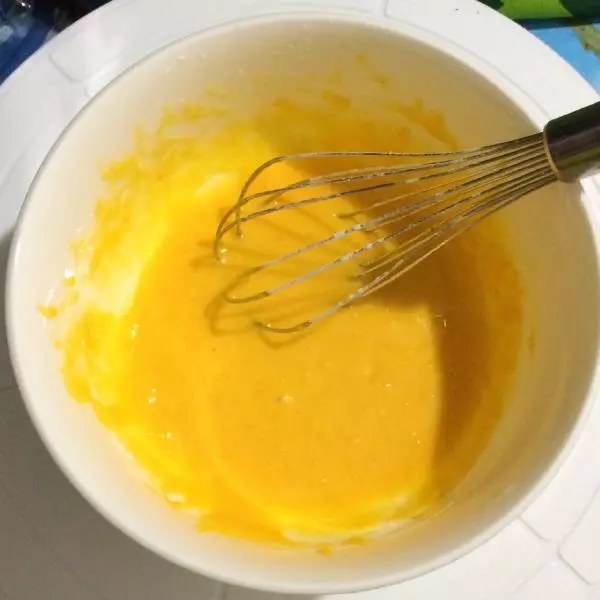
3分離蛋清蛋黃,將蛋清放入冰箱冷藏。蛋黃加入砂糖1混合均勻。再分別加入油,橙汁,橙皮屑及過篩的低粉。(每次混合均勻後再加入下一種)
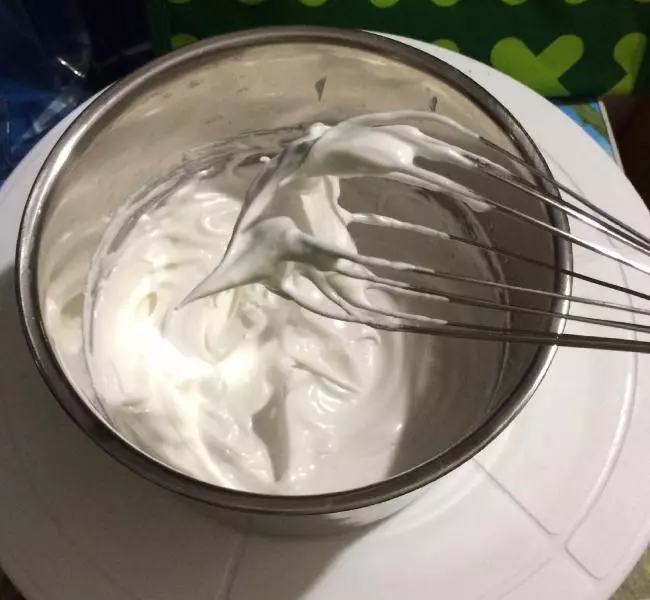
4蛋白從冰箱取出,加入砂糖2開始打發,直到打到能拉出直立的尖角
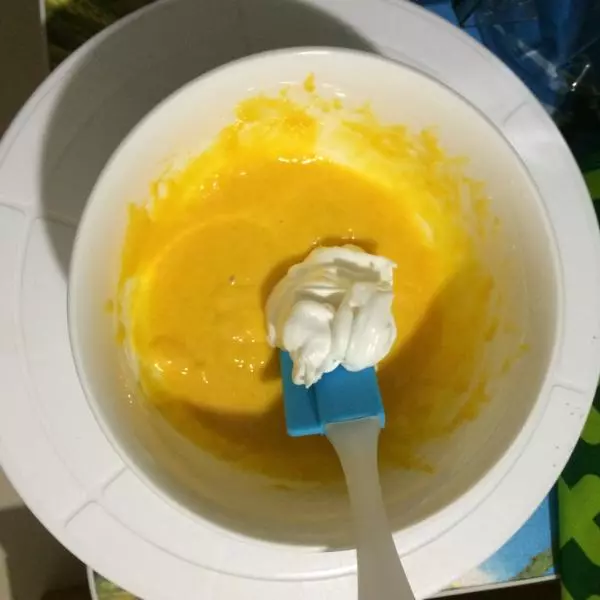
5挑一部分蛋白霜與步驟2的蛋黃混合物切伴均勻,再將混合糊全倒入蛋白霜中,切伴均勻。
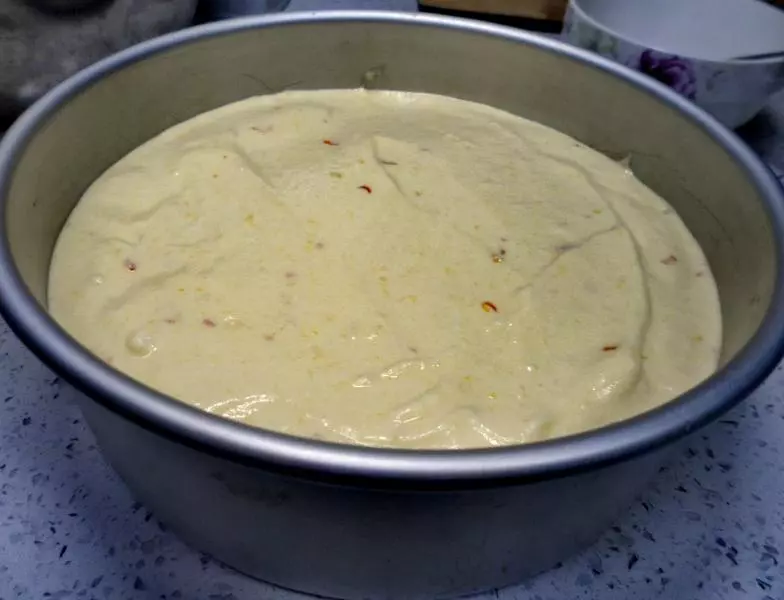
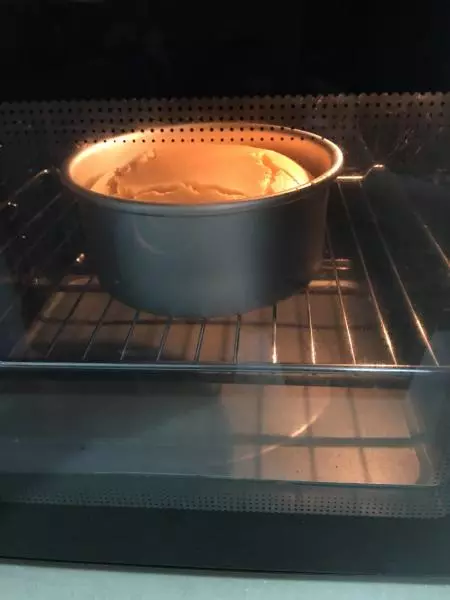
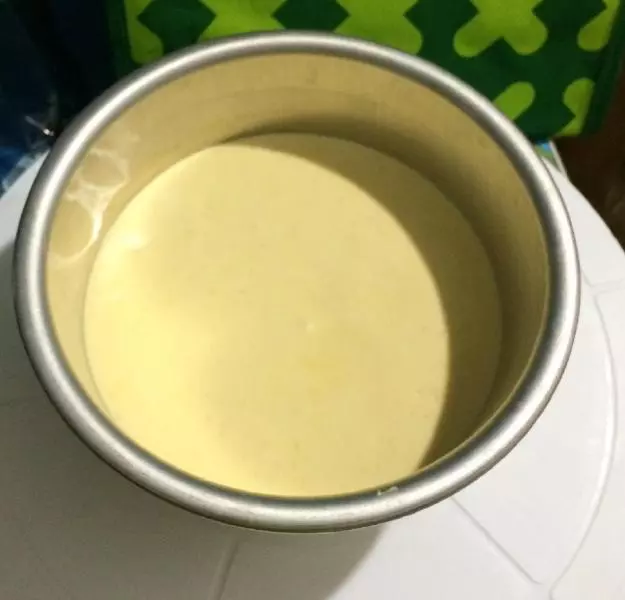
6倒入6寸活底模具,摔幾下震出大氣泡。此時倒入的蛋黃糊應該是像緞帶一樣
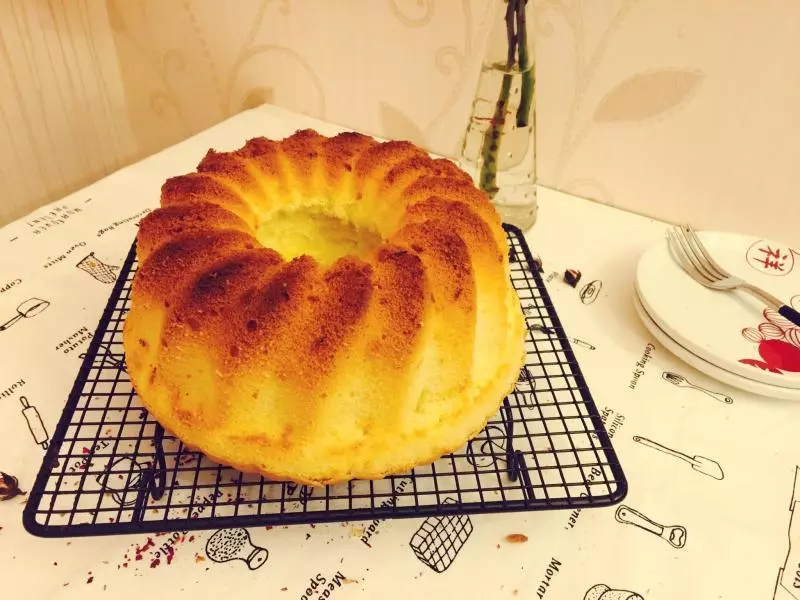
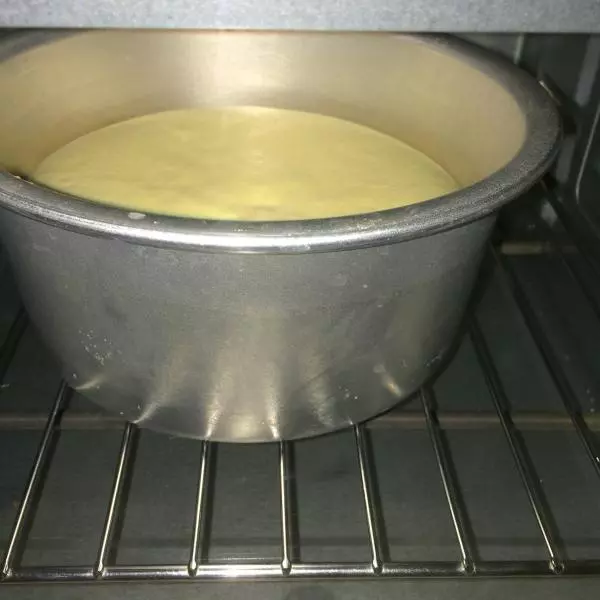
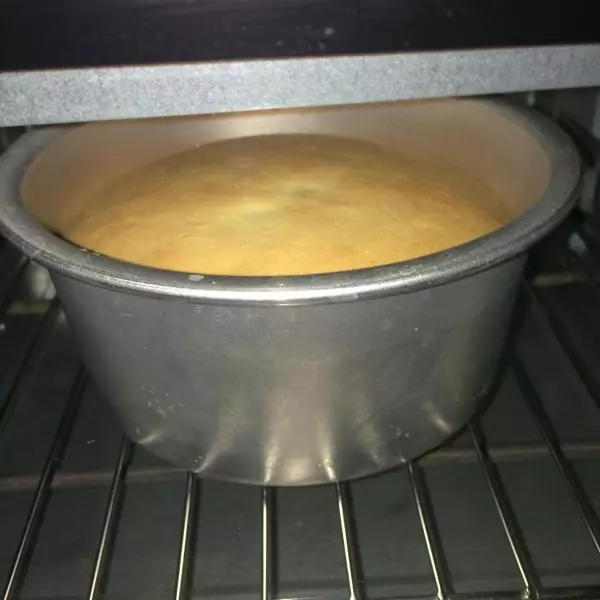
7烤箱140預熱,烤20分鐘,轉150度再烤10-15分鐘。
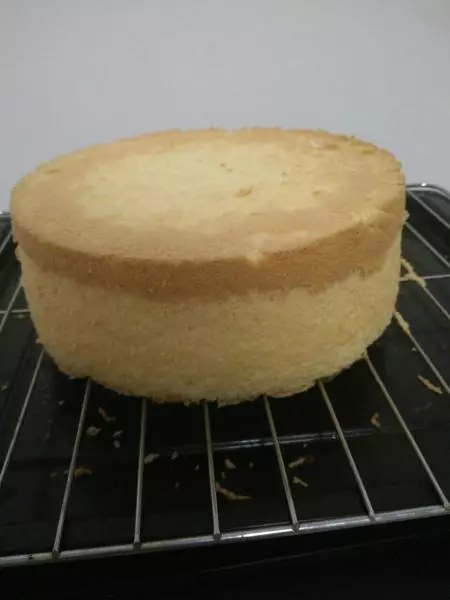
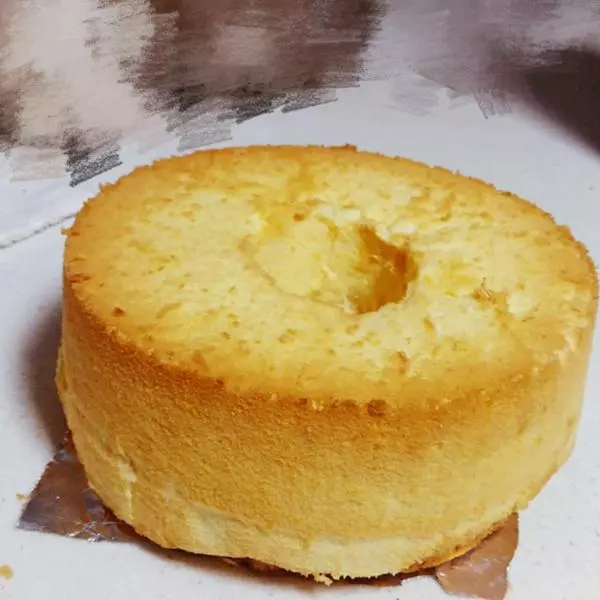
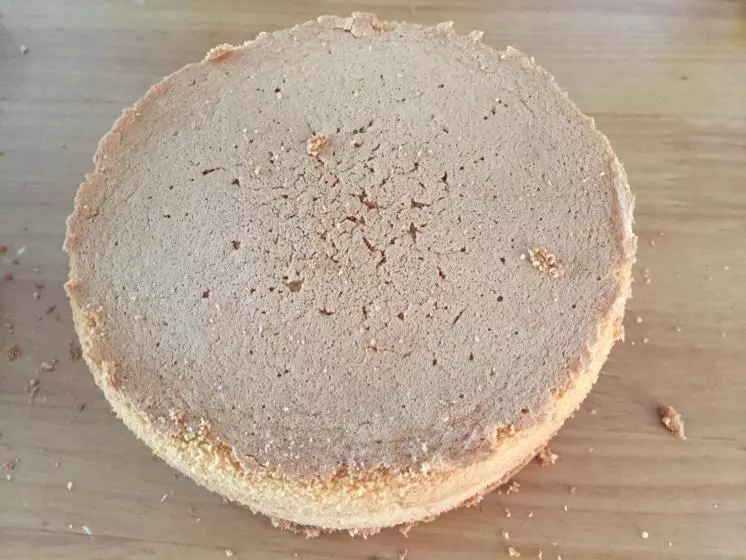
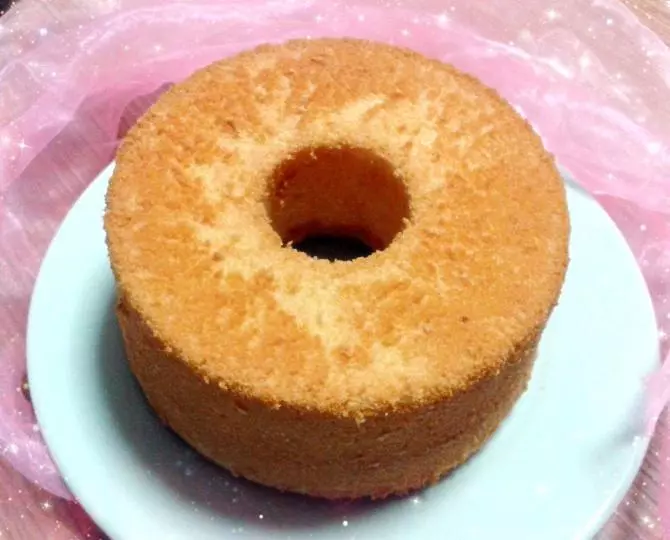
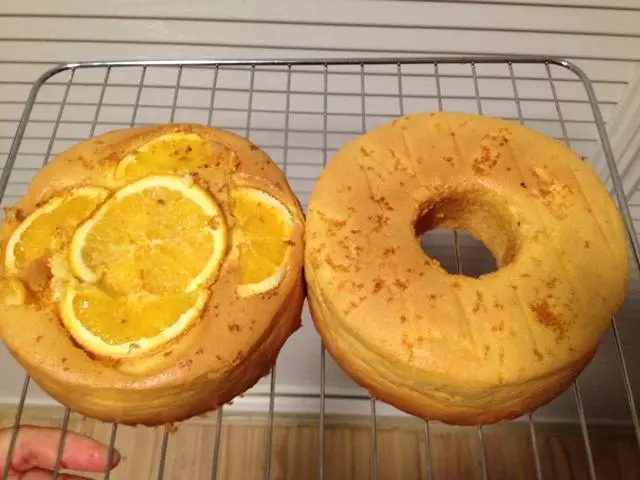
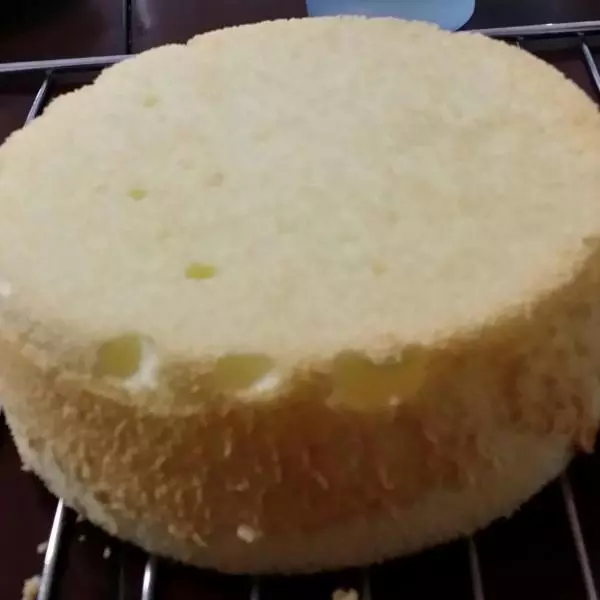
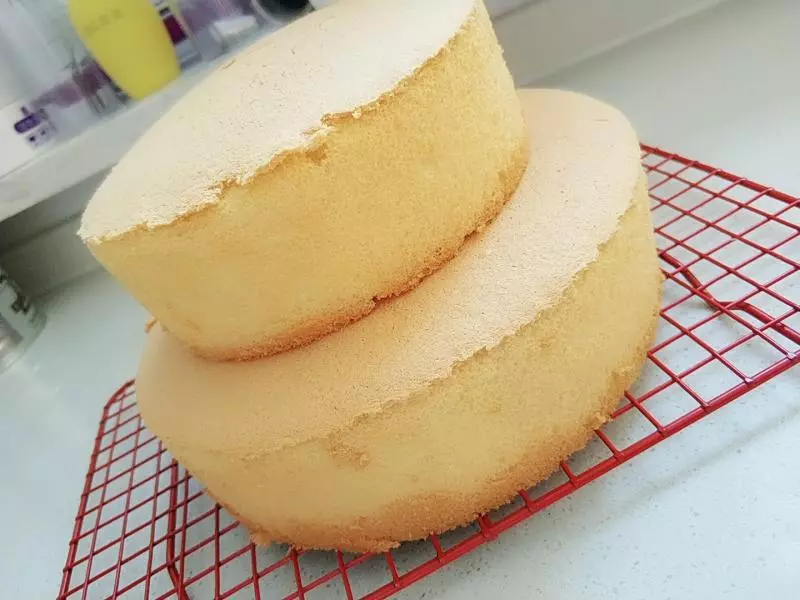
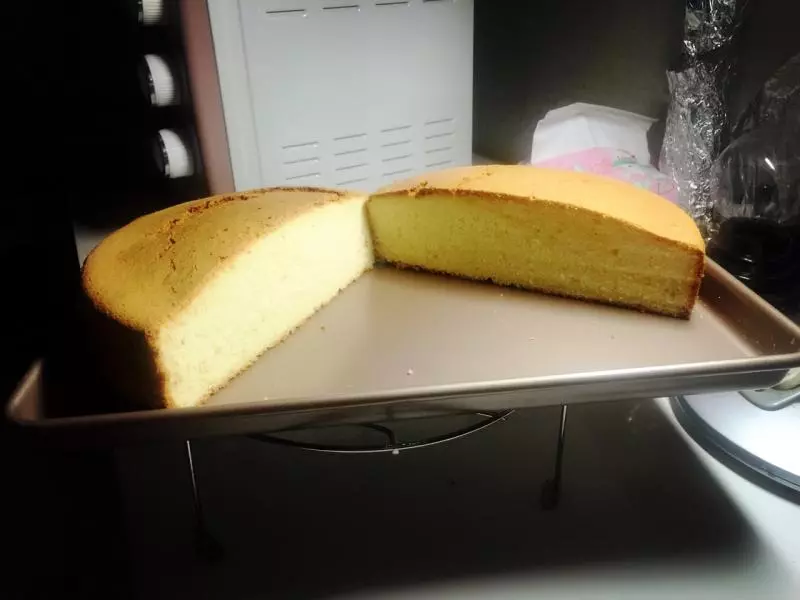
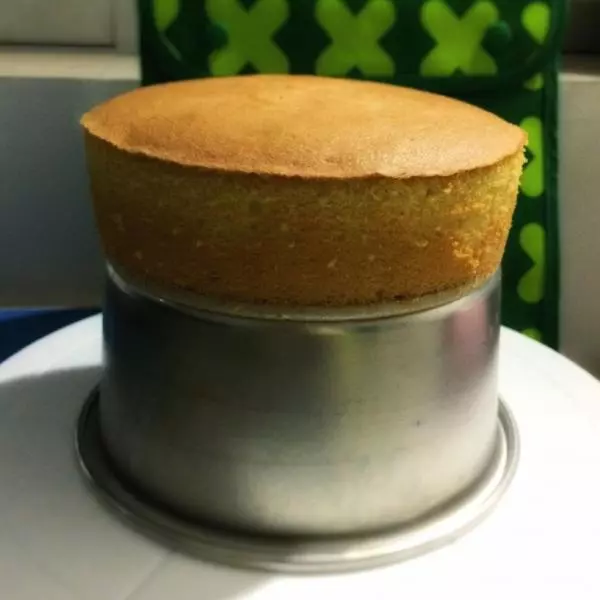
8烤好後,取出摔一下,倒扣等冷卻後脫模
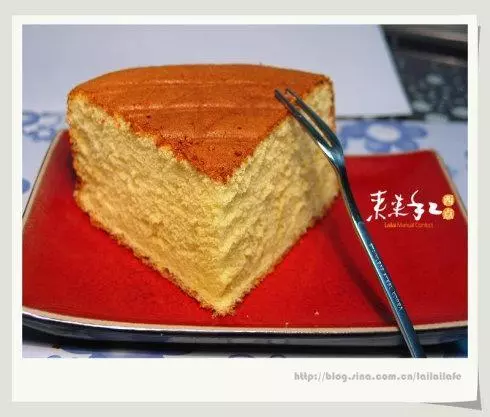
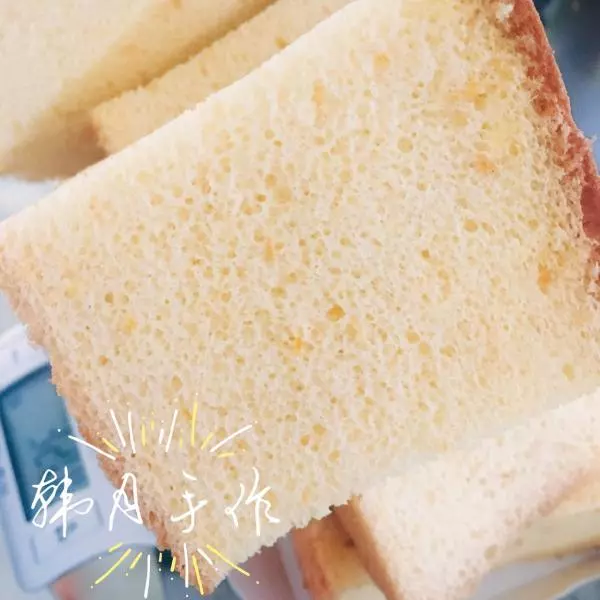
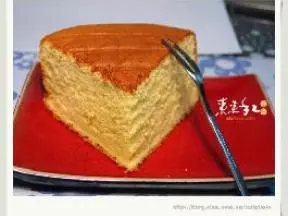
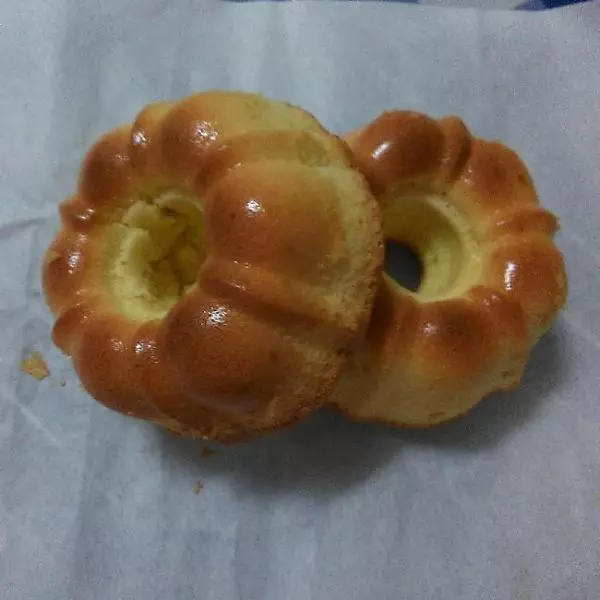
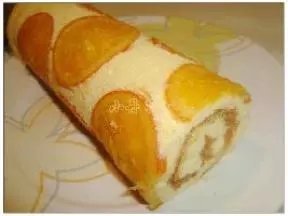
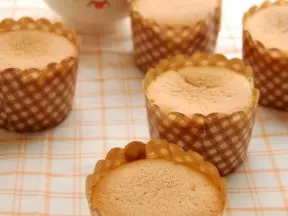
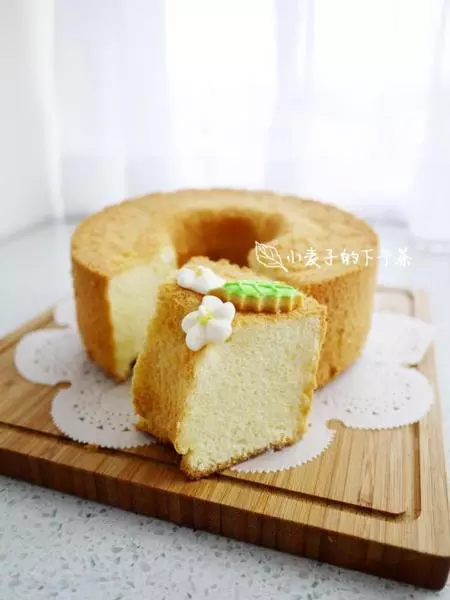
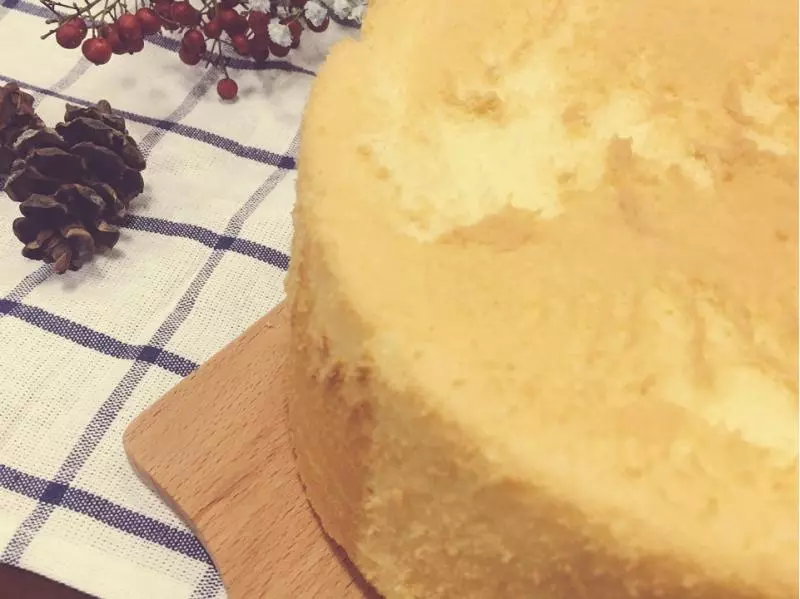
9不開裂也不回縮的戚風就做好了。滿屋都是香味!2蛋也能做戚風,還是用的土雞蛋,個頭比較小!
小技巧
戚風蛋糕需要蛋白打發適當,蛋黃糊不過分水也不過分干,烤箱溫度掌握好,就一定不會失敗。