原料
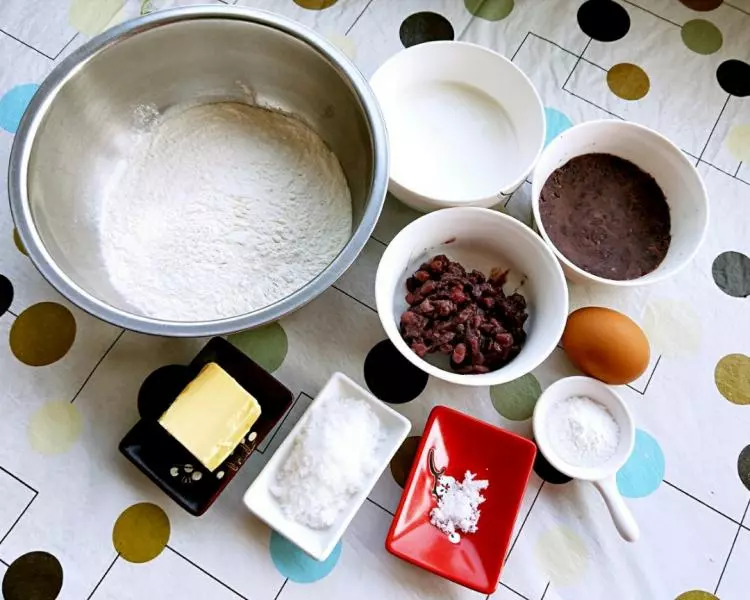
中筋麵粉: 200g, 無鋁泡打粉: 5g, 白糖: 10g, 精鹽: 1鹽勺, 黃油: 60g, 雞蛋: 1個, 牛奶: 110g, 紅豆沙: 100g, 蜜豆: 80g
步驟
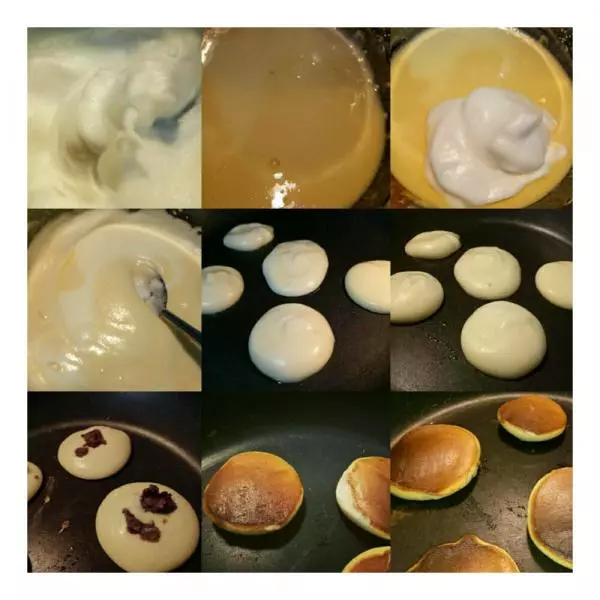
1準備材料~
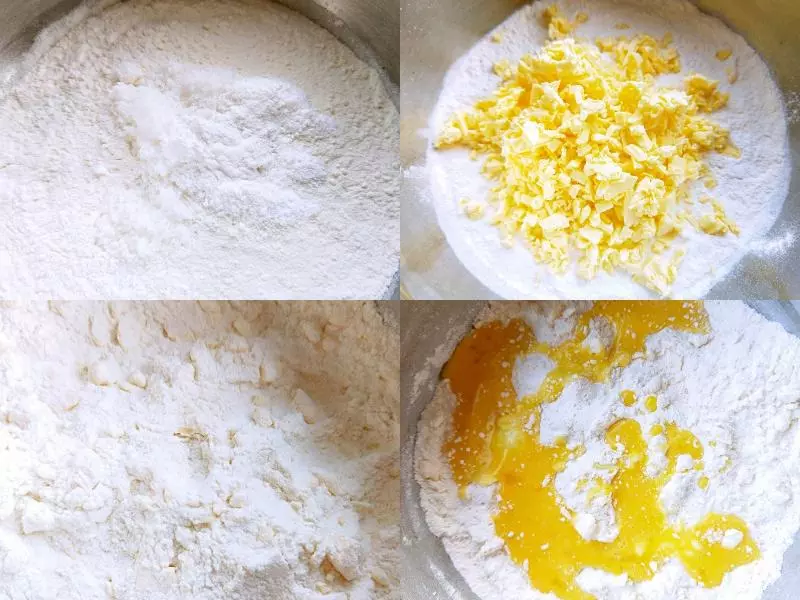
2黃油放案板上切碎末幫助融化~

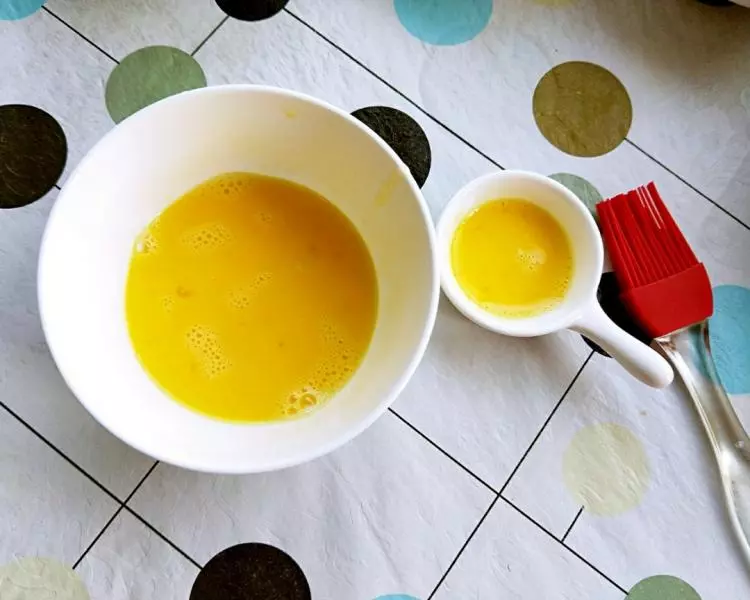
3雞蛋打入碗內打散成雞蛋液(倒出少許留著刷表面用)~
4中筋麵粉+無鋁泡打粉+白糖+精鹽=混合麵粉~ 放入黃油碎末~ 攪拌混合不見黃油碎末~ 倒入雞蛋液攪拌均勻~
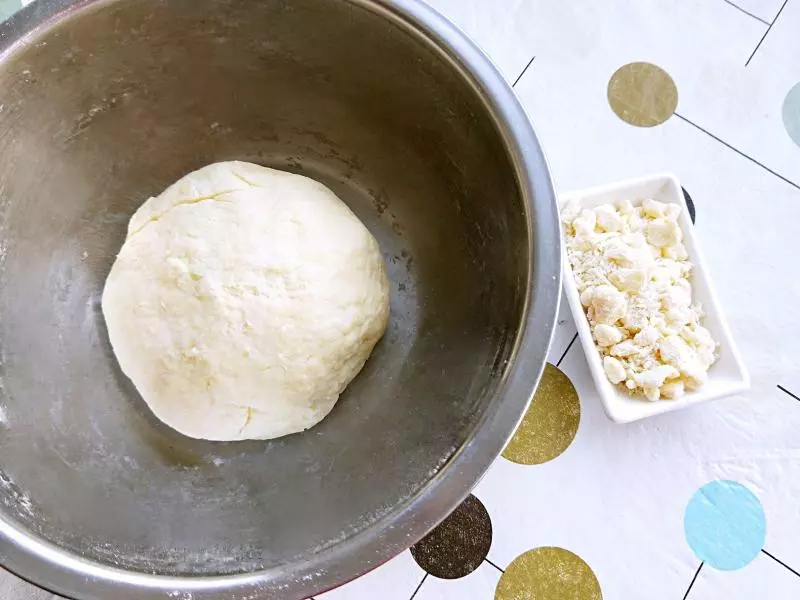
5一點點加入牛奶和成麵糰,將盆里乾的碎屑倒出裝容器備用(酥粒)~
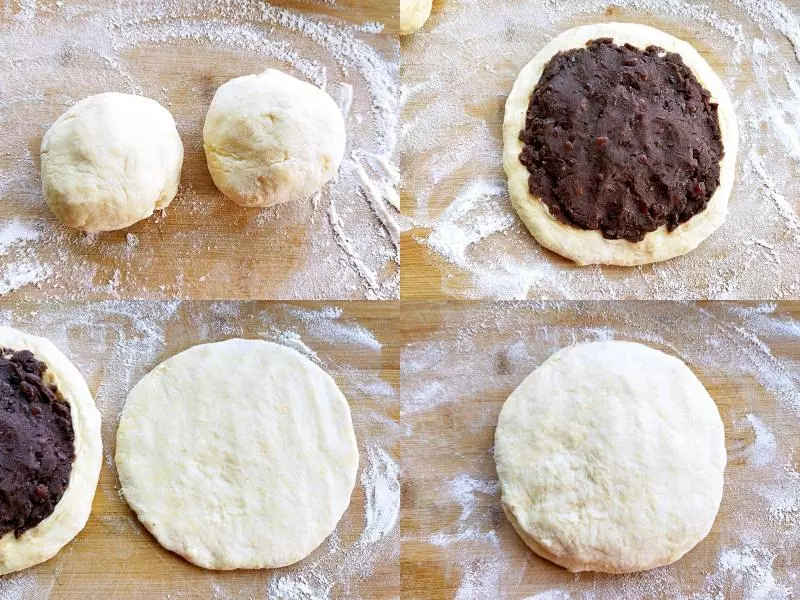
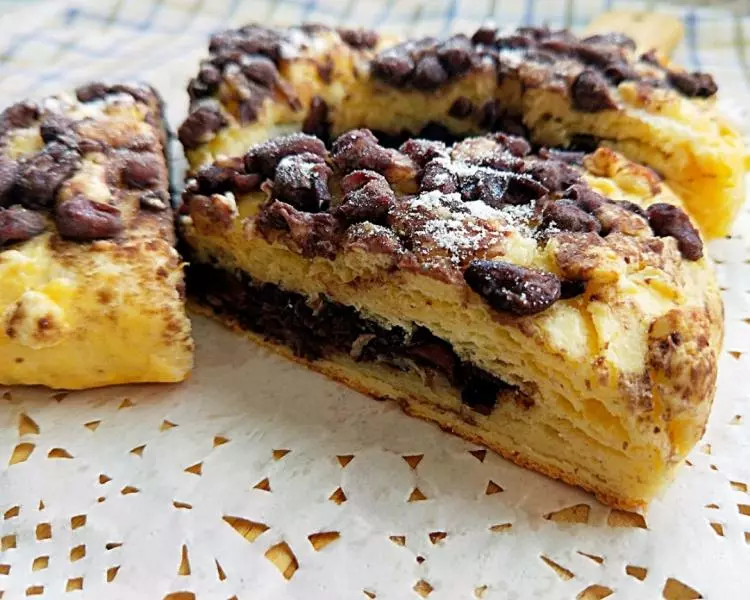
6將麵糰平均分成兩份(案板上撒些麵粉)~ 取出一份用手按平,放上豆沙餡~ 另一個麵糰取出用手也按平~ 兩張餅皮復合對齊~
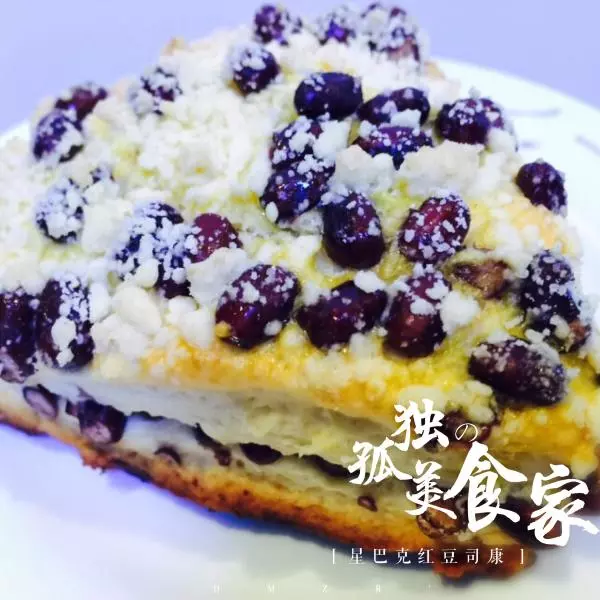
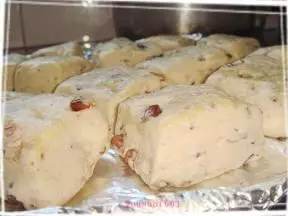
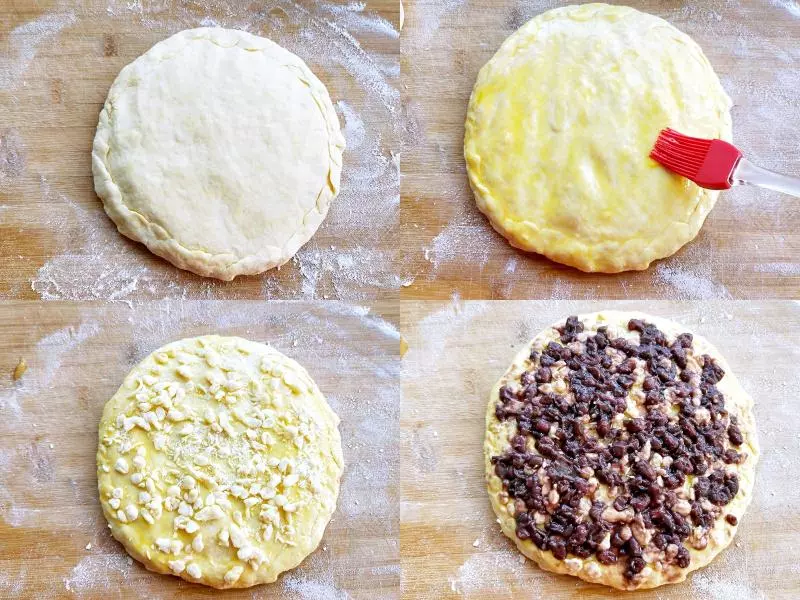
7將餅皮邊緣捏合~ 刷上蛋液~ 撒上酥粒~ 放上蜜豆(輕按按,以免烤時鼓出)~
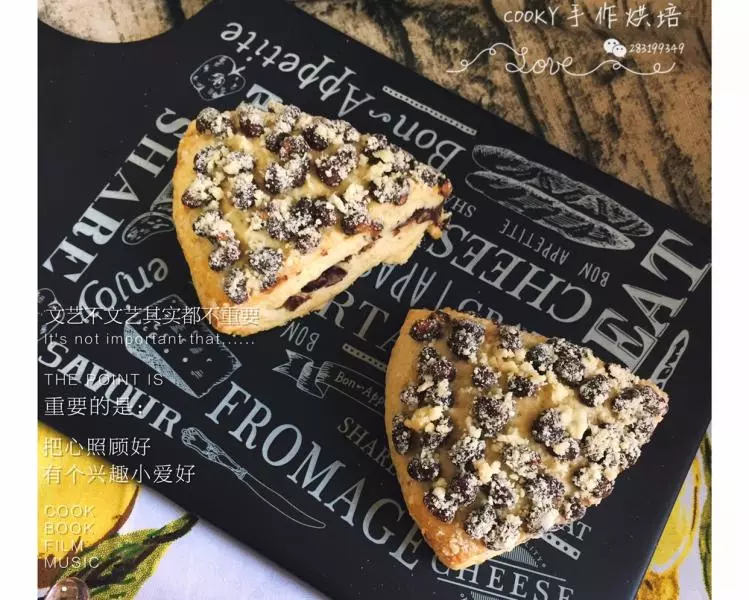
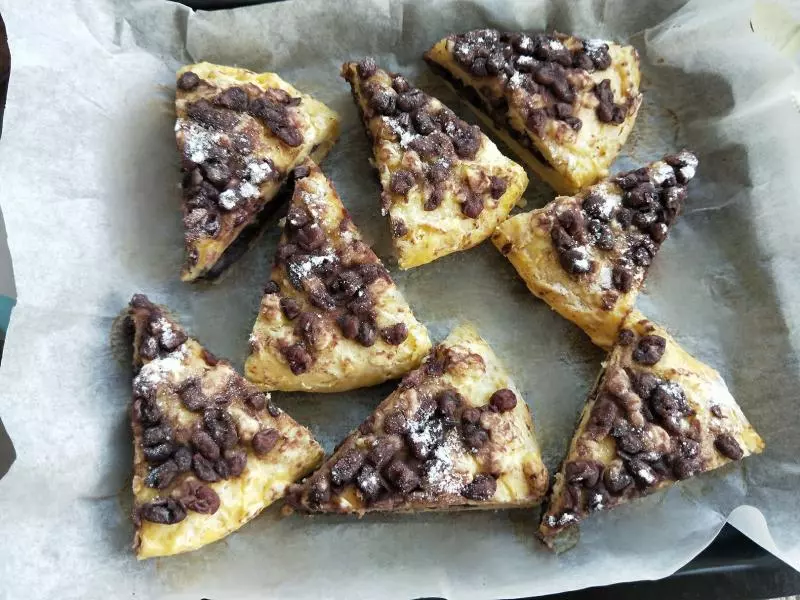
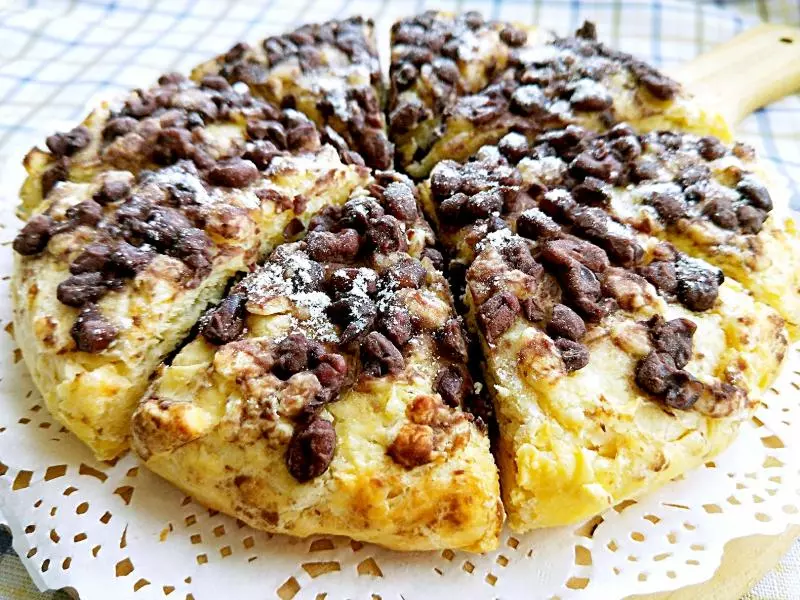
8將餅分成8塊(或6塊,切好減少烤至時間,容易熟)~
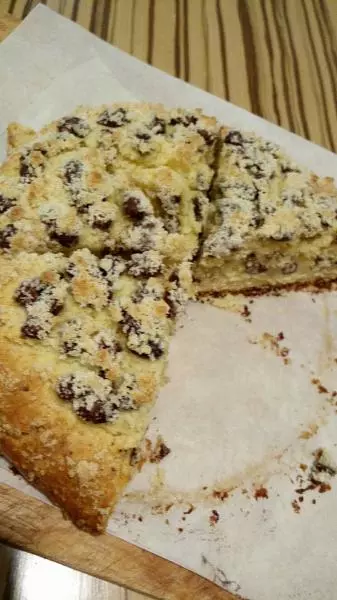
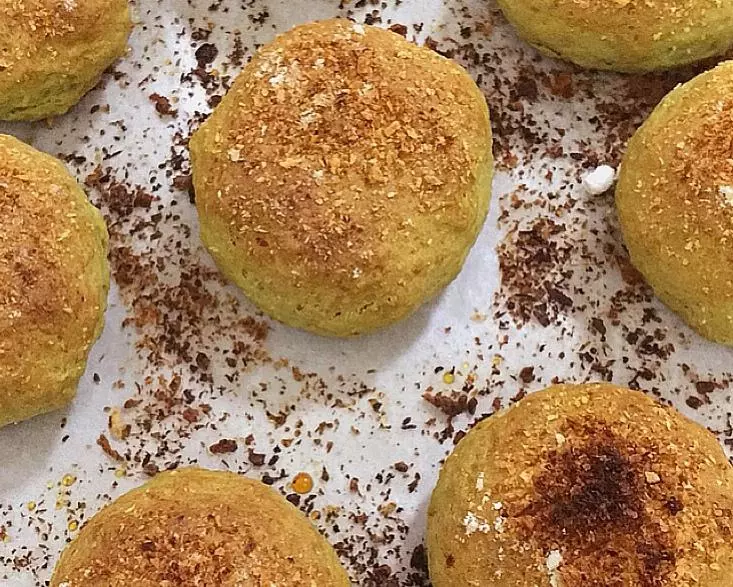
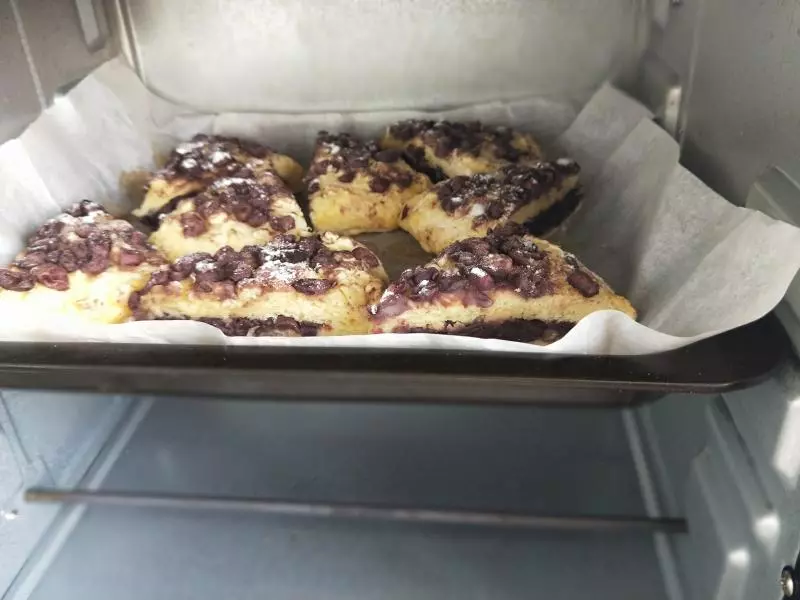
9烤箱預熱200°,上下火,中層烤至15-20分鐘,烤至表面酥黃即可(烤至時間根據自己家烤箱溫度調製,上色即可)~
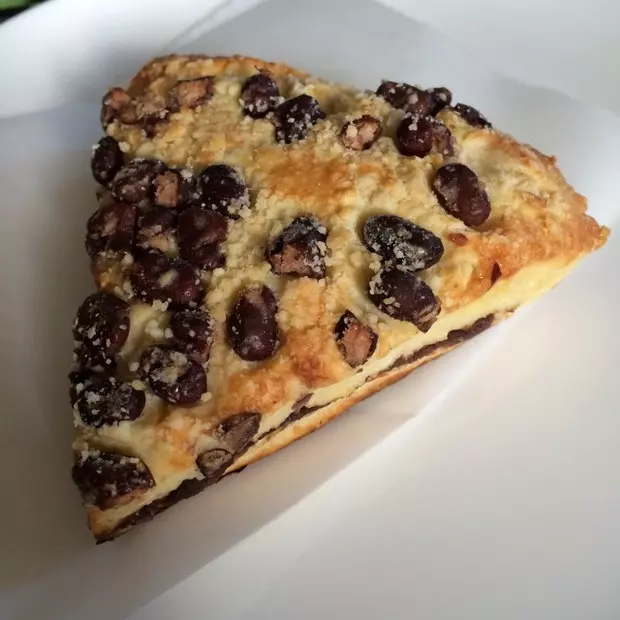
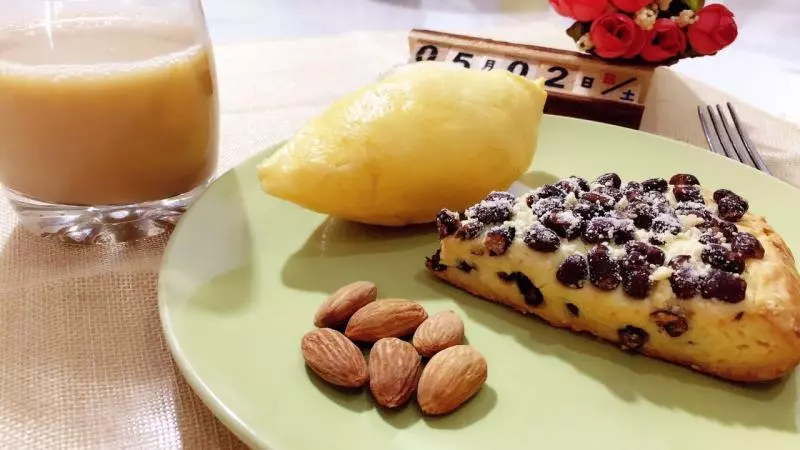
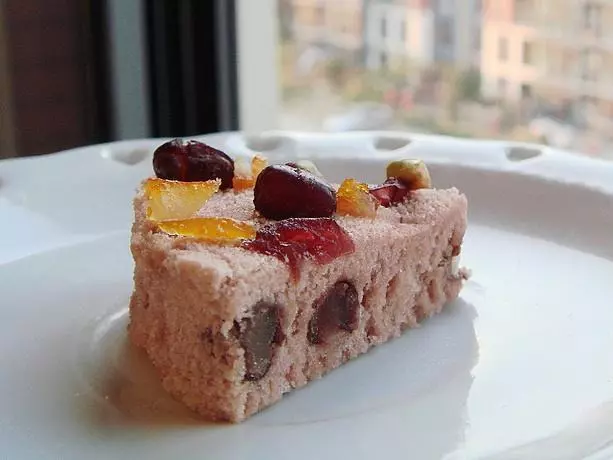
10烤好取出,我又撒了些糖粉~
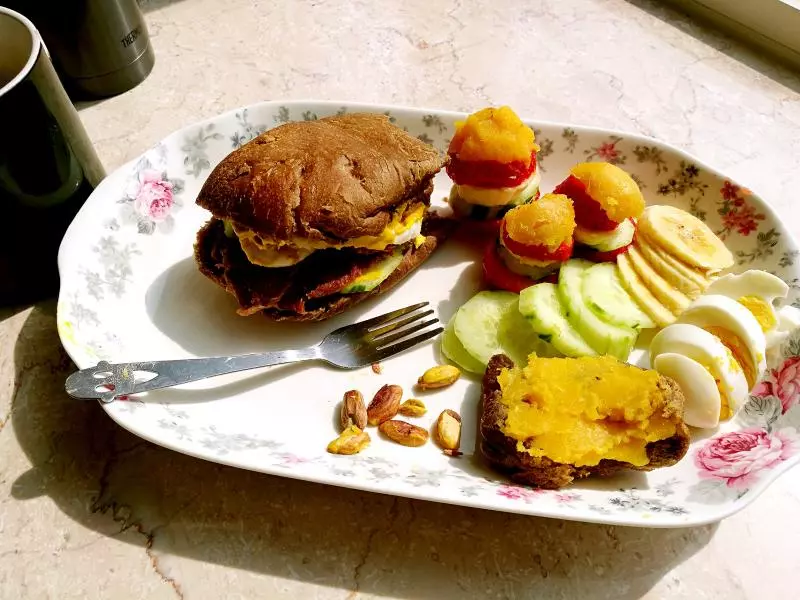
11呼呼,好好次又幹掉一塊?~
12不騙人,真好吃~