简介
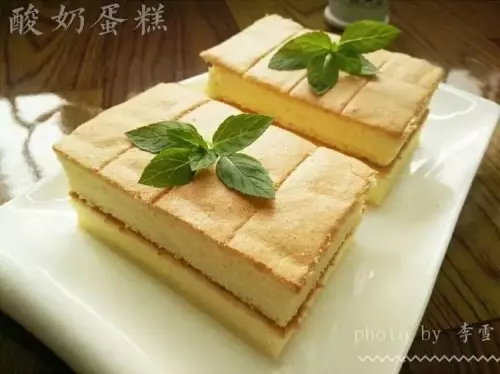
这个方子是由酸奶戚风改编的,酸奶蛋糕松软、绵柔。弹性实足,是最普通却又是最经典的味道。
原料
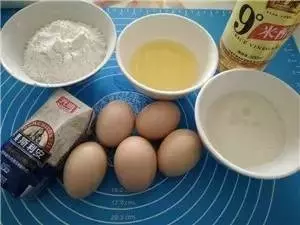
光明酸奶 80克, 蛋黄 5个, 蛋白 5个, 玉米油 55克, 细砂糖 60克, 低筋面粉 80克, 白醋(或柠檬汁) 3-4滴
步骤
1先将材料准备好。
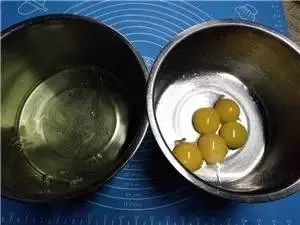
2将蛋白和蛋黄分别分离在两个干净的盆里。
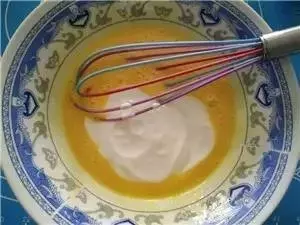
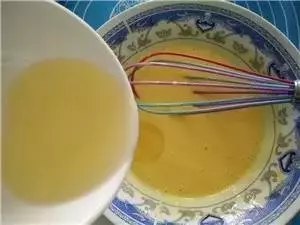
3将蛋黄打散加入80克酸奶搅拌均匀。
4再将玉米油分三次加入到蛋黄里面并搅拌均匀。
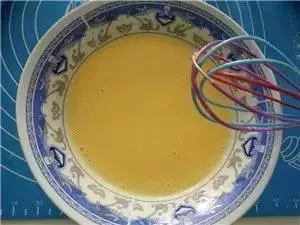
5搅拌均匀的样子。
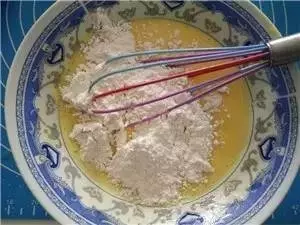
6将低筋面粉分两次刷入蛋黄也里面,并拌均匀。
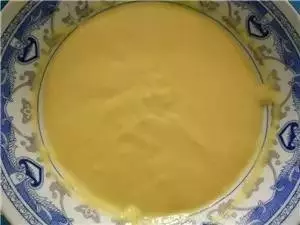
7 搅拌均匀的蛋黄糊。
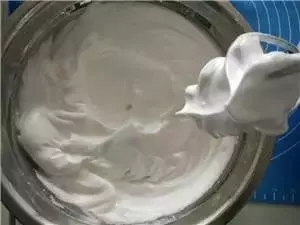
8蛋清滴入几滴白醋或柠檬汁,先用电动打蛋器低速搅打至粗泡,这一步是切断蛋白里的筋,将60克细砂糖分三次加入蛋白里打发至硬性发泡(第一次加20克糖中速打发至啤酒末状,第二次加入20克糖打发至细腻泡沫状,蛋白糊仍可流动,第三次加入剩下的20克糖打发至有光泽更加细腻的纹路,蛋白盆倒扣蛋白糊不流动,提起打蛋器可见小尖角即可)
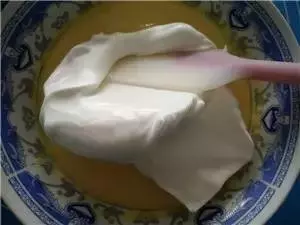
9 挖三分之一蛋白霜到蛋黄糊里并用刮刀翻拌均匀。
10 再挖出三分之一蛋白霜到蛋黄糊里并翻拌均匀。
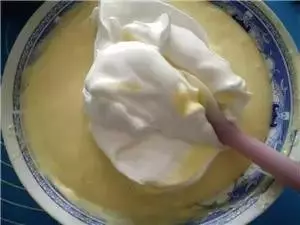
11将拌均匀的蛋黄糊倒入剩下的蛋白霜里面并翻拌均匀。

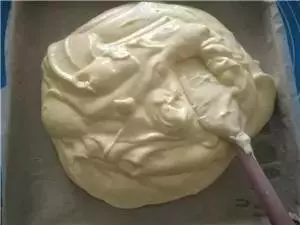
12拌均匀的蛋糕糊。

13将烤盘里面铺上烘焙油纸,再将蛋糕糊倒入烤盘里面。
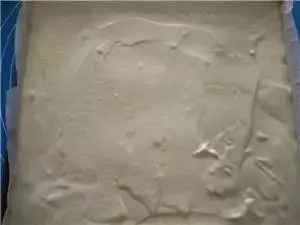
14将蛋糕糊抹平,震出气泡。
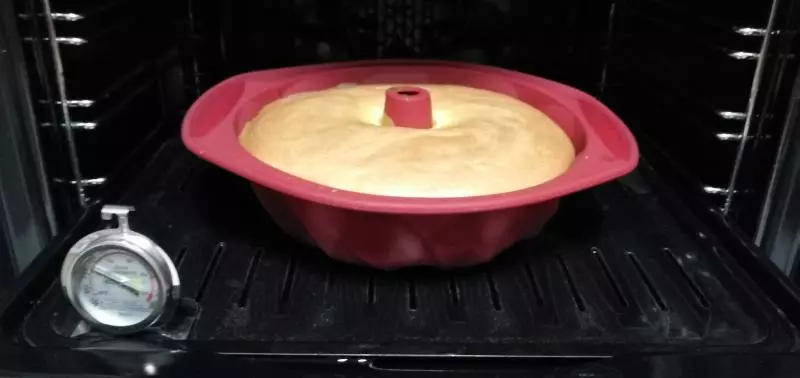
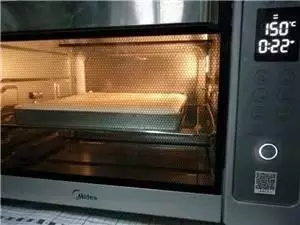
15将美的智烤大师烤箱提前预热至150度。再将烤盘放入预热好的烤箱倒数第三层,上面数下来第二层,以上下火烘烤温度150度,烘烤时间为22-25分钟,至表面上色均匀。
16烤好取出晾两分钟再倒扣,撕去表面的油纸再盖上,晾凉即可。

小技巧
① 要掌握好配方中的水分:一般来讲水分越大,得到的湿润度也会越大,但同时,消泡的危险也会越大。
② 蛋白一定打至硬性发泡,即提起打蛋器有小尖角,盆倒放蛋白也不会流动。
③ 拌入蛋黄糊时手法非常重要,不要打圈,要使用切拌翻拌的手法。
④ 烤好之后不要急着倒扣,先晾两分钟在倒扣这样不会粘掉表面的皮。
⑤ 烤箱品牌不同,亲们请根据自家烤箱温度来适当调节。