简介
没有多余的材料,纯纯的蛋香,口感稍扎实,怀旧派很喜欢。而且蒸出来的蛋糕不上火,也很适合小孩子吃
原料
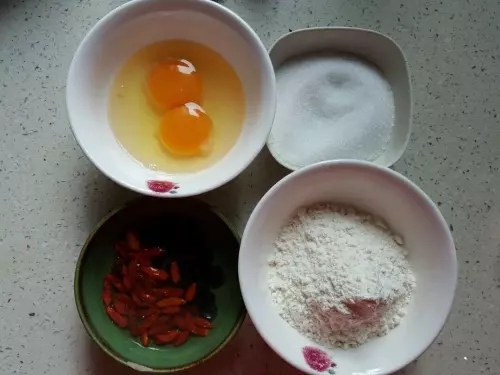
鸡蛋100g 白糖65g, 面粉80g 葡萄干少许, 枸杞少许 植物油少许
步骤
1准备材料(鸡蛋100克是指去了壳的重量哦,基本上两个普通鸡蛋差不多,上下相差几克也没关系)
2鸡蛋一次性加入所有白糖,垫50度左右温水打发
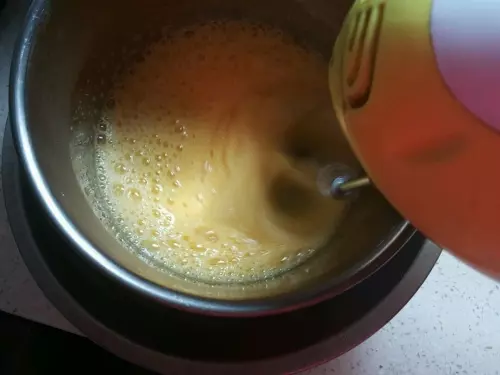
3直到蛋液发白、变稠,体积明显膨胀,提起打蛋头,滴落的蛋液不会马上消失
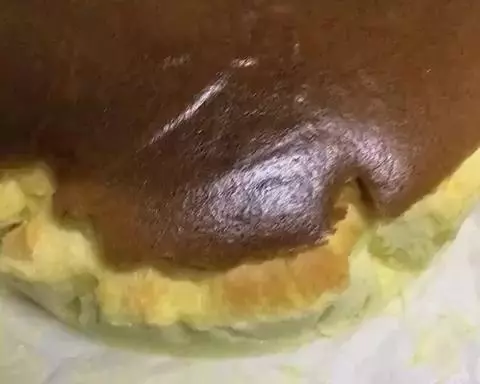
4碗里刷上植物油,要装饰的这时把枸杞和葡萄干放入碗底
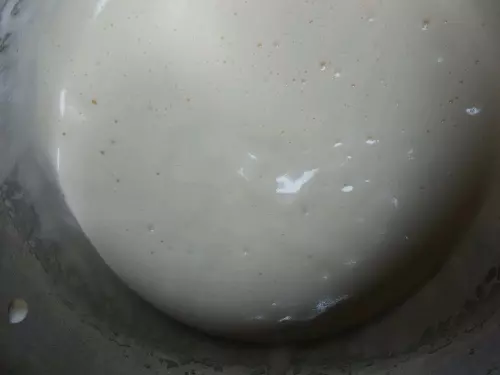
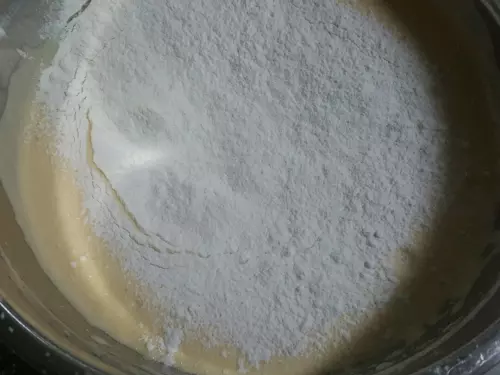
5把面粉筛入打发好的蛋液,用炒菜的手法拌匀至无干粉即可
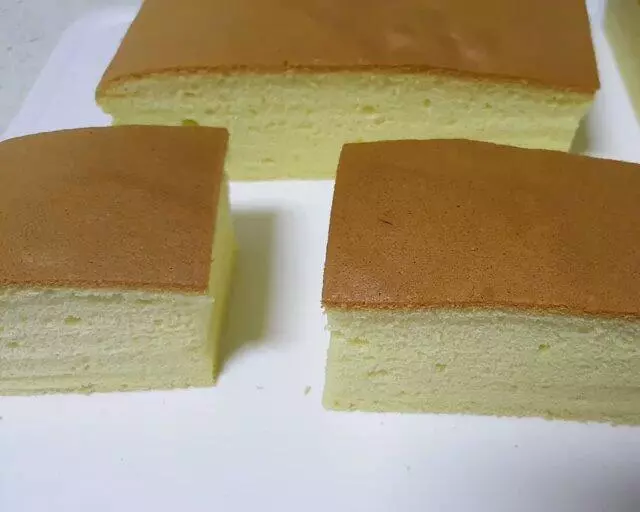
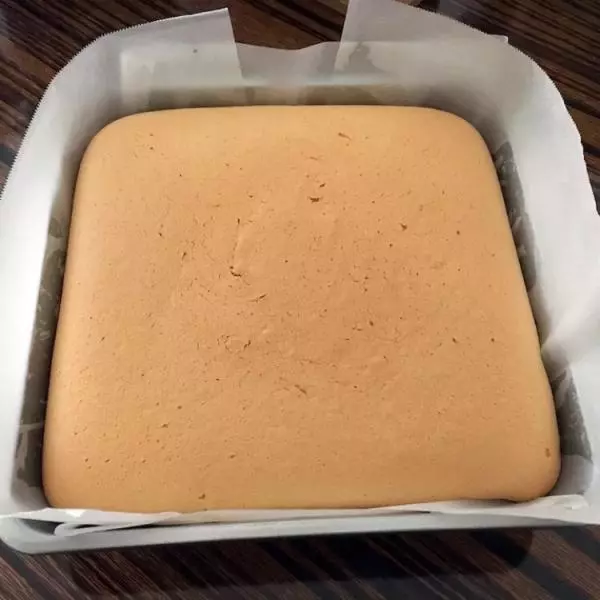
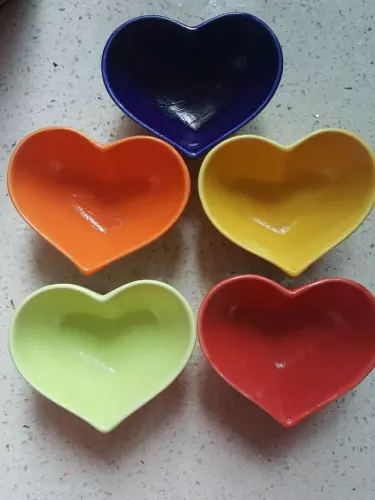
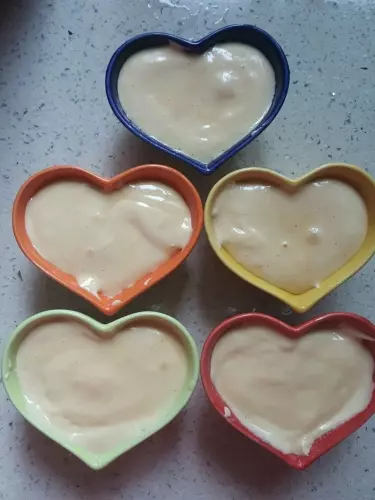
6分装入容器,至九分满
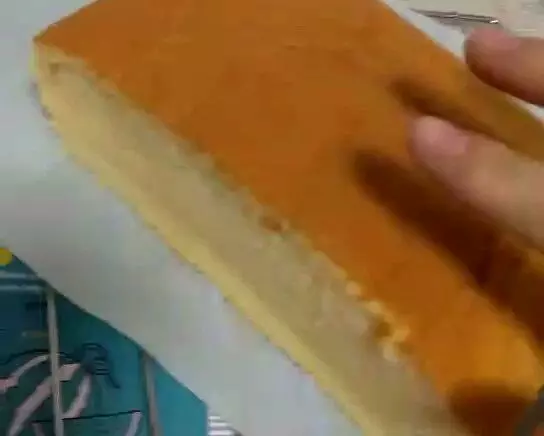
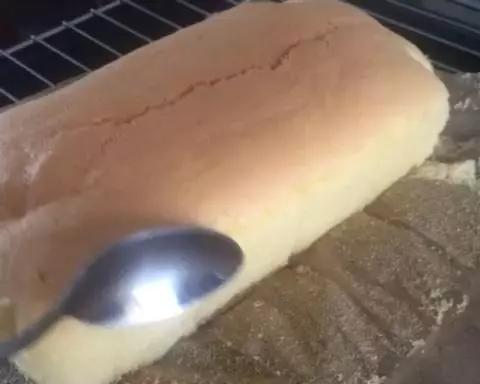
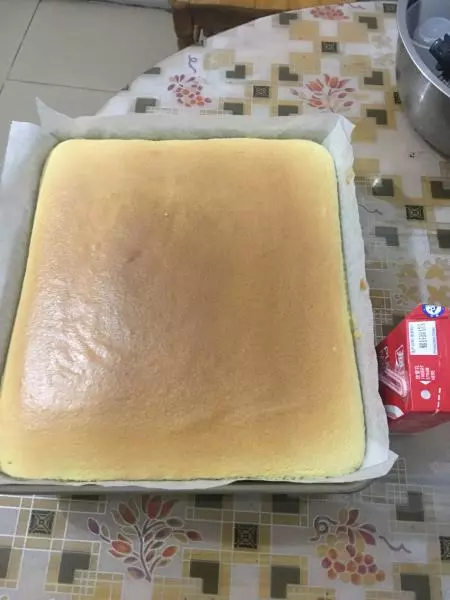
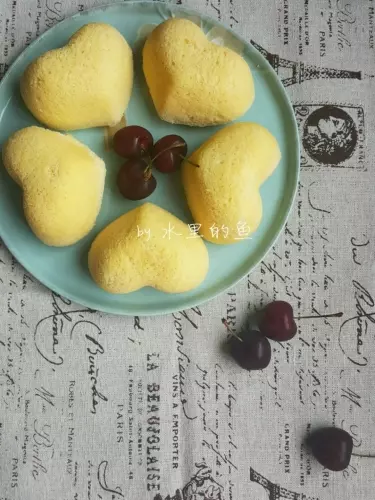
7锅里水开后上锅蒸熟。因为容器大小厚度不同,所以时间自己掌握,看到蛋糕明显涨高,用牙签戳到底拔出,牙签上没有湿面糊,就是熟了

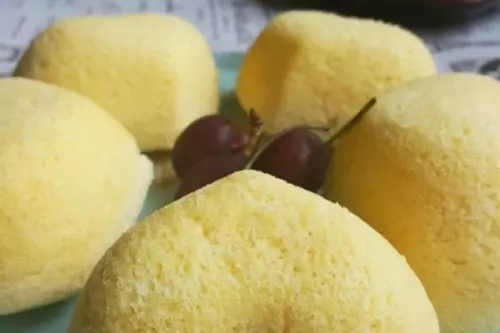
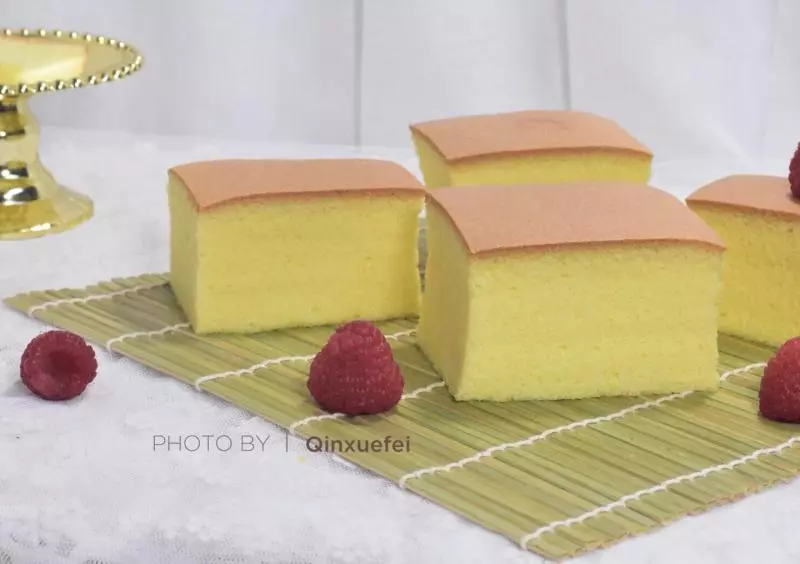
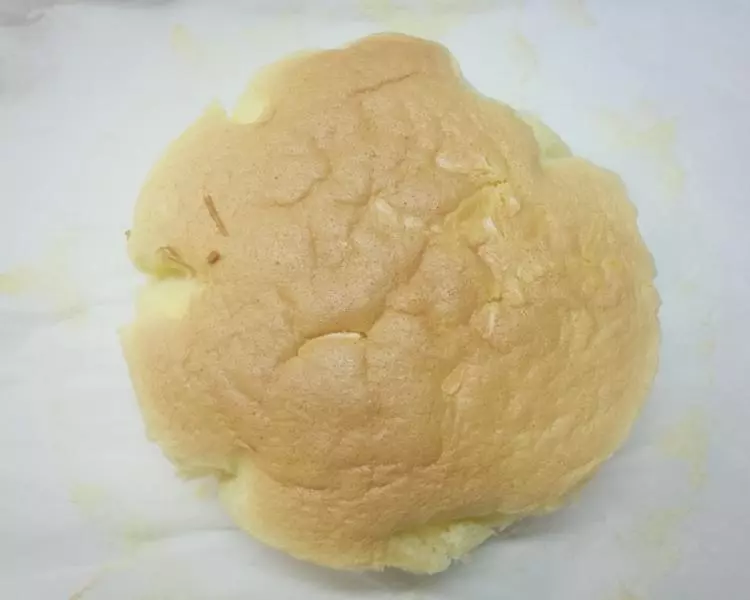
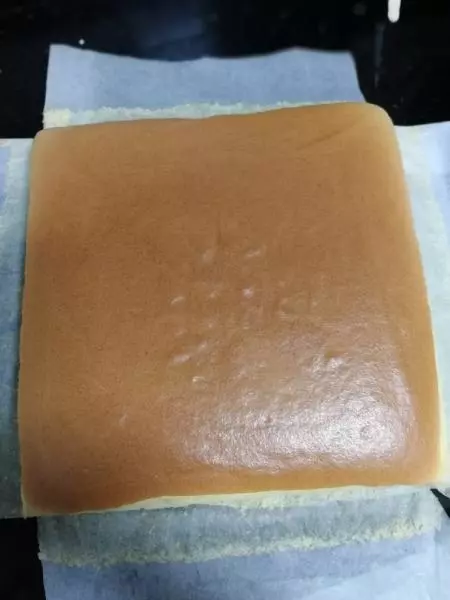
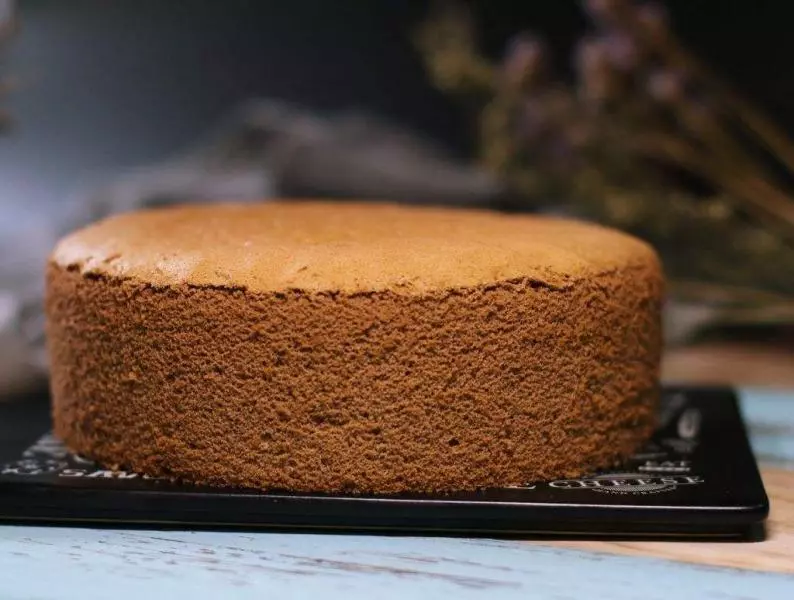
8倒扣装盘,这是没有装饰的版本
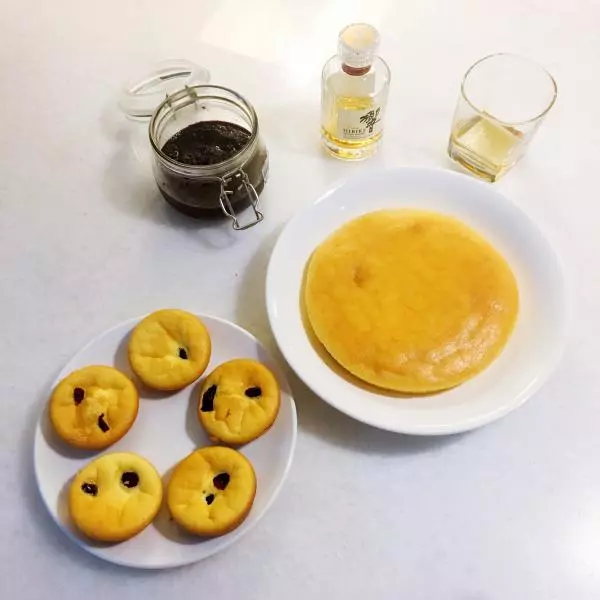
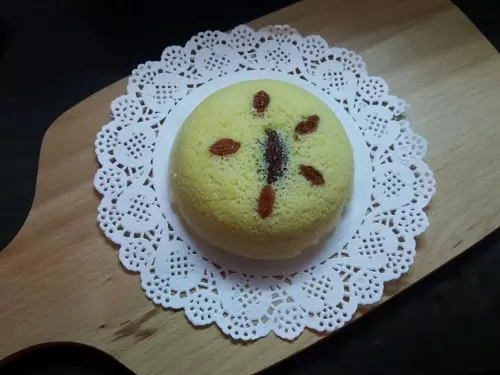
9这是有装饰的版本
10超爱这款古早味蒸蛋糕