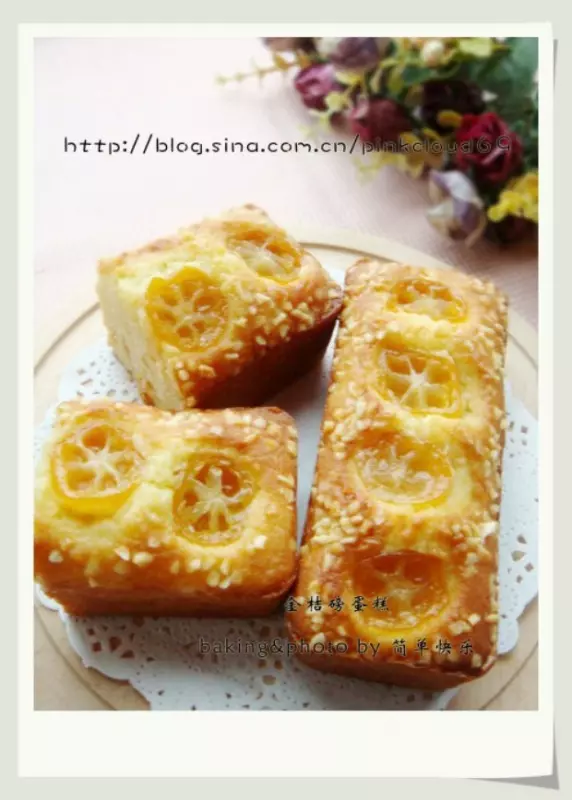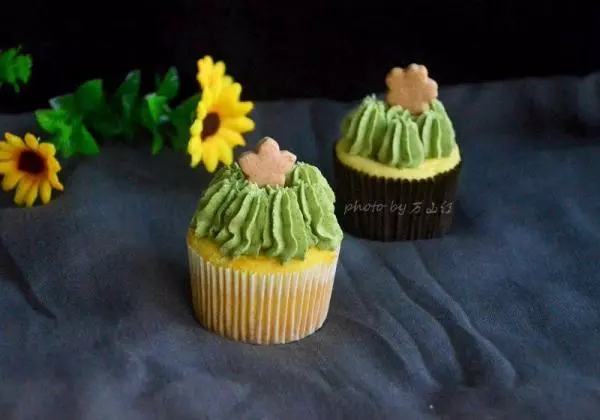
简介
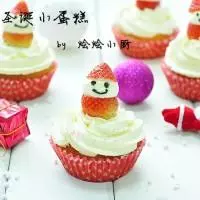
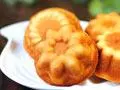
最近很少做蛋糕了,怕甜食吃的太多了。最近婆婆想吃蛋糕,她也不爱吃太甜的,于是就动手做了这个小蛋糕,加了些金桔,淡淡的果香让这款蛋糕很好吃。用的学厨的12连麻烦模具和学厨配套的纸杯,做好的蛋糕很松软,一点也不甜,老人爱吃。奶油则是加了点抹茶粉,抹茶的味苦和淡淡的茶香,让奶油吃起来也不油腻。
原料
低筋粉70g, 柴鸡蛋4个, 金桔100g, 桔子汁50g, 白砂糖50g, 柠檬汁几滴, 核桃油40g, 淡奶油150g, 白糖12g, 抹茶粉5g
步骤
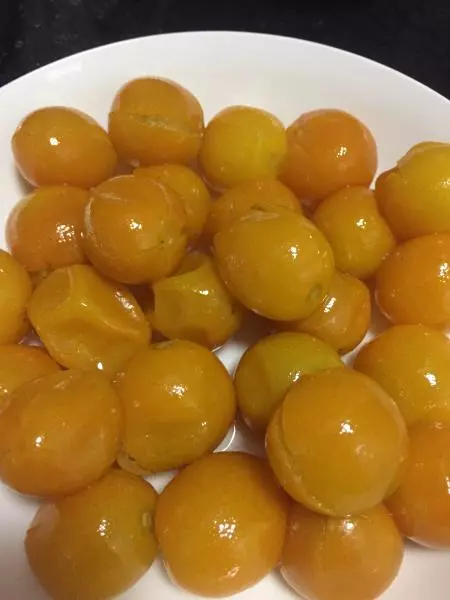
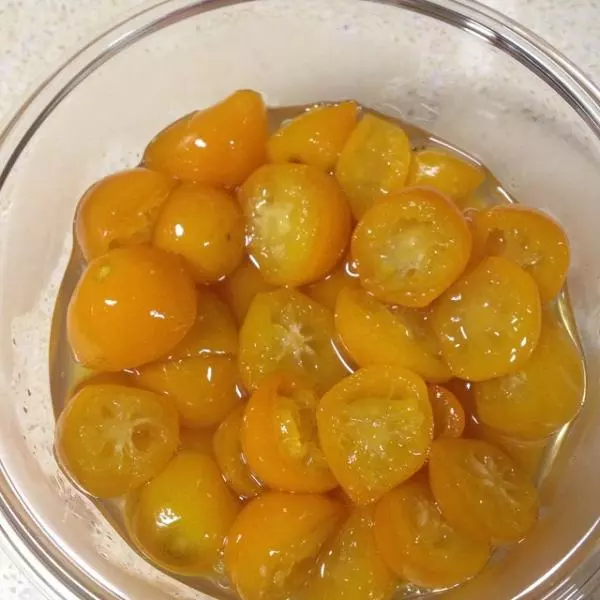
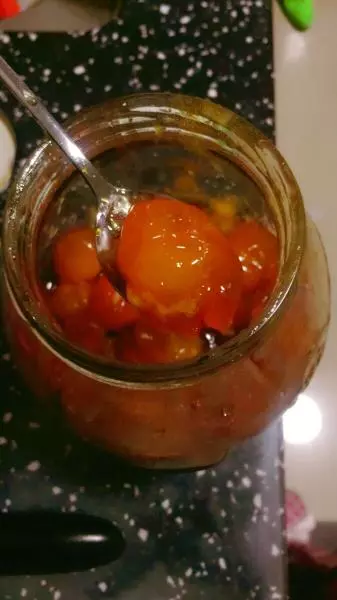
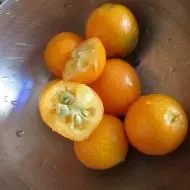
1 金桔对切两半,把里面的籽取出来
2 大个的桔子取汁,我是用的川桔直接用手挤出汁来用的
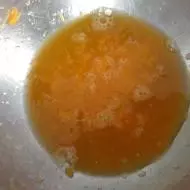
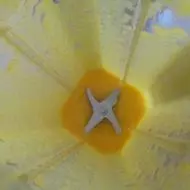
3 把金桔和桔子汁一起放入破壁机中,加了桔子汁更好打碎。
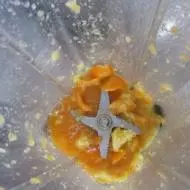
4 搅打成果泥备用
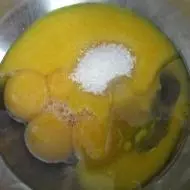
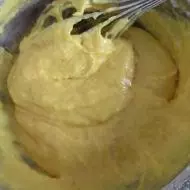
5 把核桃油、蛋黄和金桔泥100克放入盆里,加入10克的糖
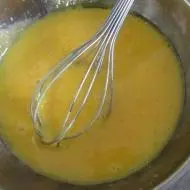
6 充分搅拌让其混合均匀
7 筛入低筋粉

8 搅拌到蛋黄糊里没有面粉颗粒
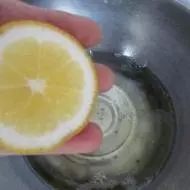
9 蛋白放入无油无水的盆里,加入几滴柠檬汁
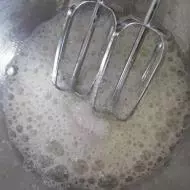
10 打蛋器低速搅打到起大泡,放入1/3的白糖
11 搅打到泡沫更多且稍微细腻时,再放入1/3的白糖
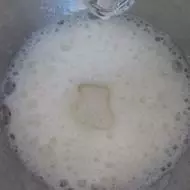
12 搅打到泡沫变得细腻加入剩余的白糖
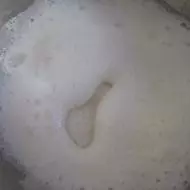
13 高速搅打到提起打蛋器,蛋白呈尖角的状态
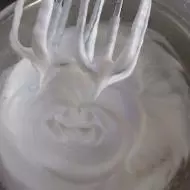
14 取约1/3的蛋白放入蛋黄糊中,用翻拌的手法把均
15 把拌均匀的糊倒入剩余的蛋白中
16 继续用翻拌的手法拌均匀,成为细腻顺滑的蛋糕糊
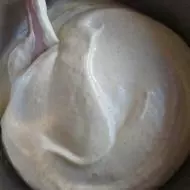
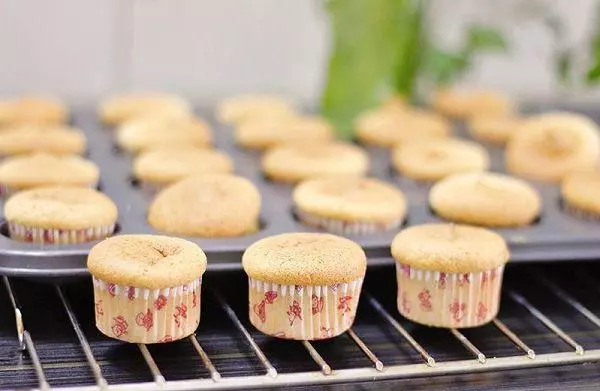
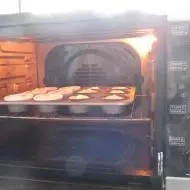
17 把蛋糕纸杯放入模具中

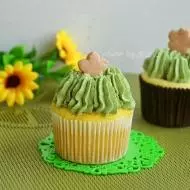
18 倒入蛋糕糊约8份满

19 烤箱上下火140度预热完成后,入烤箱烤30分钟
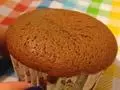
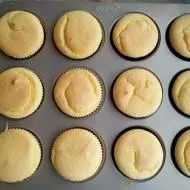
20 烤好的小蛋糕取出晾凉
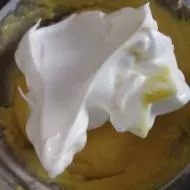
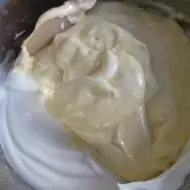
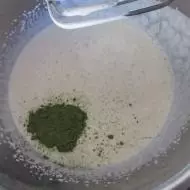
21 淡奶油放入无油无水的盆里,加入白糖

22 搅打一下再加入抹茶粉搅打至可以裱花的状态。忘记拍那个搅打好的步骤图了,文字说明一下
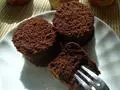
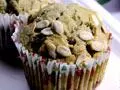
23 打好的淡奶油装入裱花袋中,挤到蛋糕表面即可享用
小技巧
1.我用柴鸡蛋,用了4个,如果用普通的鸡蛋个头比较大,3个就行了。 2.果泥搅打的会稍微多些,用的时候要称重用。