原料
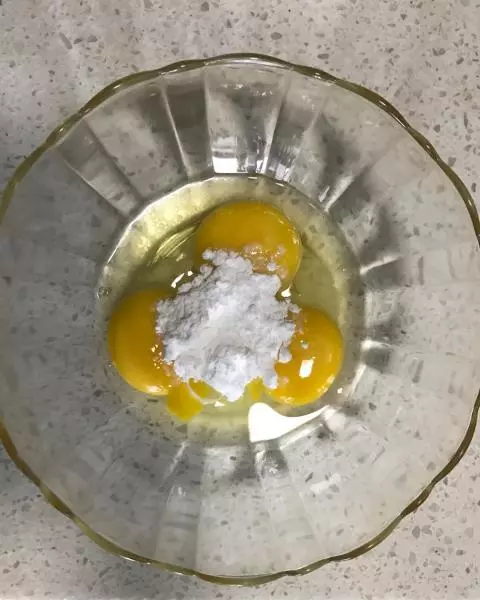
蛋黄: 3个, 蛋白: 1个, 糖粉: 30g, 低筋粉: 85g, 泡打粉: 2g
步骤
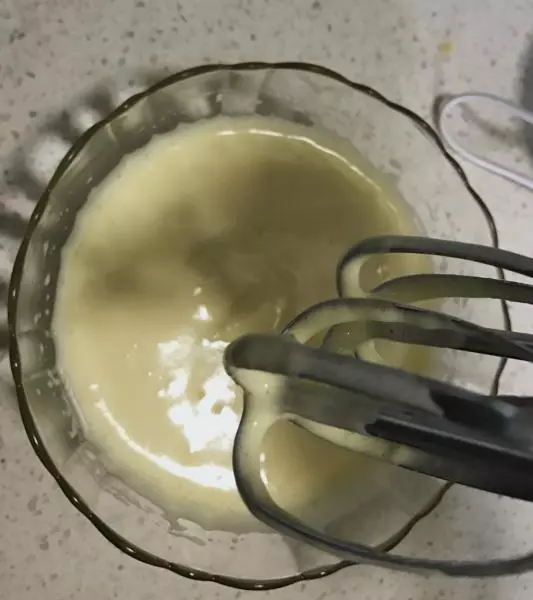
1蛋黄蛋白糖粉混合
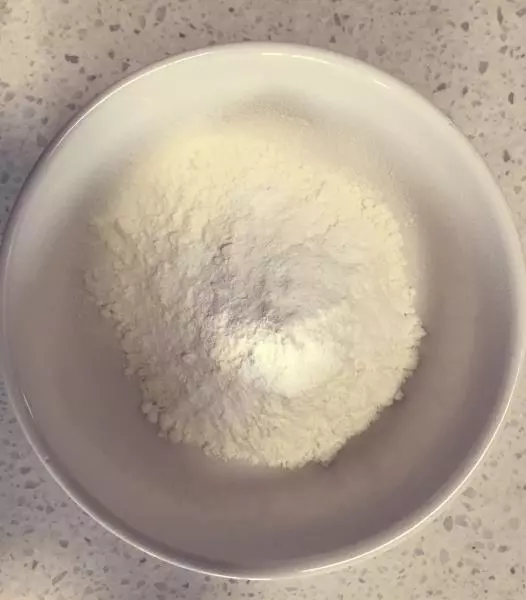
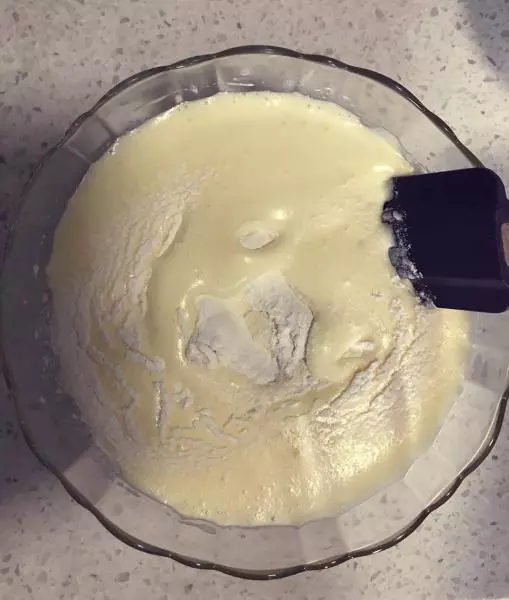
2低粉泡打粉混合过筛
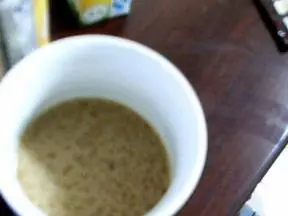
3低速打蛋糊
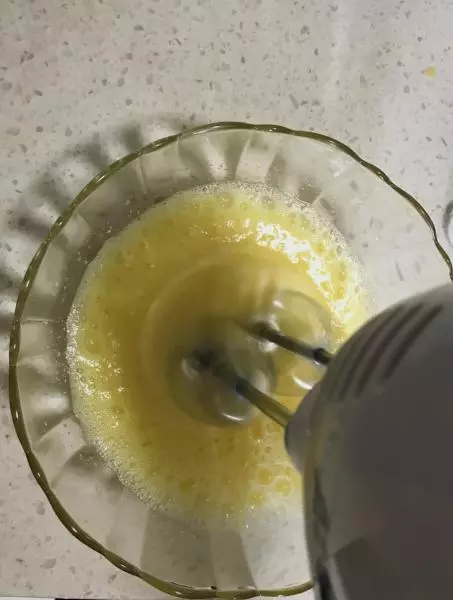
4打至有纹路,如图
5蛋糊低粉混合,切拌均匀。不是搅拌哦~
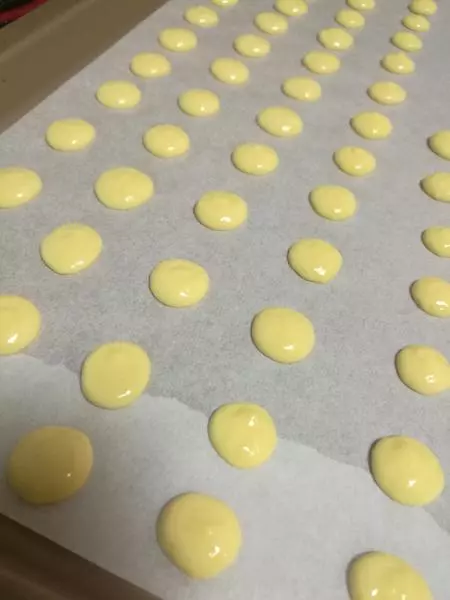
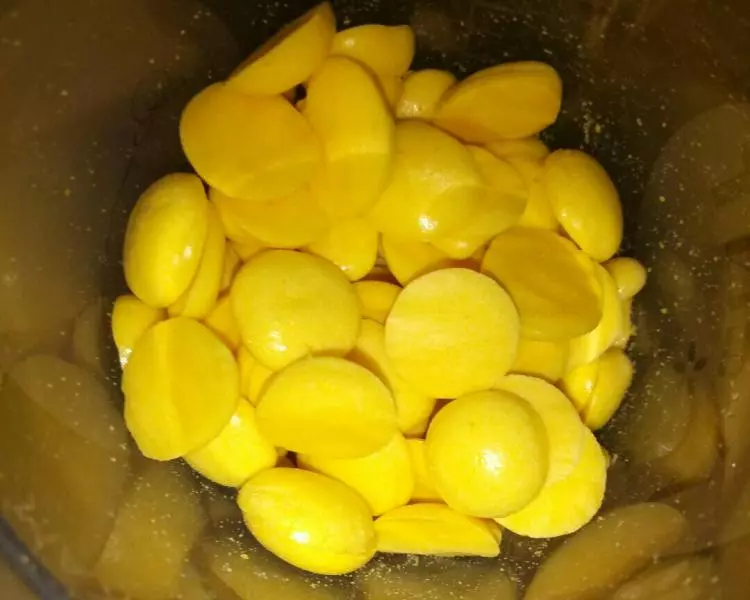
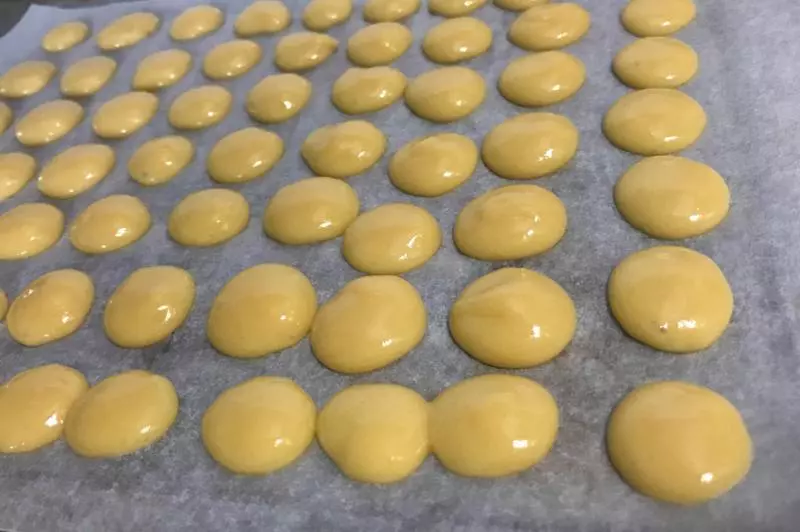
6切拌好的蛋糊装入裱花袋,用⭕️裱花嘴挤在烤盘上。注意饼干之间留有足够空隙,防止粘连,影响外观。
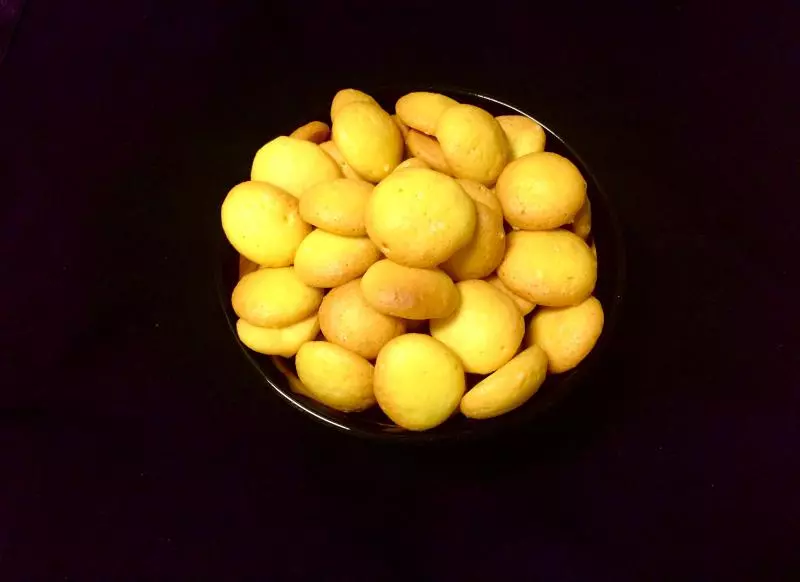
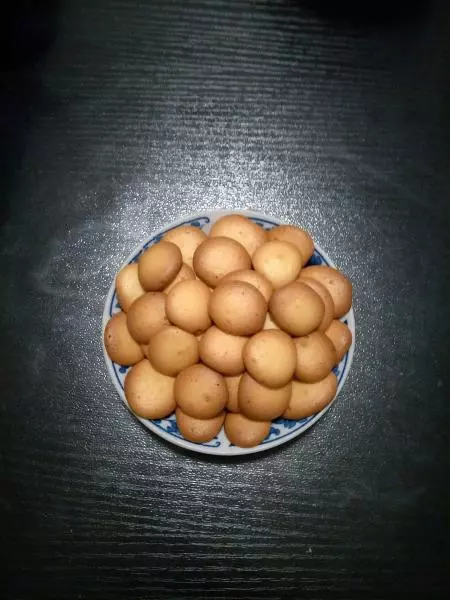
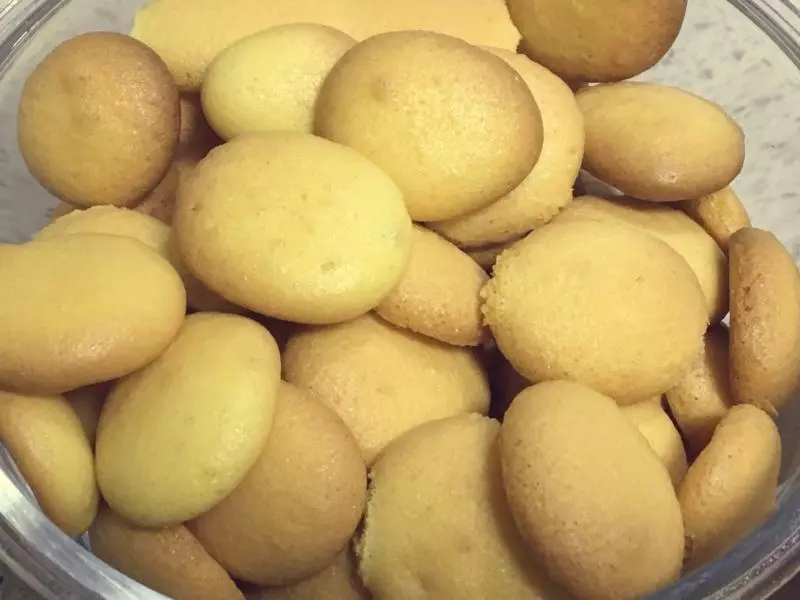
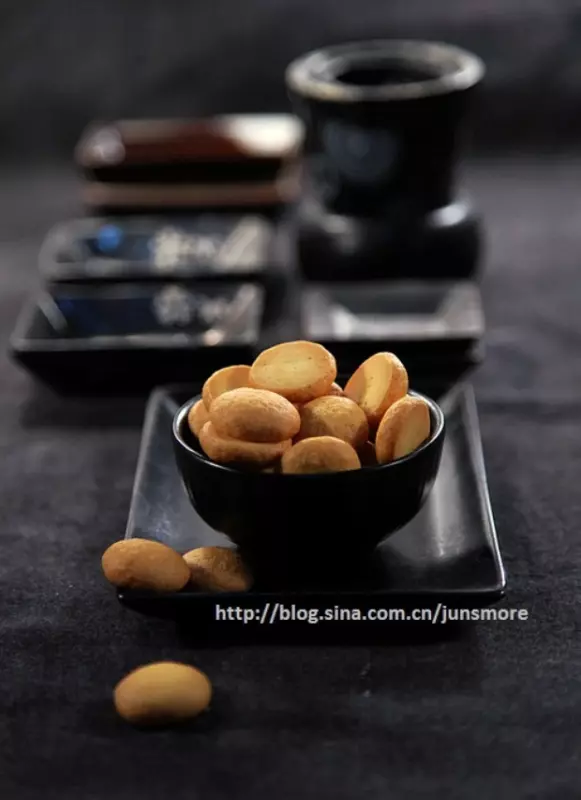
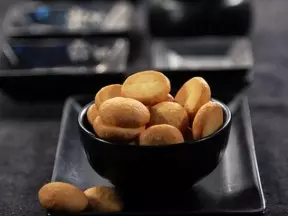
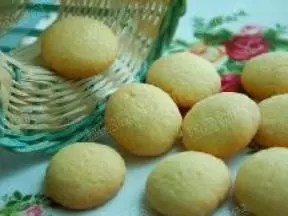
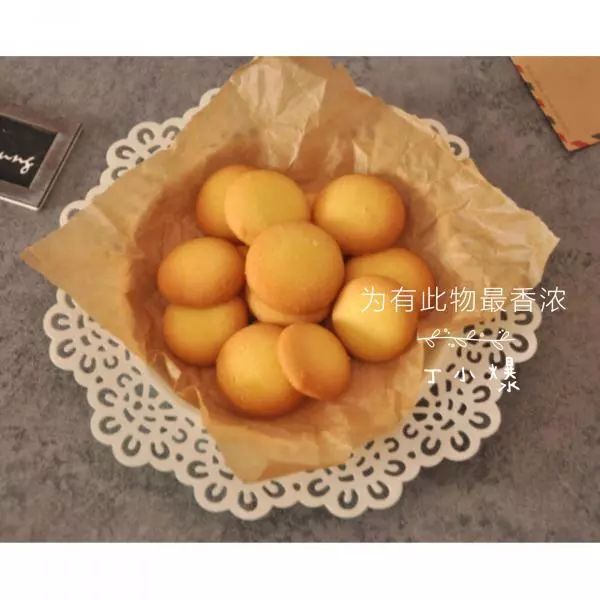
7烤箱预热后,180度8分钟,上下火。烤时可以注意观察表面上色,金黄即可。
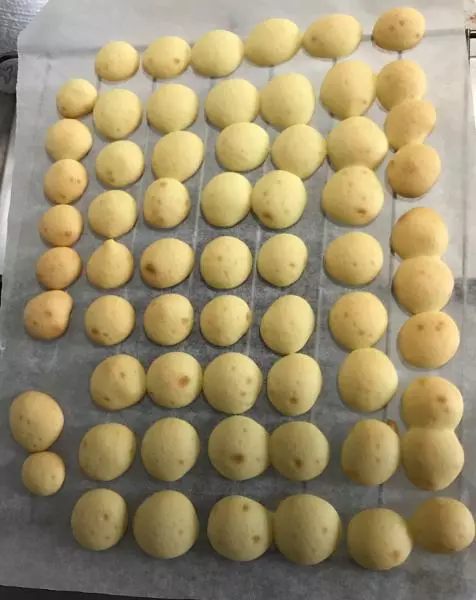
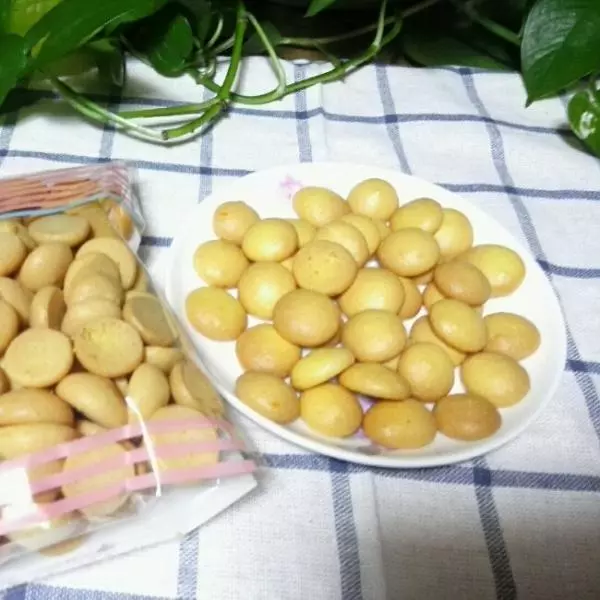
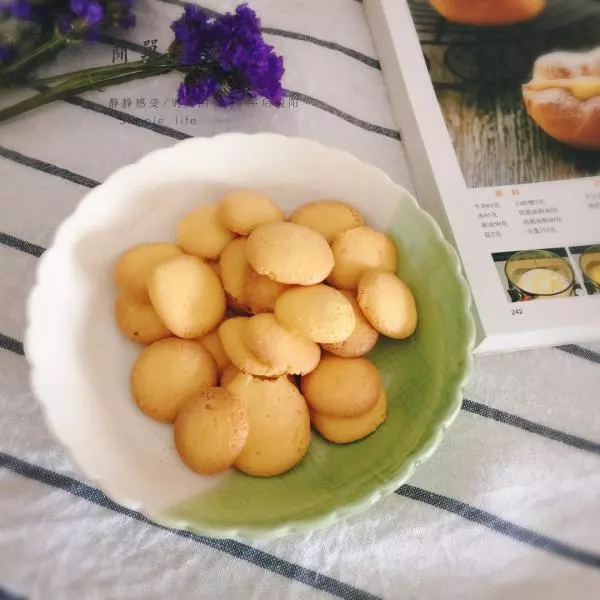
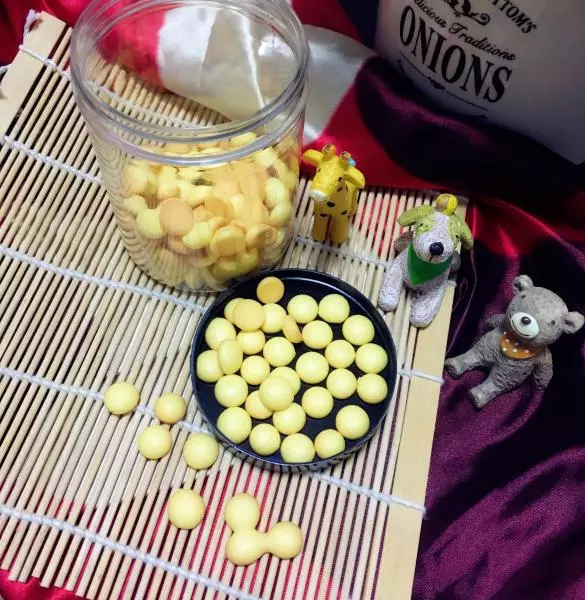
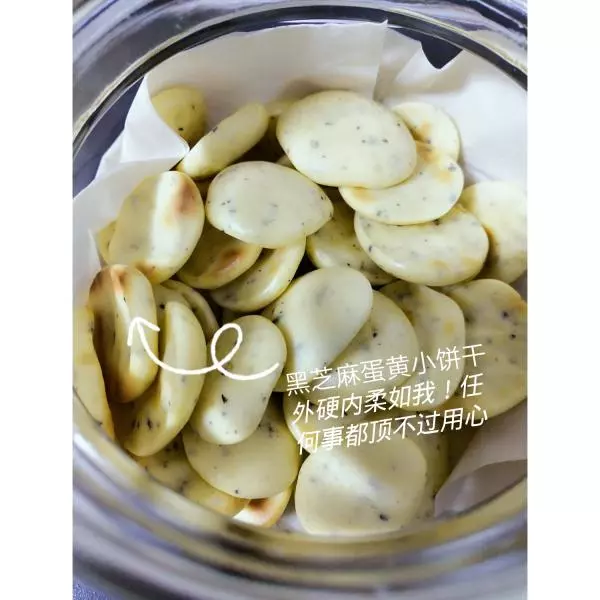
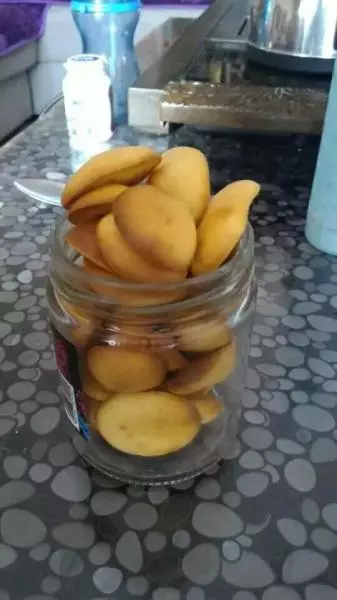
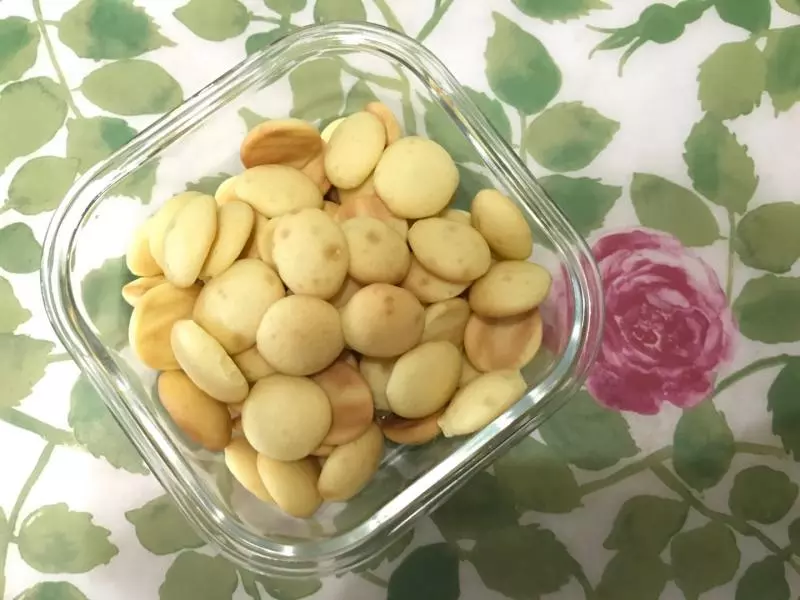
8彻底晾凉后放密封盒防潮。

小技巧
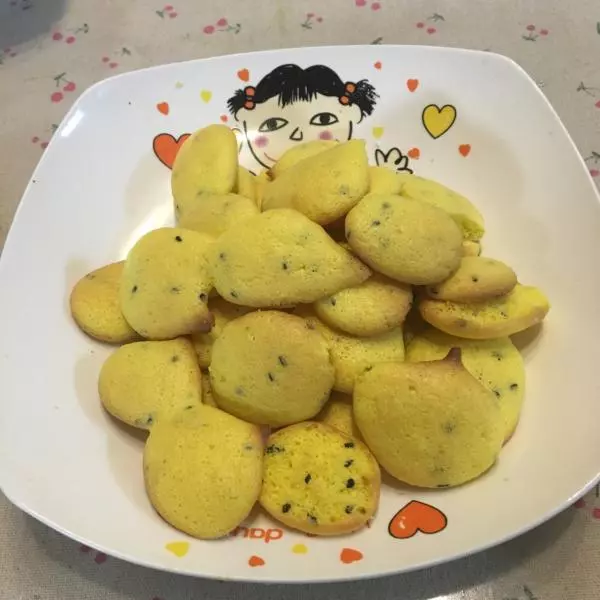
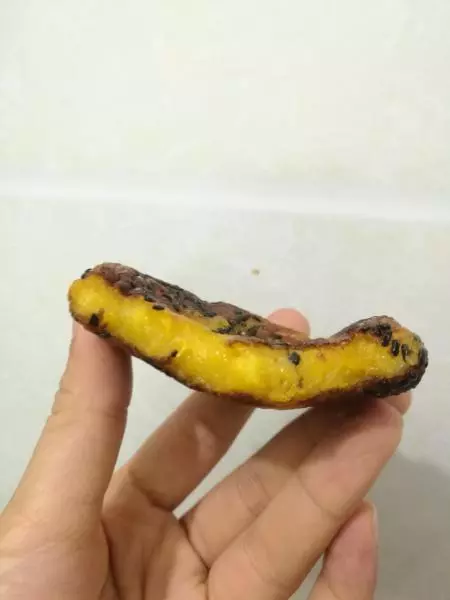
焙烤时间可以根据上色和口感略微调整,这个配方是来自@子瑜妈妈。之前担心太甜,但成品甜味刚好,适合小朋友吃。