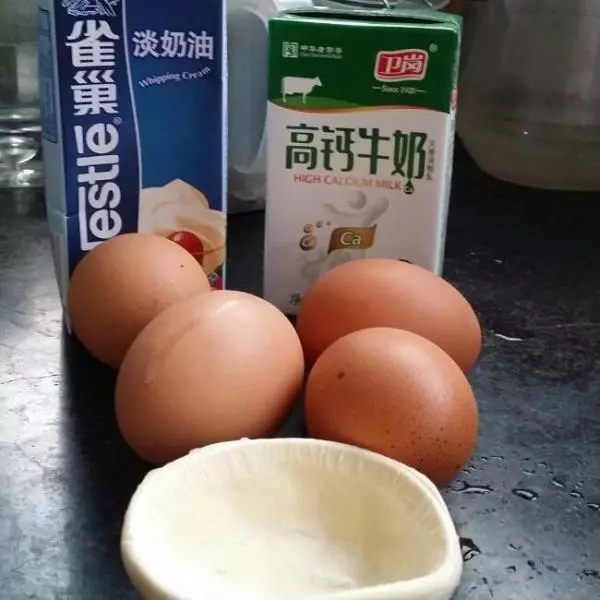
原料
蛋挞皮: 12个, 白砂糖: 40g, 雀巢淡奶油: 200ml, 纯牛奶: 100g, 蛋黄: 4个, 炼乳: 适量
步骤
1冷冻的蛋挞皮要实现拿出来化冻到有一点软软的状态 材料备齐
2用分蛋器将蛋黄与蛋白分离开,留下蛋黄,蛋白可以做戚风蛋糕,或者炒了吃都好
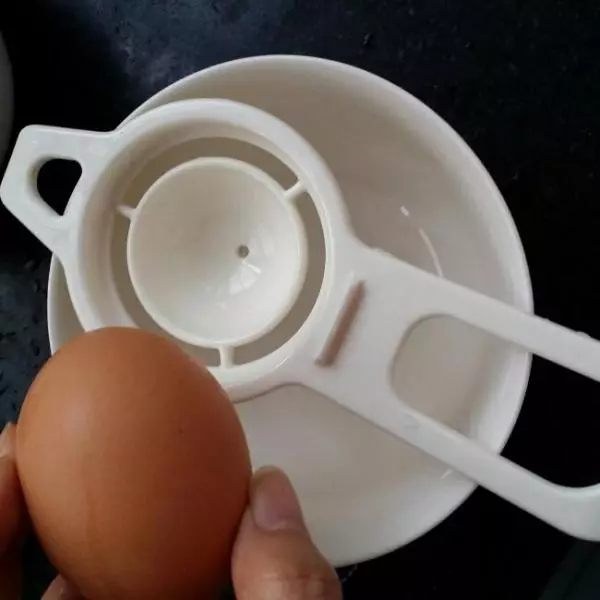
3用分蛋器将蛋黄分离,分蛋器淘宝上买几块钱一个很便宜,很实用
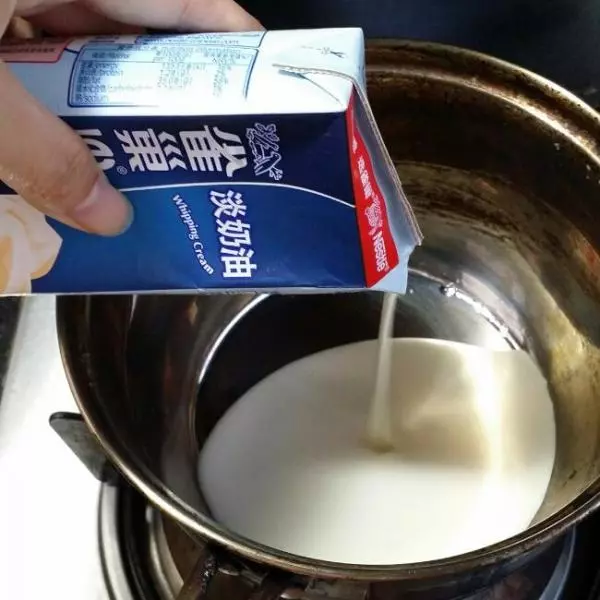
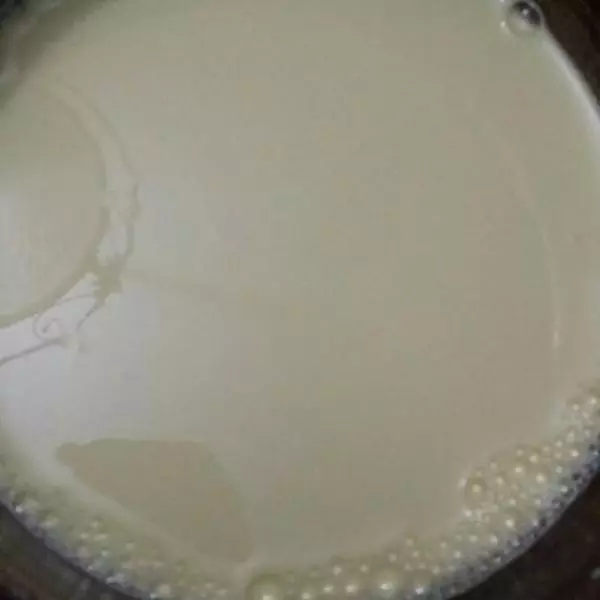
4取小奶锅,加入淡奶油
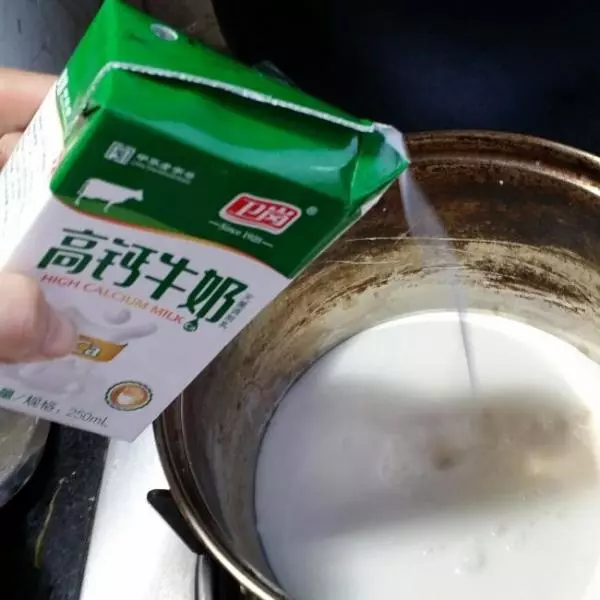
5再加入牛奶与白砂糖,开小火搅拌,目的是让粒状砂糖融化,不要大火煮沸腾了
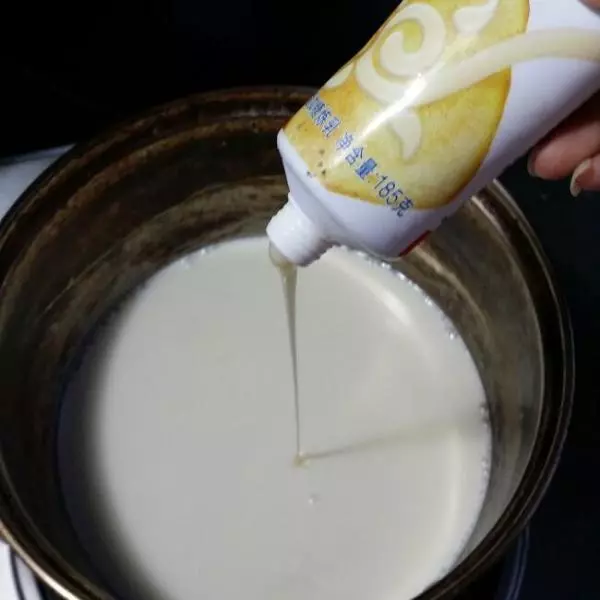
6加入适量炼乳,增加甜味的,如果没有就多加5g糖
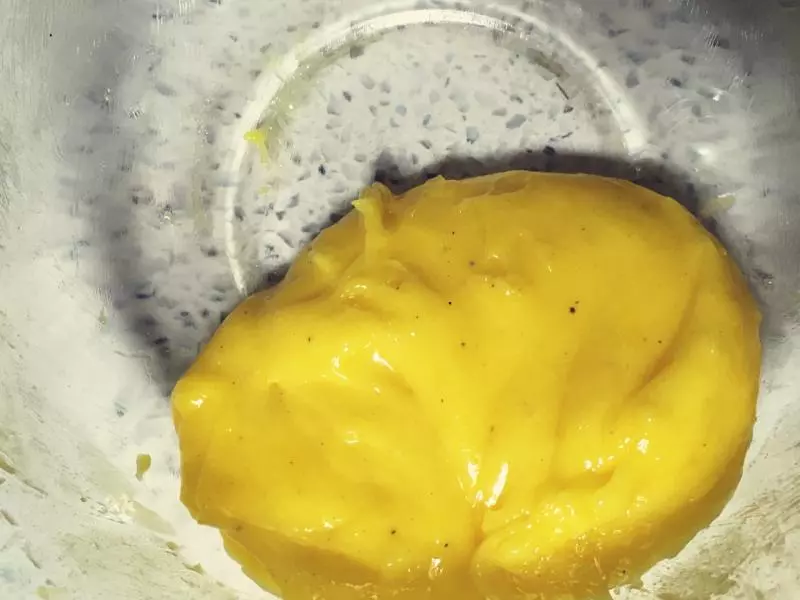
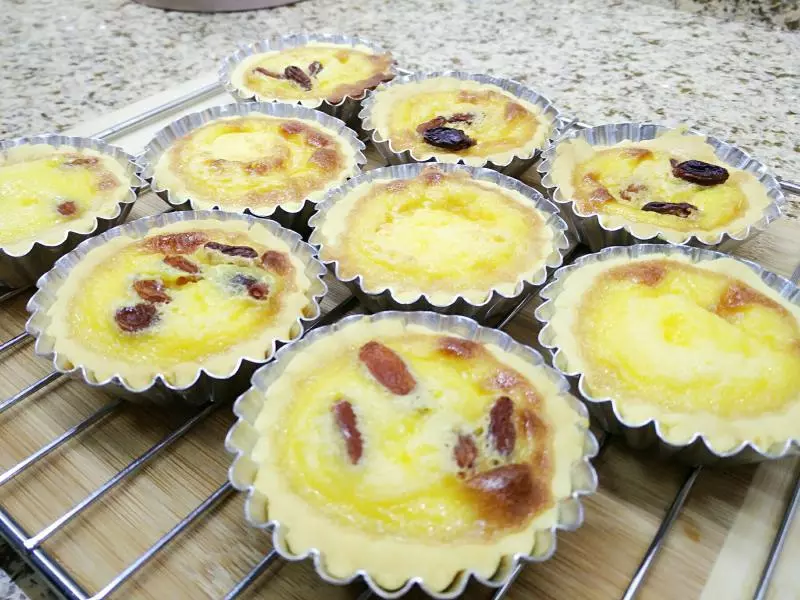
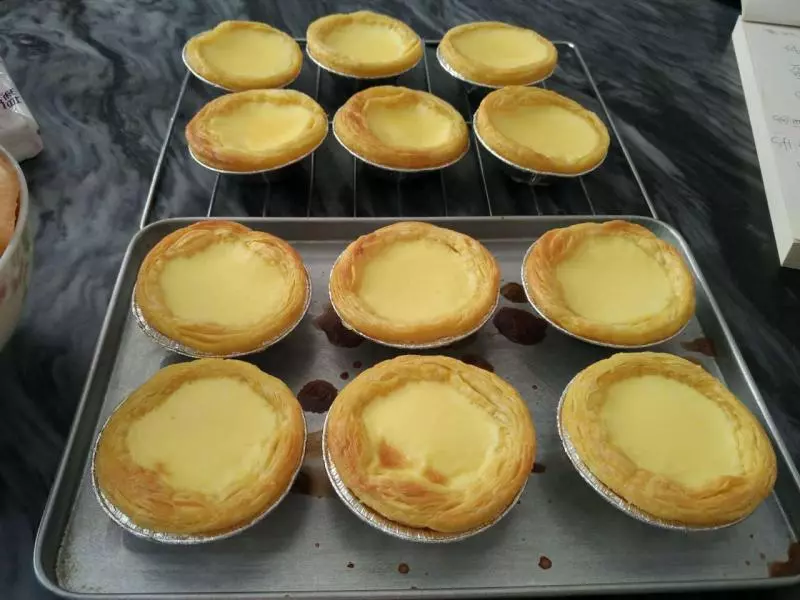
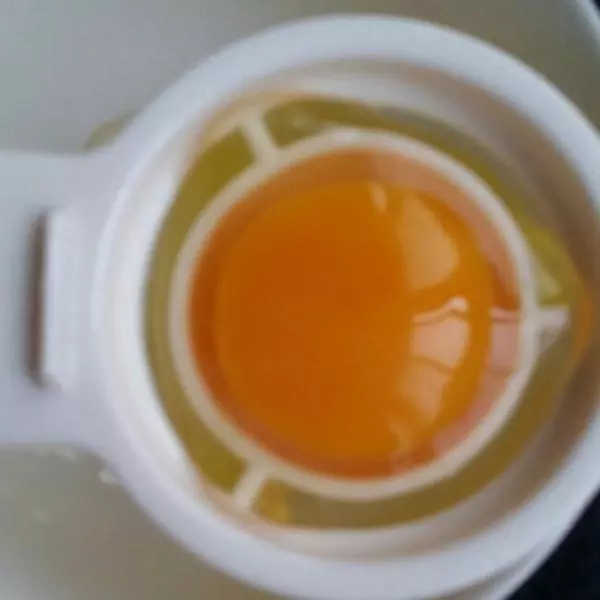
7冷却之后,加入打散的蛋黄液,搅拌 看!挞水稍微变黄了吧! 这样挞水就做好了!
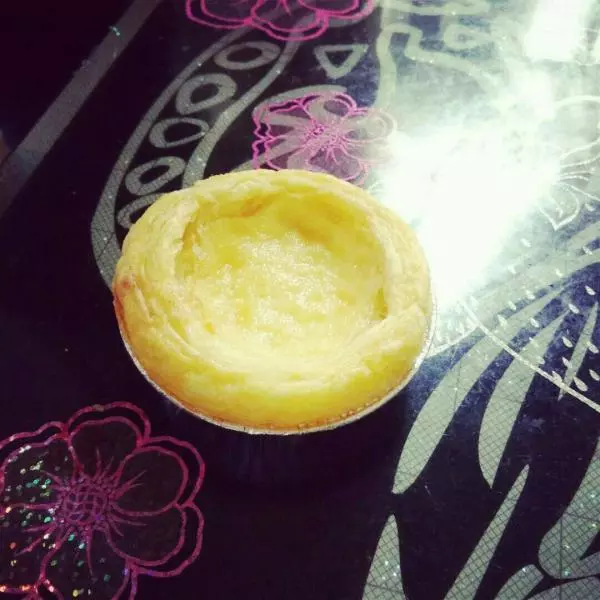
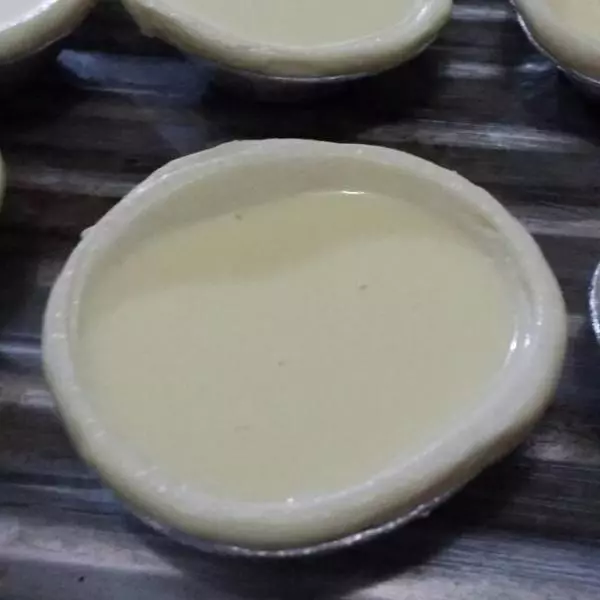
8用勺子将蛋挞皮装8至9分满的挞水。。。烤箱预热180度。然后将蛋挞放入烤箱中层,如果你的烤箱可以分上下管单独加热,那么开下火180°烤8分钟,目的是让底部熟透。。。如果你的烤箱不分上下管单独加热,则将烤盘放置在烤箱下层进行8分钟烤制
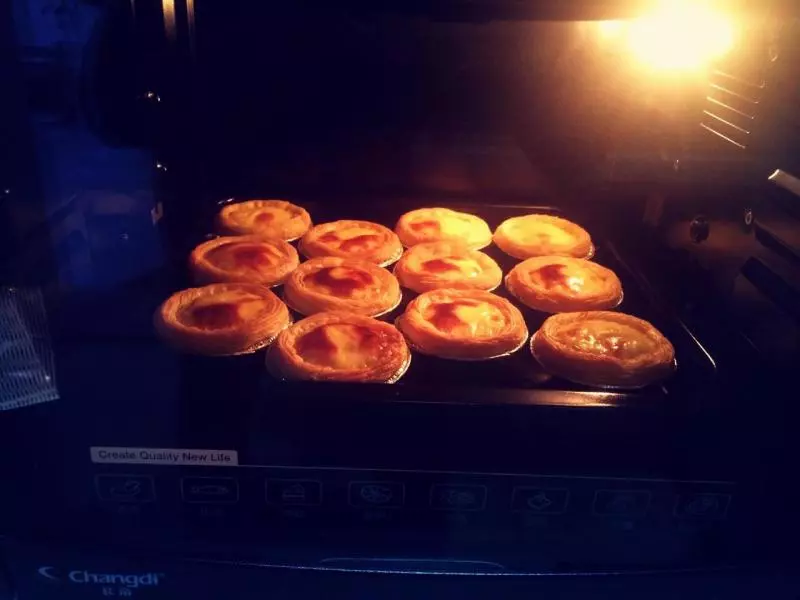
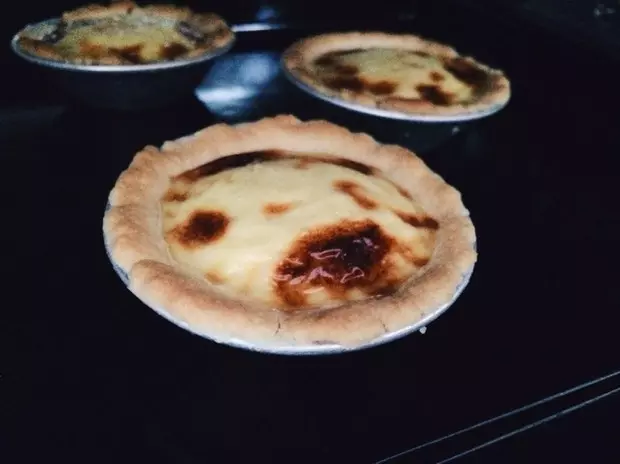
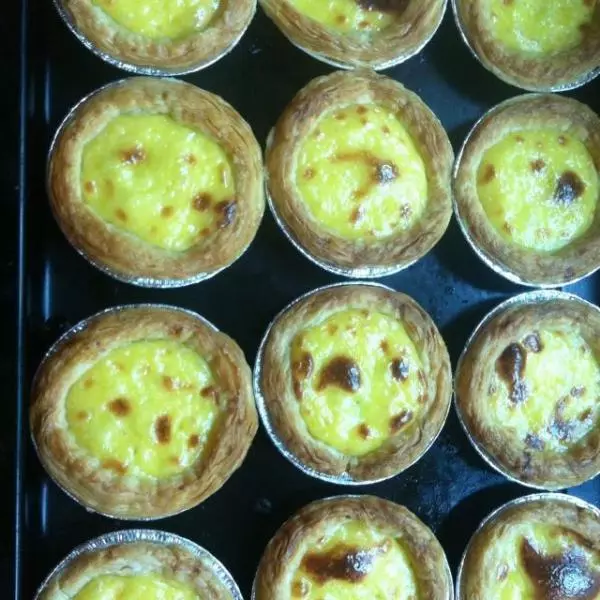
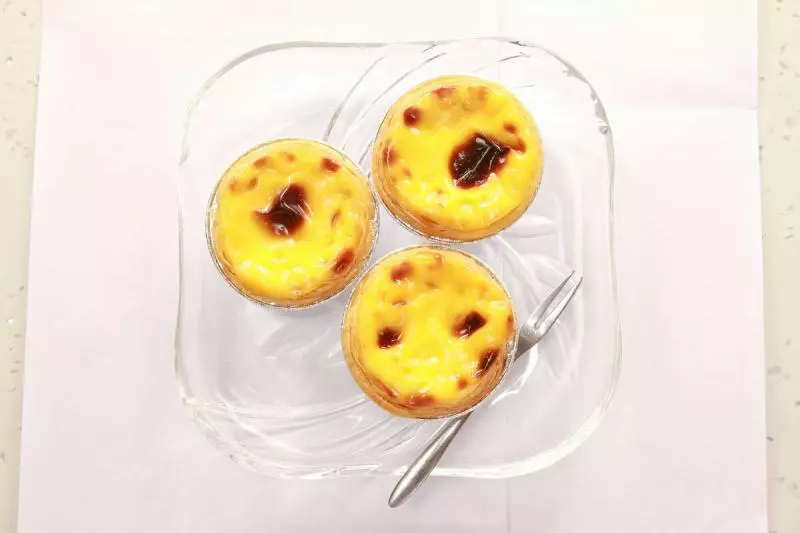
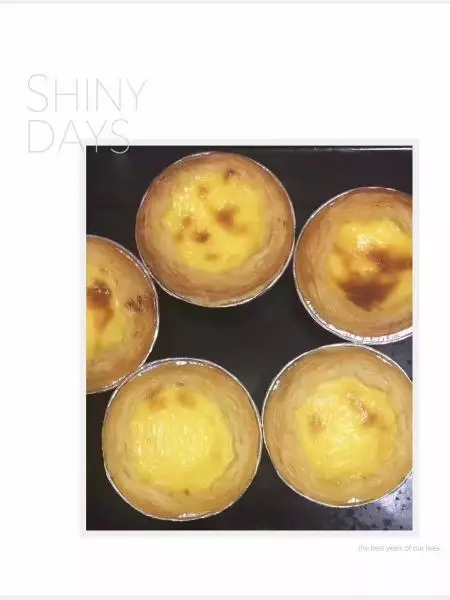
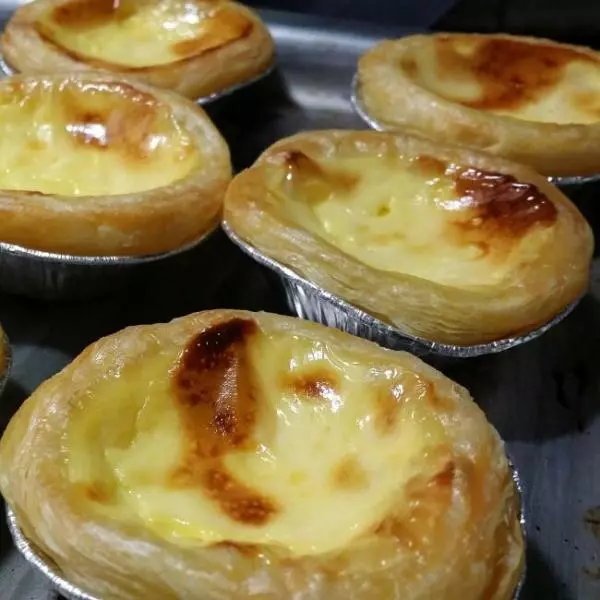
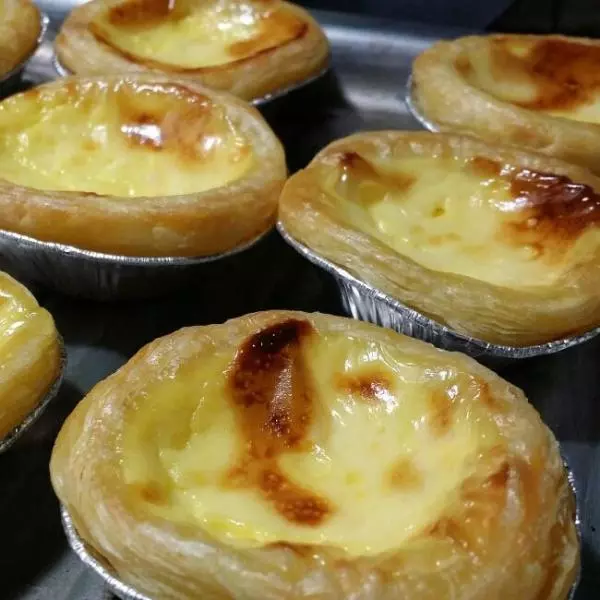
9然后转为上下火,温度调至220度烤15分钟,观察蛋挞表面有微微焦糖色即可 拿出来时候小心喔!很烫哒!
小技巧
tips 1:不爱甜腻的可以适量减少点糖,但是蛋挞甜到暖心才好吃呀! 2:我家烤箱是格兰仕的,具体要根据自己家烤箱的脾气调整烤制时间 3:最后5分钟千万别离开烤箱!盯着看吧,除非你想烤出黑蛋疼⊙﹏⊙