原料
蒜茸: 适量, 粉丝: 适量, 生抽: 适量, 耗油: 适量, 鱼露: 适量, 生蚝: 10-15只, 指天椒: 10个
步骤
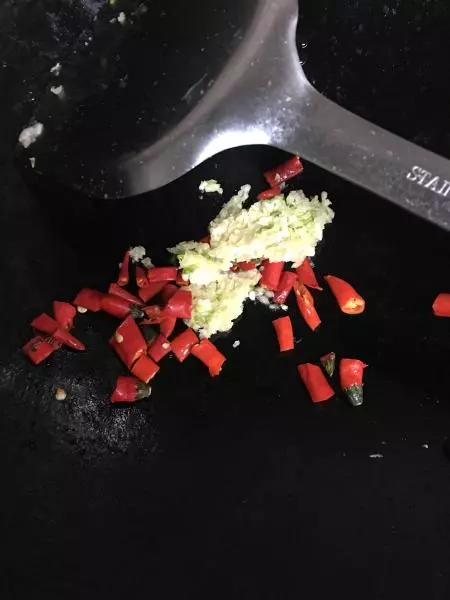
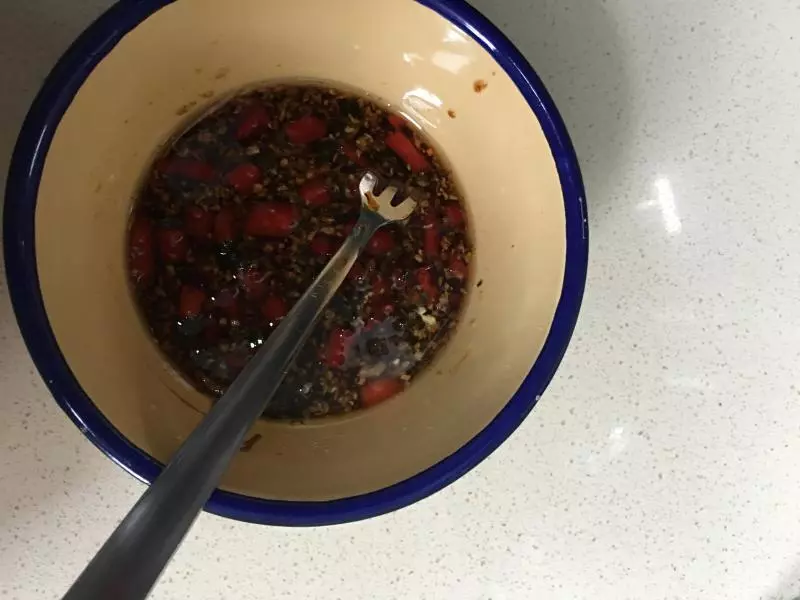
1蒜蓉切成末,辣椒切成段
2放些油把蒜和辣椒放进去爆香
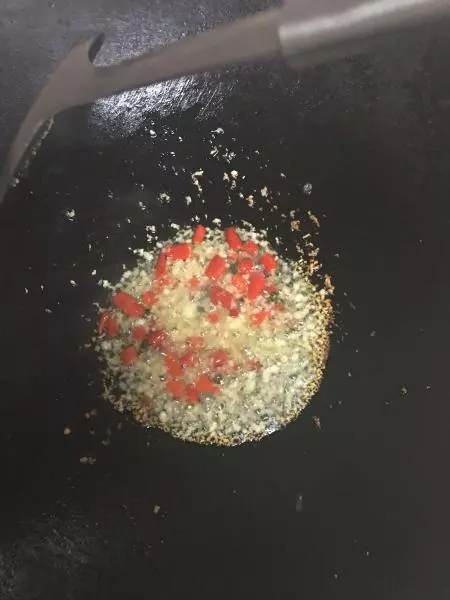
3出过后加入生抽,鱼露,耗油,进去拌匀待用(调料根据自己的口味调,喜欢口味重的可以放咸点,喜欢清淡点的可以少放些)
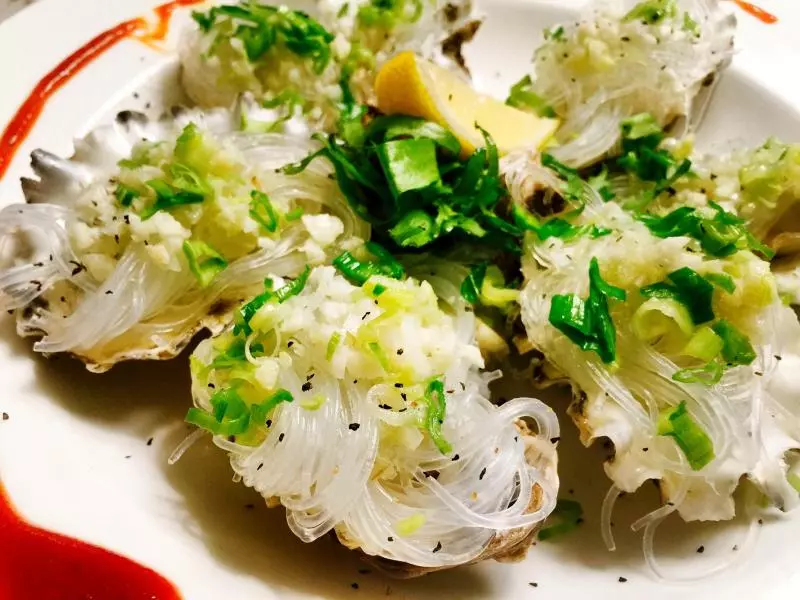
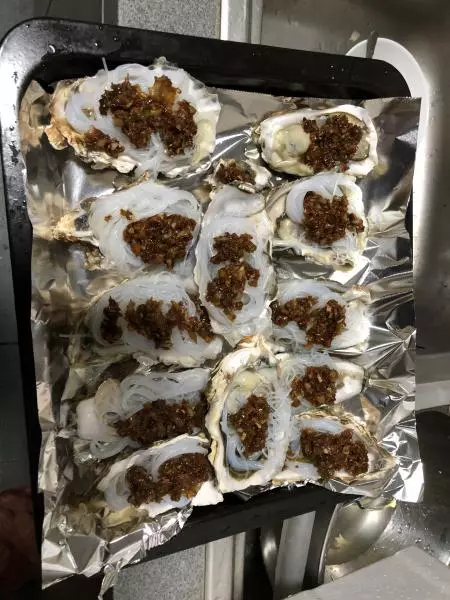
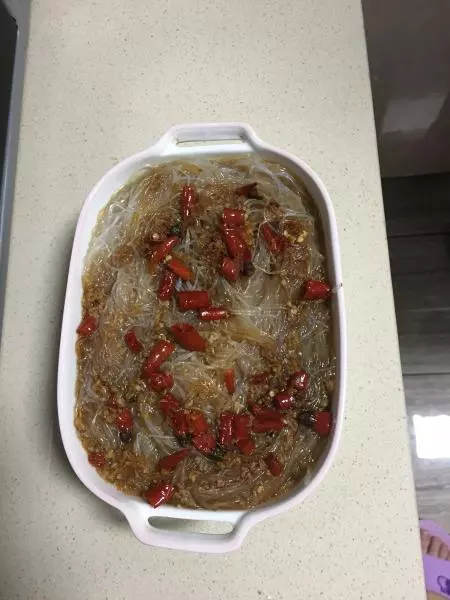
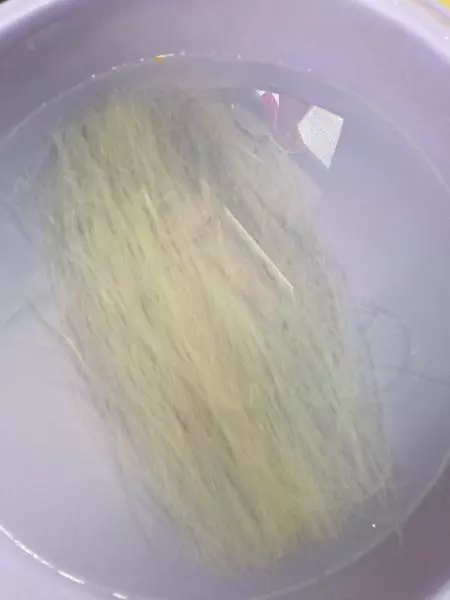
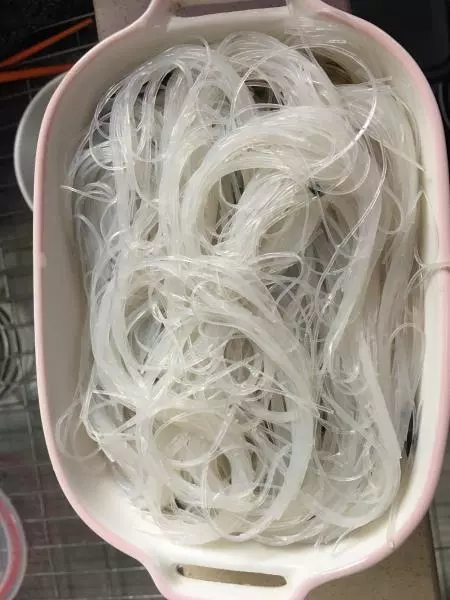
4提前把粉丝泡好,根据自己的量来
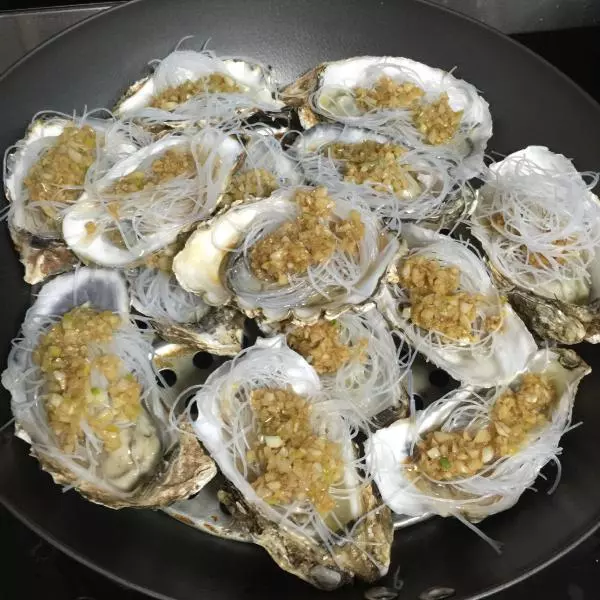
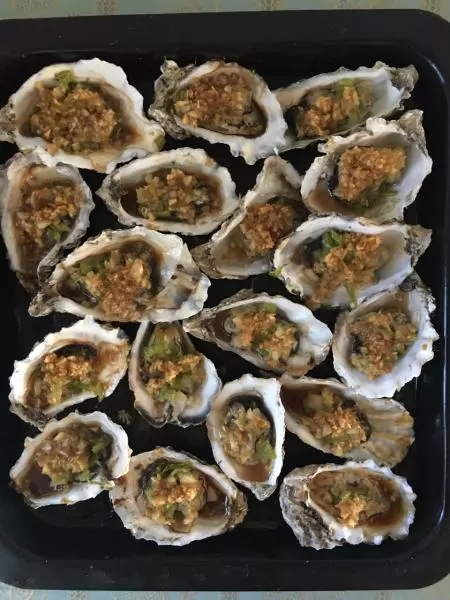
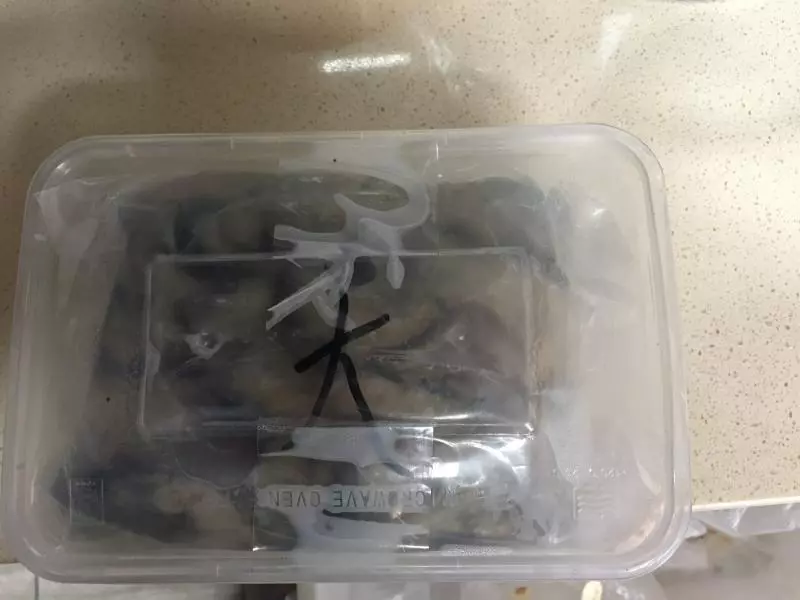
5在某宝买的生蚝,分大中小三种,这种大个的里面有15只,平时放在冷冻层,要吃的时候提前拿出来解冻,非常方便,也很新鲜
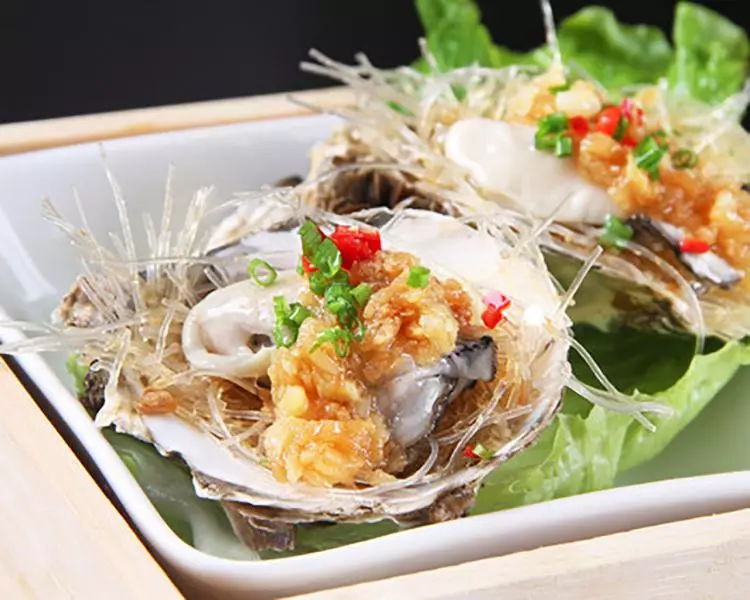
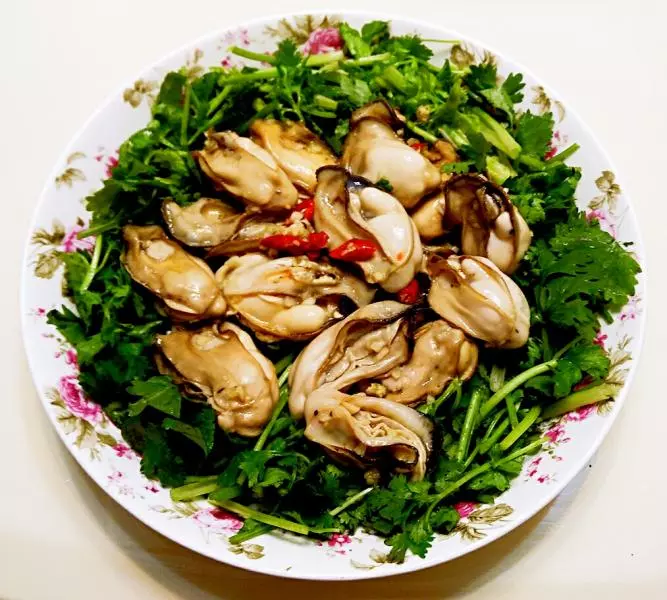
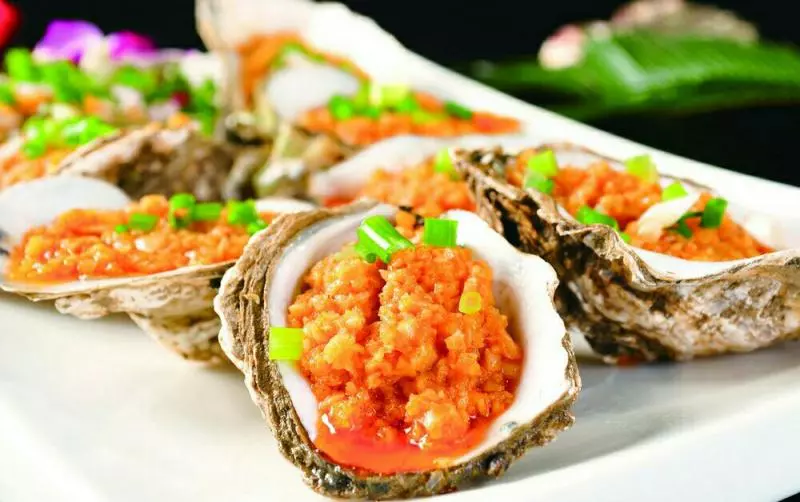
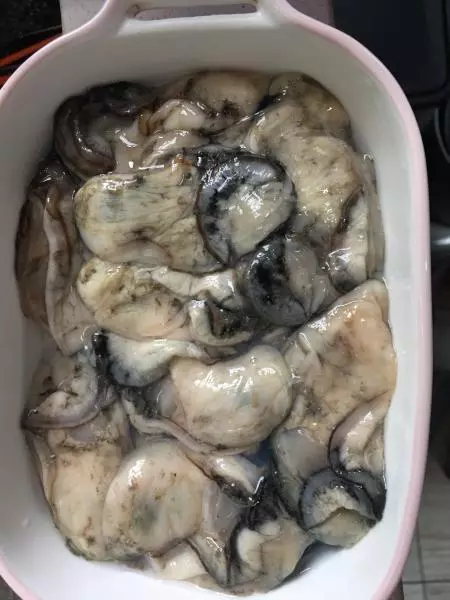
6洗干净的生蚝装盘,好肥硕啊!
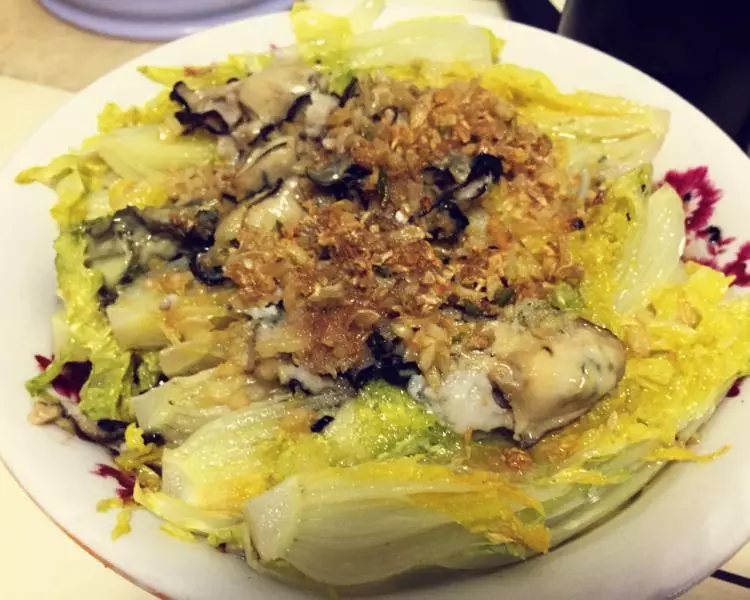
7放上泡软的粉丝(喜欢吃金针菇的也可以放金针菇,也特别好吃的)
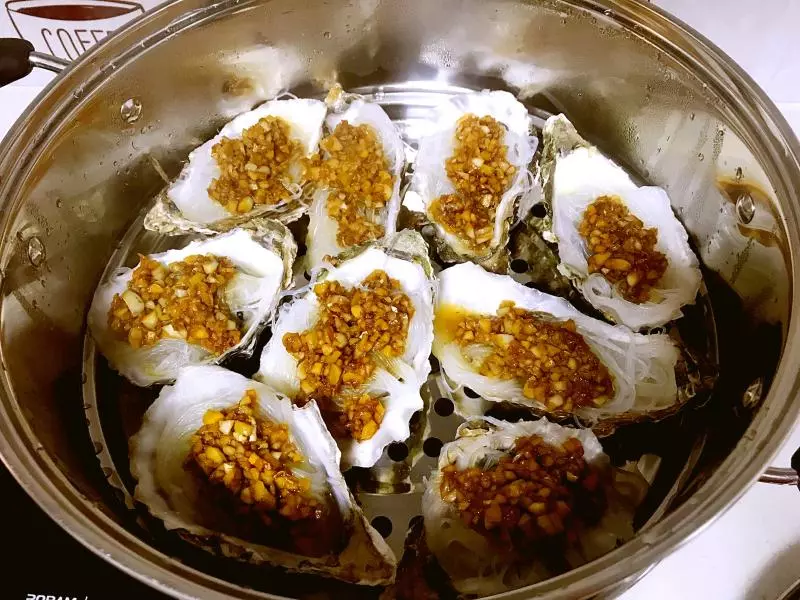
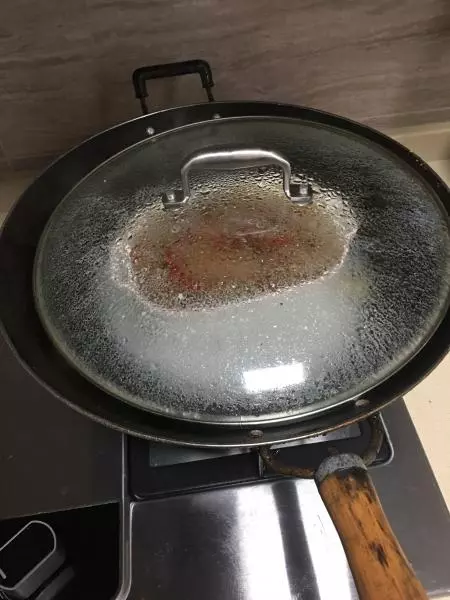
8开火上锅蒸了,水滚15-20分钟左右,喜欢吃嫩点的可以适量减少一些时间,我比较喜欢吃熟的
9出锅了,拌一下,味道不要太好哦!

小技巧
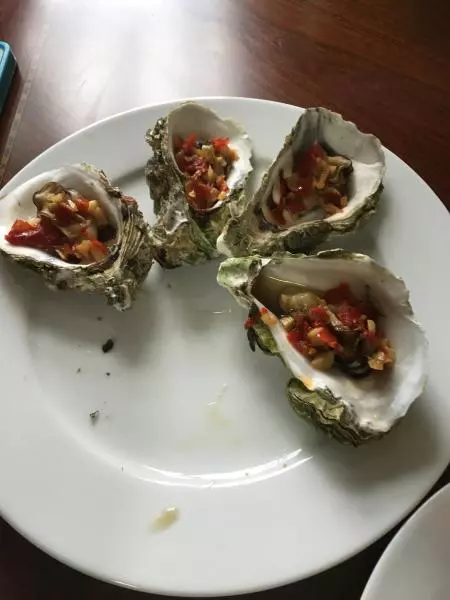
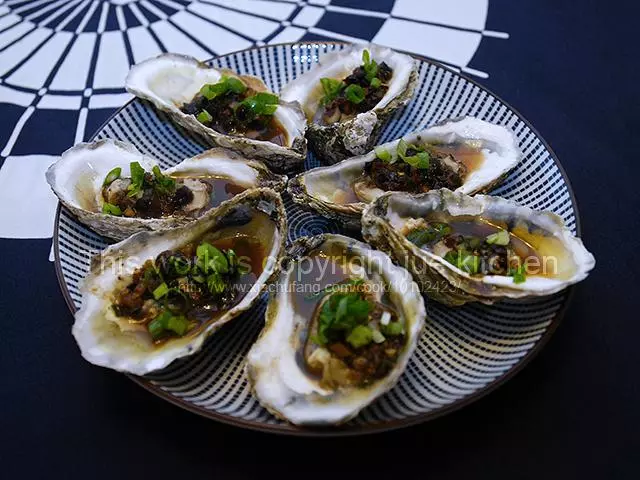
同样的方法也可以做蒜蓉粉丝虾的,一样味道美美哒!