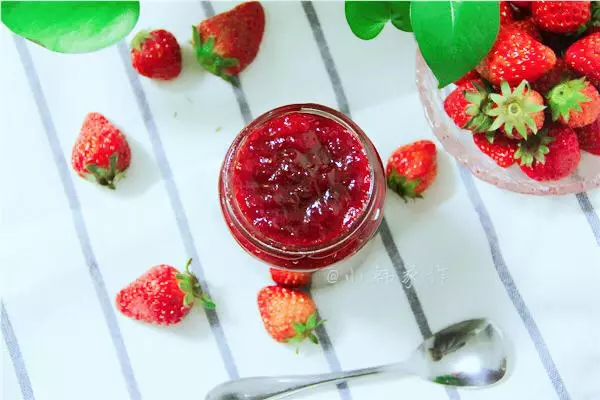
原料
新鲜熟草莓: 380g, 碎冰糖: 250g, 青柠檬: 半个, 冰勺子: 1个
步骤
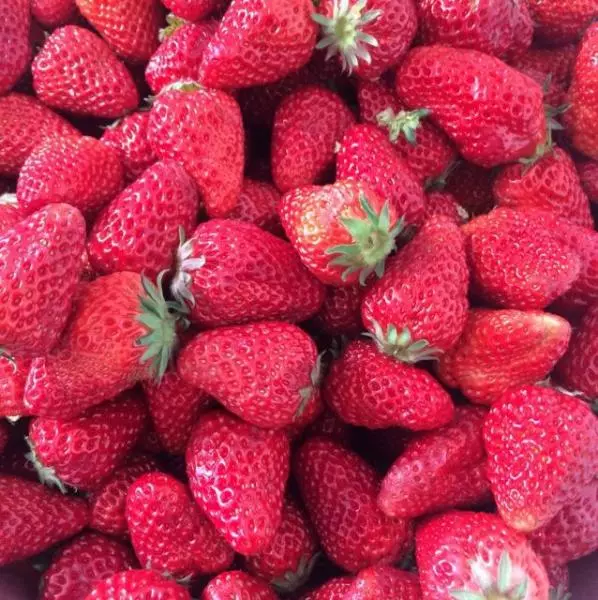
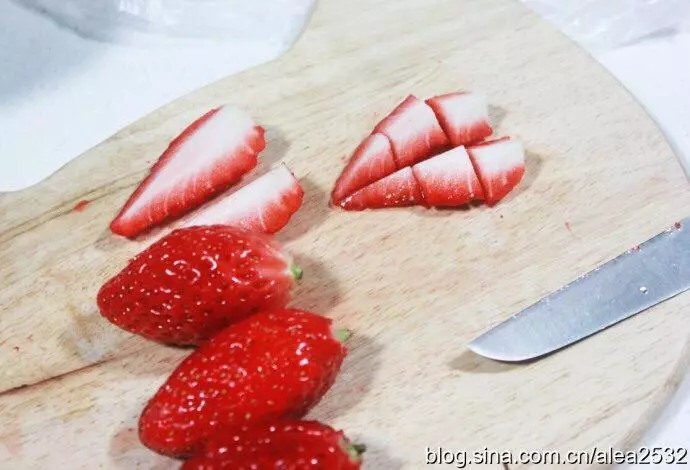
1前一天晚上洗好草莓,去蒂
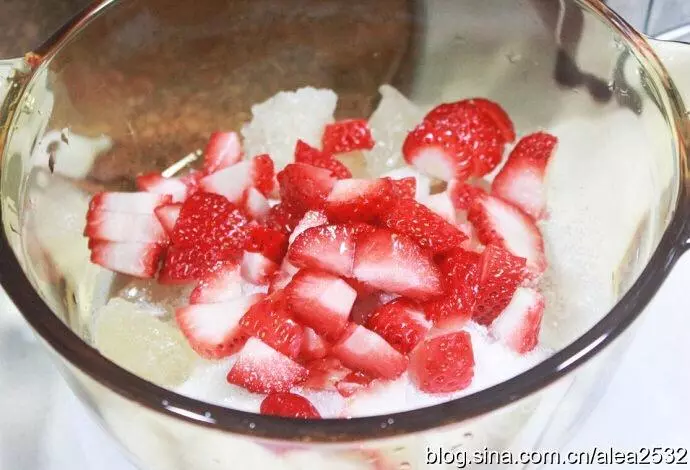
2草莓切小块放入锅里
3锅里再加入冰糖均匀混合(最好是全碎的)
4静置糖渍一晚上(白天做5-6小时),析出草莓汁
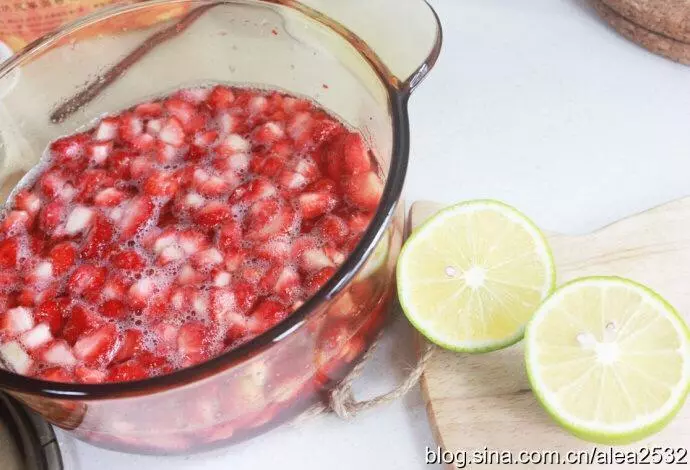
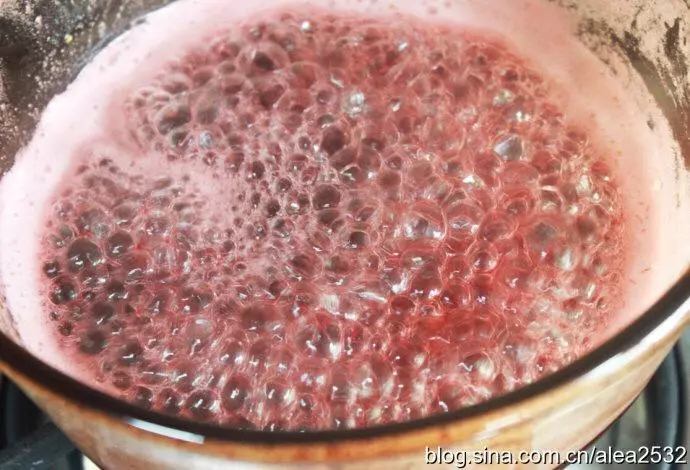
5第二天挤入柠檬汁,放明火煮沸5分钟
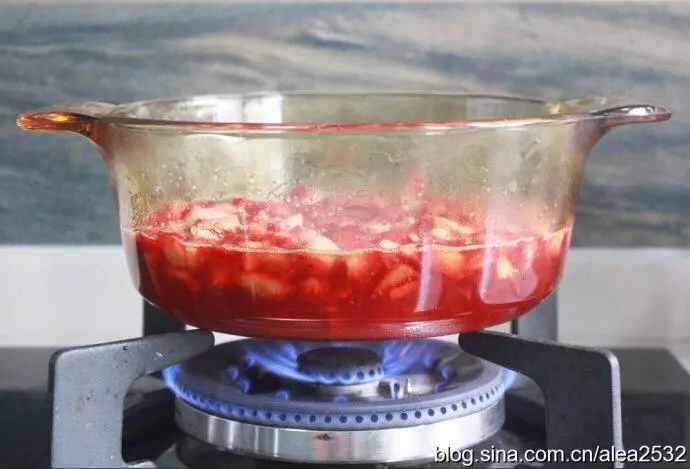
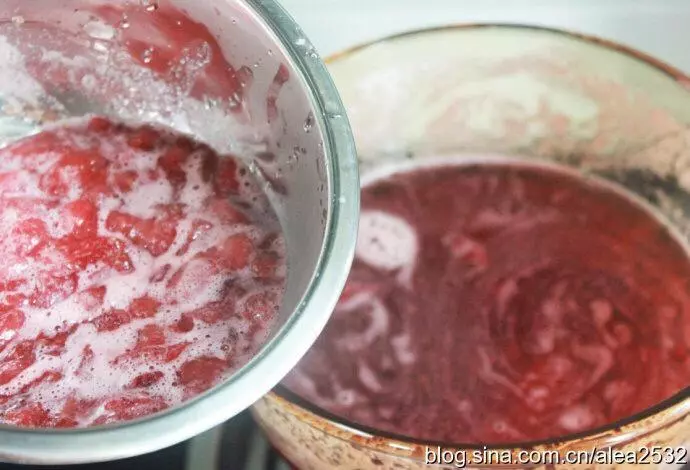
6捞出草莓煮糖浆5分钟,再放入草莓煮沸5分钟,捞出5分钟
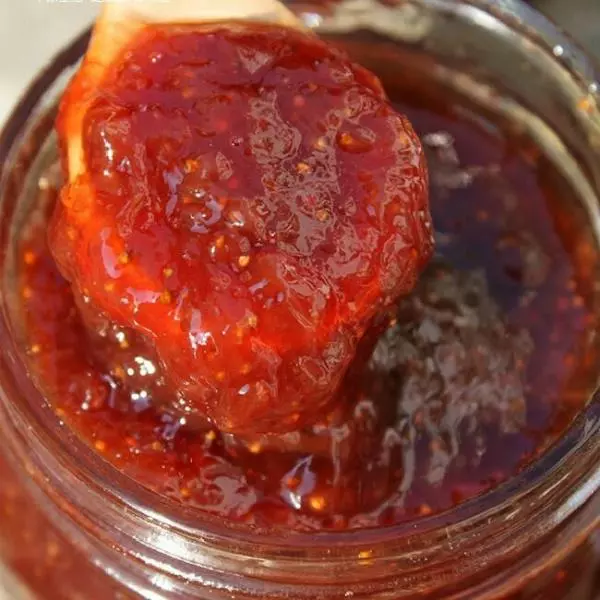
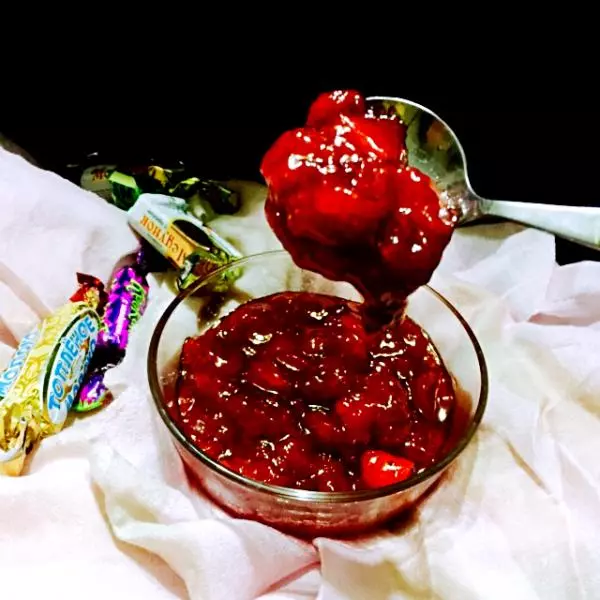
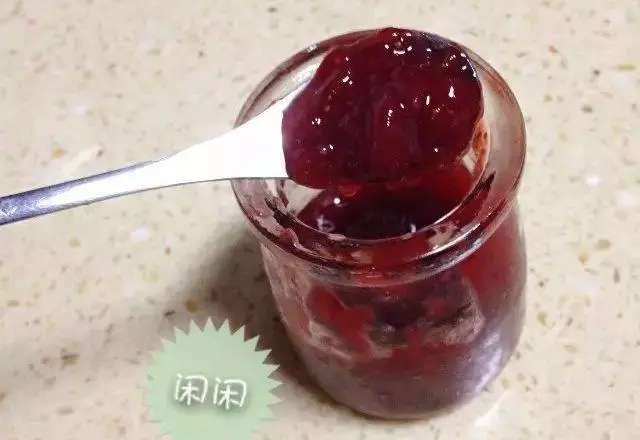
7盛一小勺果汁滴到冰勺子上,果汁呈缓慢流动说明煮好了,流动还比较快说明太稀继续煮
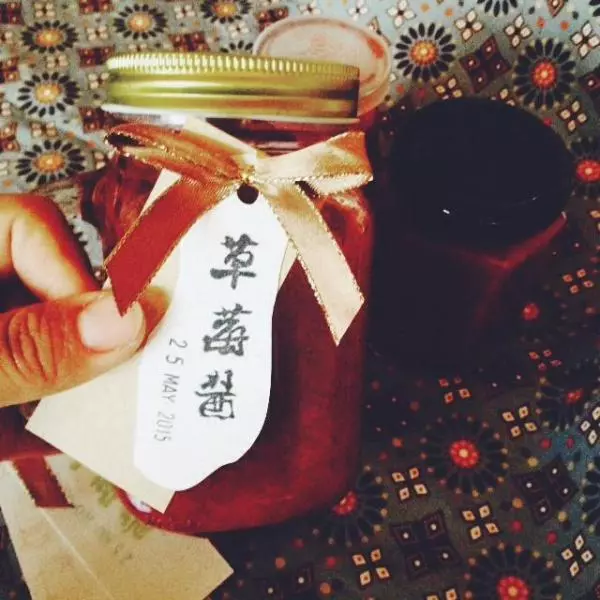
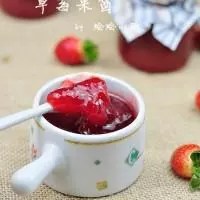
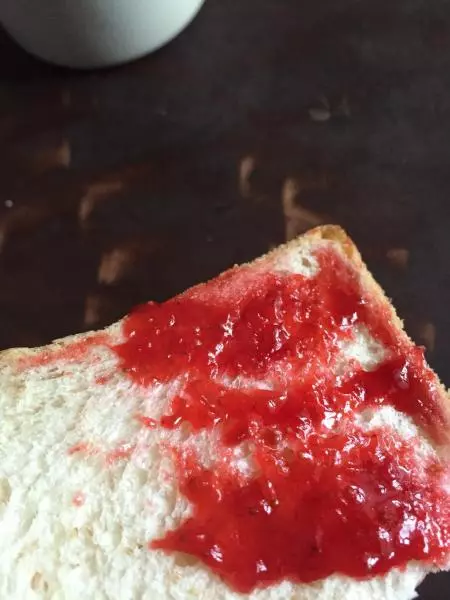
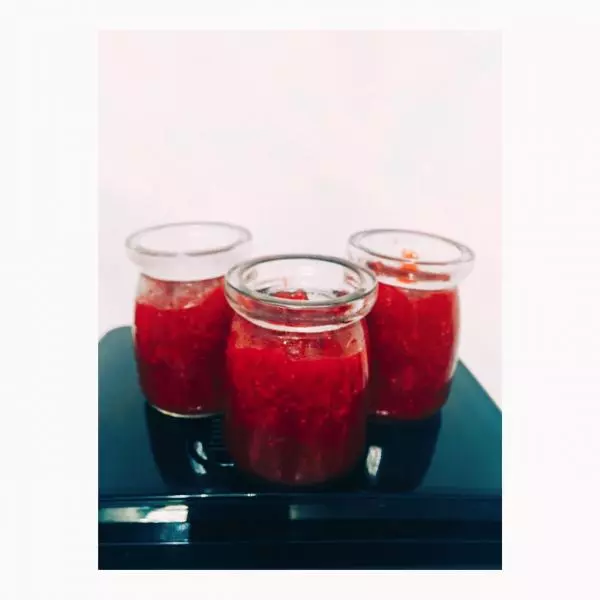
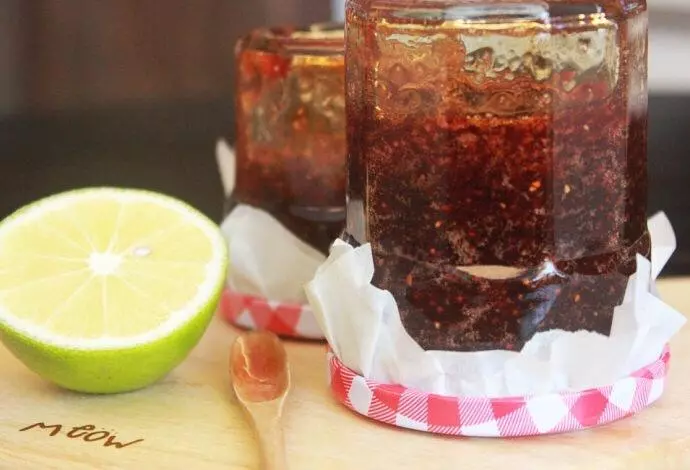
8糖浆煮好后放入草莓,盛入罐中,封口上盖上油纸2片,加盖子拧紧倒扣24小时
小技巧
1.参考的是HP大师的方子,大师用的糖是跟草莓1:1的,我觉得太甜,减量了 2.冰糖不上火,砂糖也可以 3.封口上盖油纸一来是干净,二来是密封性更好,如果放入冰箱不容易串味 4.倒扣24小时是高温真空消毒,倒扣24小时以后草莓酱不会有这么多,很多空气会跑出来 5.冰勺子是用来检验成品放入冰箱后再拿出来食用时的流动性的,糖分多的东西煮久了变焦糖就涂不开了