原料
派皮: , 无盐黄油: 140g, 低筋面粉: 210g, 蛋黄: 8g, 水: 37g, 细砂糖: 4g, 盐: 2g, 派液: , 橙子: 1个, 奶油奶酪: 80g, 细砂糖: 15g, 牛奶: 30g, 鸡蛋: 1个, 黄油: 20g, 玉米淀粉: 10g, 细砂糖(煮橙子用): 20g, 水(煮橙子用): 10g
步骤
1蛋黄和水均匀搅拌,再加入细砂糖和盐,拌匀放入冰箱冷藏待用.
2黄油取出切块,无需软化黄油,用硬刮刀切成小块,并且拌到稍微润滑,冬季气温较低时,底部坐40度温水操作。
3筛入低筋粉,切拌均匀

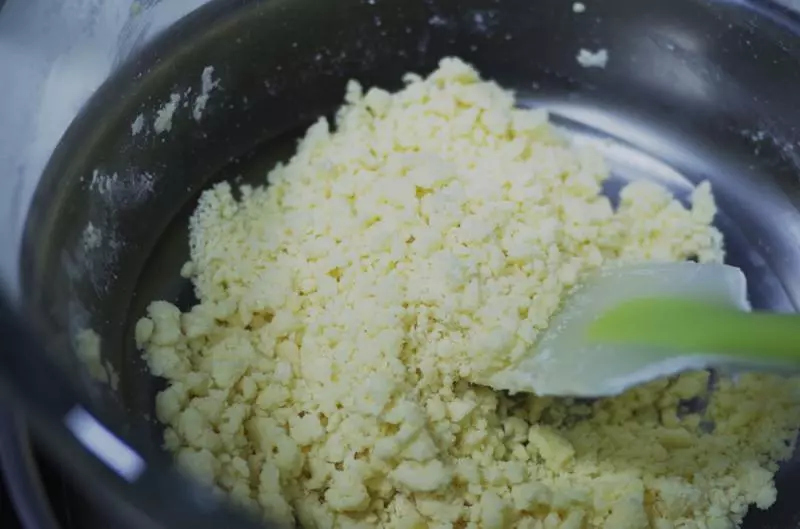
4拌到看不见干粉的酥粒状态。
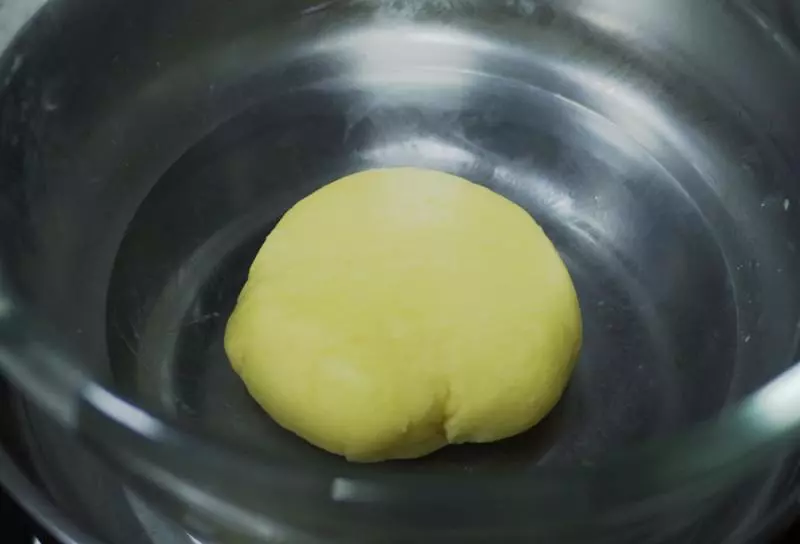
5倒入冷藏好的蛋液,拌匀后用刮刀归置在打蛋盆边上.揉成一个均匀的面团
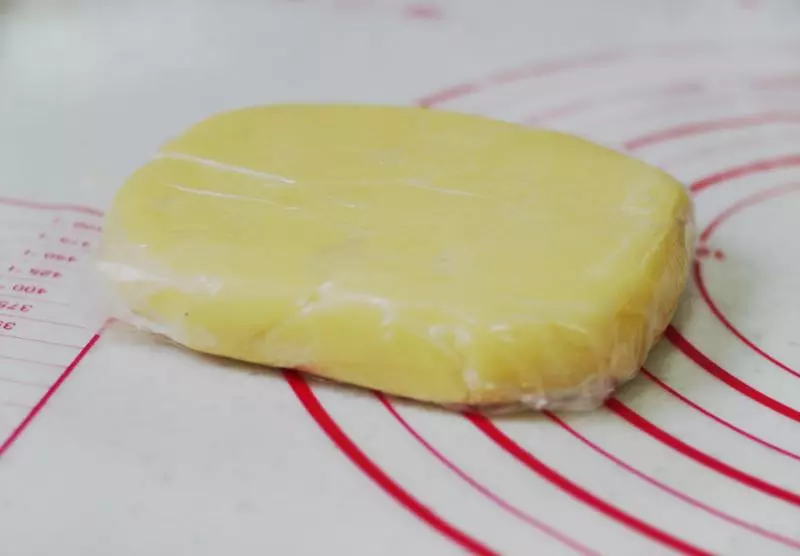
6面团移至揉面垫,撒少许手粉,分成均等的两份,整形成方形,厚度2cm。用保鲜膜包好,放入冰箱冷藏一夜。(做好的派皮面团是400g,16cm直径的派盘用140g,所以分成两份,一份200g,方便每次取出使用。如果使用直径20cm的左右的派盘,需要使用180g左右的派皮,就得预留240g的面团进行操作。多余的部分冰箱冷冻保存,可以下次回温再使用)
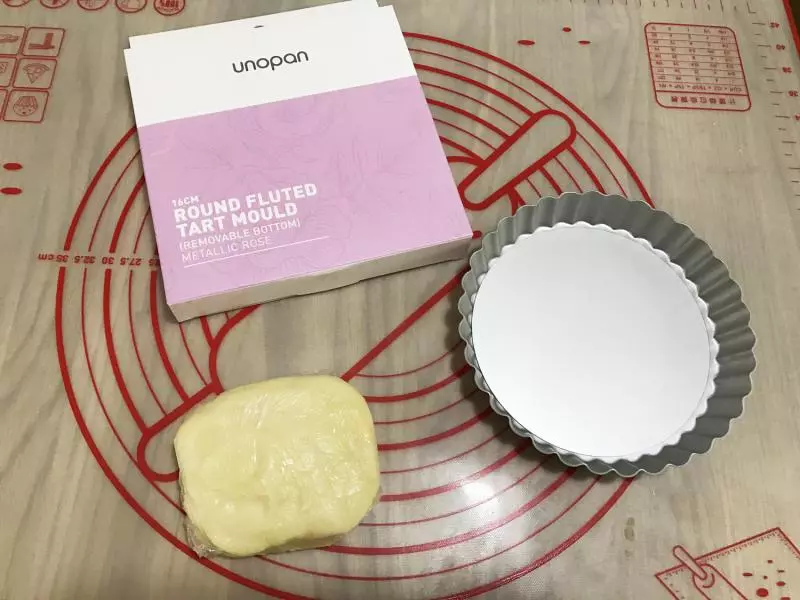
7第二天,取出一份派皮和模具
8台面撒少许手粉,用擀面杖先敲打派皮。
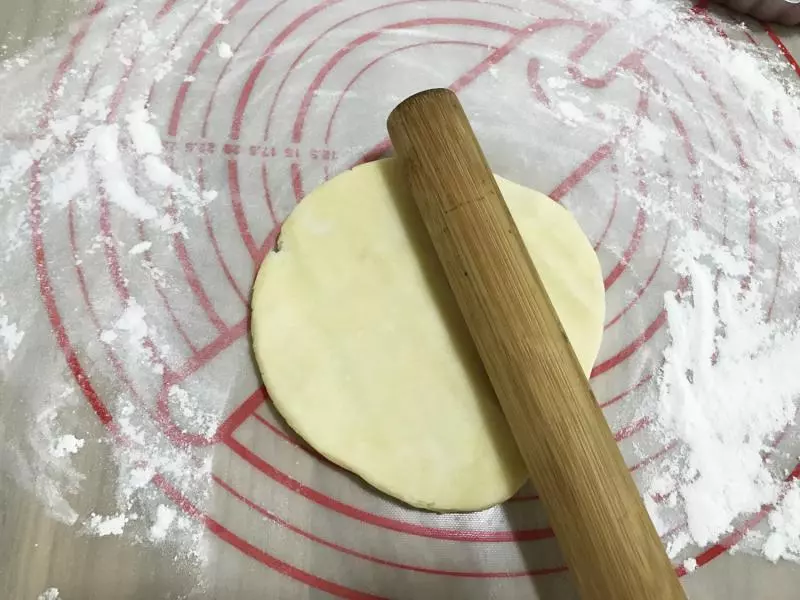
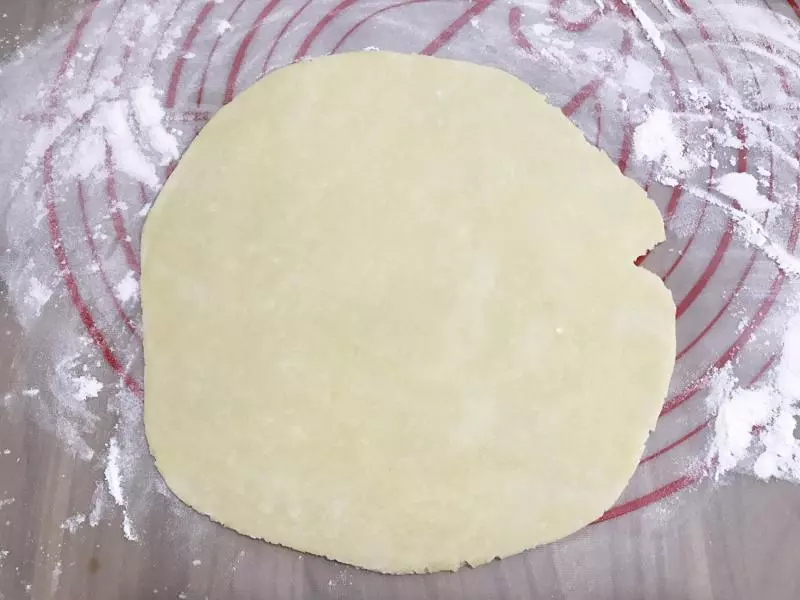
9派皮开始有点变软的时候,再慢慢上下左右擀成圆形,大小可以拿派盘比一下,比派盘一圈宽2指大小即可。厚度约3-4毫米
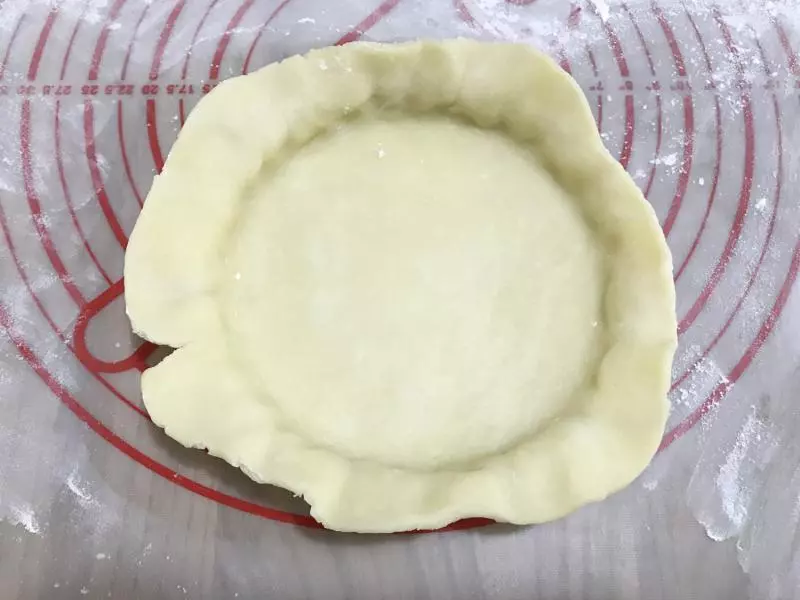
10将面皮放在模具中,底边压到底,派盘底部和侧面的面团要贴合垂直角度,不要留空隙。
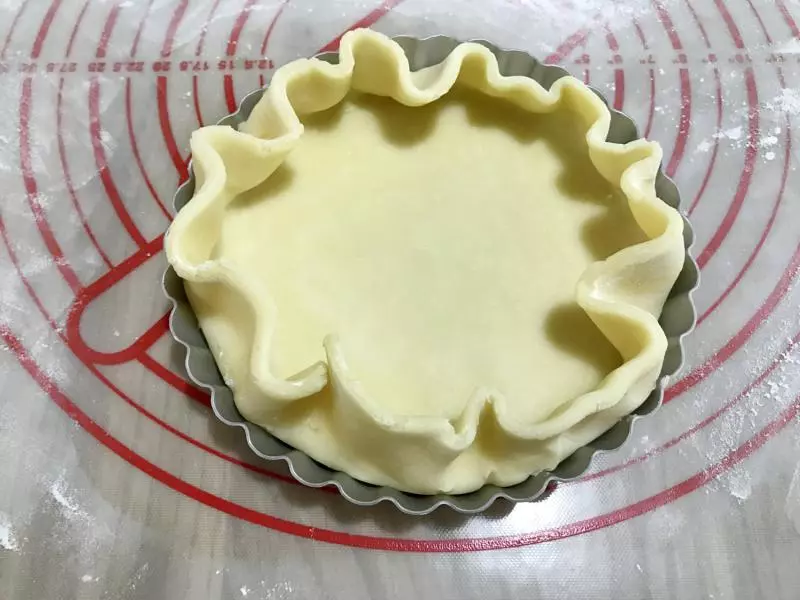
11再将面皮往边缘摊开。
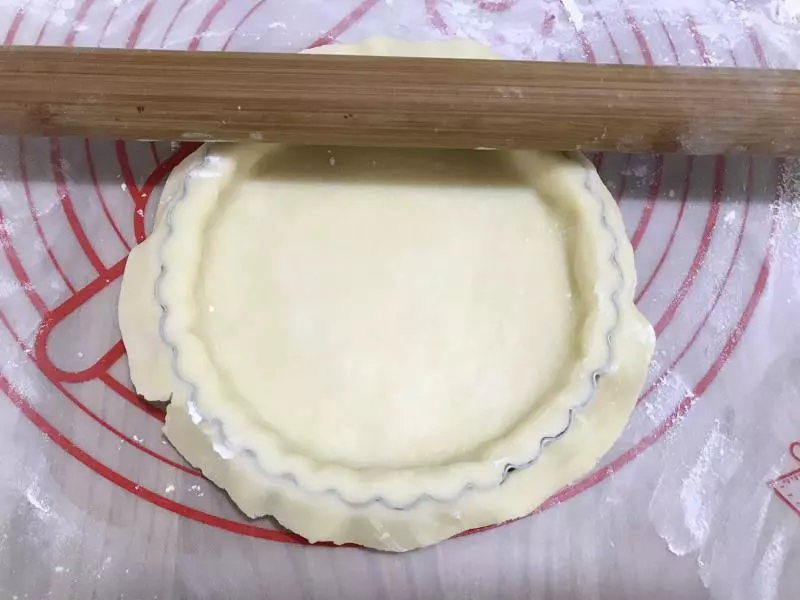
12用擀面杖切去多余的边缘。
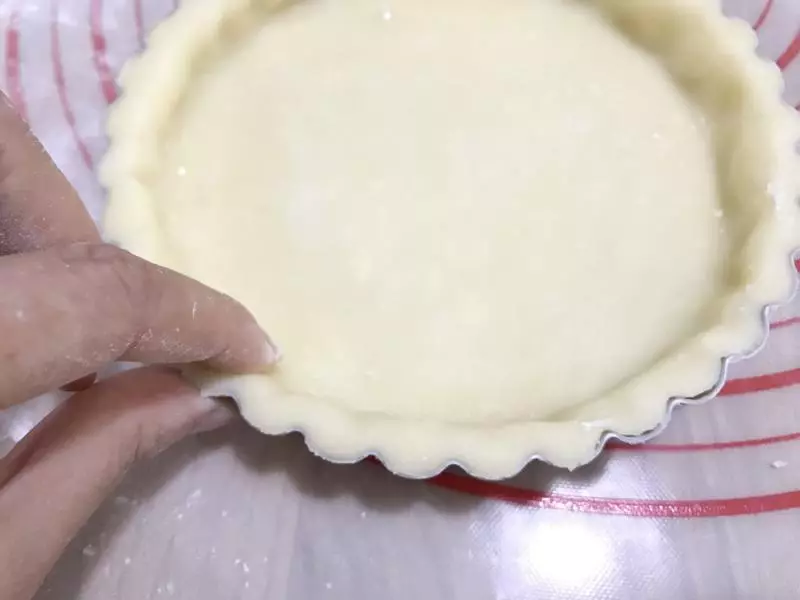
13用食指在模具边缘捏出花形,面胚刚好高出模具2mm。
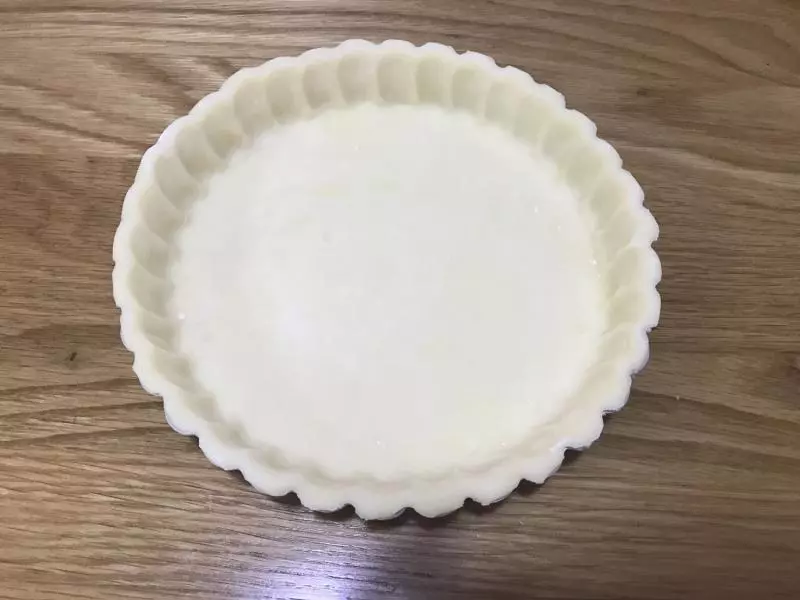
14全部捏好以后漂亮的菊花派底就做好了,然后放入冷冻室定型半小时
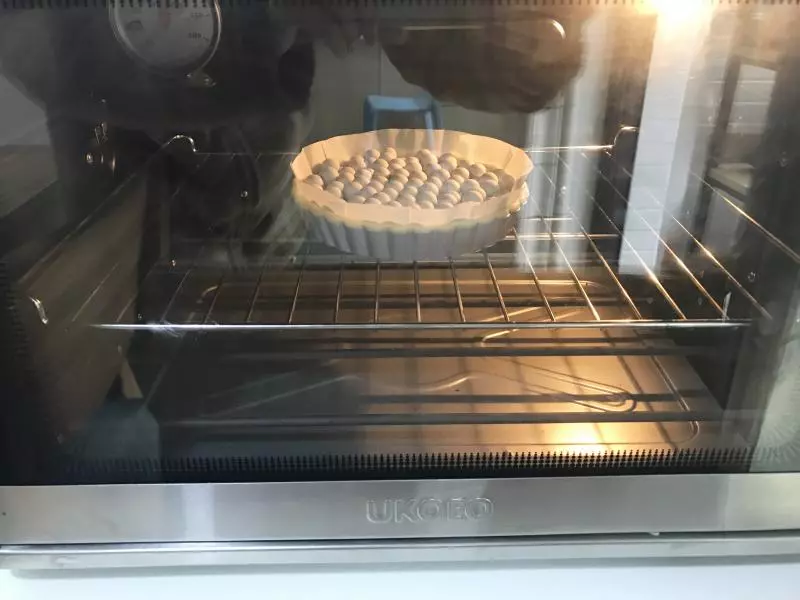
15预热烤箱190度上下火,取出派盘,用一张圆形八寸的不粘油纸,边缘剪出3cm的切口,放在派皮上,再放好重石。

16烤箱中层190度上下火烘烤25分钟
17取出待用(冷却后需要检查派皮是否有破损或者漏洞,用剩余的面团补好。)
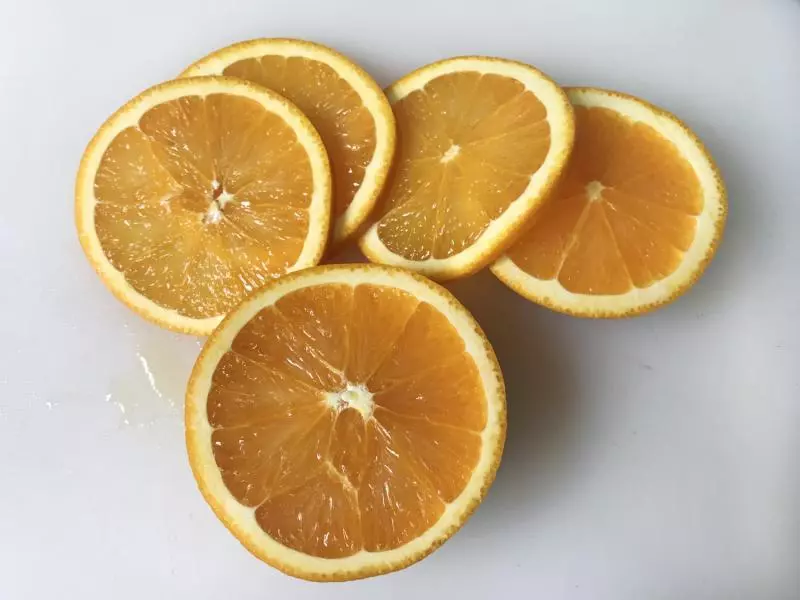
18橙子切两边,中间漂亮的部分切3片待用,两头部分去皮切块。
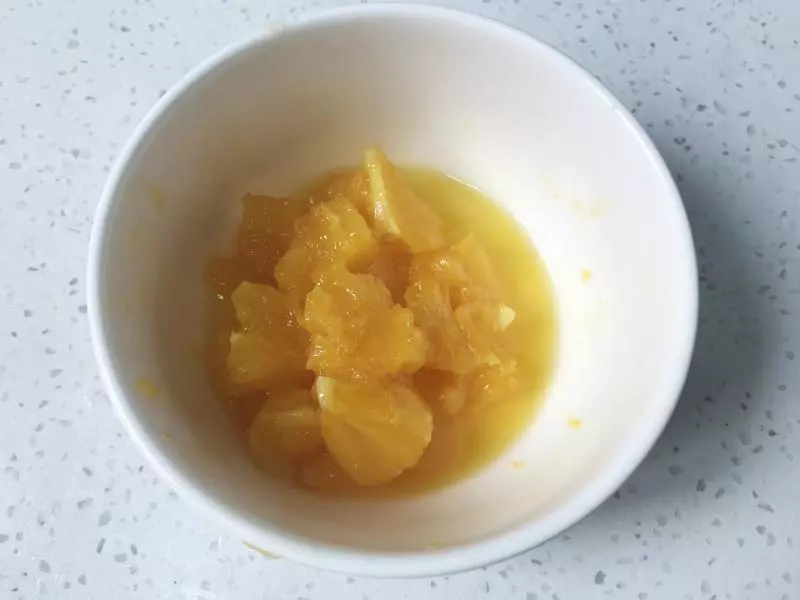
19橙子块放入锅中,加入10g水和20g细砂糖,大火烧开再转小火熬至糖浆粘稠。

20熬好盛出待用
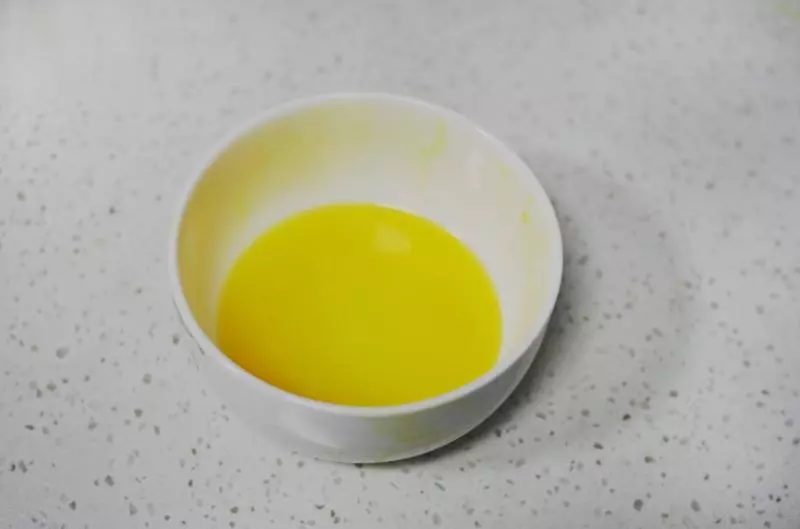
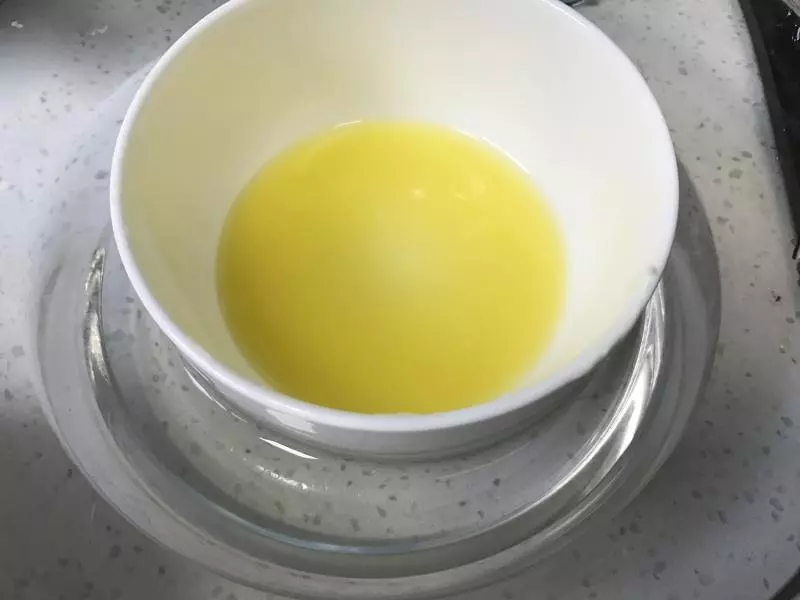
21黄油隔热水融化保温待用
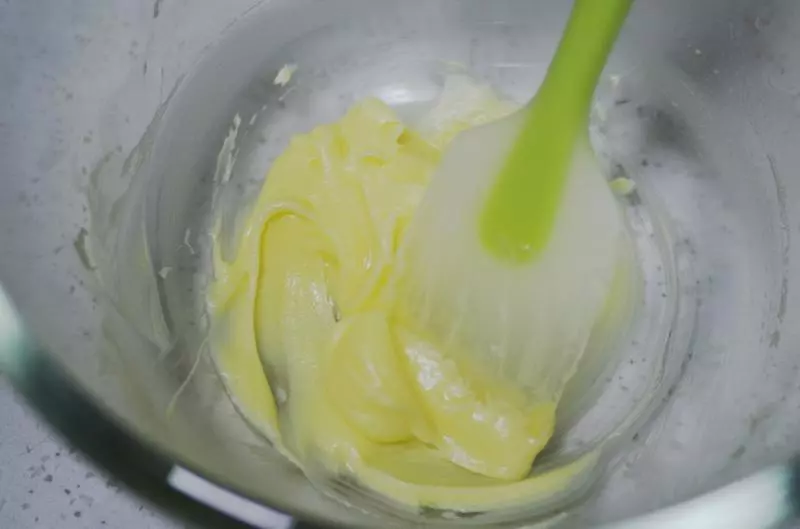
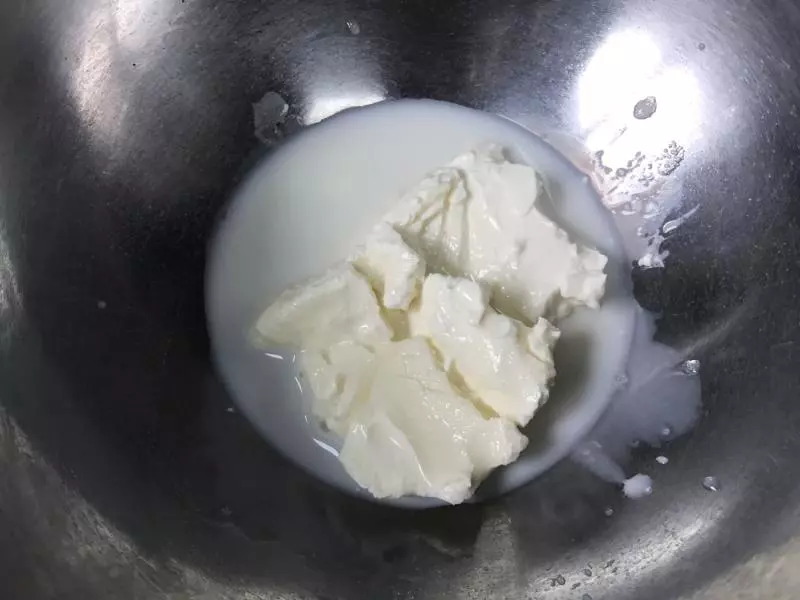
22奶油奶酪回温软化,加入牛奶后隔热水搅拌软化,并使用打蛋器,搅打到细腻顺滑。
23放入细砂糖搅拌均匀顺滑

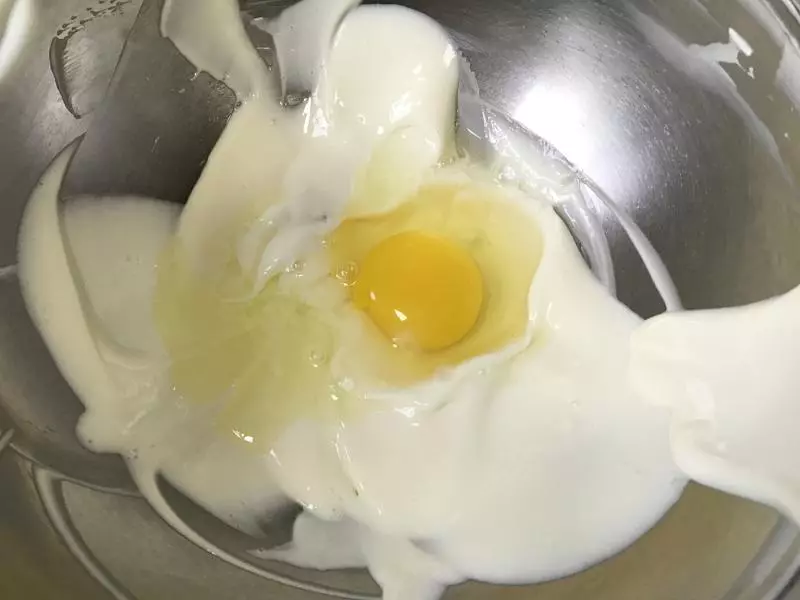
24加入鸡蛋液,拌匀
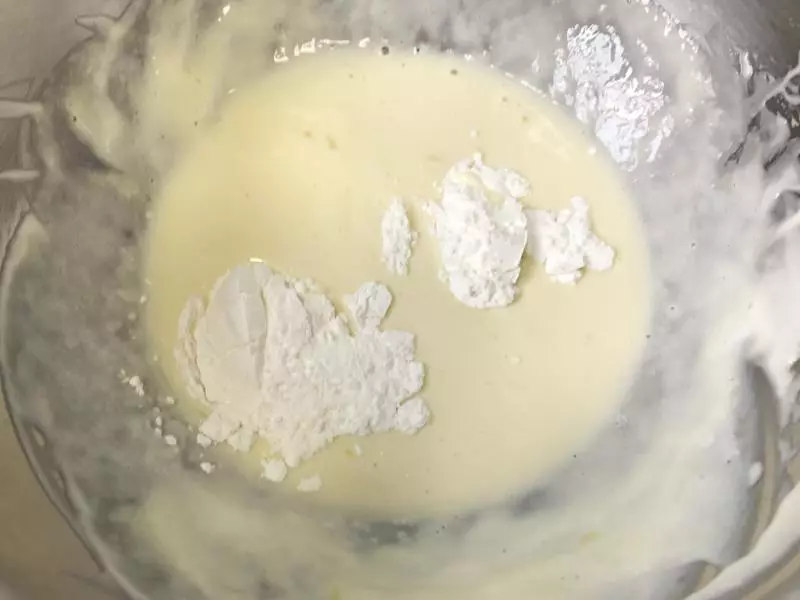
25加入玉米淀粉,拌匀。
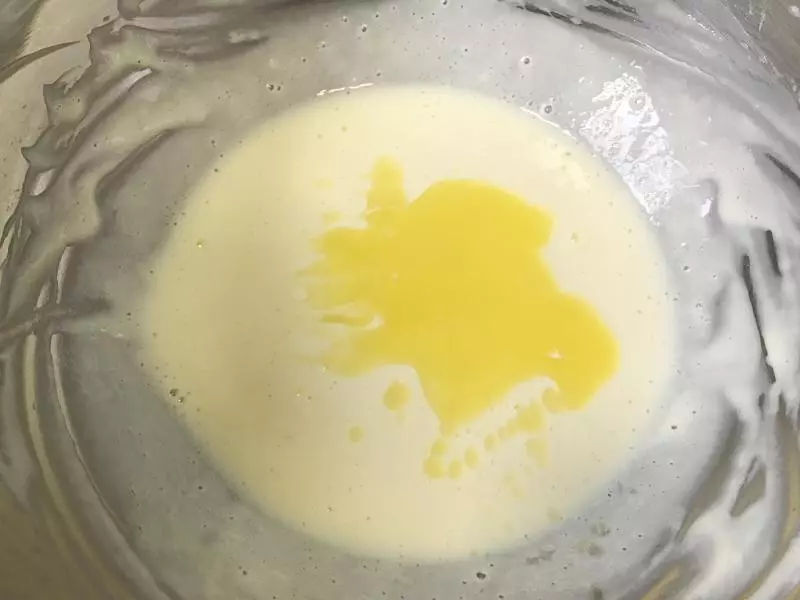
26加入液态黄油(黄油事先隔热水融化保温)搅拌均匀,此时预热烤箱190度上下火。
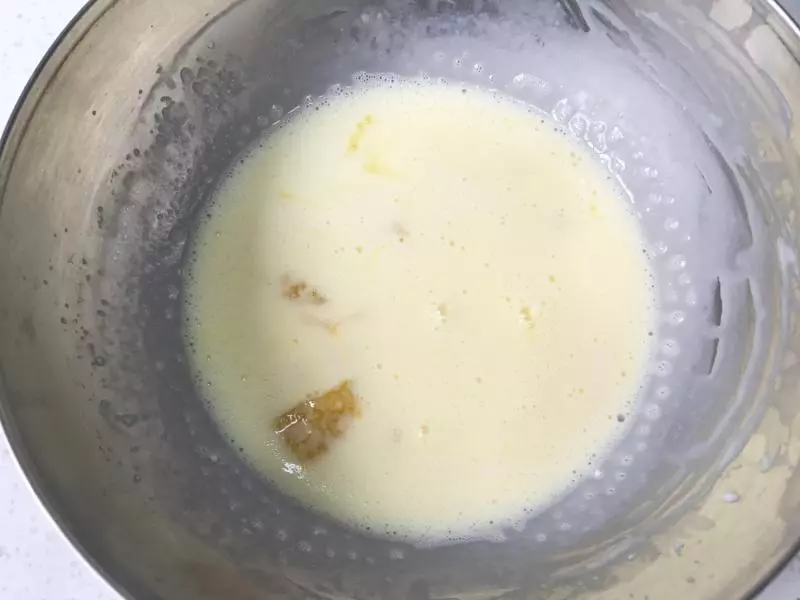
27将之前的橙子块和糖浆倒入派液中,稍微拌几次。
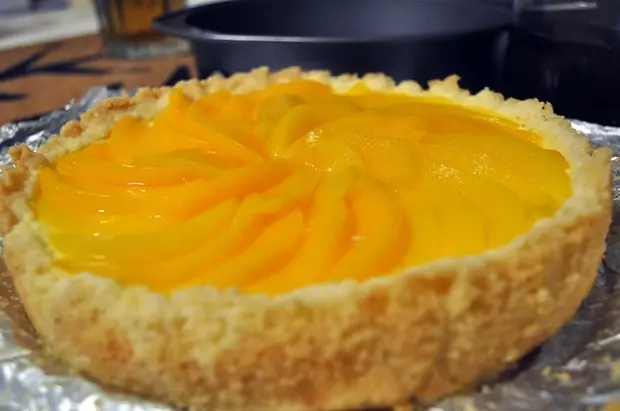
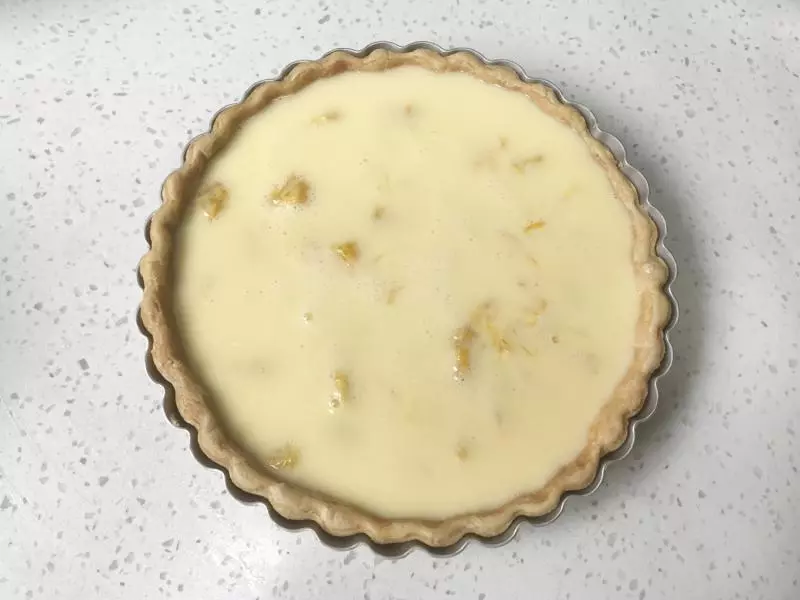
28派盘中放入橙子块和搅拌好的乳酪面糊
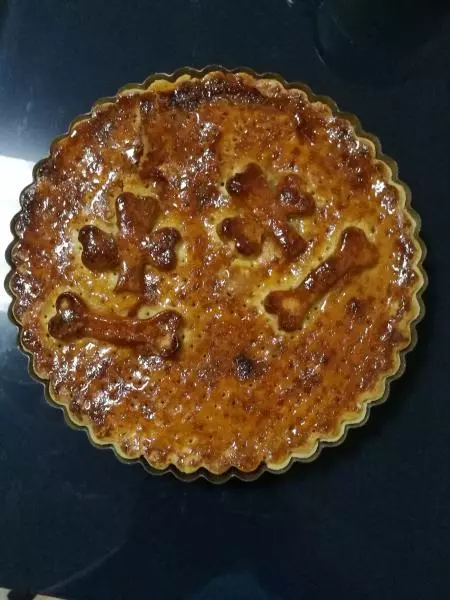
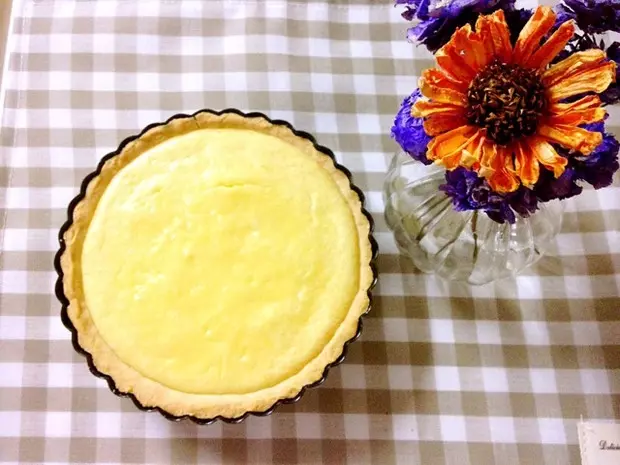
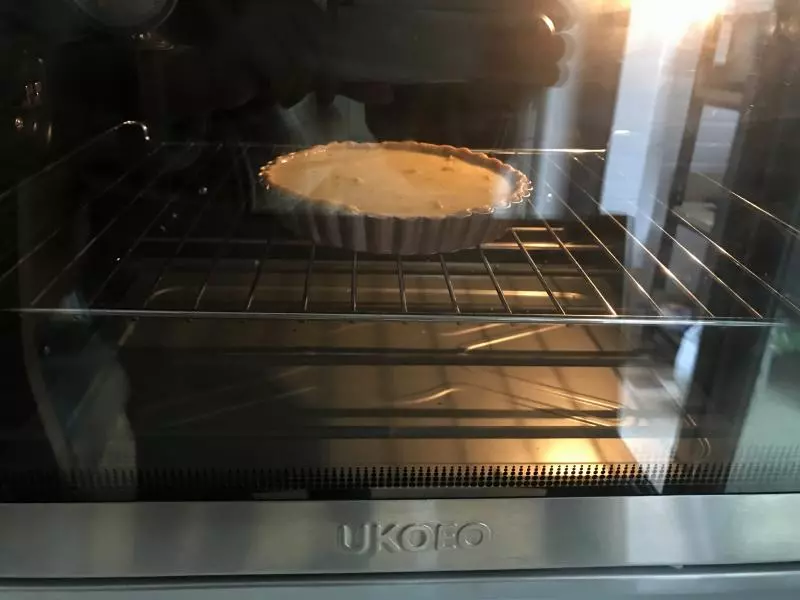
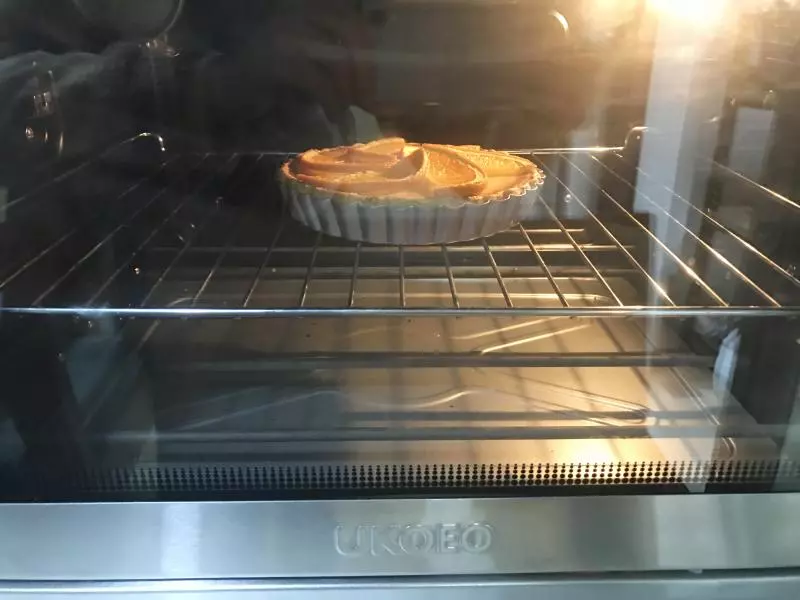
29放入180度上下火的烤箱中烘烤15分钟,烤至表面凝固即可。
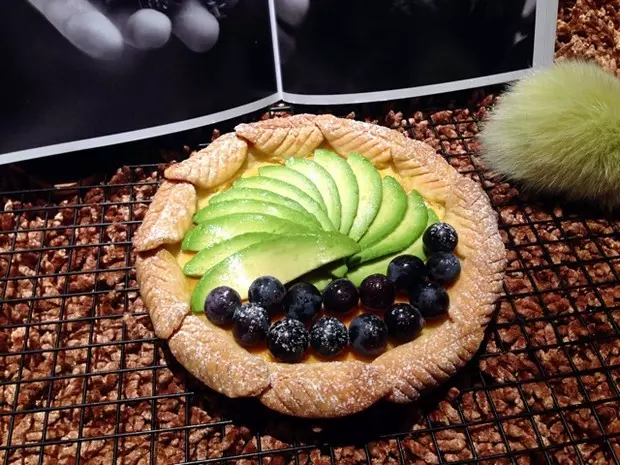
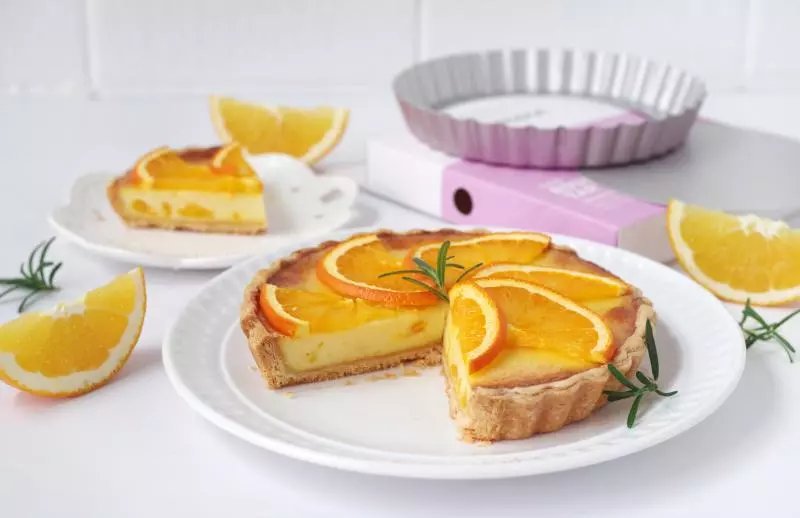
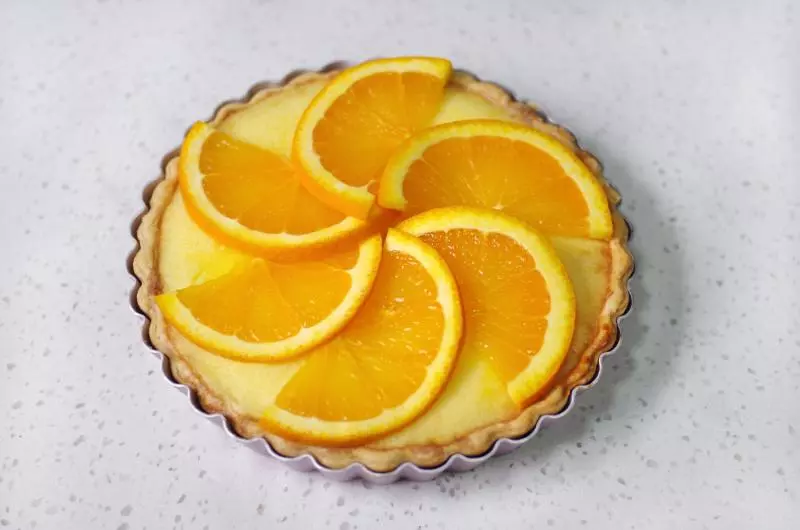
30取出派盘,铺好切片橙子。
31放入烤箱继续烘烤10分钟左右。
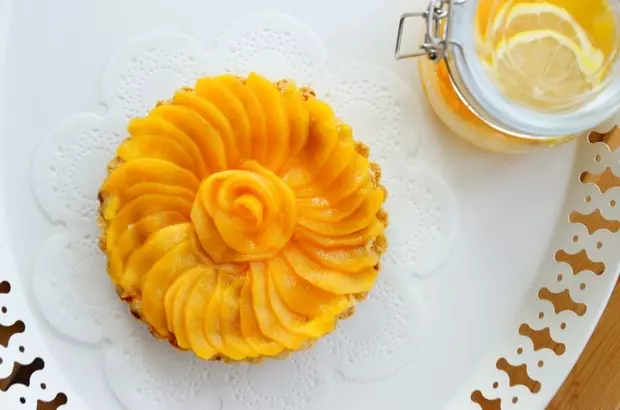
32烤好取出冷却。
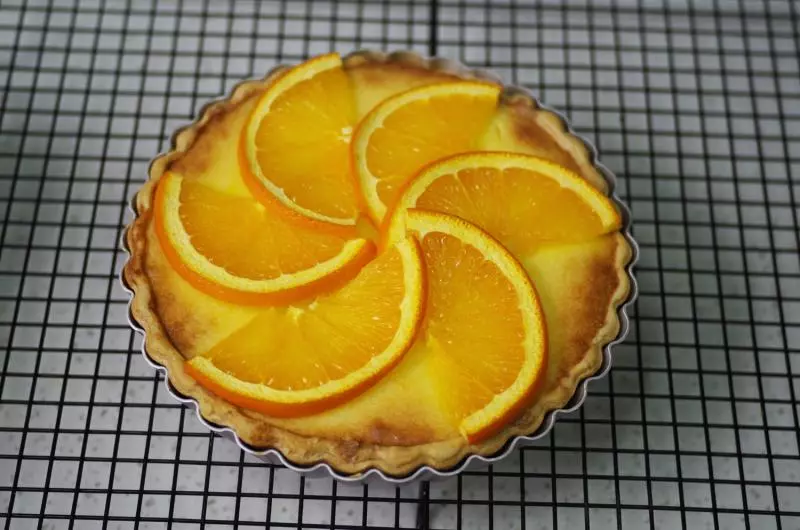
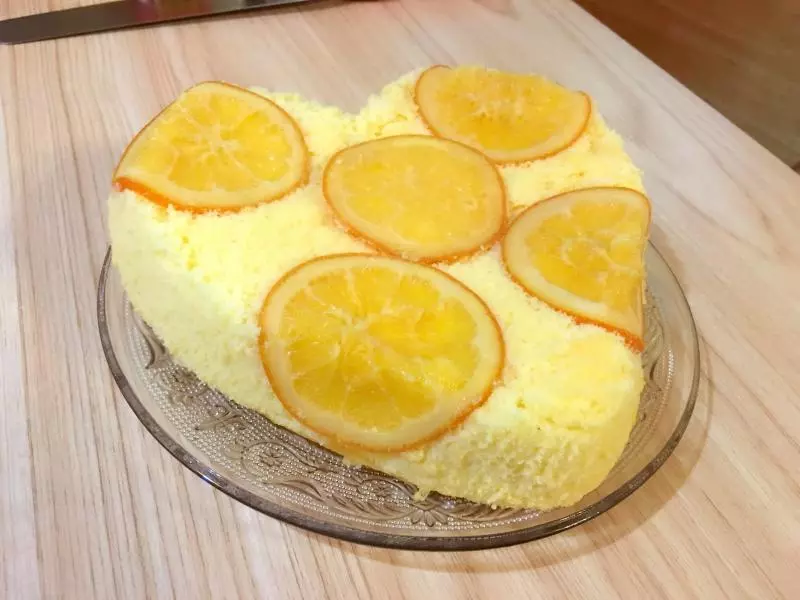
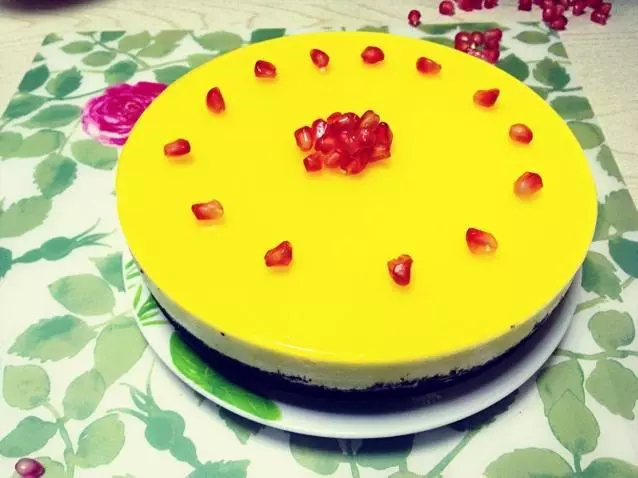
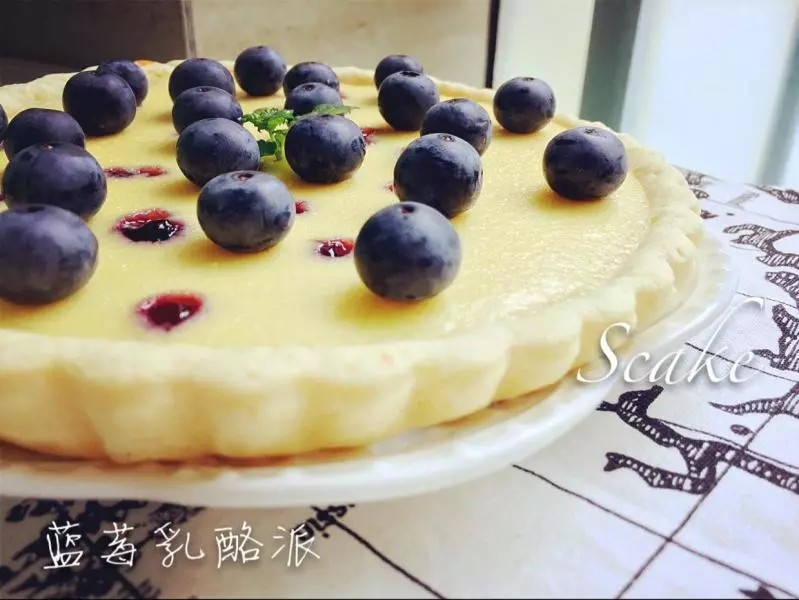
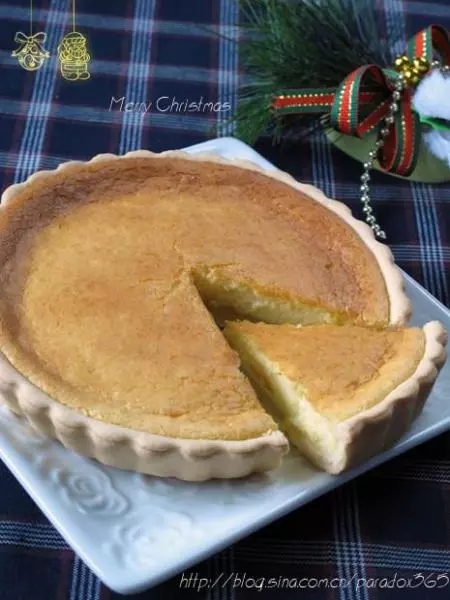
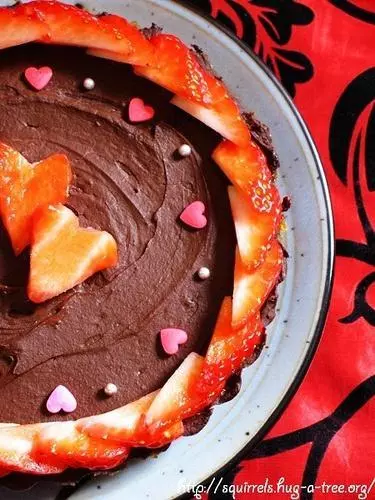
33脱模后即可装盘食用。

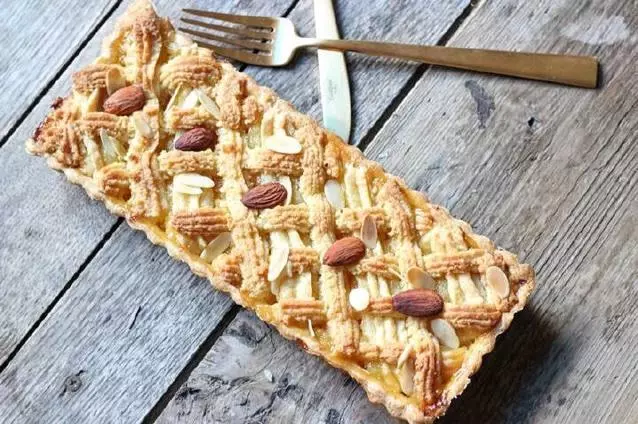
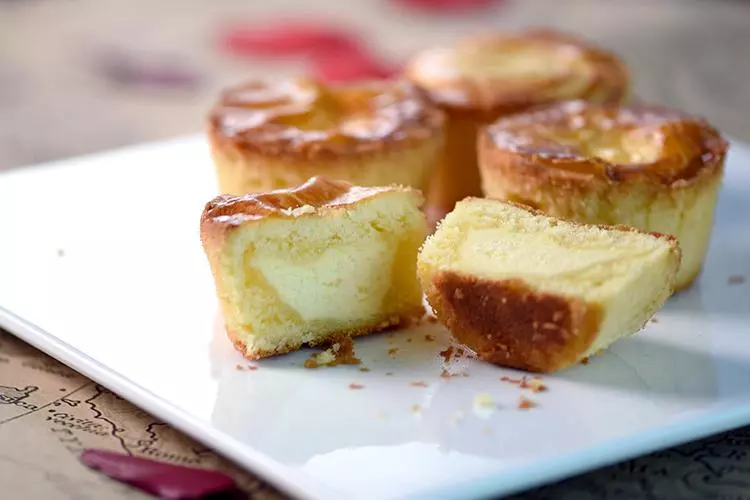
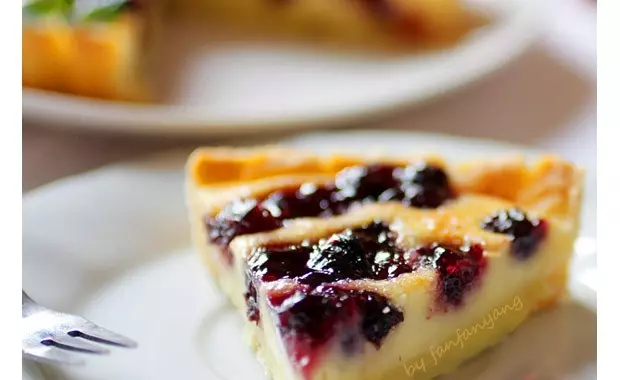
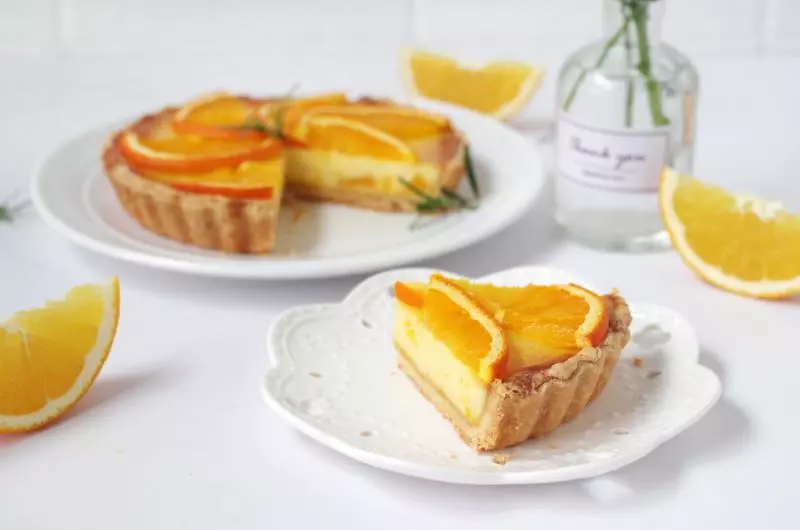
34切块可以看到里面的香橙果肉
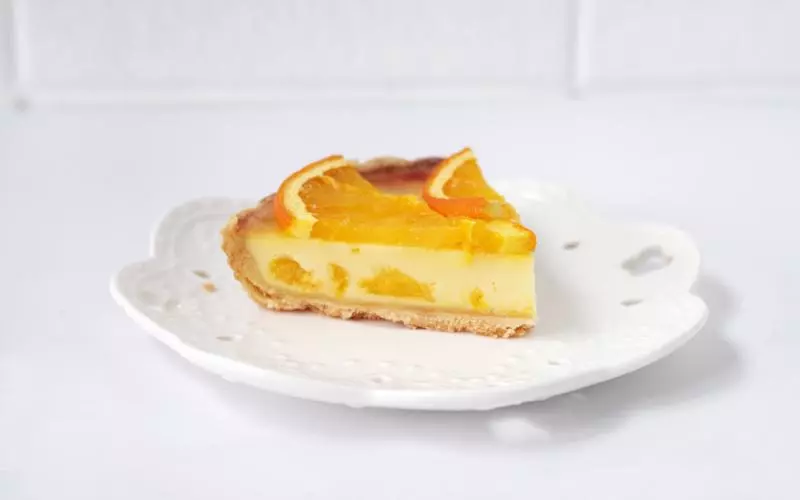
35冷藏后也很美味。
小技巧
1、橙子切片厚度以4毫米左右为宜。 2、烤箱温度和时间根据自己家烤箱脾气调整。 3、配方中的派皮是可以做两次派的,剩余部分包好可以放冰箱冷冻,下次再用。 4、派液的量是一个的配方,下次再做的时候再弄,派液不好保存很久。