原料
咸蛋黄: 13个, 白芸豆: 160克, 莲子: 240克, 砂糖: 170克, 玉米油: 150克, 转化糖浆: 116克, 花生油: 50克, 枧水: 4克, 普通面粉: 165克
步骤
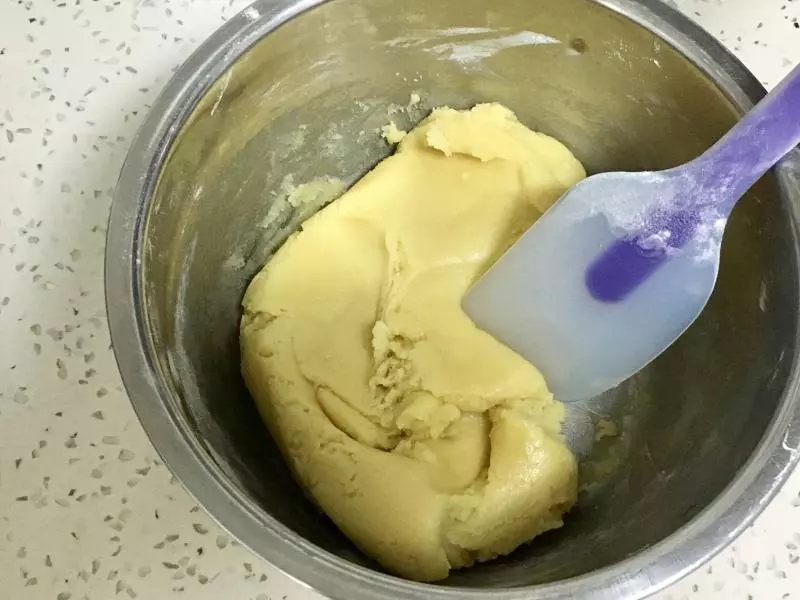
1把转化糖浆,花生油,枧水都倒入盆里,花生油一定要用花生油,其他的油做出来不好吃!
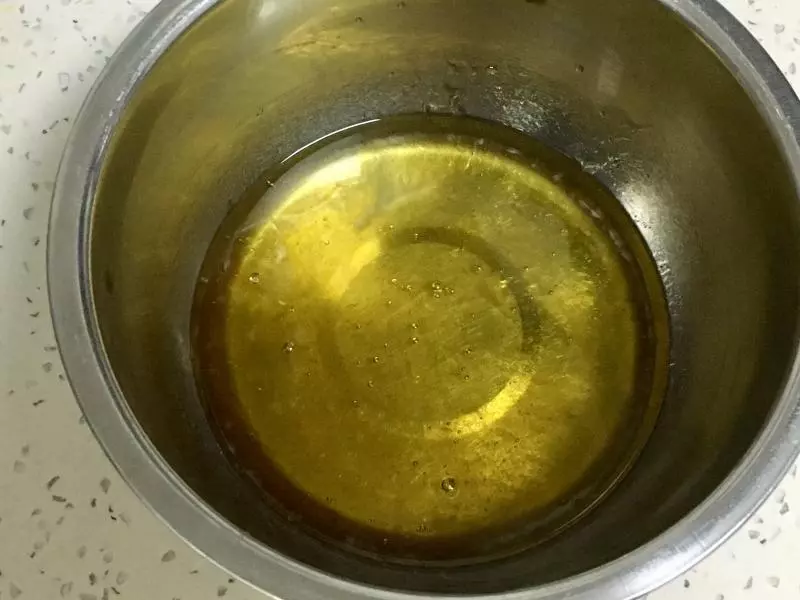
2用刮刀搅拌均匀,完全融合。
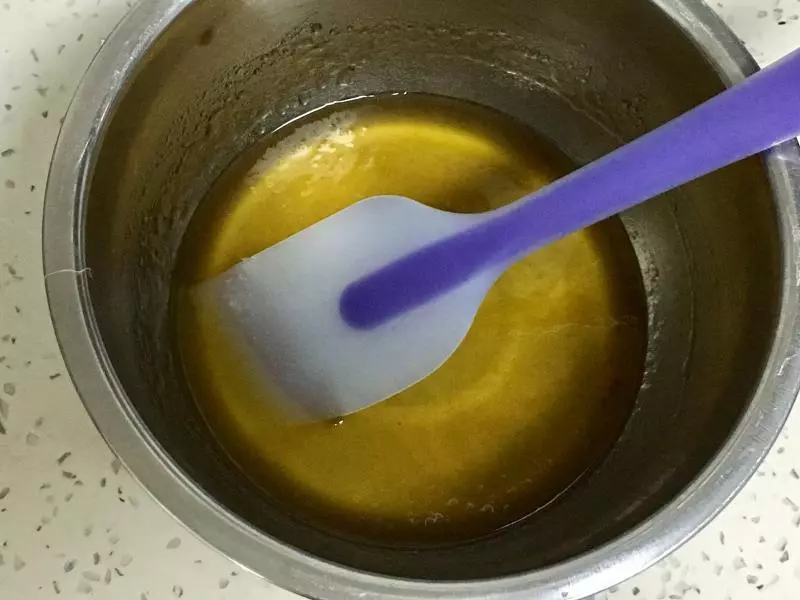
3加入普通面粉。

4用刮刀翻拌均匀。
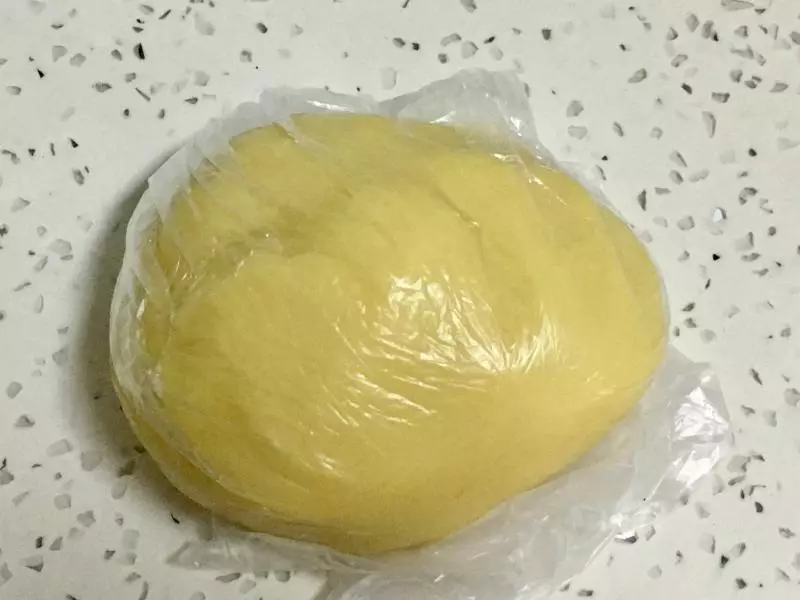
5放入食品袋静置两个小时以上。
6白芸豆用温水泡两个小时左右,皮就皱了,用手一撕皮就掉了。
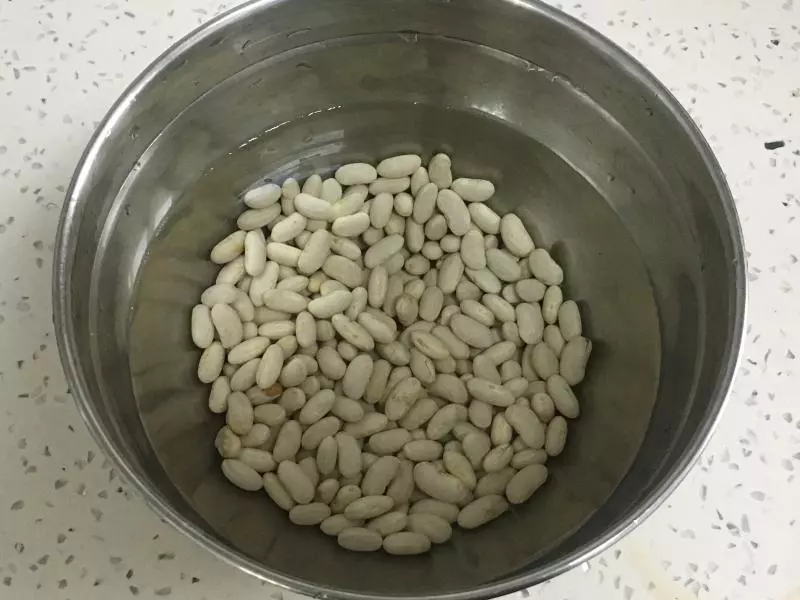
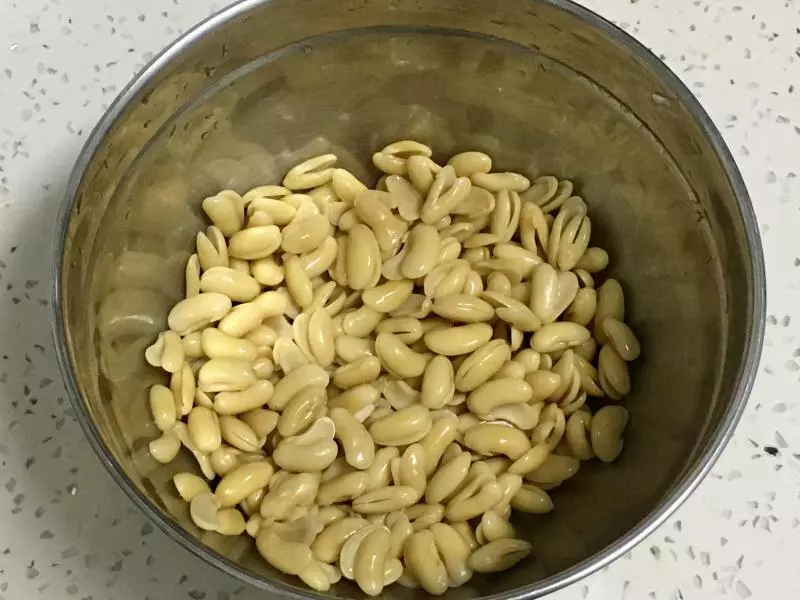
7脱完皮备用。
8高压锅里放入去了皮的白芸豆和莲子,加水量没过莲子两到三厘米就可以了。
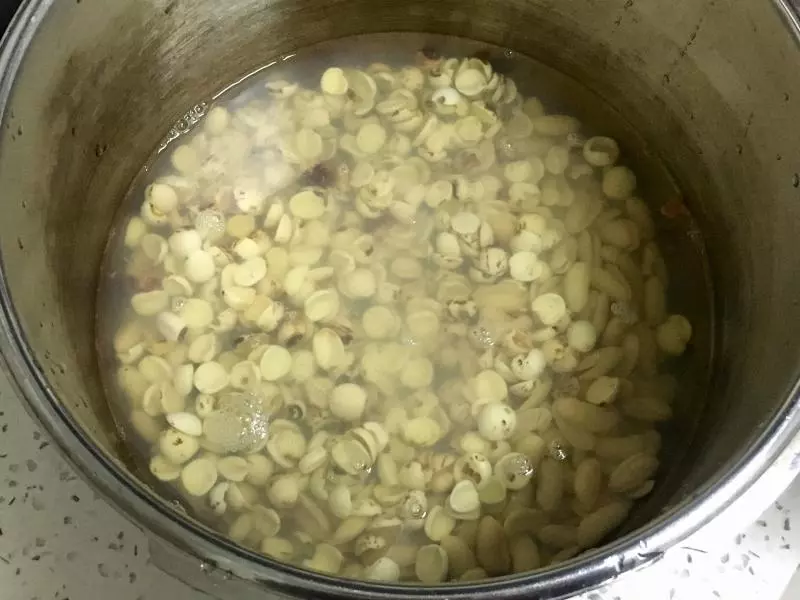
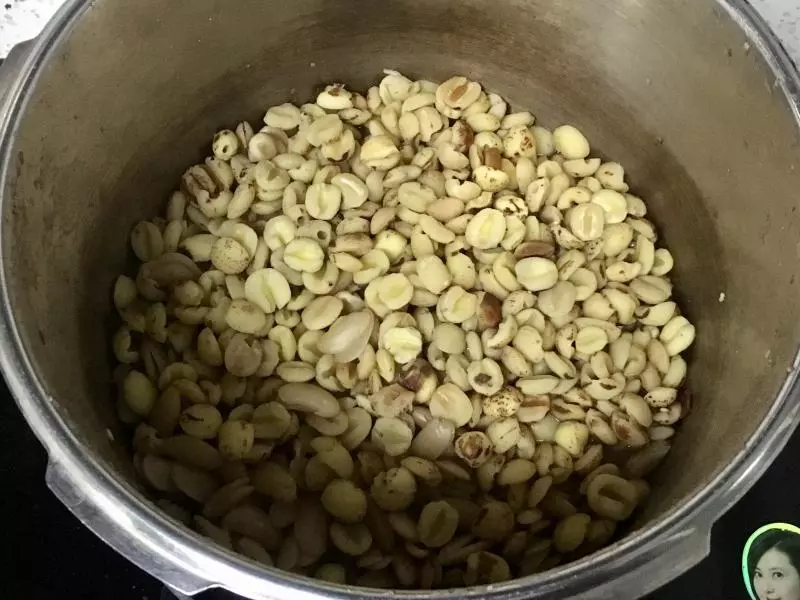
9开锅后再压20分钟就熟了,晾一下备用。
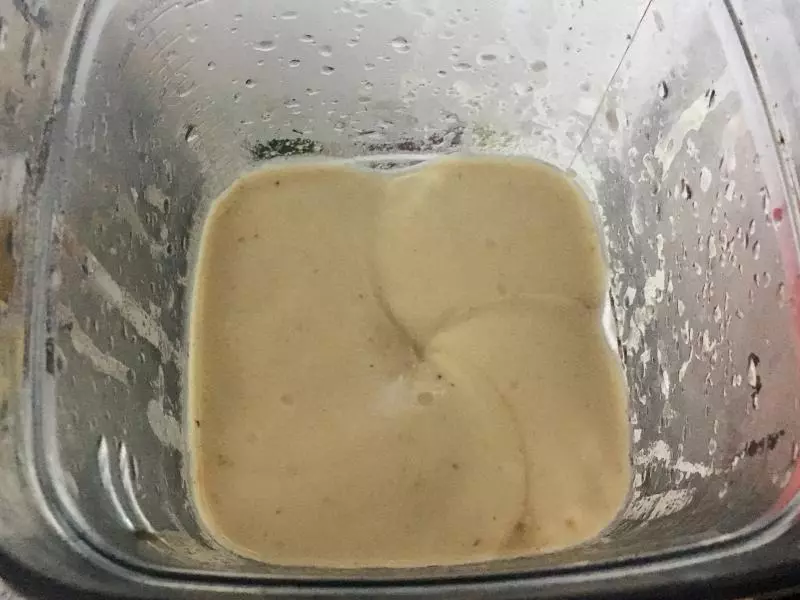
10晾到不烫手的时候放入破壁机打成泥。
11倒入不粘锅。
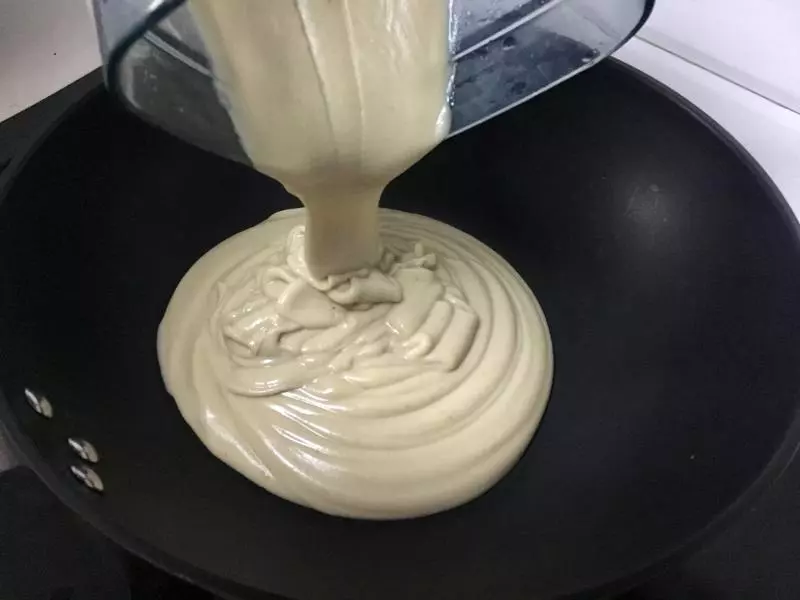
12加入糖和三分之一的玉米油,其他的玉米油再分两次加入,每次都是炒的完全吸收了再加下一次。
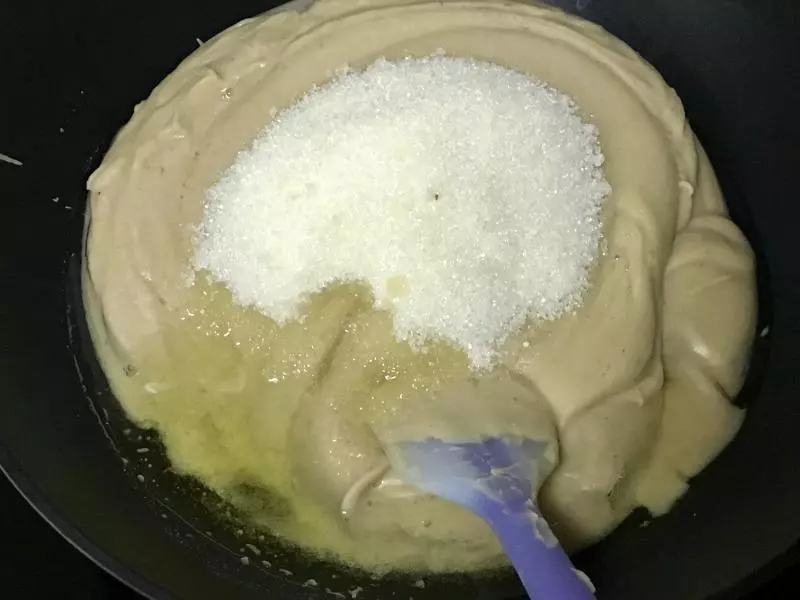
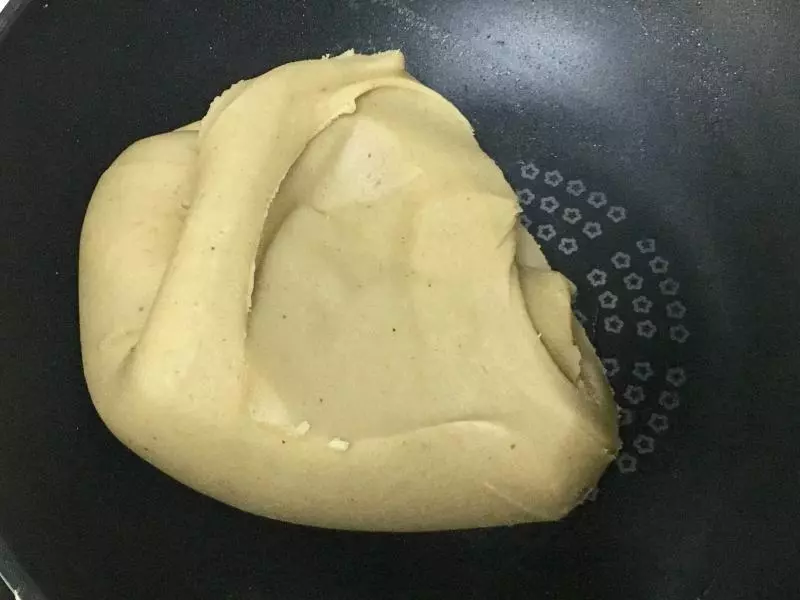
13不停的搅拌,翻炒,直到炒到图片的状态为止。
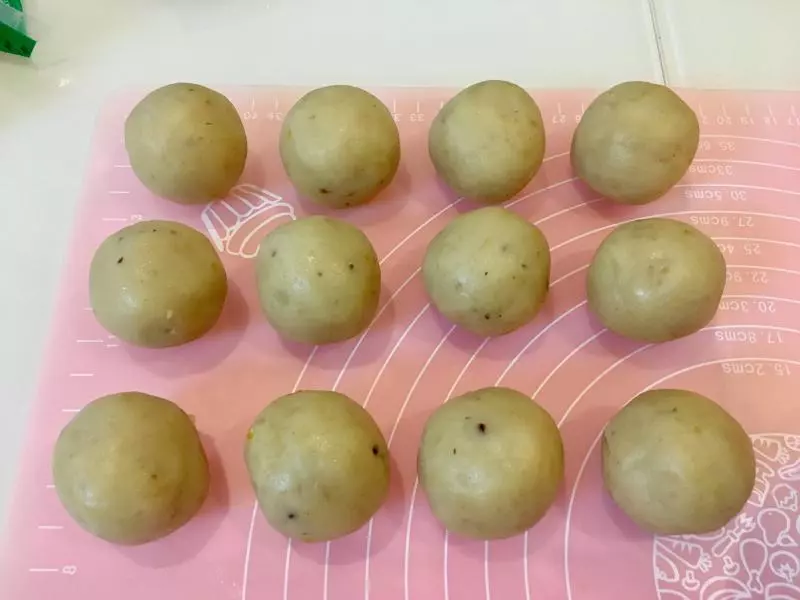
14准备做75克的月饼,馅料我是用了57克,皮用28克,所以称重一个咸蛋黄和莲蓉馅,合计57克就行。
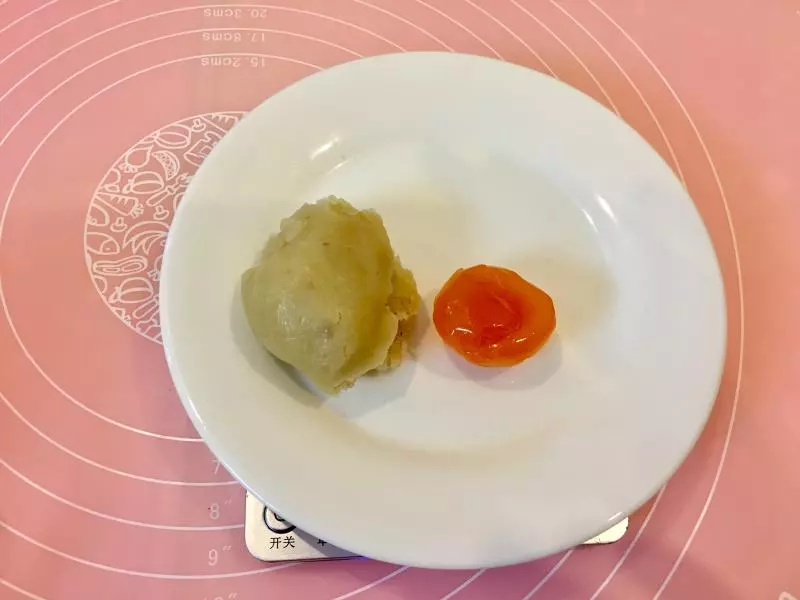
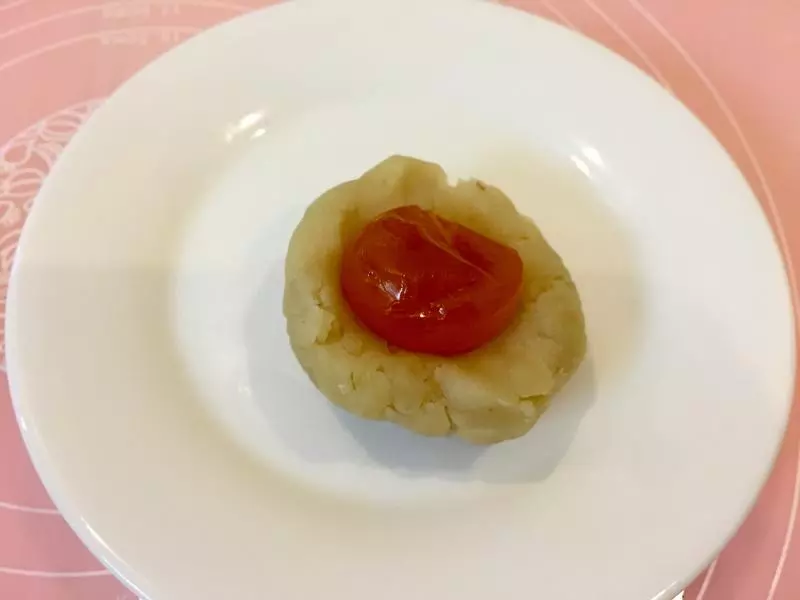
15莲蓉馅把咸蛋黄包起来。
16全部包好备用,馅料做的多,这次是用不完的,月饼皮的量只够做13个的。
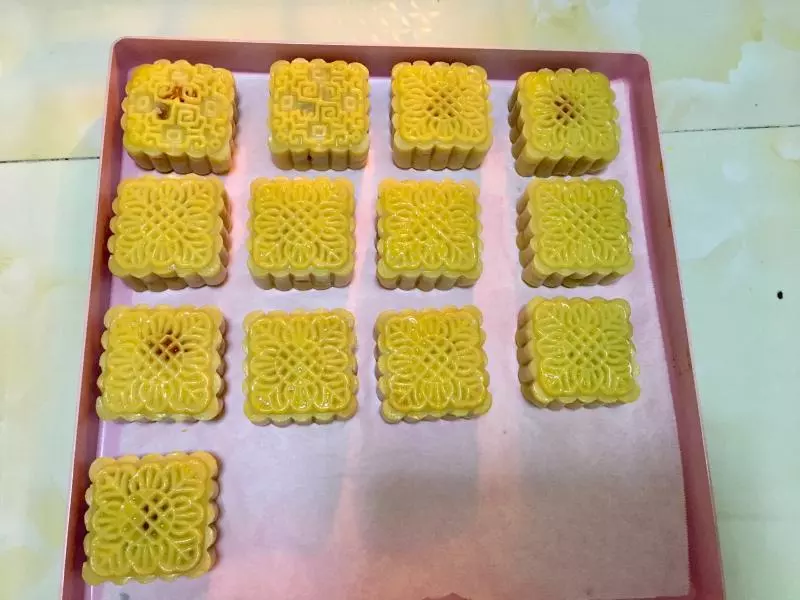
17取月饼皮28克,包莲蓉蛋黄球。

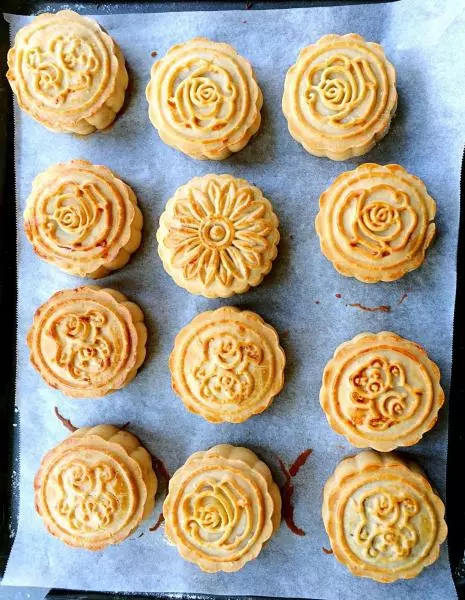
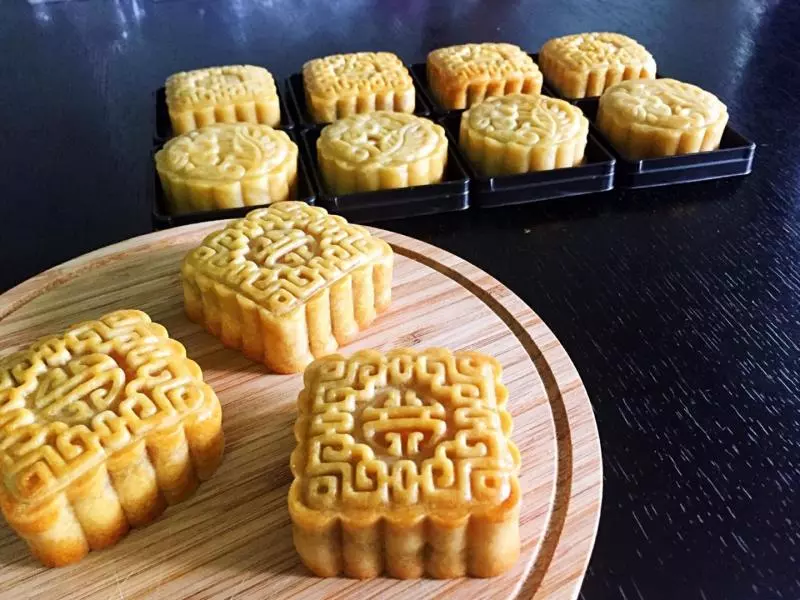
18用虎口处包起来。
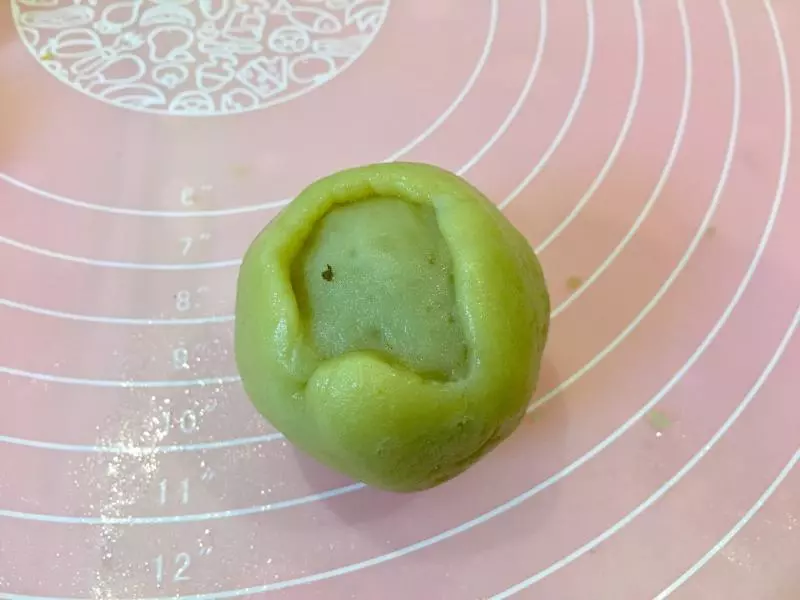
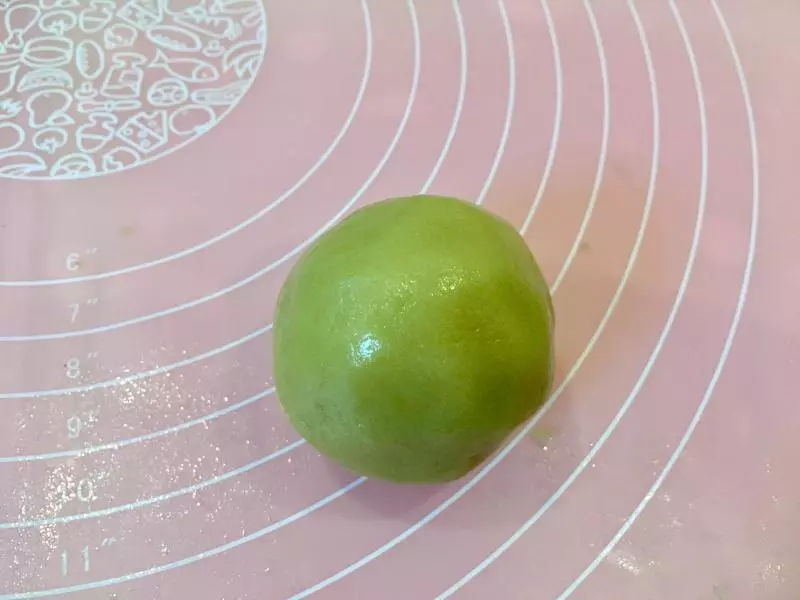
19完全包好了。
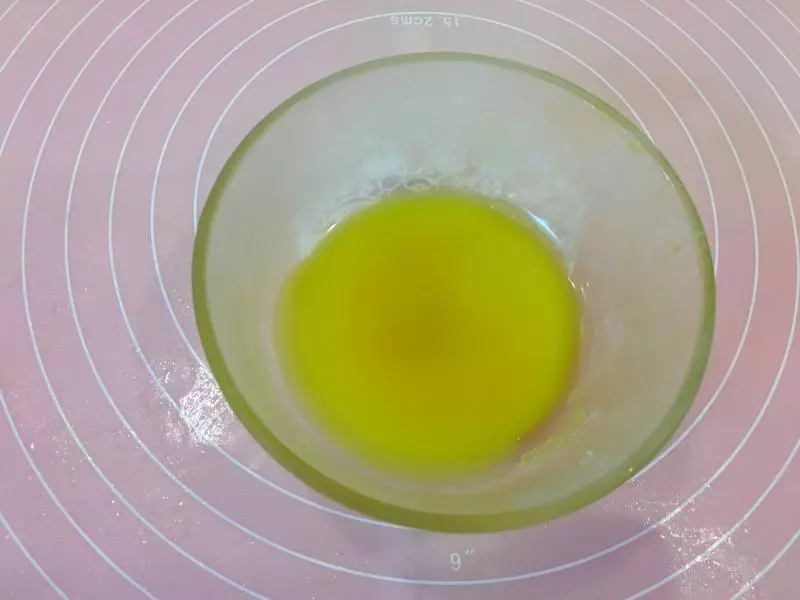
20放入75克模具里,压好了脱模,烤箱预热190度。
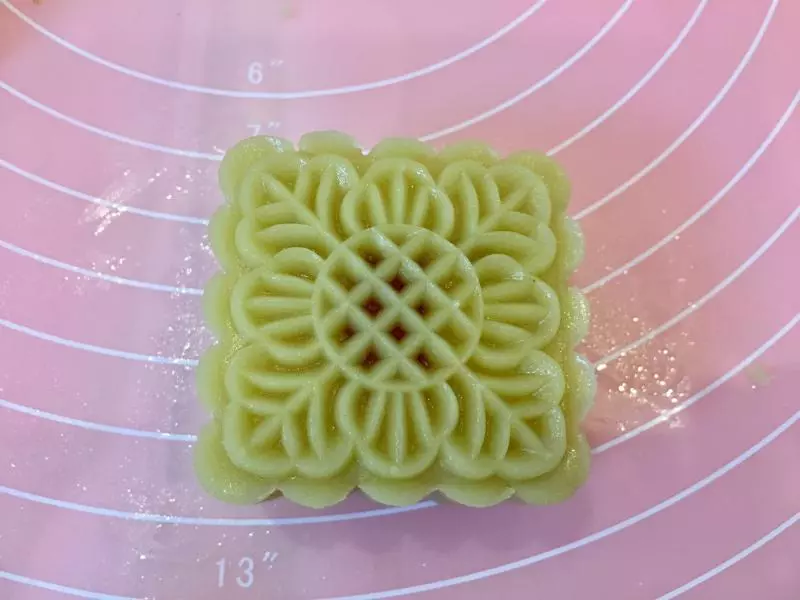
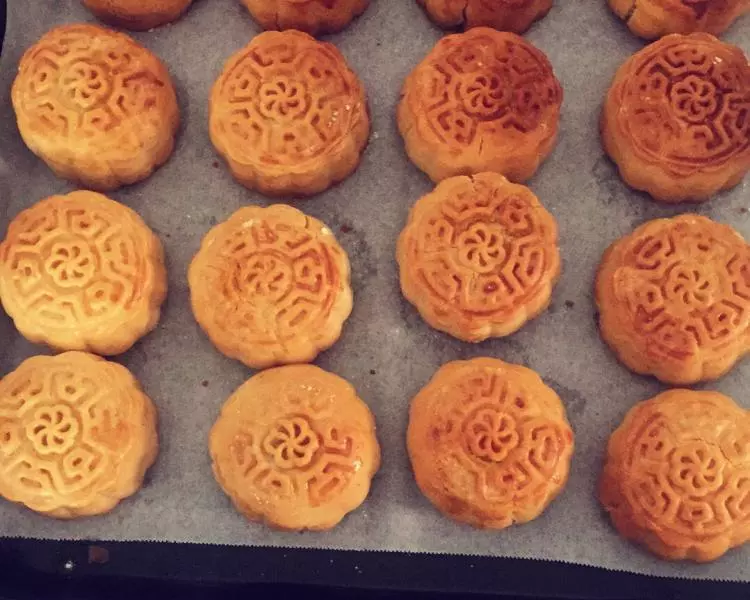
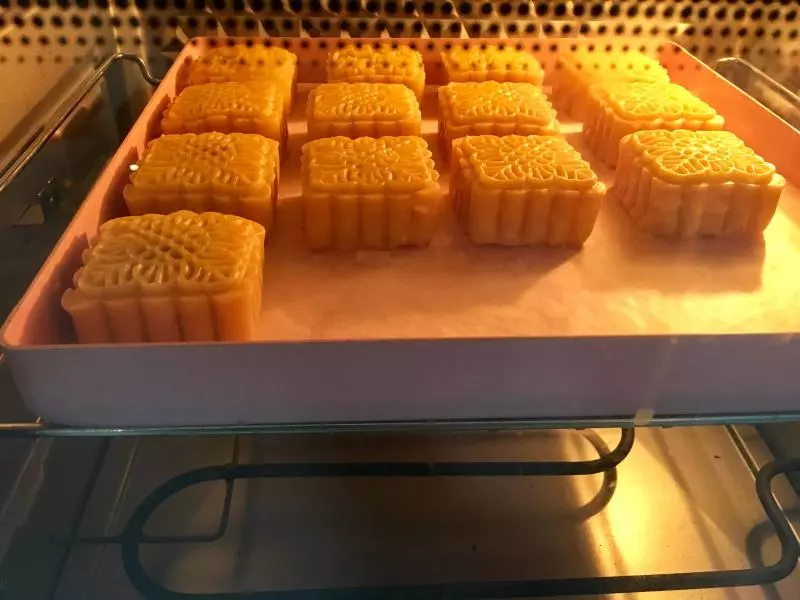
21压好了以后放入预热好的烤箱190度5分钟定型。
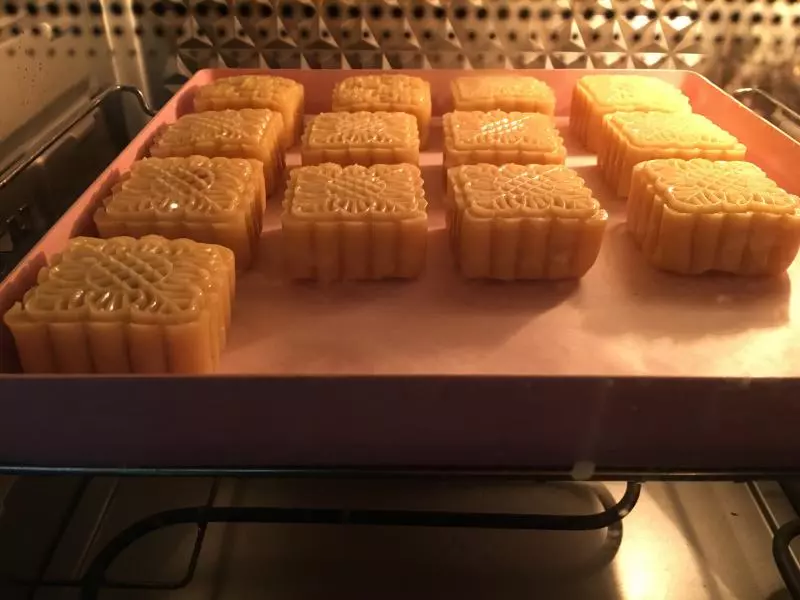
22准备一个蛋黄加10克水,刷面用。
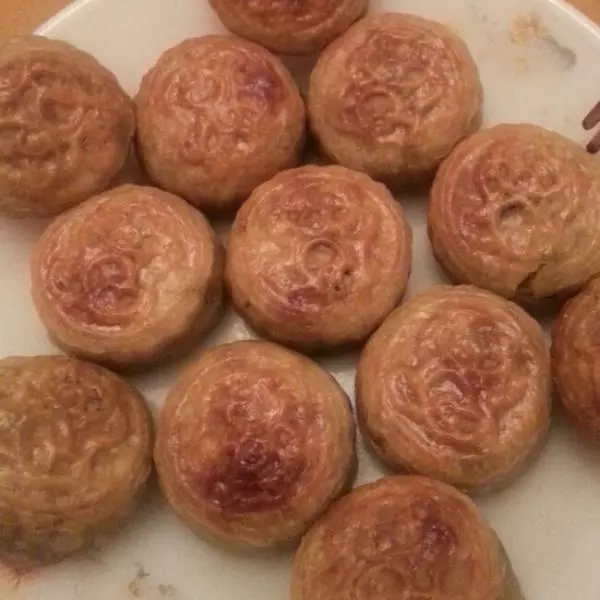
23定型好了以后从烤箱取出,刷蛋黄水,烤箱接着预热165度。
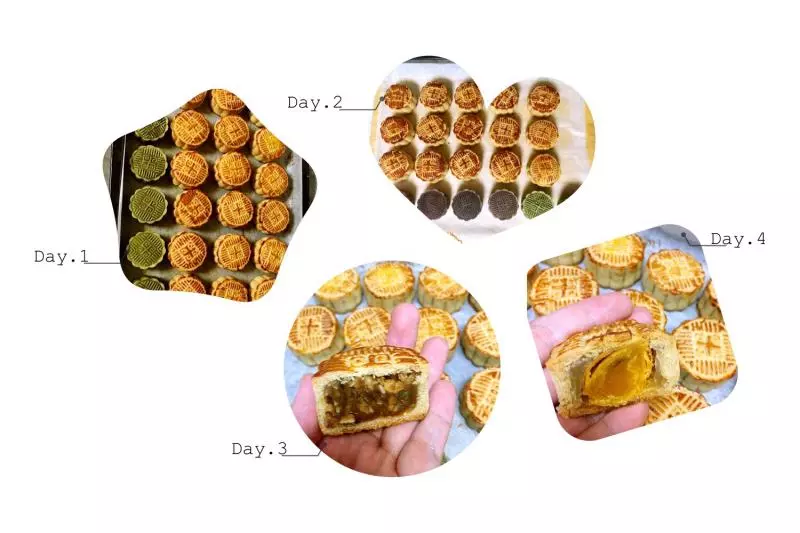
24刷好蛋黄水以后放入预热好的烤箱165度18分钟。
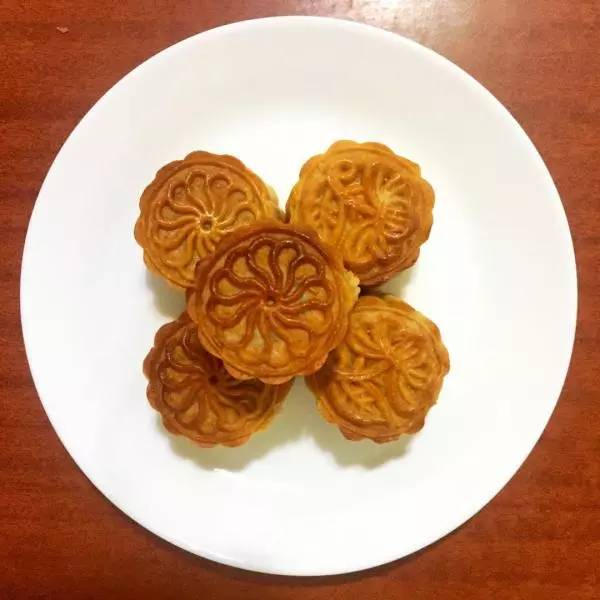
25出炉。

26切开,可以享用了。