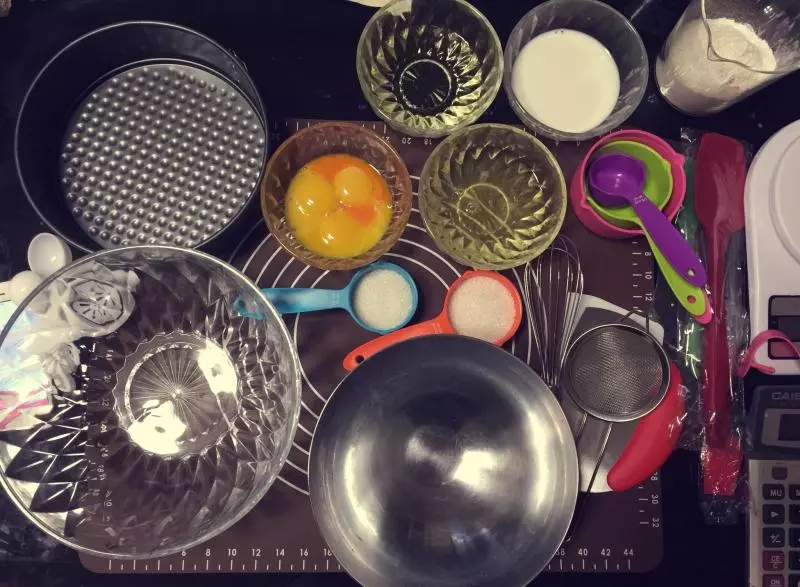
原料
蛋黄糊: 蛋黄5个, 细砂糖: 30g, 家用油: 80g, 普通小麦面粉: 120g, 蛋白糊: 蛋白5个, 细砂糖: 70g(不喜甜加了50g)
步骤
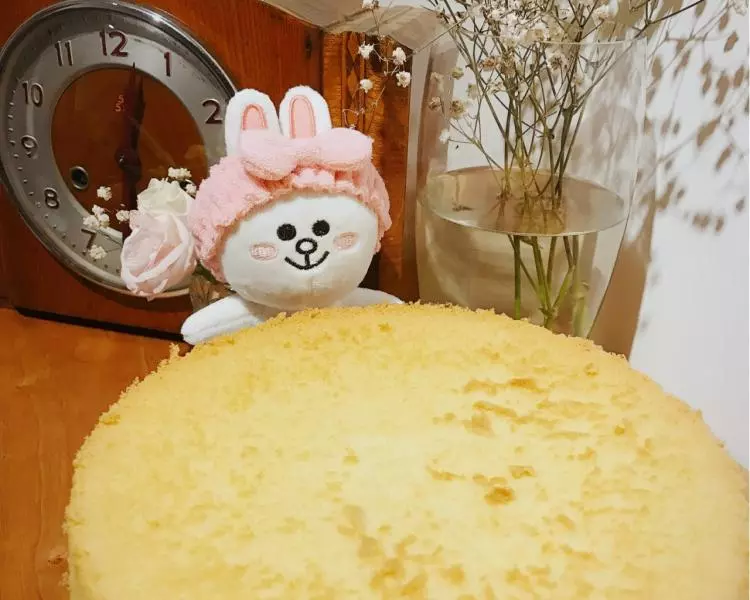
1 记录我的第一烤?,8寸试验版戚风蛋糕?,新买的烤箱,空烤了2次 150-200度 每次20分钟,不是很会操作烤箱,以至于烤箱一直没有开起任何功能,蛋糕静置烤箱15分钟才发现?,昨天试验过后,才对烤箱有初步的了解✌
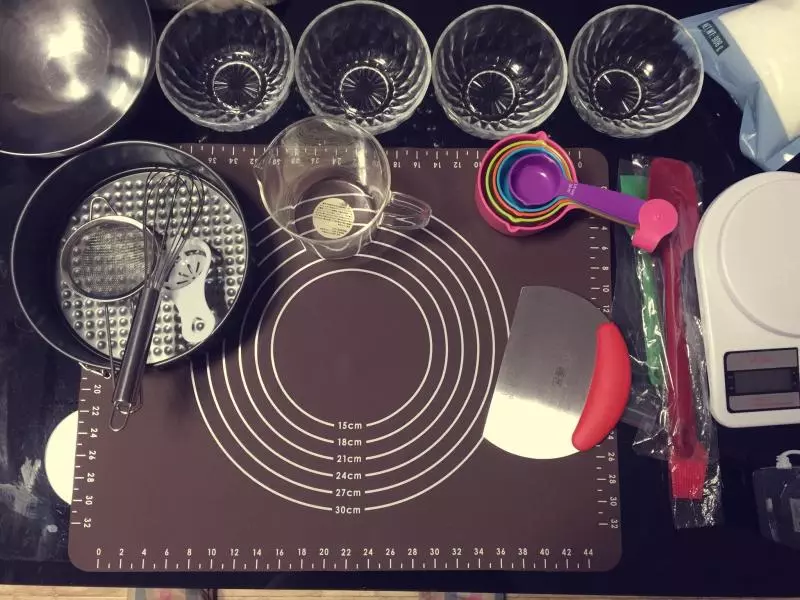
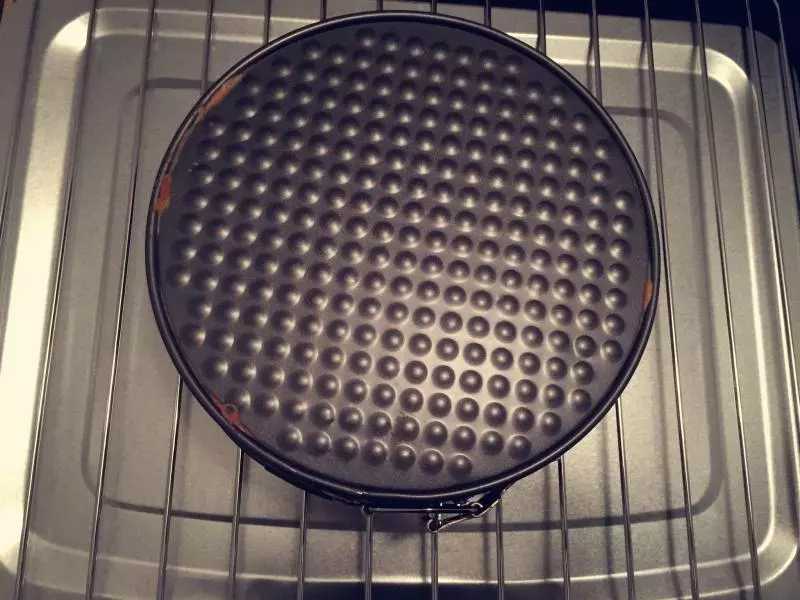
2 首先准备的材料因为买的低筋面粉还没到,想说用家里普通小麦面粉,包饺子的那种面粉,做一个试试,就当是练手了,准备的模具是买烤箱送的8寸不粘模,烤完总结才知道这个模不是做戚风蛋糕的模具,要用粘的模具,难怪我的蛋糕长不高……没有玉米油就用的家用炒菜的油,普通的砂糖,一切准备就绪
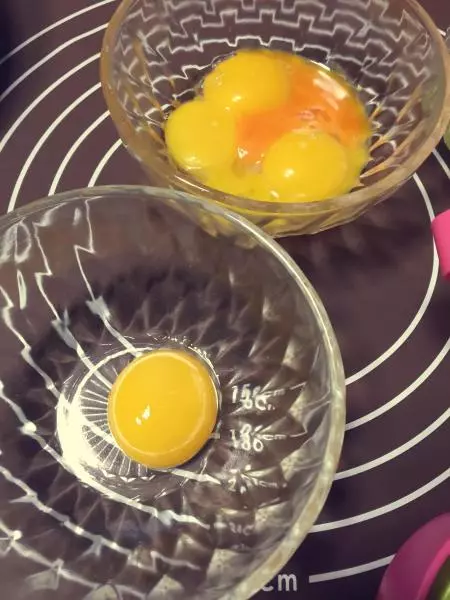
3蛋白分离,昨天分离的有点手忙脚乱,用了分离器,后来尝试用空饮料瓶来吸蛋黄挺好用,下次就这么做,准备干净的饮料空瓶,一般小口就行了.
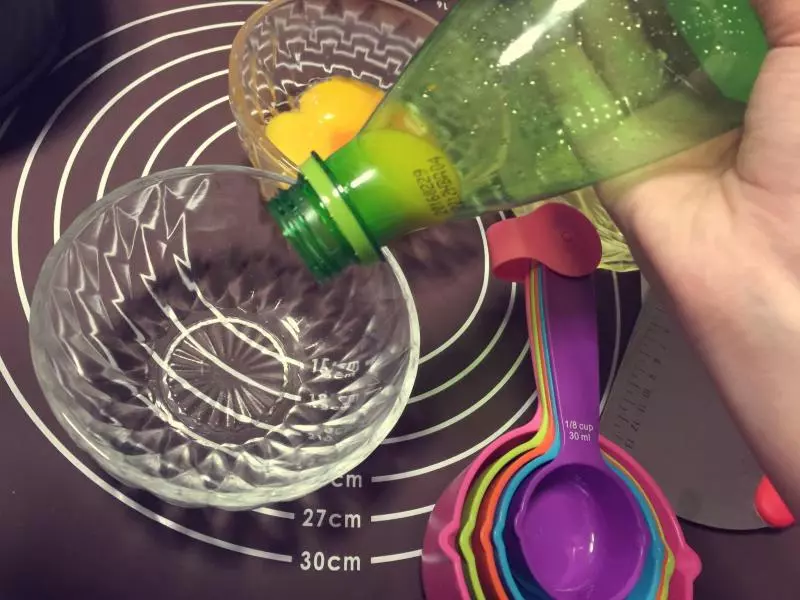
4瓶口分离法个人觉得很好用,生活在于发现?注意哦,使用此方法的前提是蛋黄完整,如图散了的蛋黄此方法,蛋黄无法分离噢
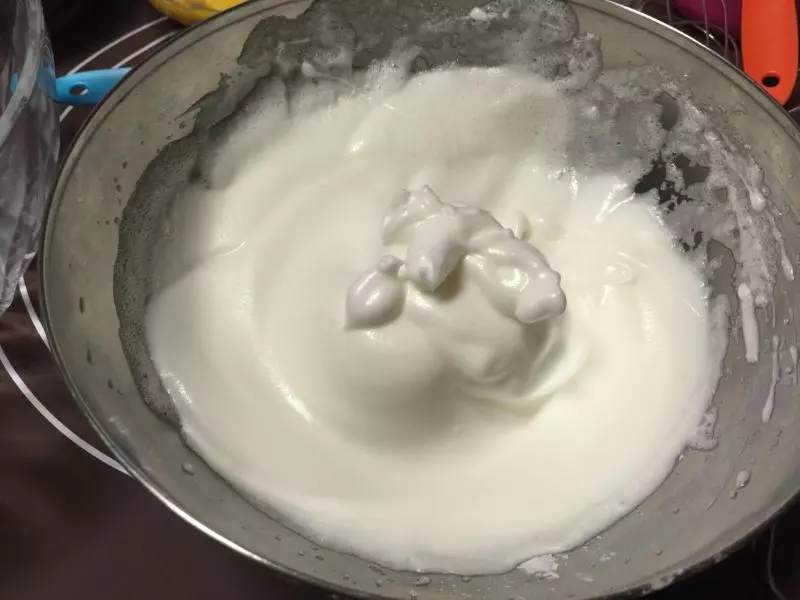
5蛋白霜打发手法不熟,第一次心里有点没谱,有经验的姐妹可以给我建议哦,看看哪里有问题
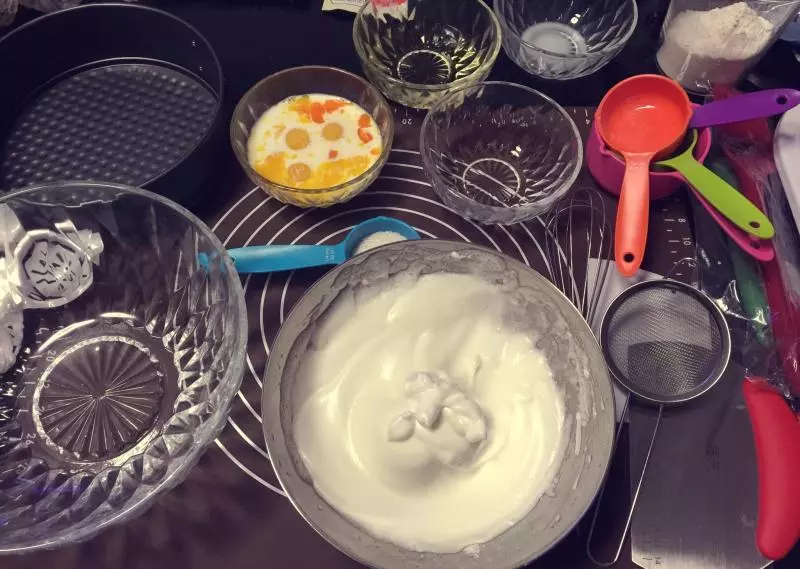
6静置蛋白霜
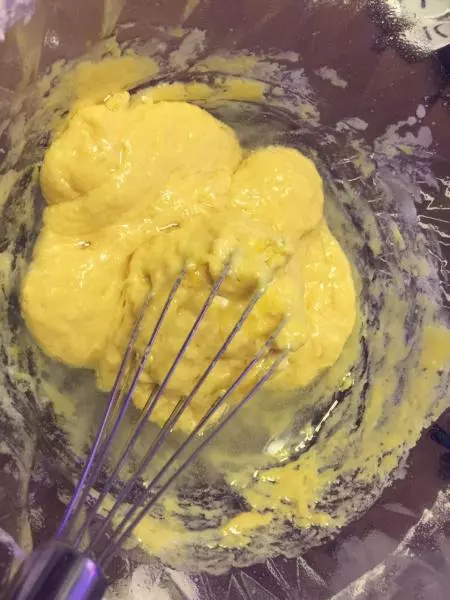
7制作蛋黄糊,面粉过塞
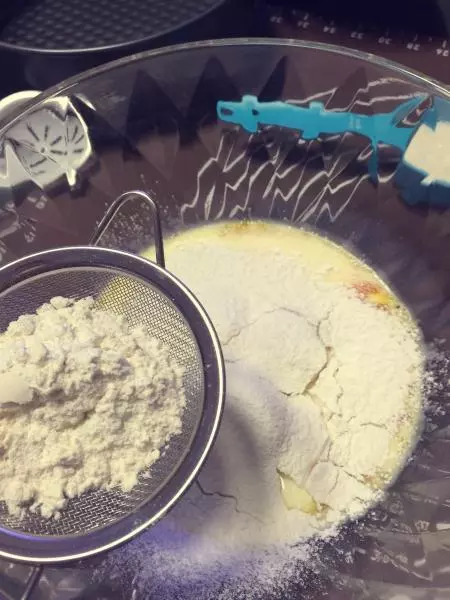
8乳化蛋黄,流程完全不熟,很难搅拌后来才发现忘记放油和糖?
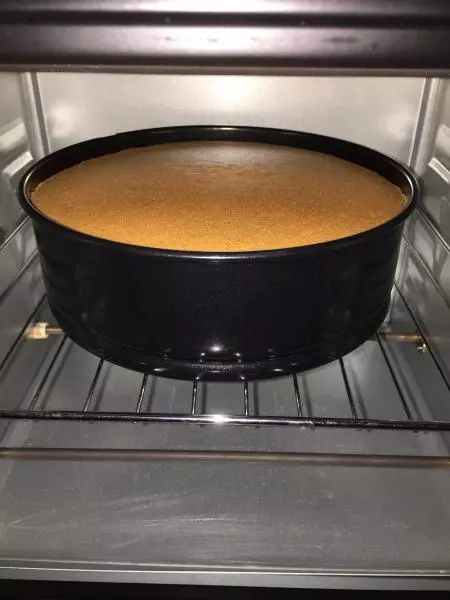
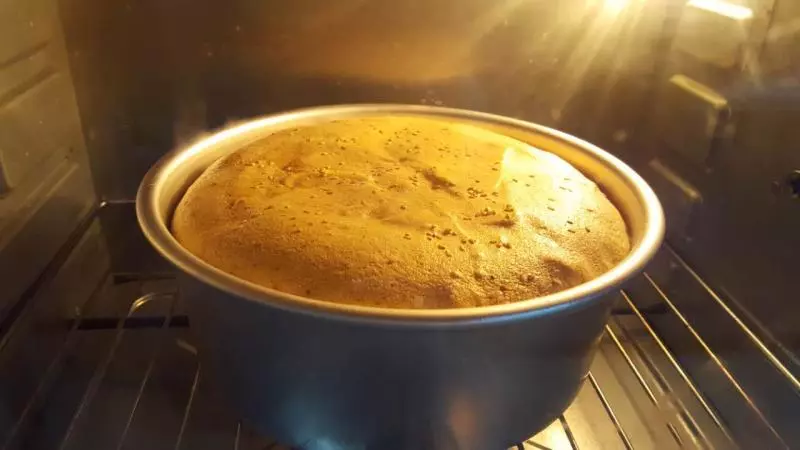
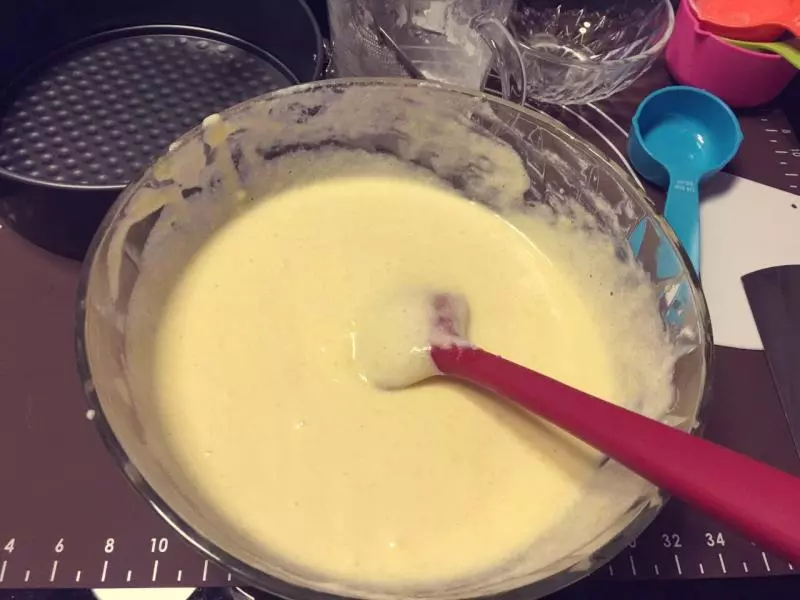
9蛋黄糊和蛋白霜混合
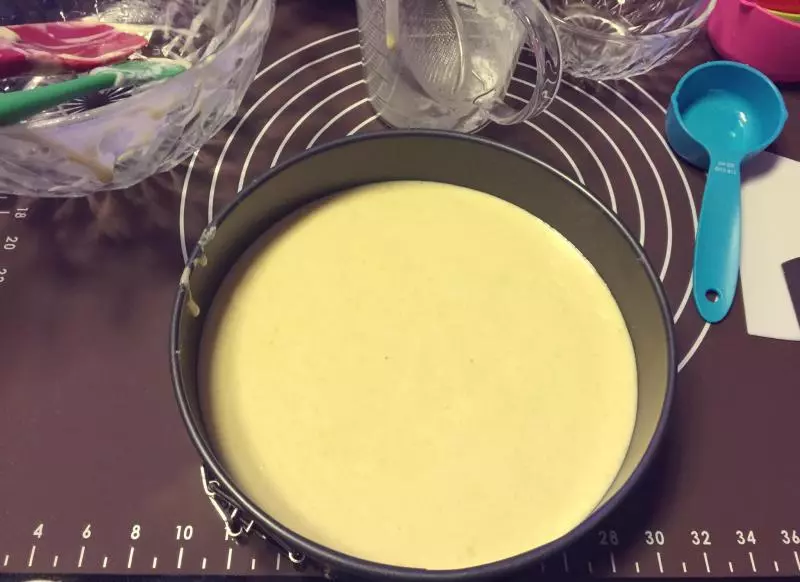
10装入模具
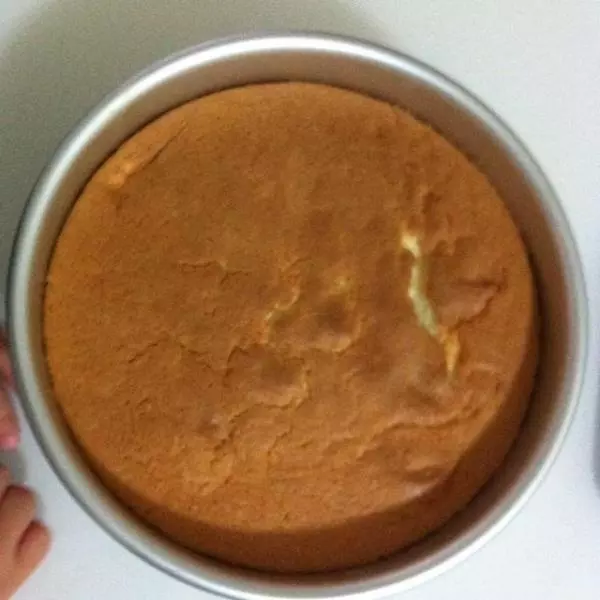
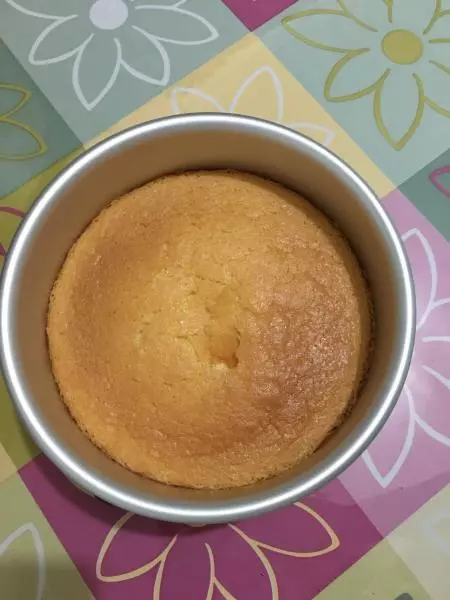
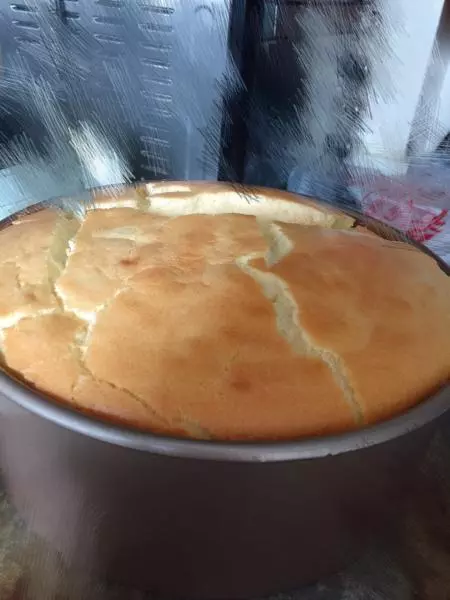
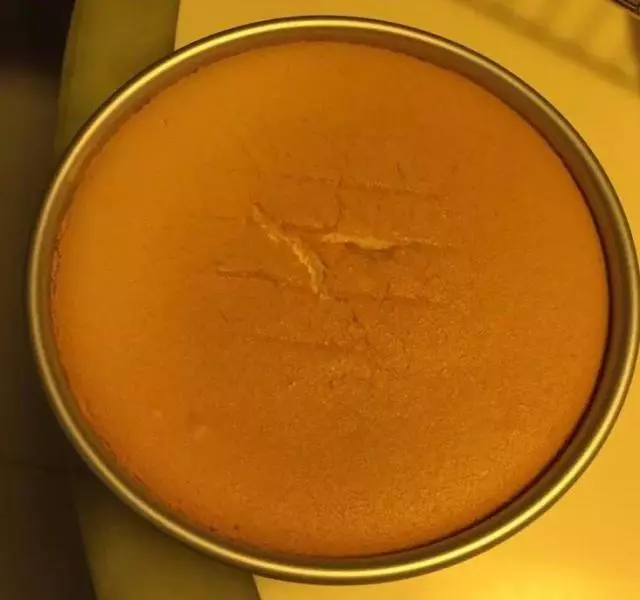
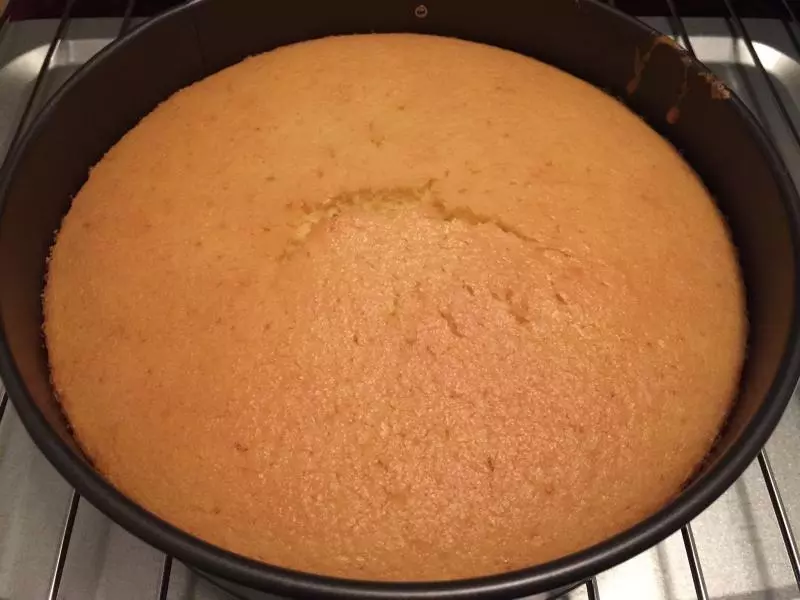
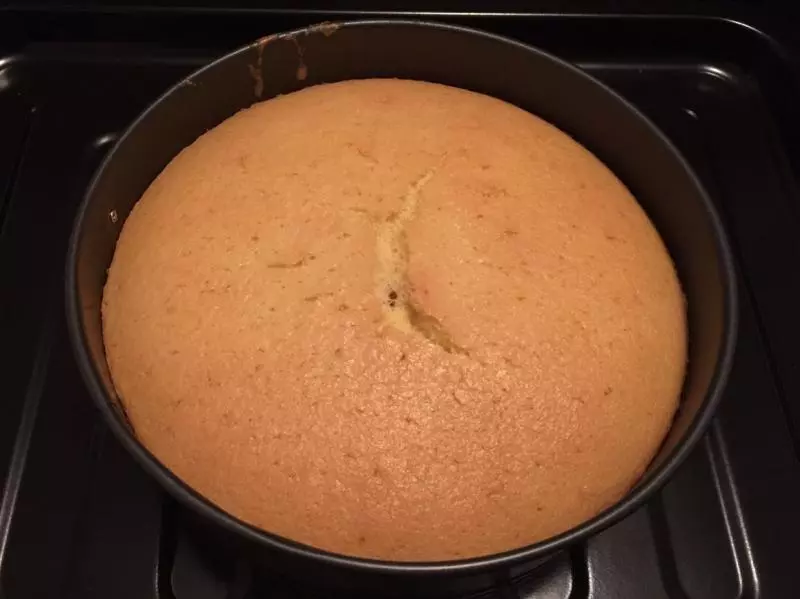
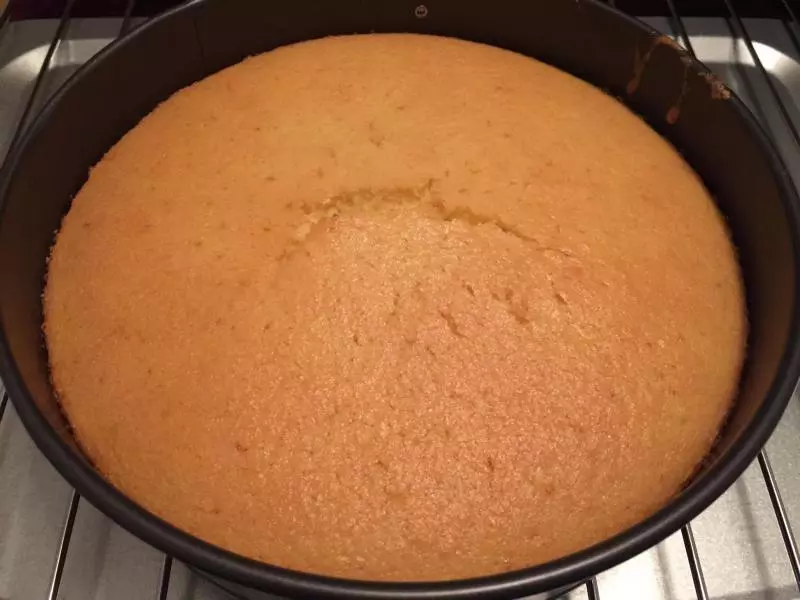
11上下150度 热风循环 开烤
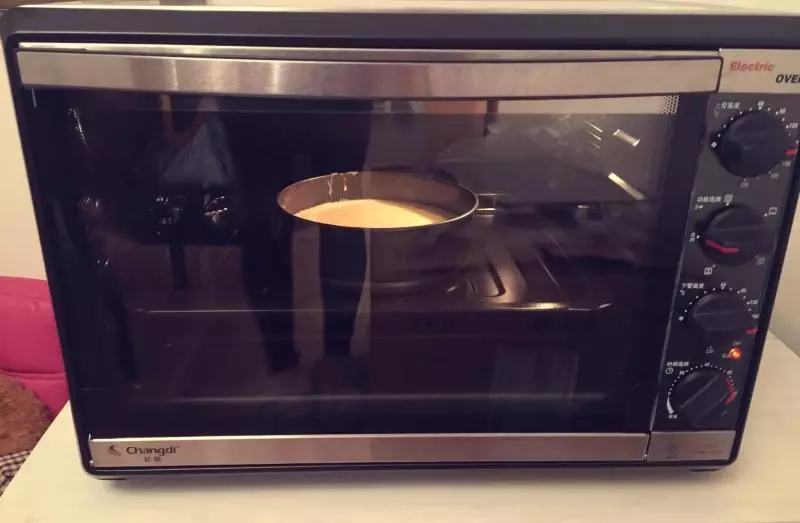
12新烤箱,新手第一次,也不知道烤箱温差多少,中途看到有开裂调整到125度

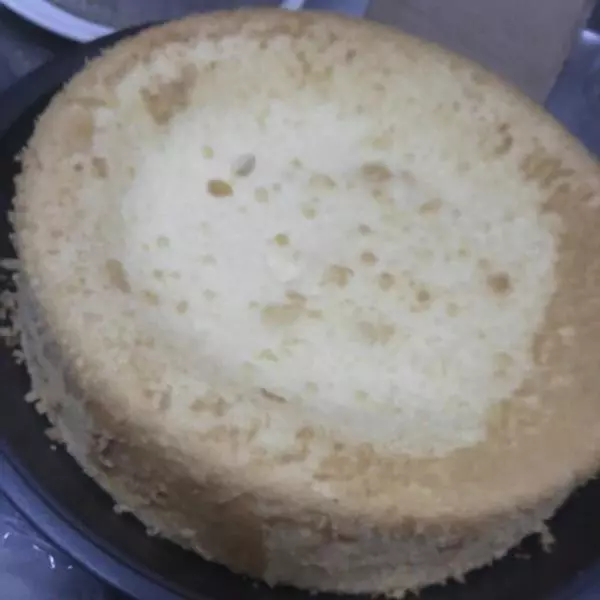
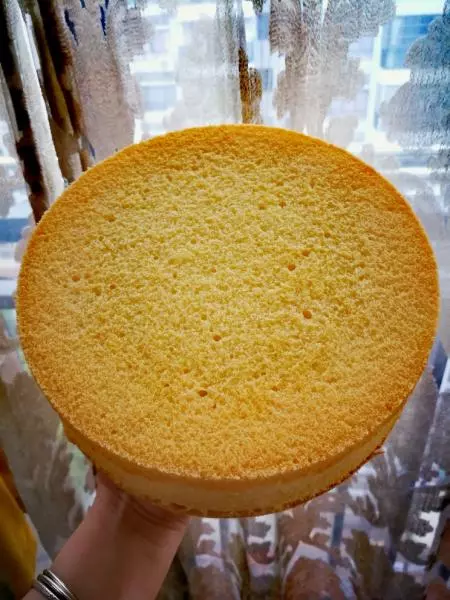
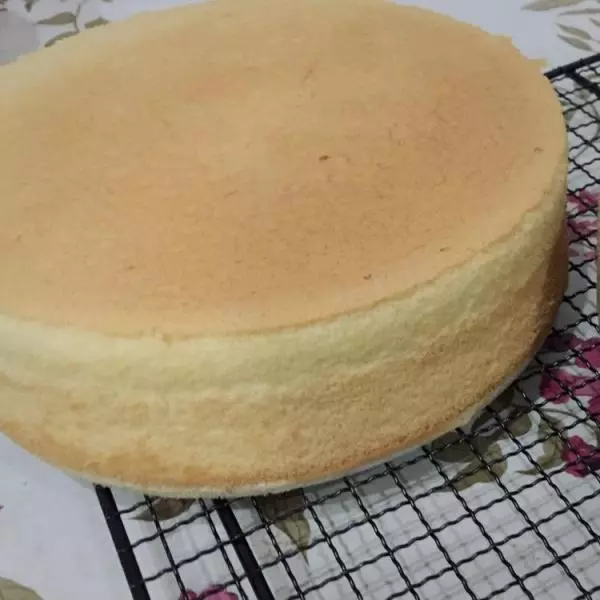
13出炉
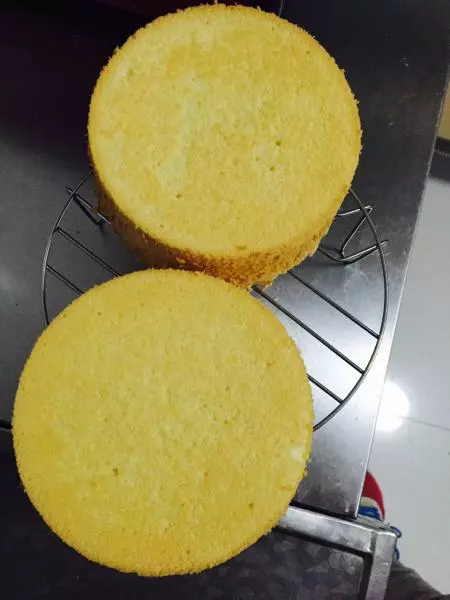
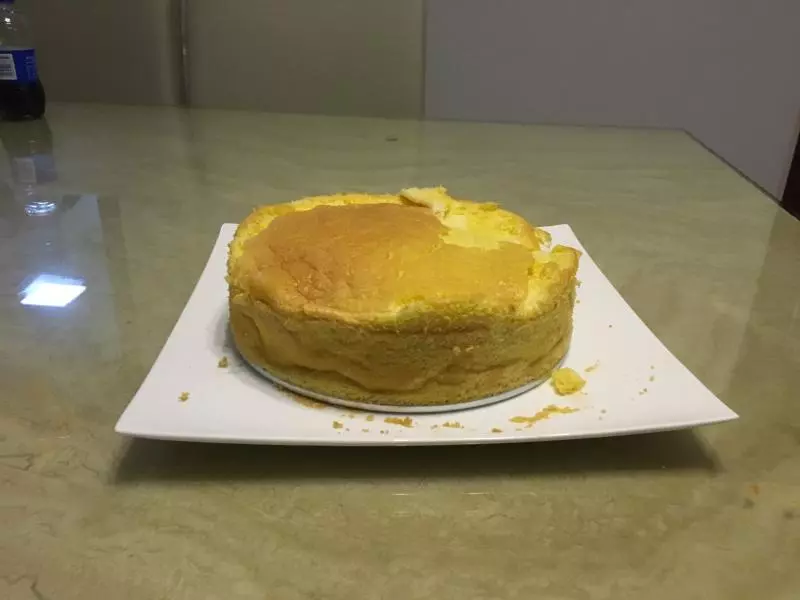
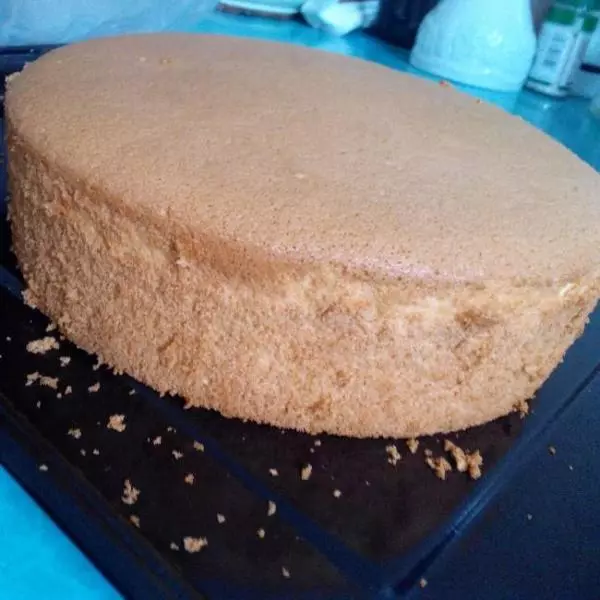
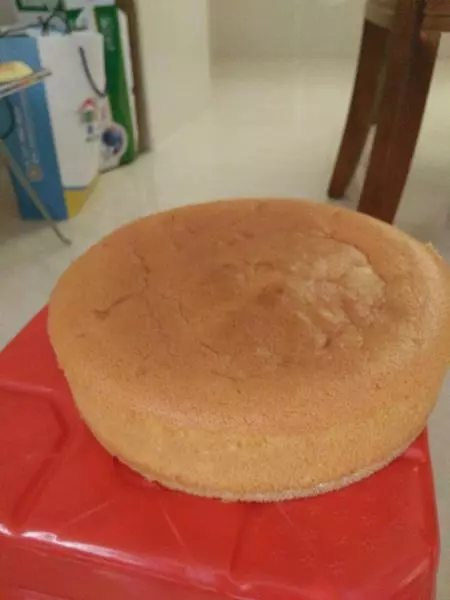
14模具用错,完全不长个?
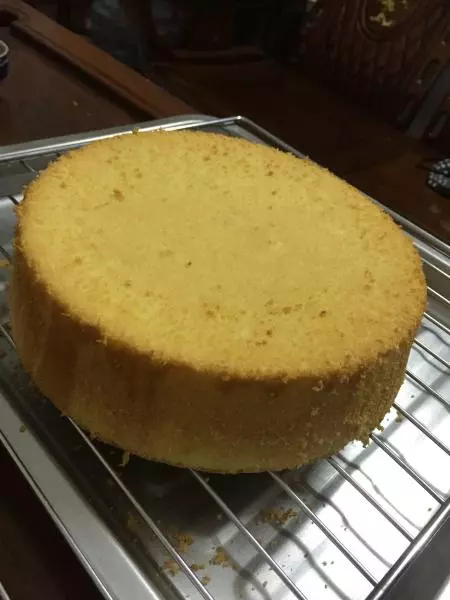
15倒扣静置,由于昨晚烤完已经是晚上12点了,直接倒扣静置了一晚上
16早上发现老公给打开了,还咬了一大口,我都没来及拍照?
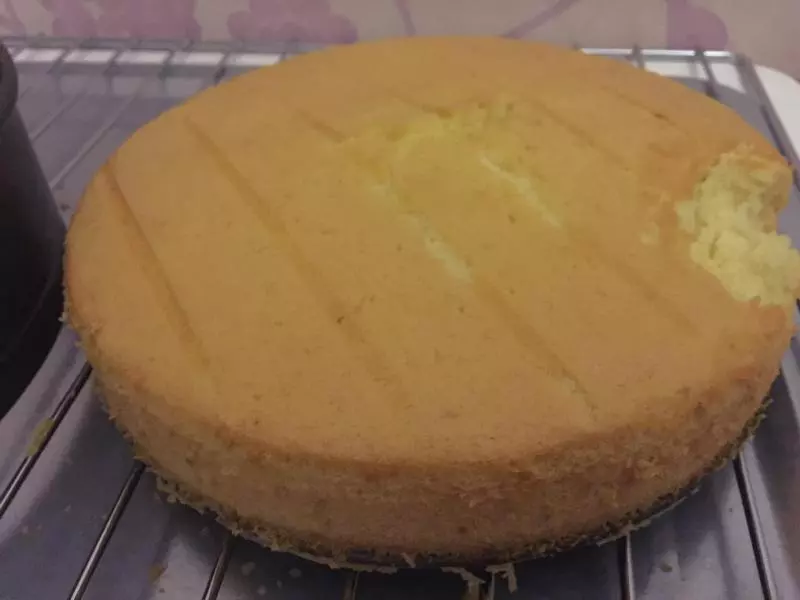
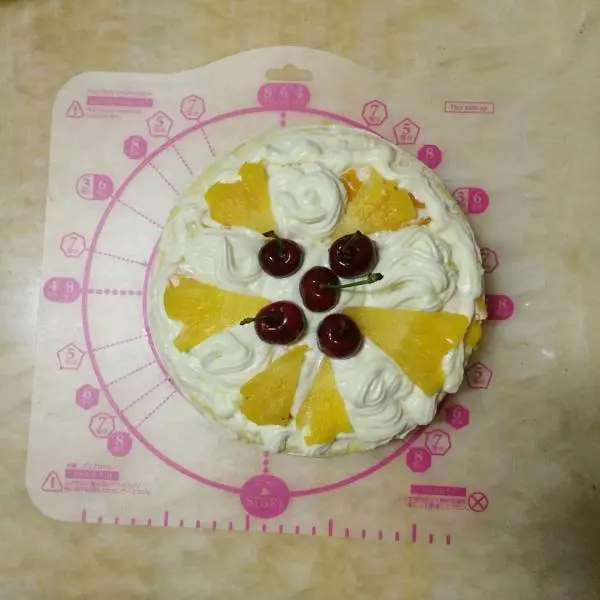
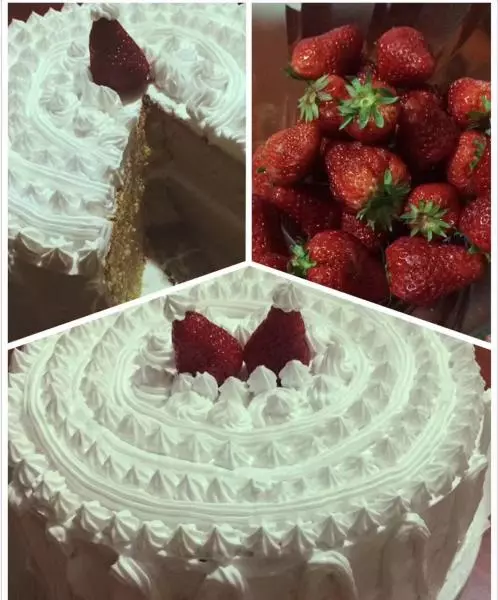
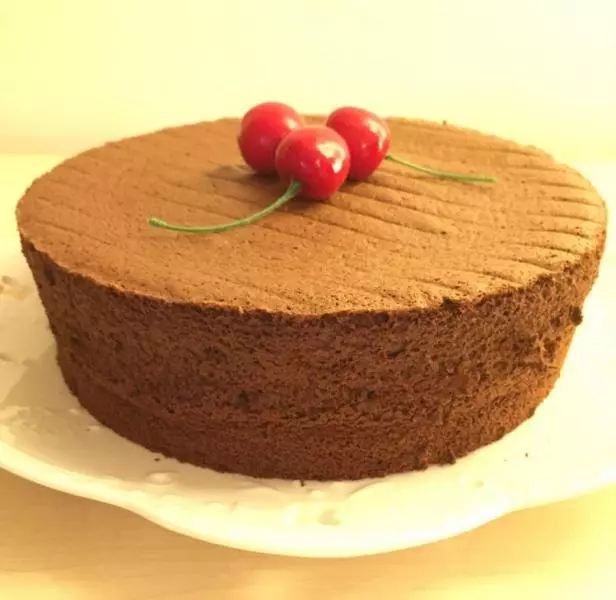
17嗯自己点评味道还是很香的,浓郁的鸡蛋香,口味确实不甜,淡淡的甜,感觉健康作为早餐,点心还是很不错的.口感有点实湿 戚风处女烤 总结失败原因: 1.戚风模具使用不当(重买戚风粘模) 2.未使用蛋糕低筋面粉(下次换低筋面粉) 3.送烤箱前摔过力气,地步进入空气(轻点摔) 4.烤箱功能不熟悉,温差不了解,温度过高开裂(继续磨合,如果下次做不好买个温度计查查温差) 5.制作流程不熟悉,乳化搅拌时间过长(多做几个就熟了)