原料
粽子: 1只, 鸡蛋: 1个
步骤
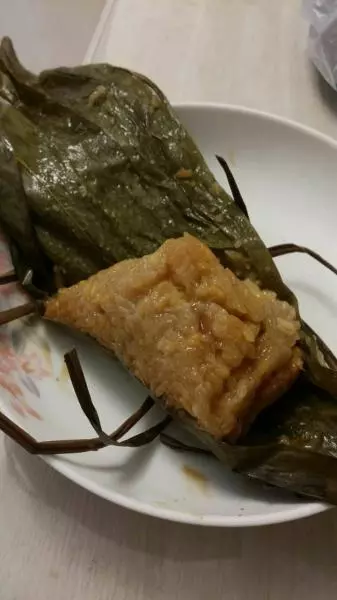
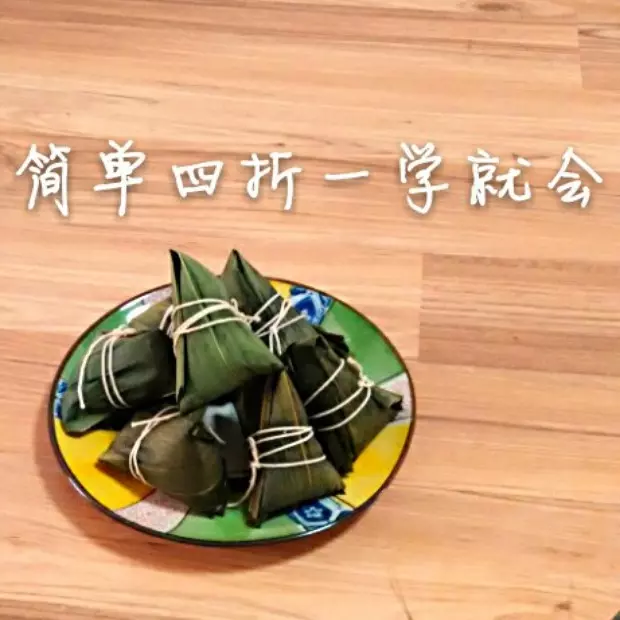
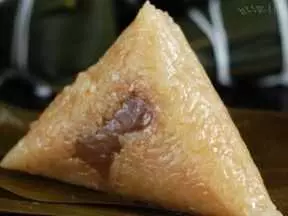
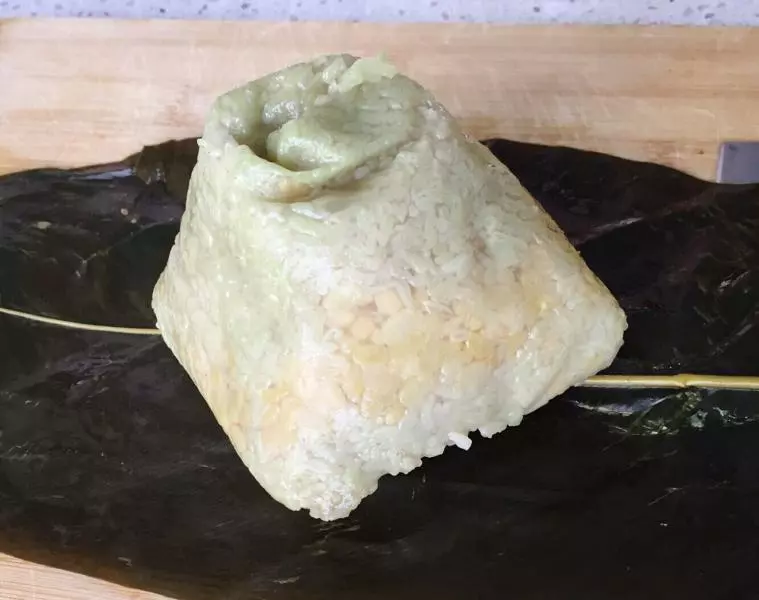
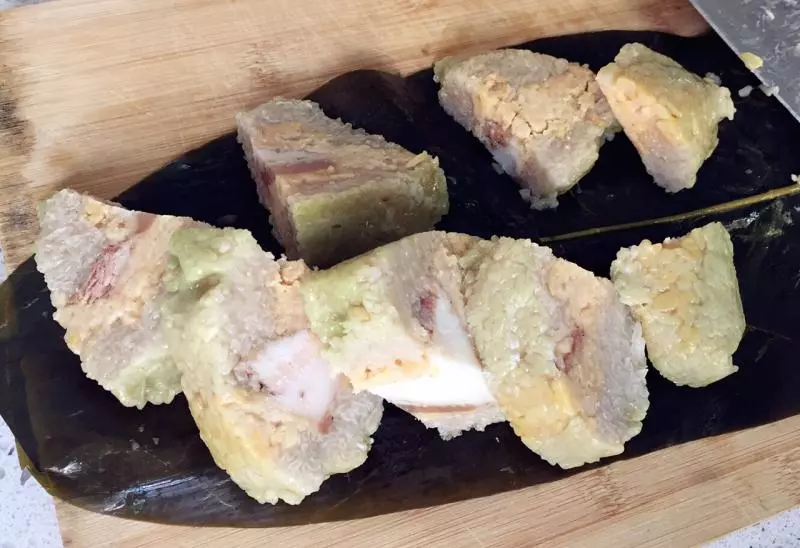
1这就是我所用的粽子啦,具体来说并不是我的~呵呵,挺大的…zn童鞋不会介意… 废话不说,剥皮!对,把它剥光!露出粘粘的糯米粽子
2OKOK,切块…粽子软软粘粘,确实不好用刀,so小心切好,注意保持形状
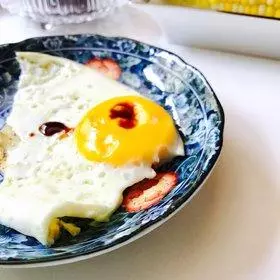
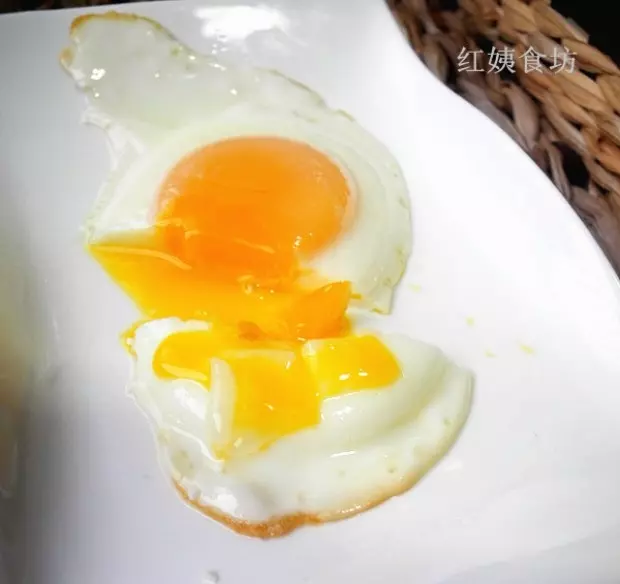
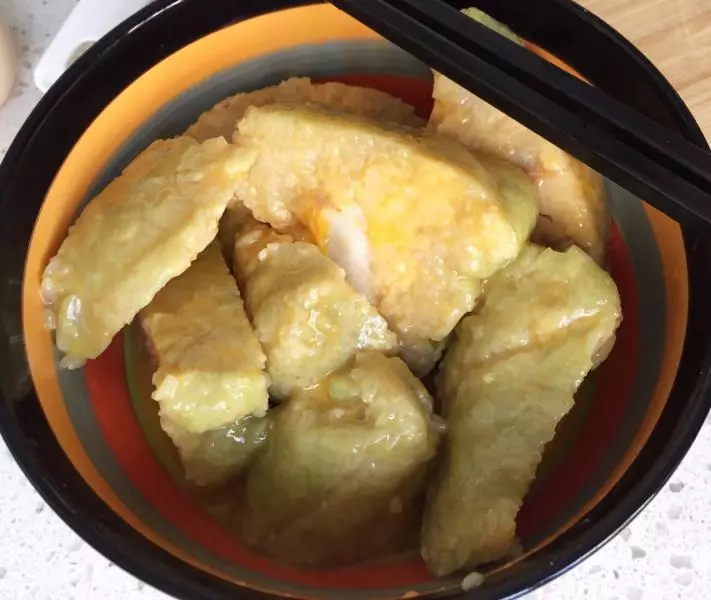
3鸡蛋打到碗里,打散它,再把切好的粽子放进去,每一块的每一面都沾上蛋液,注意要雨露均沾…
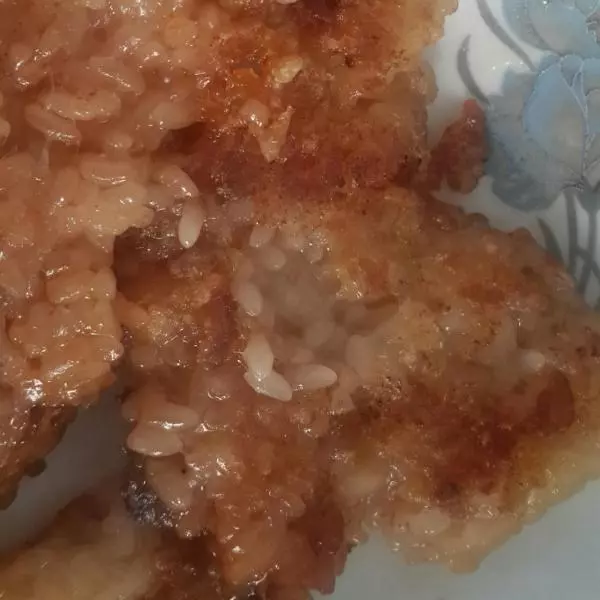
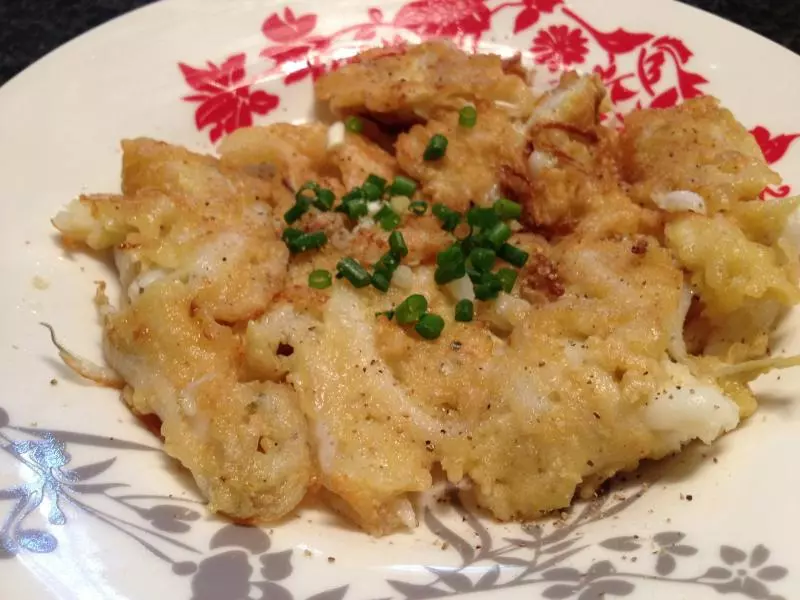
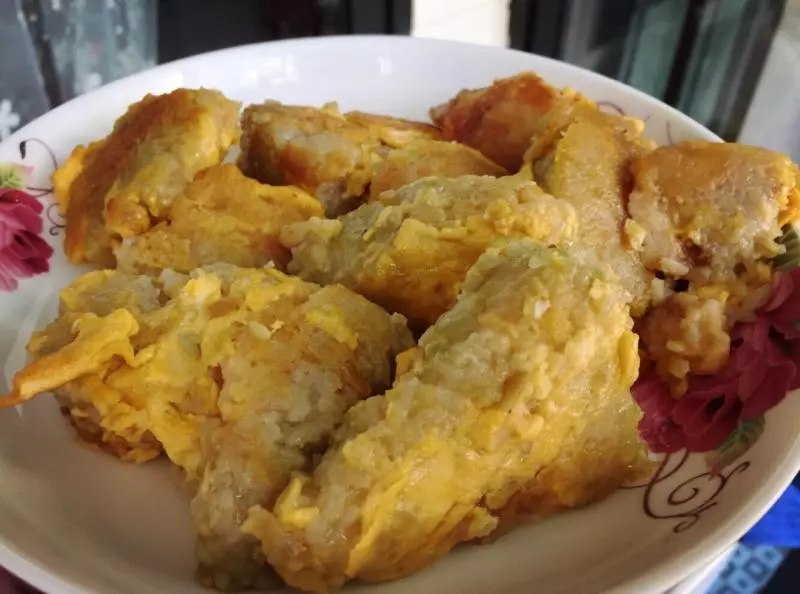
4热锅,倒油,等油热了有烟起来了就可以用筷子下粽子了。这个时候火不用太大,吧所有粽子都下锅了再调高火,开始煎粽子…当然啦,适时翻面,注意不要把粽子翻烂就好啦~
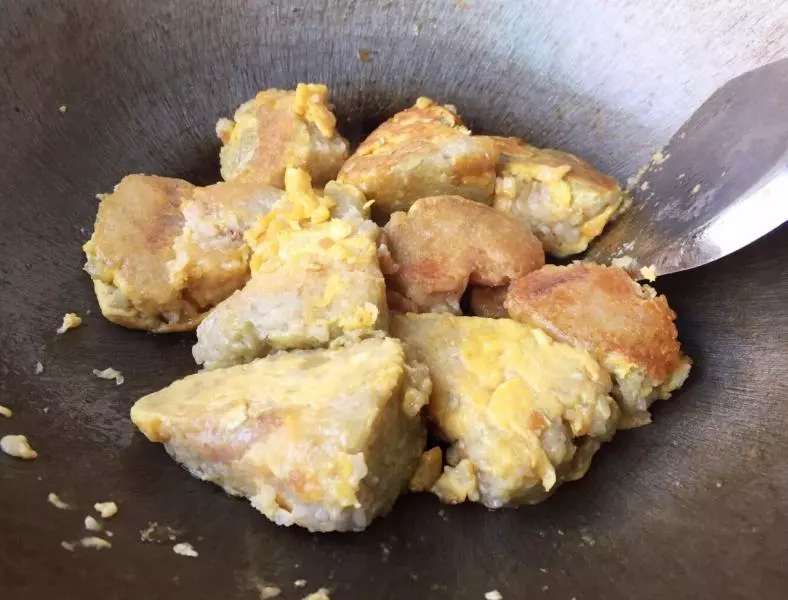
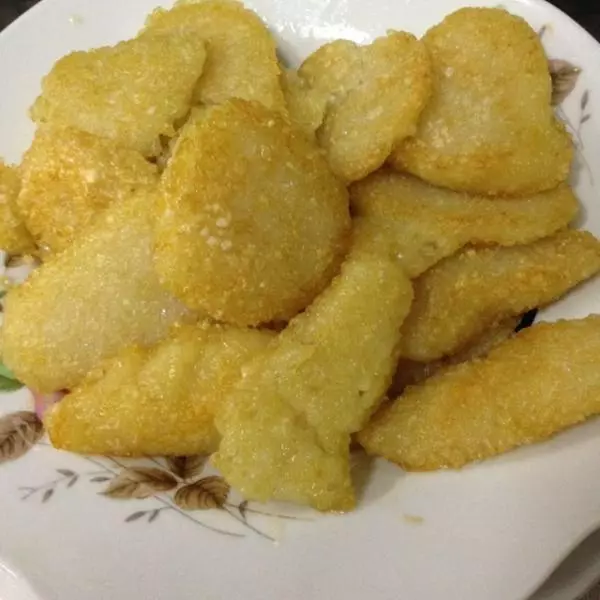
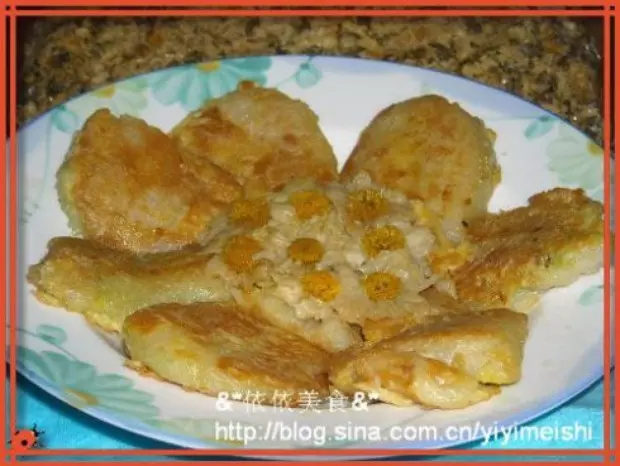
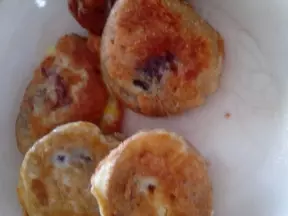
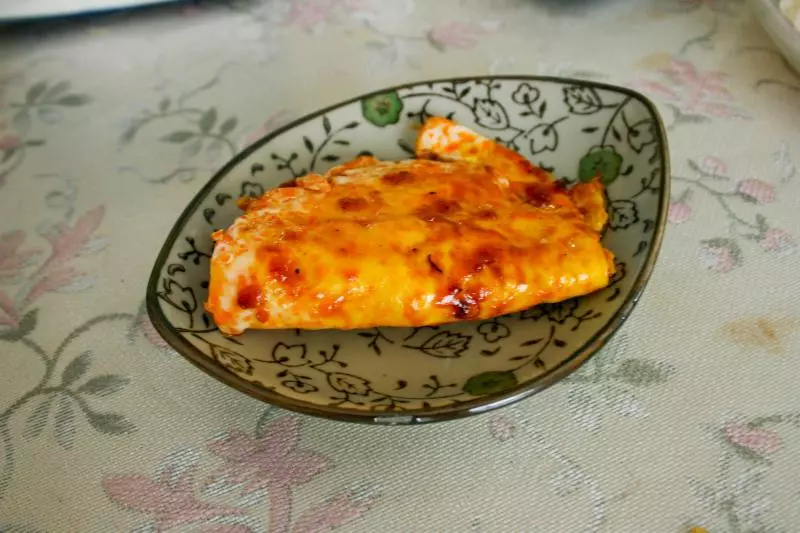
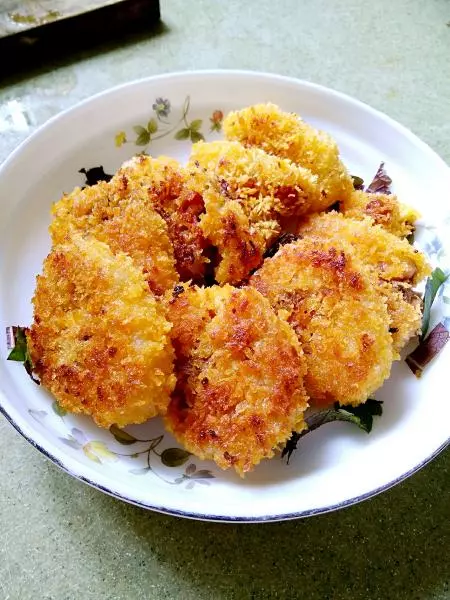
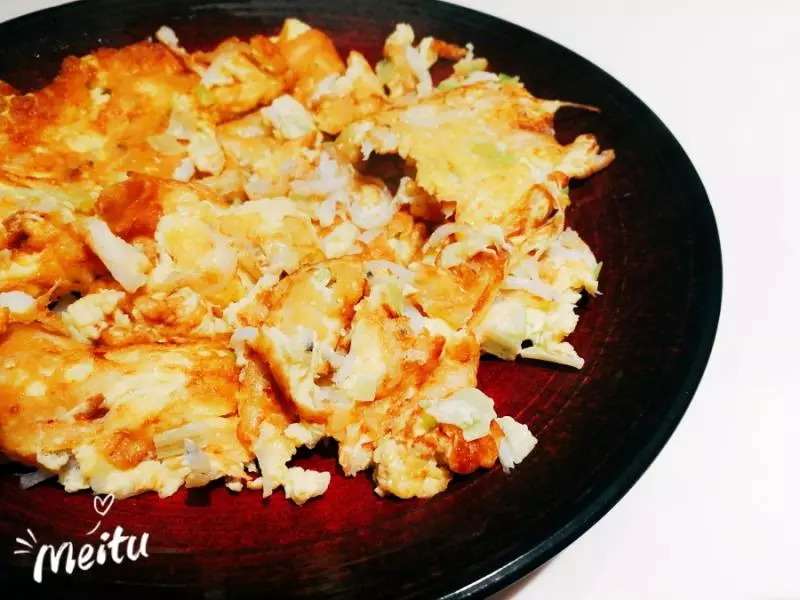
5通过蛋液的颜色变化来判断几时出锅,差不多就好了,粽子本身就熟的,也就当做加热下罢了~于是裹着金黄蛋液的粽子就完美地摆在了盘子中,等待享用…

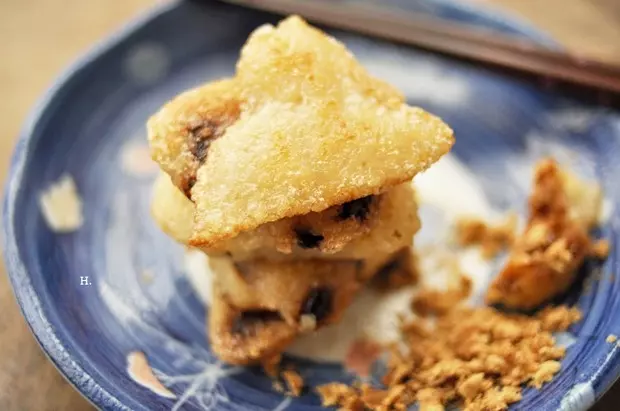
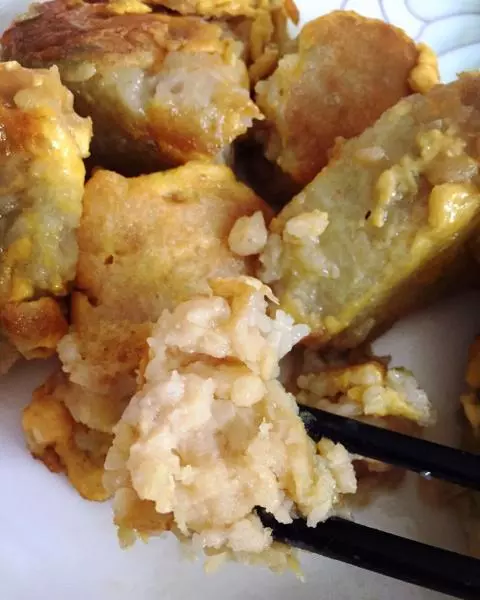
6粽子里面的肥肉不少,建议吃前捣碎后再入口,会少点油腻的~
小技巧
一个大粽子配一个鸡蛋是绰绰有余的啦~别浪费蛋呀