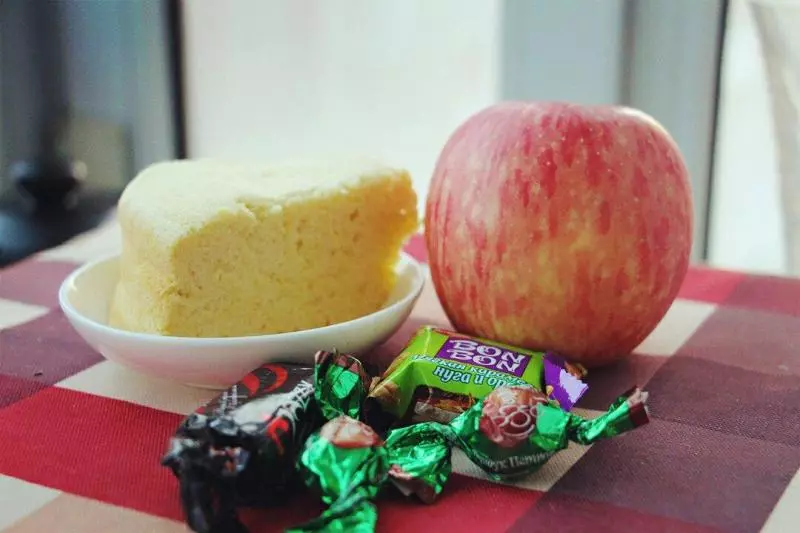
原料
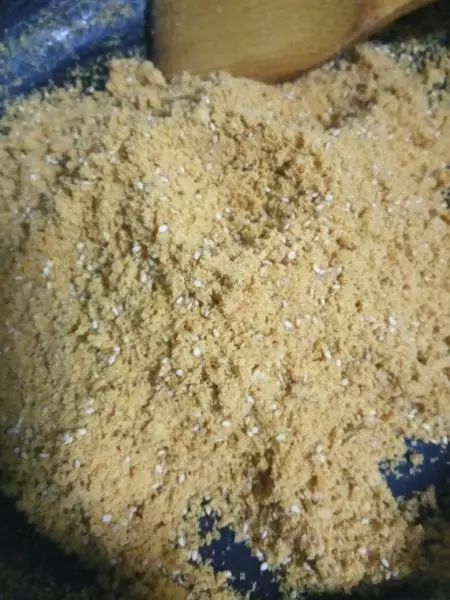
香蕉: 1根大概110克, 牛奶: 40克, 鸡蛋: 3只小的, 小米面: 55克, 糖粉: 15克, 南瓜粉: 5克可不放, 玉米淀粉: 5克, 玉米油: 15克
步骤
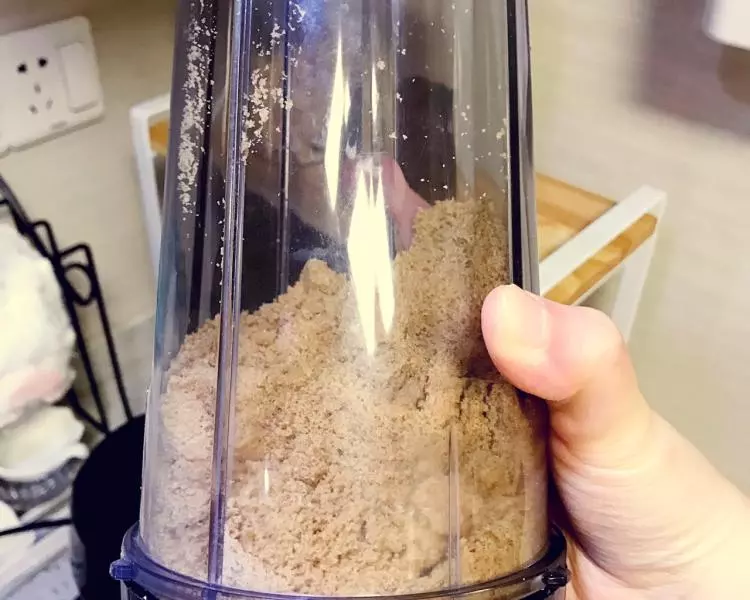
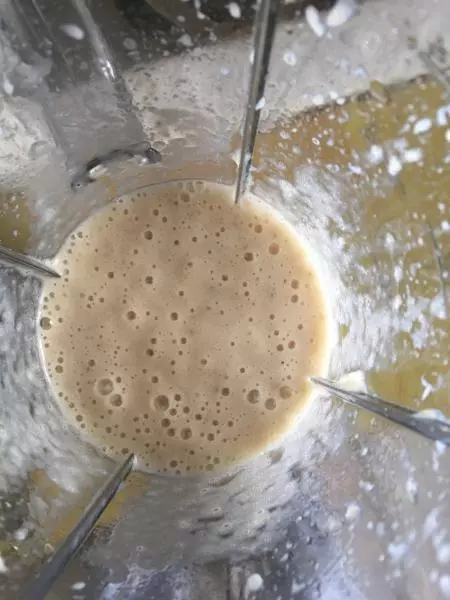
1香蕉加牛奶放进料理机打成奶昔,倒出来大概得到130克备用,因为料理机壁会沾一些
2蛋白蛋黄分离,确保放蛋白的盆子无水无油

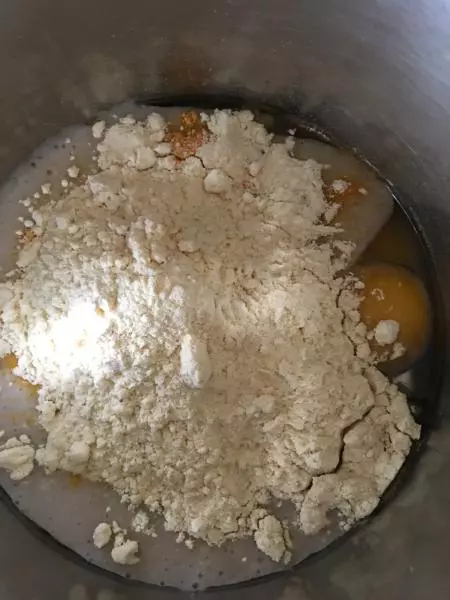
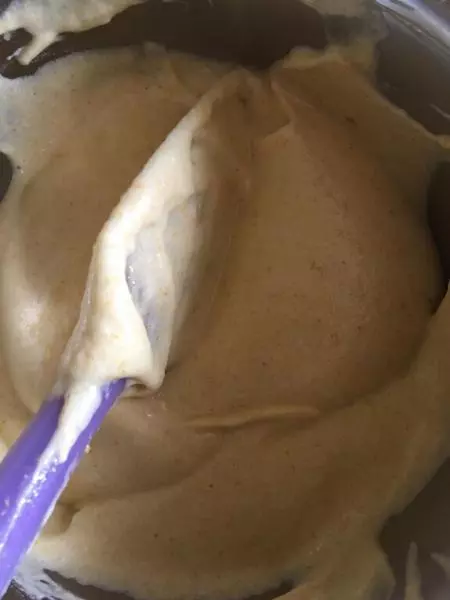
3蛋黄,香蕉奶糊,玉米油,小米面,南瓜粉放一起,混合均匀无颗粒
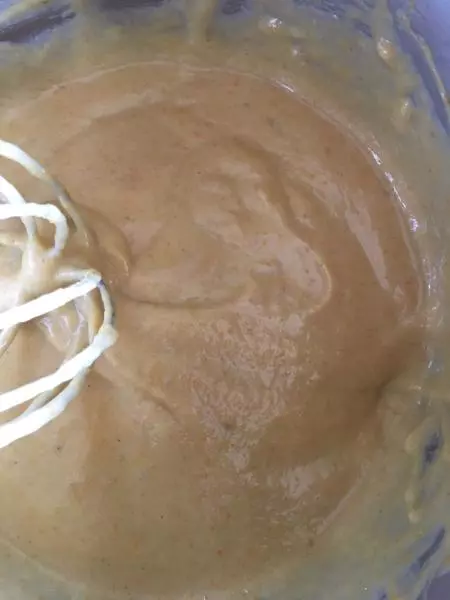
4混合好以后是这种浓稠的状态,提起打蛋器面糊低落后,纹路慢慢消失
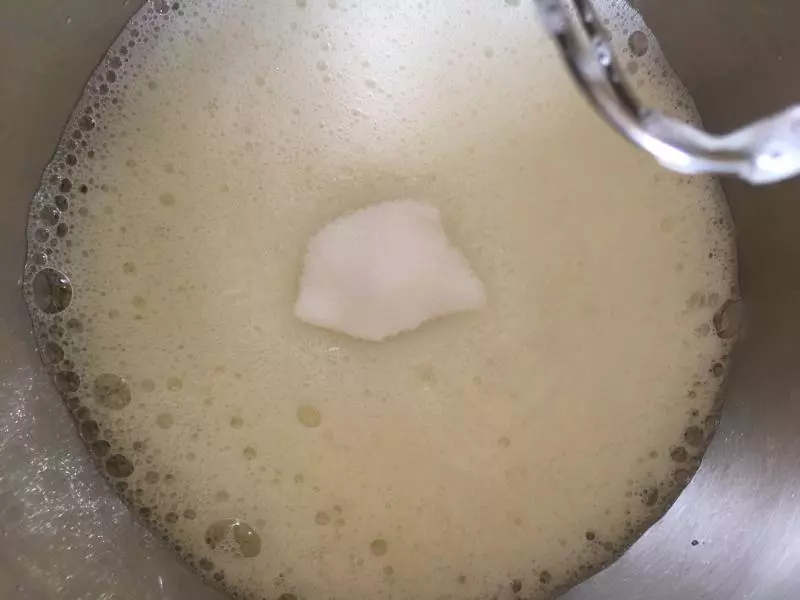
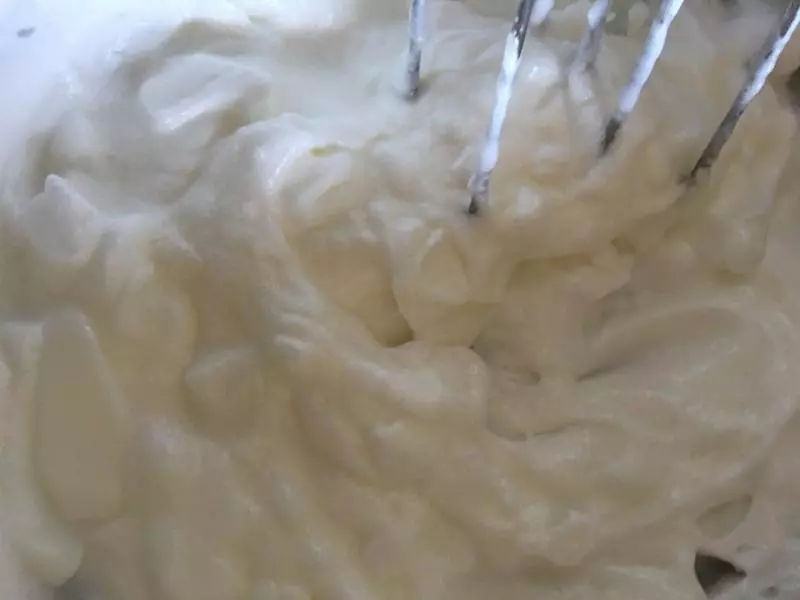
5蛋白打散,如图,放一半的糖粉进去打发
6打到这种有点点勾状,泡沫细腻后放剩下的糖粉和玉米淀粉
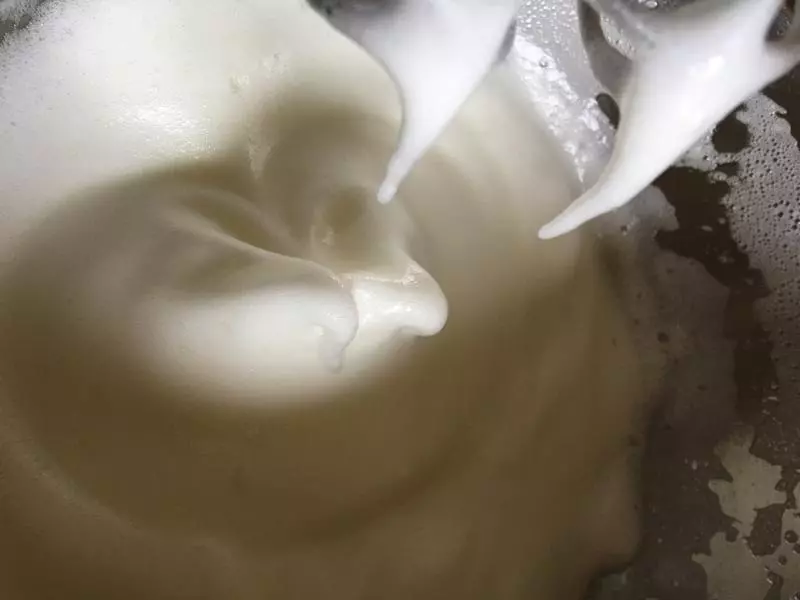
7放好继续打发

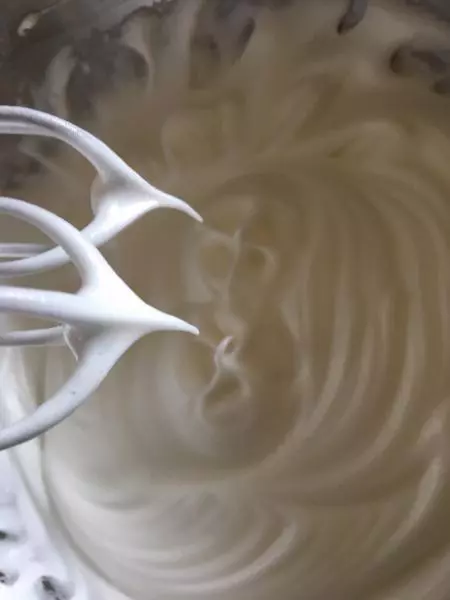
8打到这种小尖勾,挺立不倒,蛋白霜很细腻就打好了
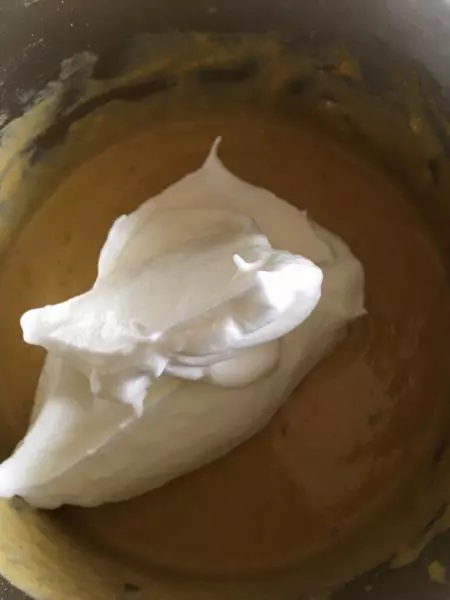
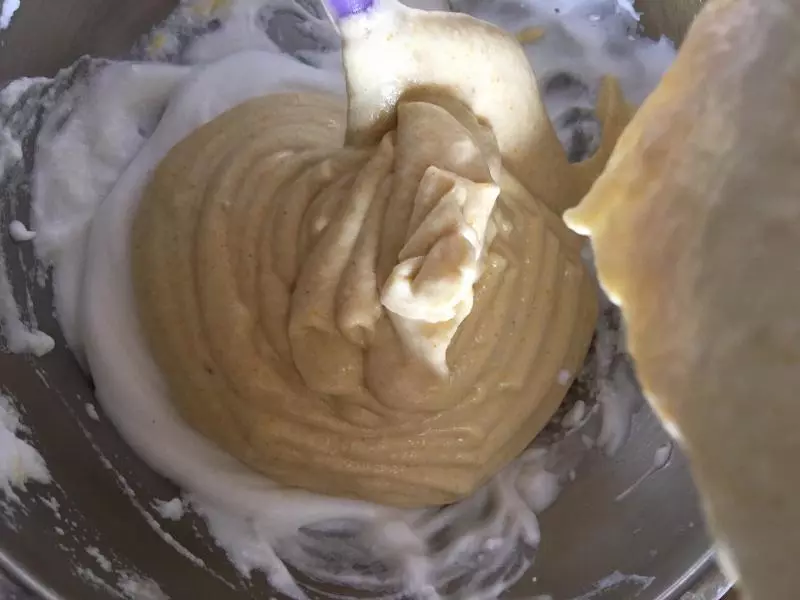
9取三分之一蛋白放入蛋黄糊里混合均匀,用翻拌或切拌手法,也就是蛋白分三次混合蛋黄糊里
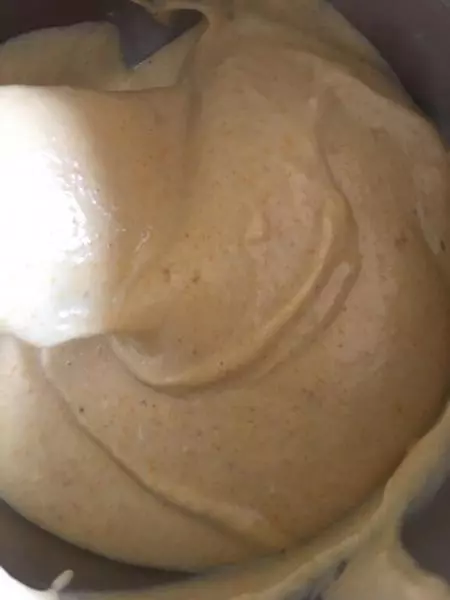
10混合好以后的样子
11这时蛋白霜有点消泡,成块状,用手动打蛋器混合均匀,打到细腻就可以了,在取三分之一的蛋白,放进蛋黄糊搅拌均匀!
12还是翻拌或切拌手法,
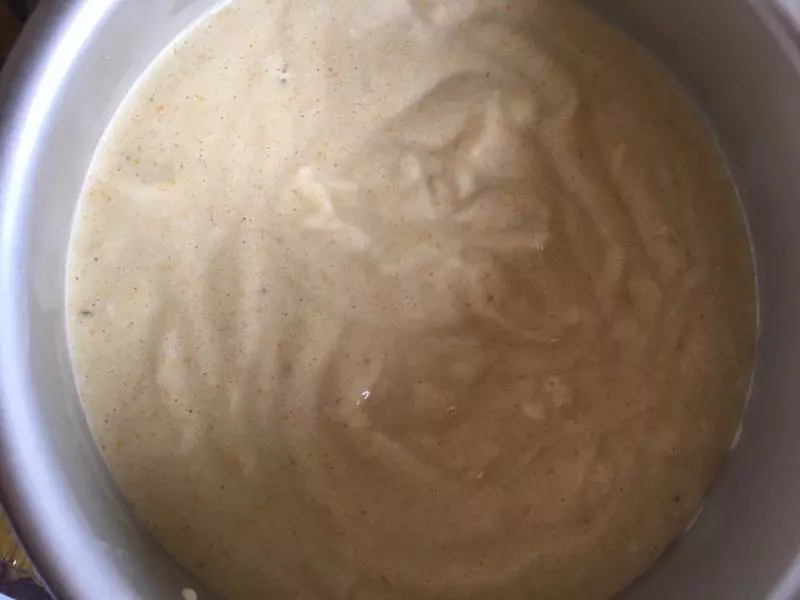
13把混合好的蛋黄糊倒入剩下的蛋白盆里继续翻拌均匀
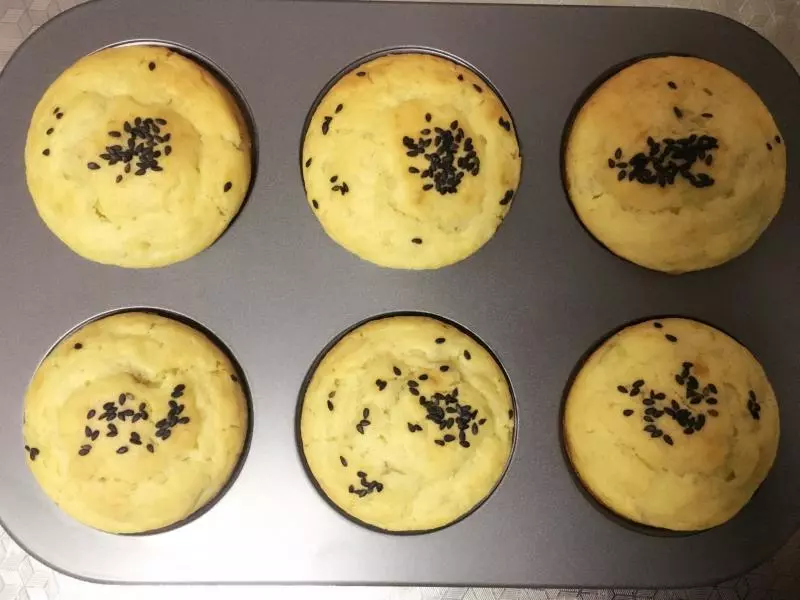
14搅拌好的面糊倒入6寸模具中,轻震出里面的气泡,放进烤箱上下火160度20分钟,再改成150度20~30分钟,模具旁边放一碗水!(温度作为参考以自己家烤箱的实际温度自己调整哦,因为每个烤箱脾气都不一样的)或者放进蒸锅里蒸30分钟,口感会更好
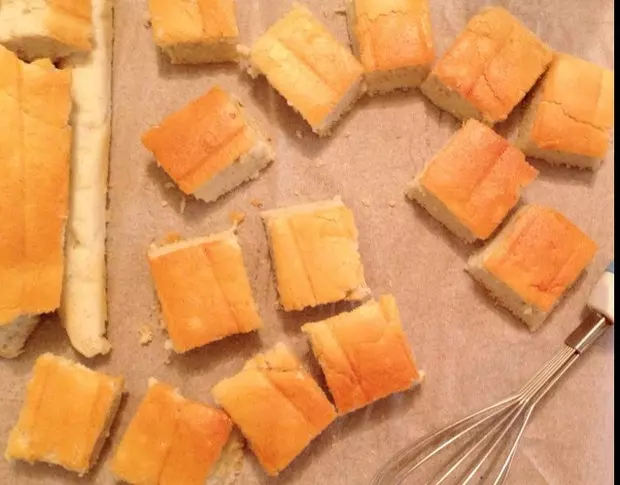
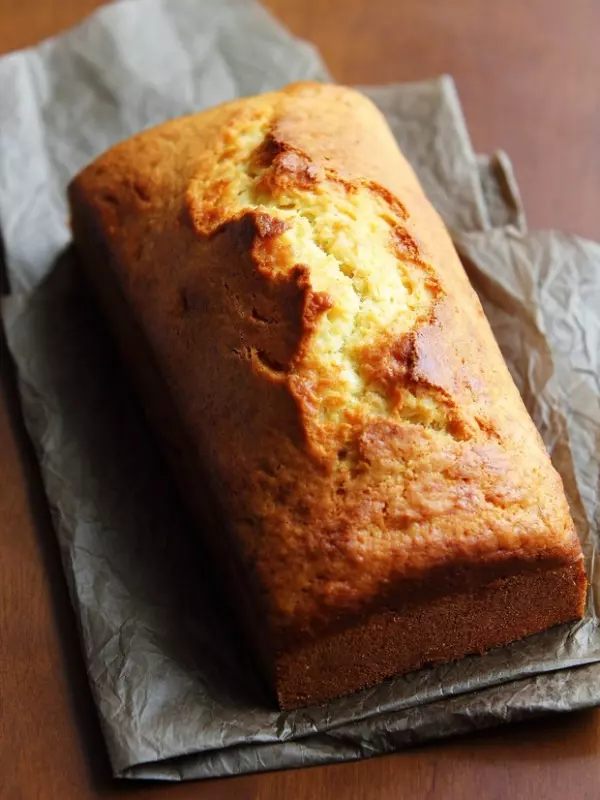
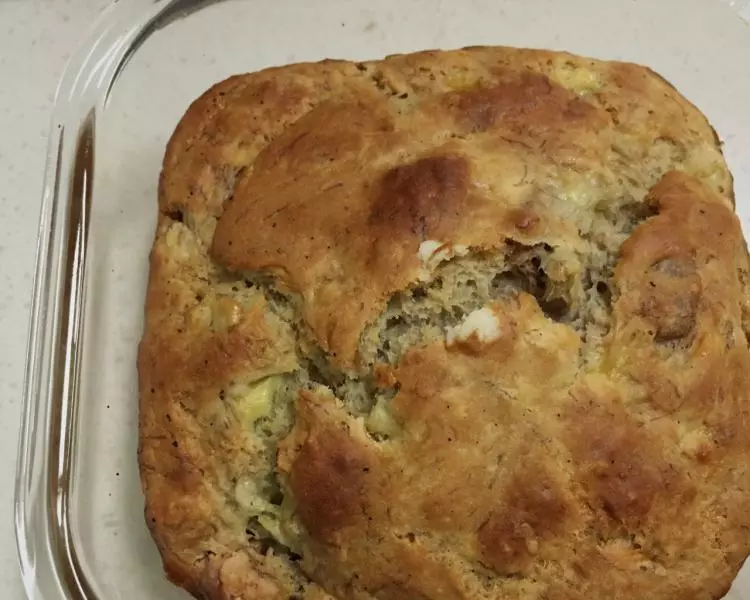
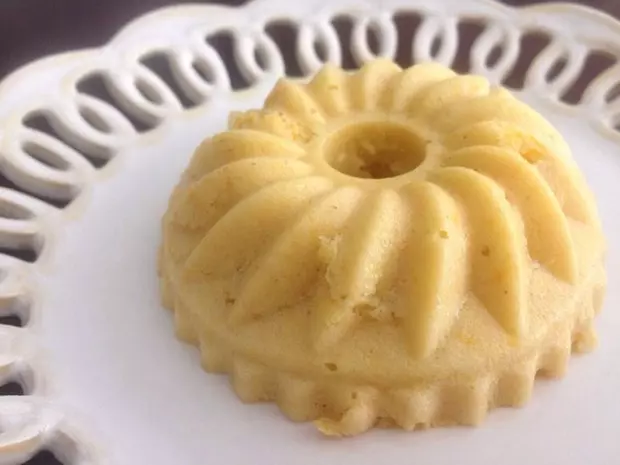
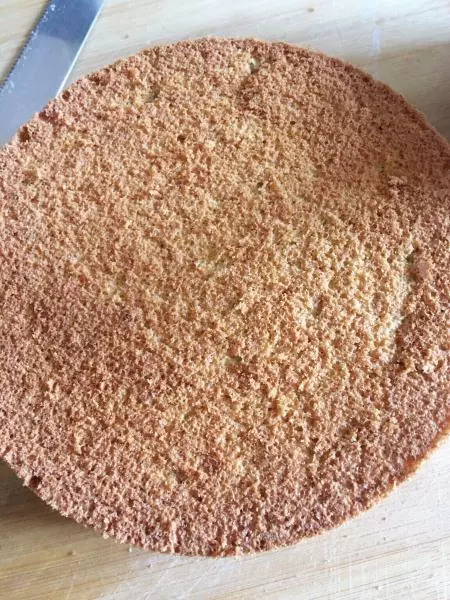
15出炉,倒扣,彻底放凉后脱模
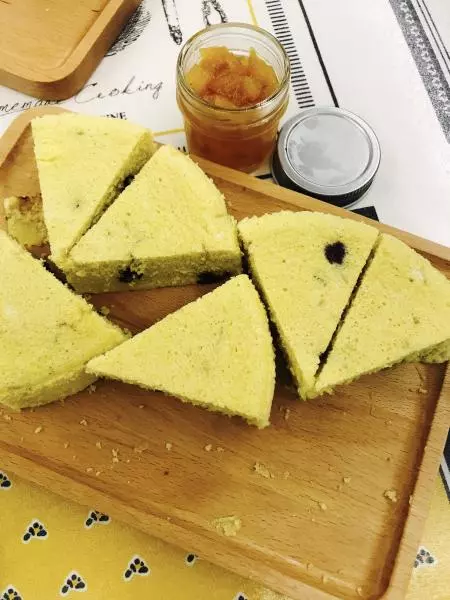
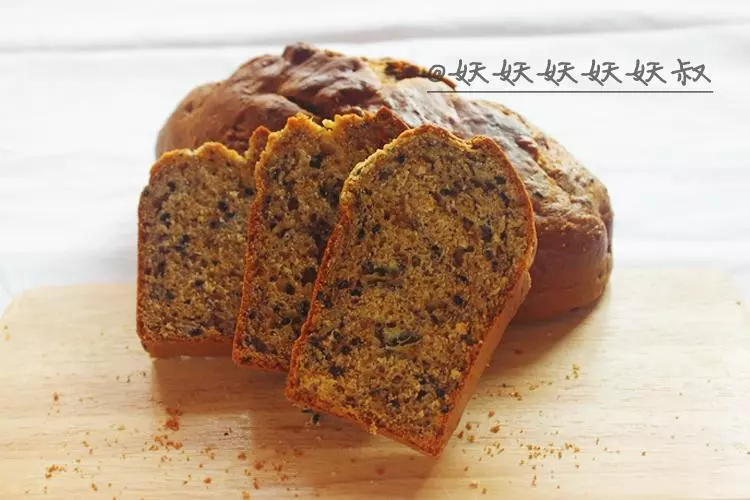
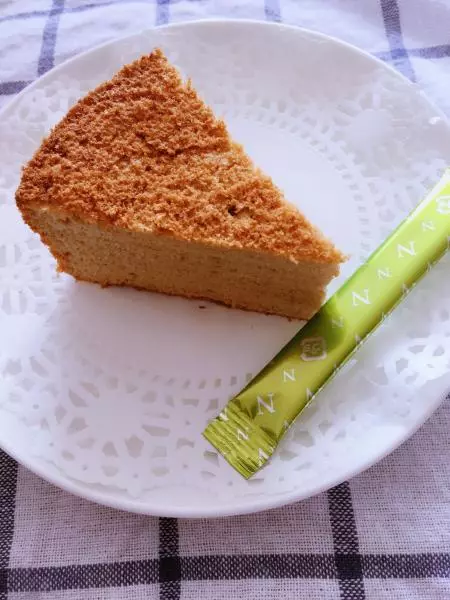
16照片有些虚,但是真的很细腻
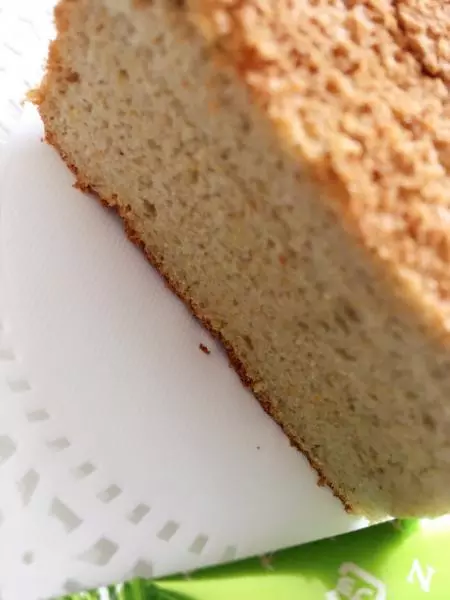
17很松软,如果是蒸的效果会更好!
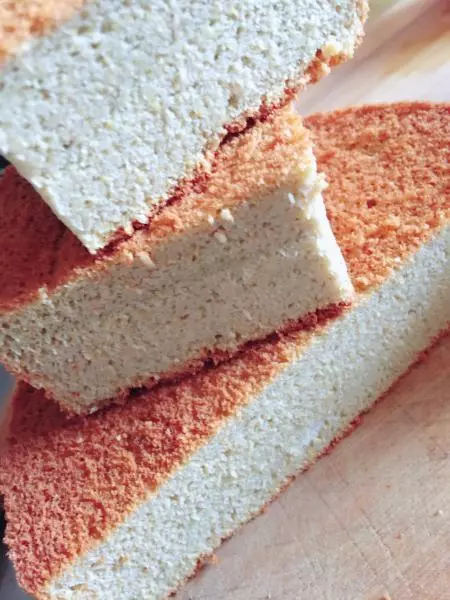
18成品图!

小技巧
想说的都在上面