原料
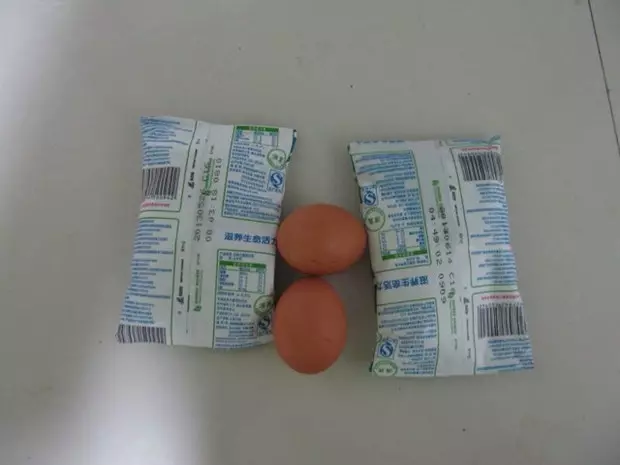
面粉(中粉、高粉、或者1:1): 250克(8-9根), 鸡蛋: 小的1个, 水: 150-170克(含鸡蛋,新手150,熟练后增加到175克), 盐: 3-3.5克, 泡多源: 6-7克, 膨松剂: 4-3克, 白糖: 4克, 油: 10+10克, 奶粉: 20克(可不放)
步骤
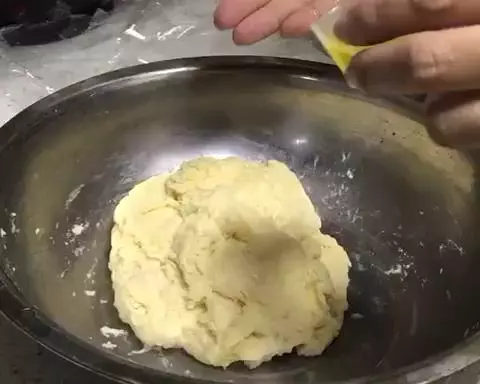
1留10克油,其余的全部倒在一起,搅拌活匀净,揉到光滑。(很粘,可带手套也可以用筷子)

2我就用筷子也揉成这样,覆盖静置10分钟,用手揣面。每次揣面倒一点油。
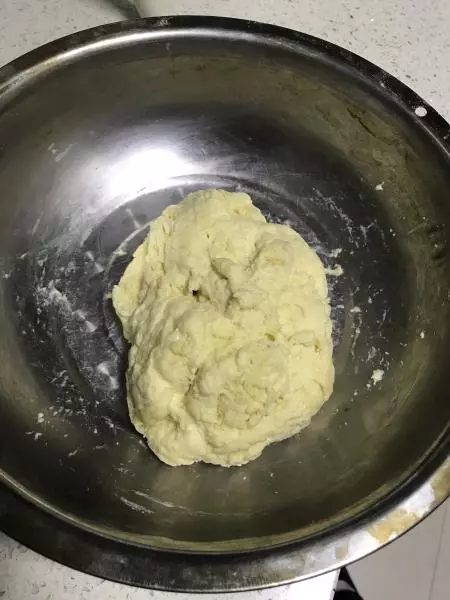
3这就是揣面。静置再揣面,反复3次。

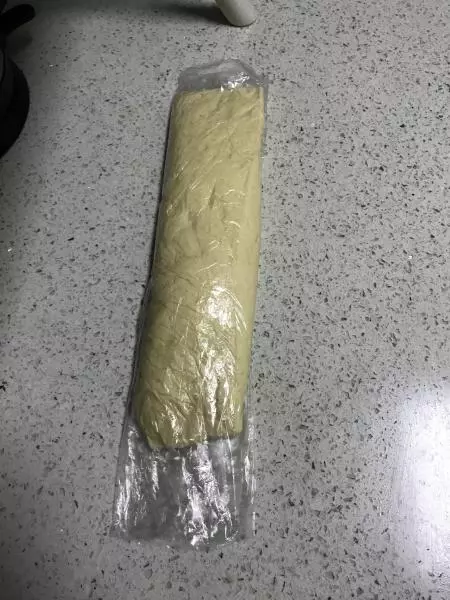
4用保鲜袋整理成这样,醒发8-10小时。除夏天放进冰箱外其他季节放在案板上面,我通常头天晚上做早上起来炸。
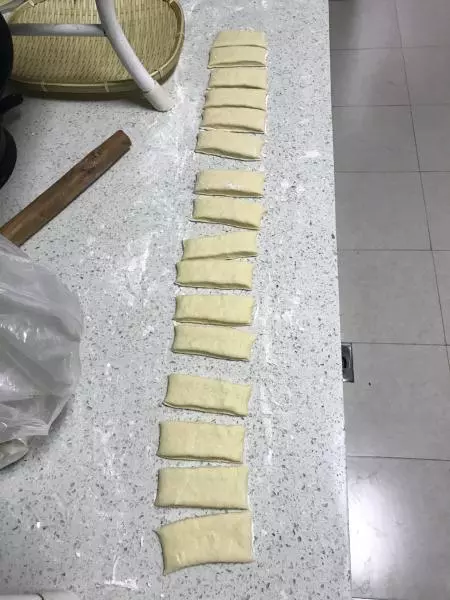
5第二天早上案板上、面团上撒上面粉(防粘),两手摊开,醒好的面很柔软,面可以拉开到很长。发好的面是不会回缩的。如果是夏天,要早2个小时从冰箱拿出来。

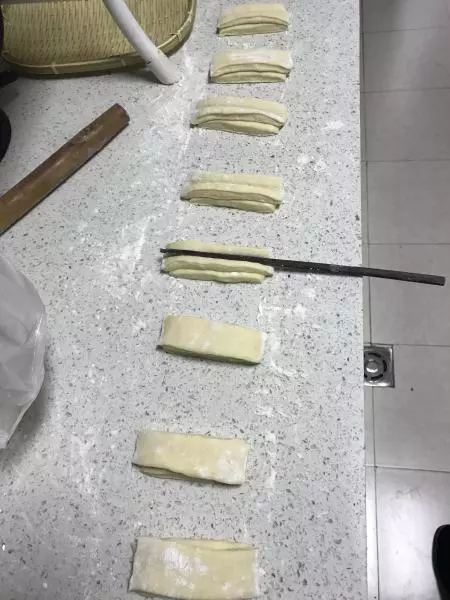
6切成这样,长10厘米宽2厘米厚1厘米的片。8-9对(头上不整齐,可先切一刀)。
7两块叠在一起,拿筷子按压(面团宽度基本上就是3道筷子多一点点)。
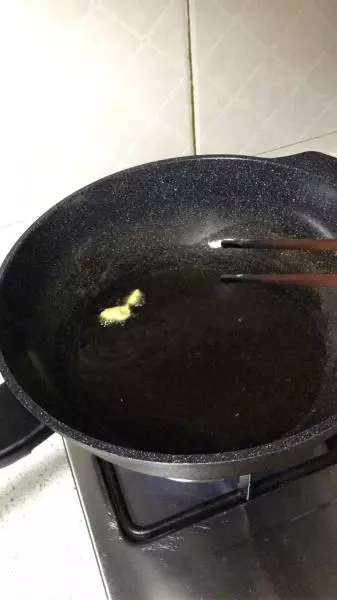
8油锅预热(180-200度),拿一块面团试试,如果温度合适小面团很快就浮起来。
9把面胚拉开到筷子那么长,缓缓放入油锅。炸面坯。
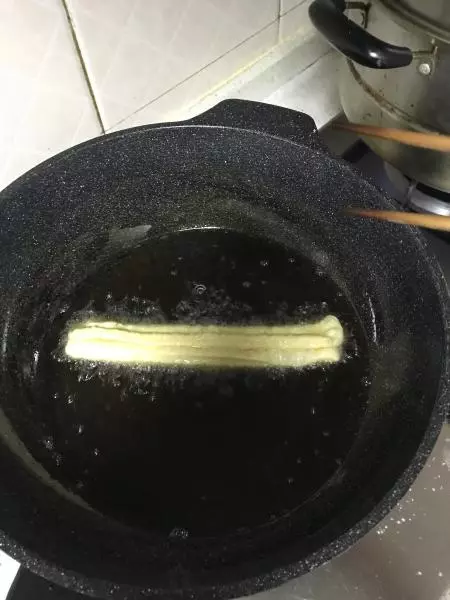
10炸的时候温度不能太高、要随时翻动。

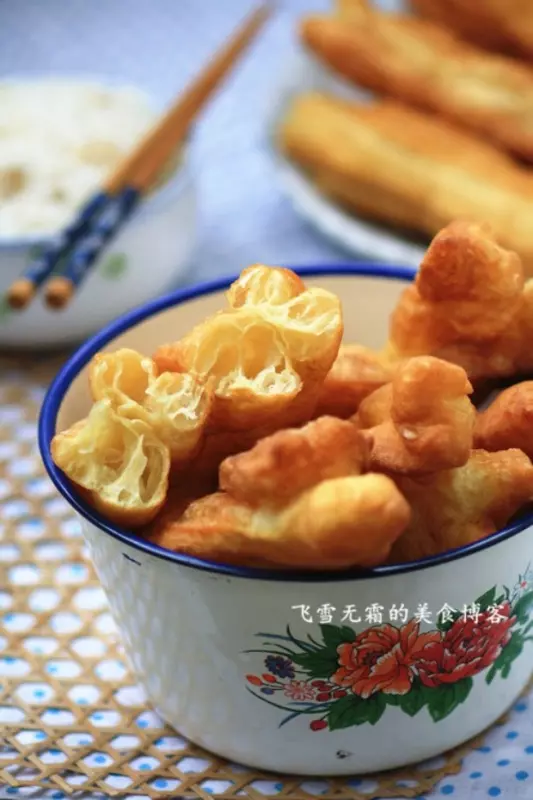
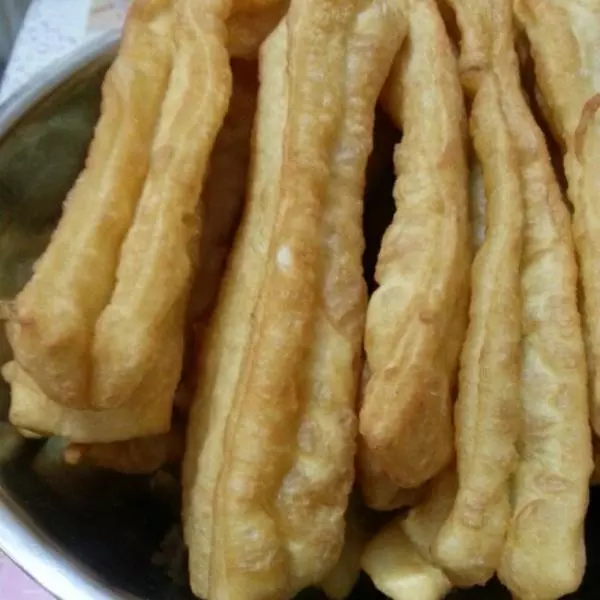
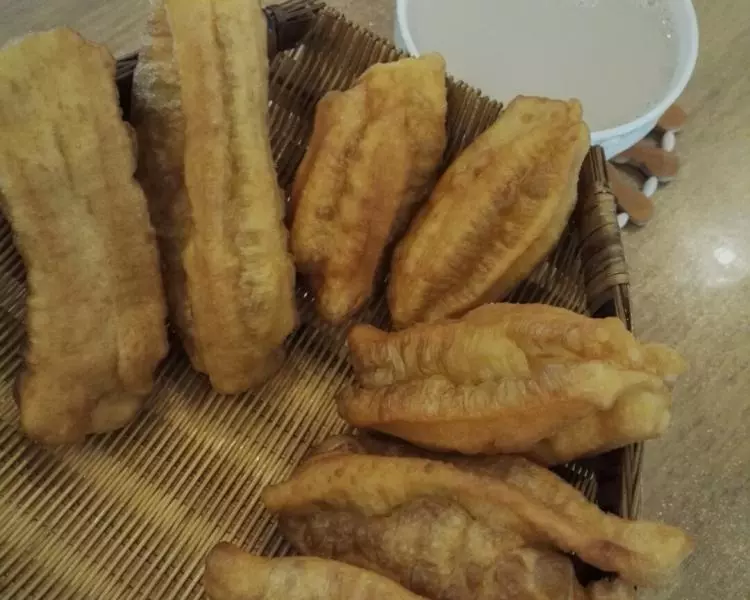
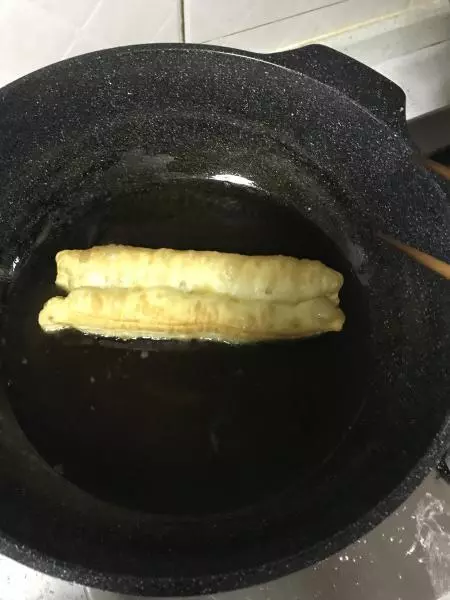
11基本上略黄就可以了。想要脆多炸一会,油温低吸油,高就会糊了,控制在180度。以后有经验就不用测温度了。
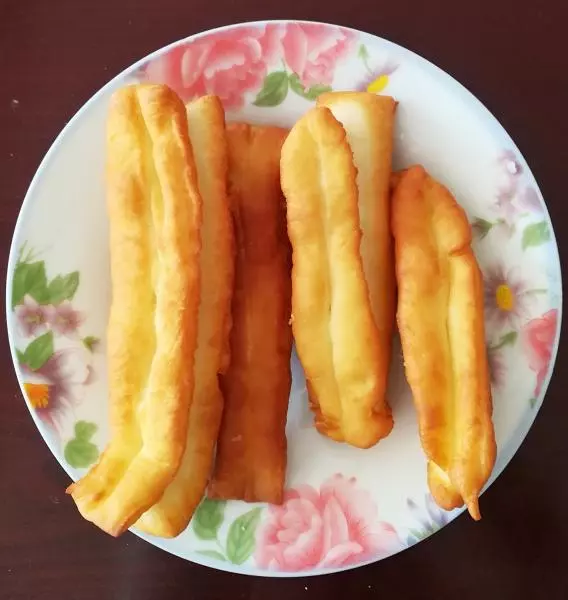
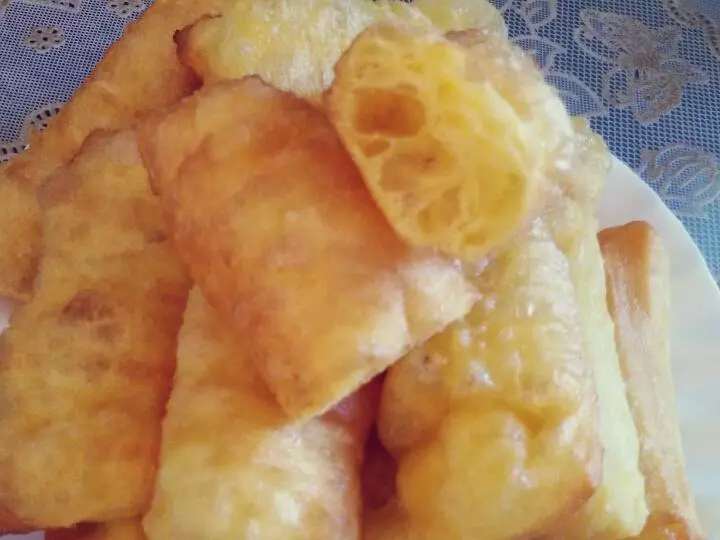
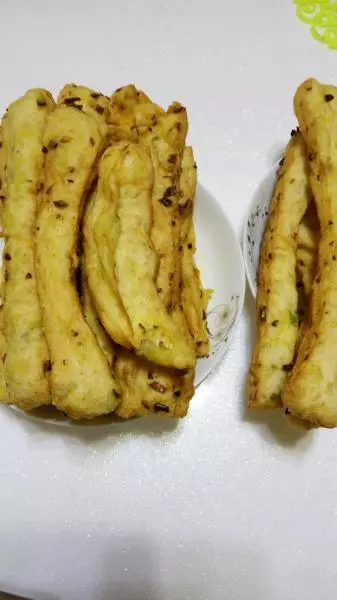
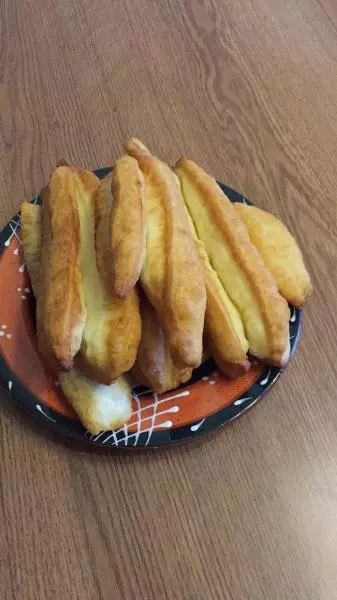
12炸差不多就行,我喜欢脆的,所以多炸了会儿。
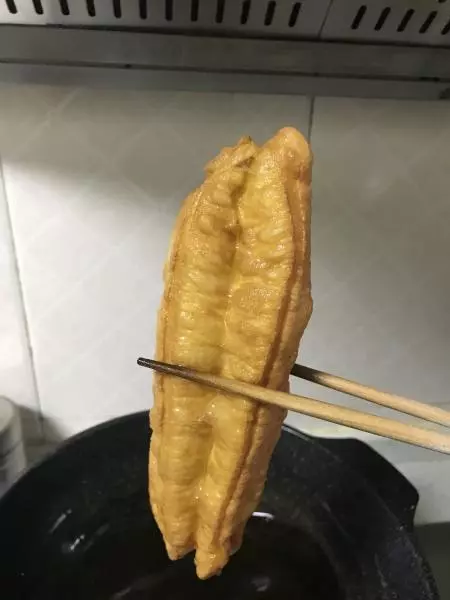
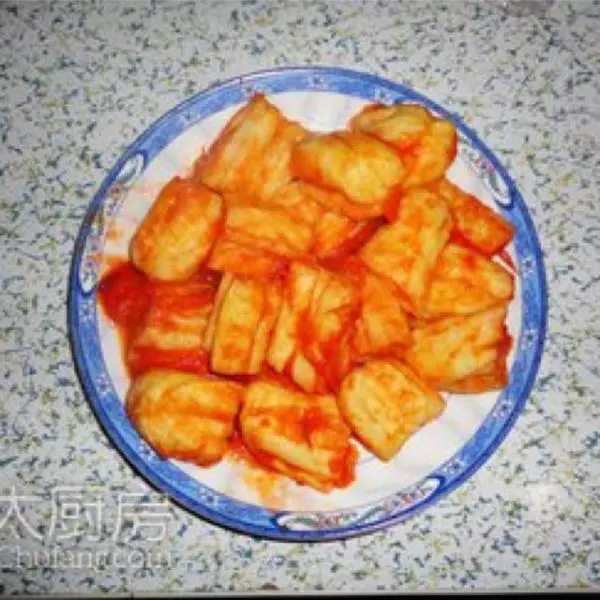
13出来时最好拿好吸油纸垫一下再装盘。

14视频不能全部播放,所以分解开看。揣面很重要!先倒油
15揣面

16然后盖膜醒