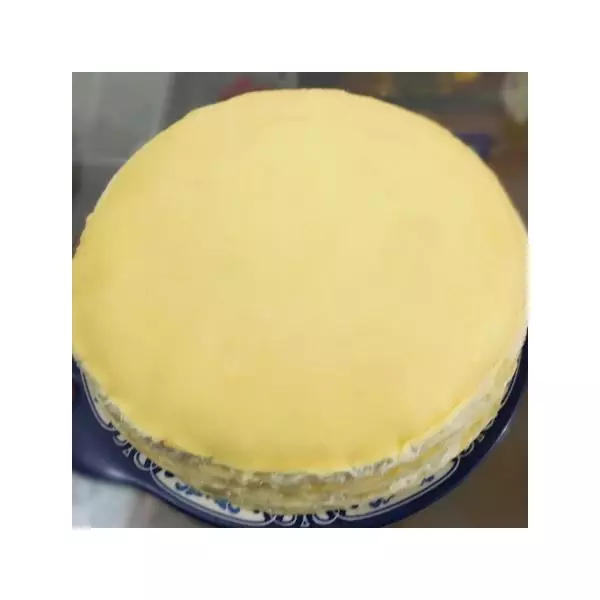
原料
淡奶油: 1000g, 食用色素(黄): 40g, 食用色素(橙): 3g, 食用色素(尼古色): 10g
步骤
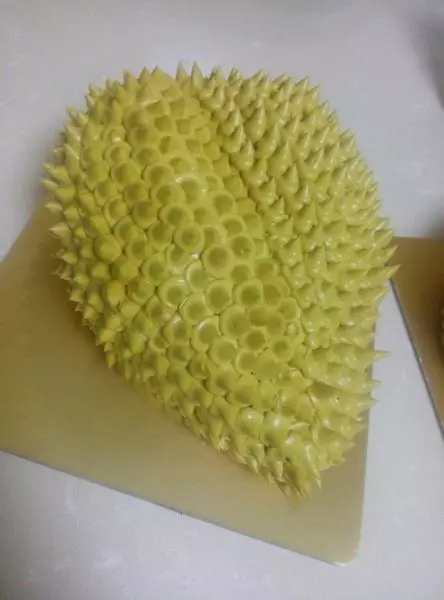
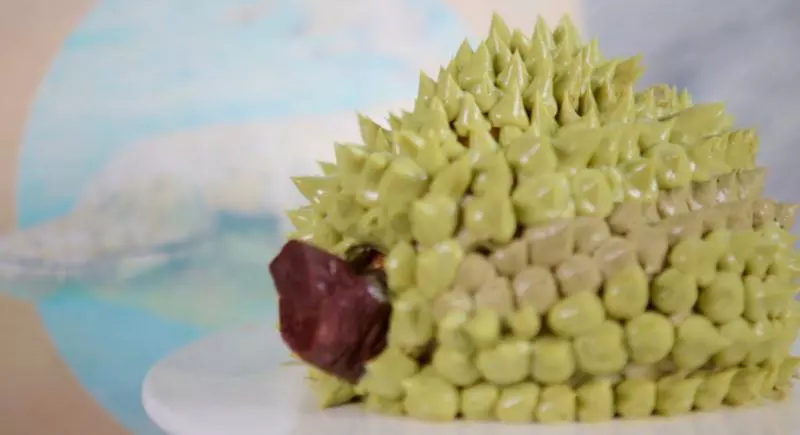
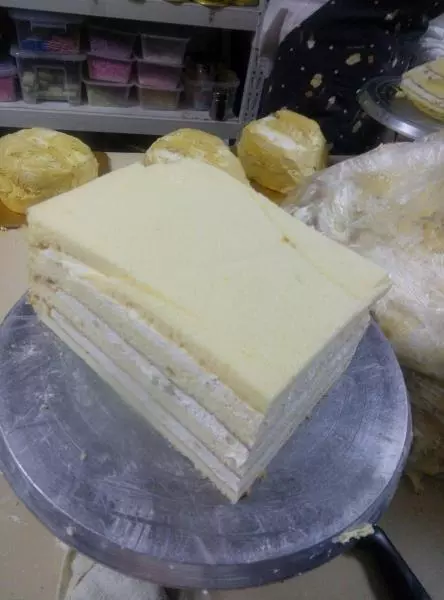
1准备蛋糕胚四块,打好的淡奶油与新鲜榴莲比例为10:1 将奶油与榴莲拌匀,夹在蛋糕胚里,共四层最上面一层奶油少抹一点!抹好后放入冰箱冷冻一夜,记得包上保鲜膜?
2按照榴莲形状进行整形,过程没有详细记录,喜欢榴莲的你一看便懂了吧
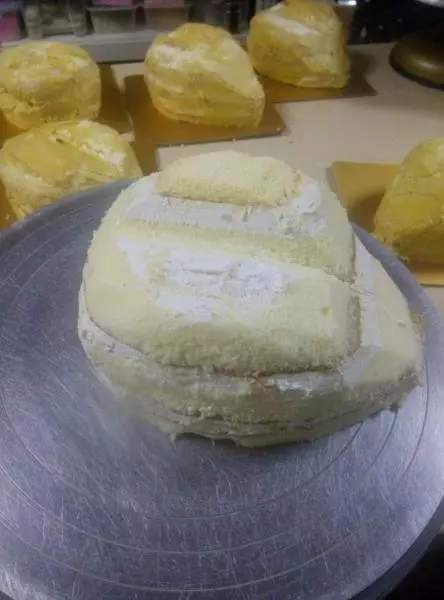
3注意上面一高一低,中间有一条斜缝,使得榴莲逼真
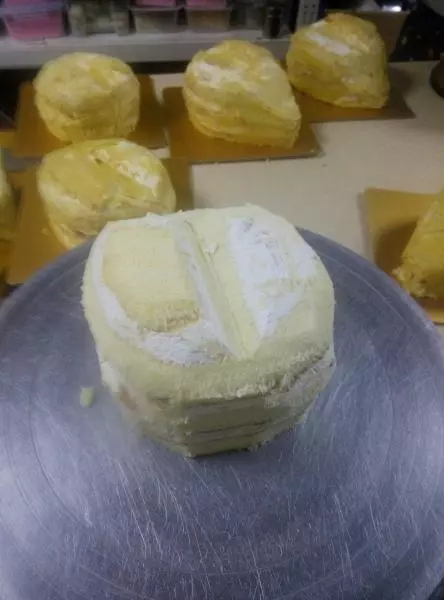
4抹上奶油,使下一步挤榴莲刺奶油与蛋糕更服帖

5用圆嘴中号裱花嘴挤榴莲刺,注意奶油一定要挤出尖来 流畅