原料
酥皮材料: 1份, 泡芙面糊: 1份, 卡士达奶油: 1份, :
步骤
1【酥皮】黄油60克,糖粉40克,低筋面粉75克。 【泡芙】水100毫升,黄油45克, 盐1撮,低筋面粉60克,鸡蛋2个(约105克)。 【卡士达奶油(基础分量)】蛋黄3个,细砂糖75克,低筋面粉25克,牛奶250毫升。
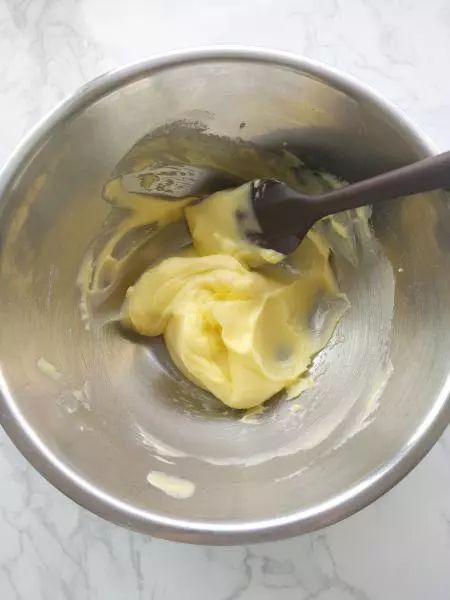
2先来做酥皮。把黄油室温软化,再加入糖粉,用打蛋器搅打均匀。
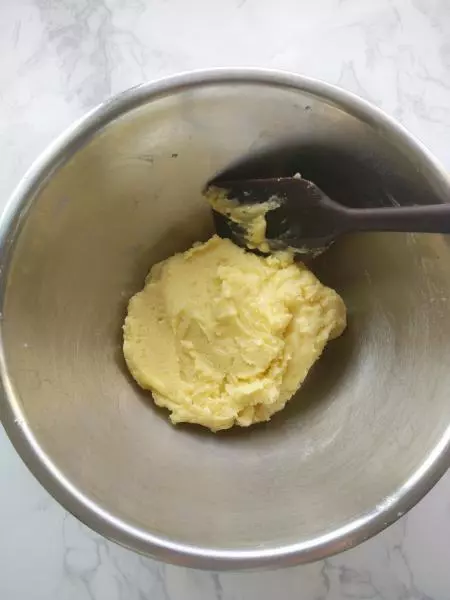
3把低筋面粉筛入打发好的黄油里,用刮刀拌匀,成为湿软的面团。
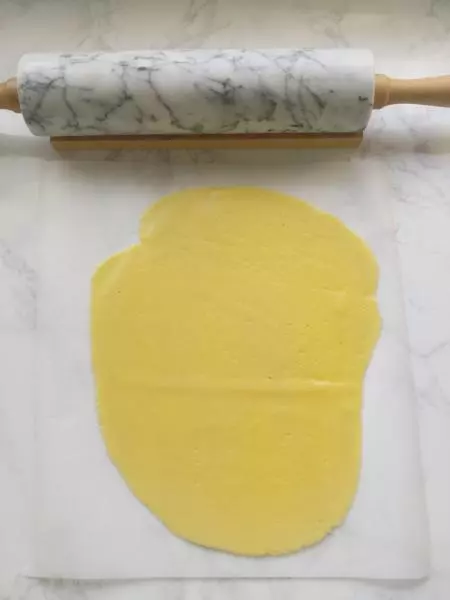
4把面团放在两张油纸中间,再用擀面杖擀成厚2-3毫米的薄片。
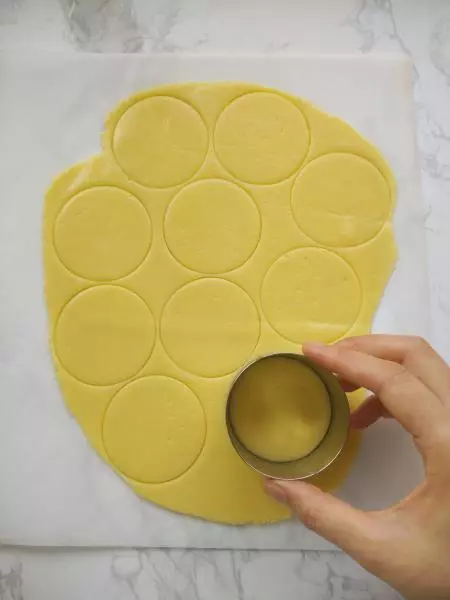
5揭开上面的油纸,用模具轻轻压出印子。
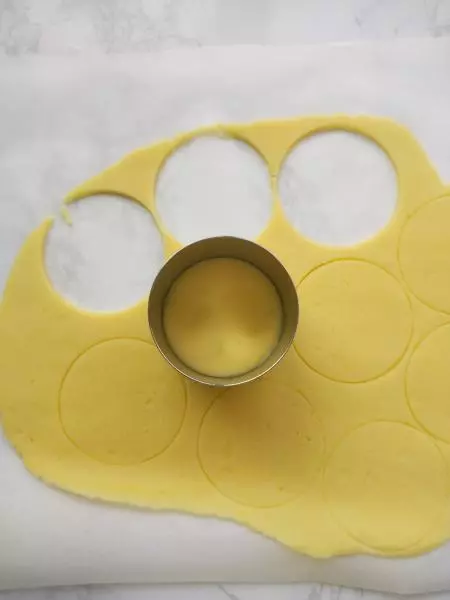
6放入冰箱里冷冻10分后,用模具在先前压的印子上,压出圆片,再送入冰箱冷藏。
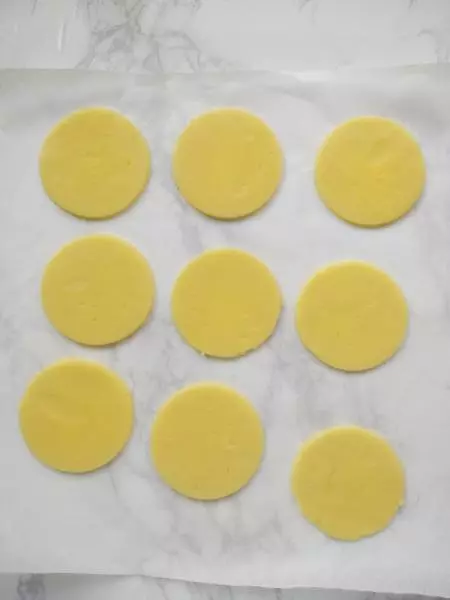
7这个分量大约能做10个直径6厘米的酥皮,如果有多的话,你可以压成薄片冷冻起来,以后再用,个把月之内肯定是没有问题
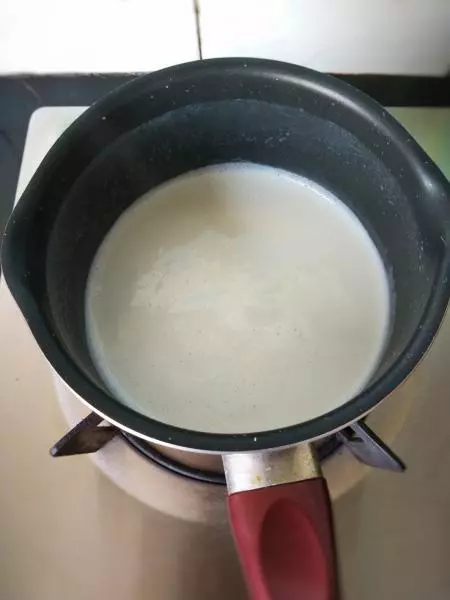
8再来做卡士达奶油。先把牛奶倒入奶锅中加热至即将沸腾。
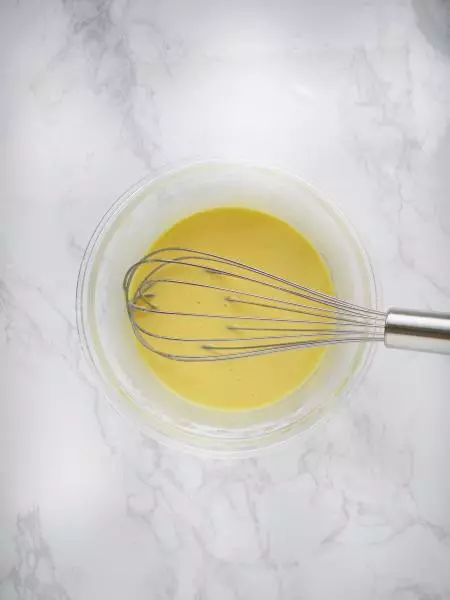
9在搅拌盆里加入蛋黄搅打均匀,然后依次加入细砂糖和低筋面粉,每次加入材料都要充分搅拌均匀。
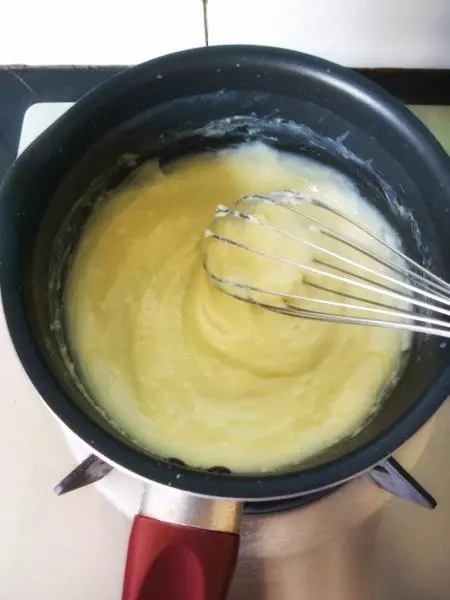
10把温热的牛奶加入搅拌盆中混合均匀,再过滤倒回锅中。小火加热,并不停搅拌,使奶油浓稠且富有光泽。
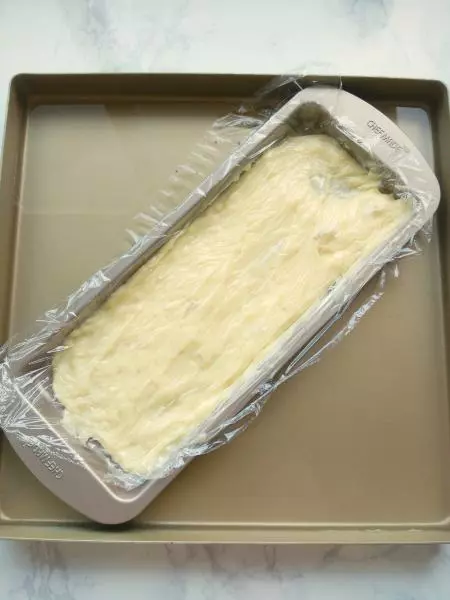
11将卡士达奶油倒入浅盘,覆盖保鲜膜,并叠放在装有冰水的另一浅盘中,加快冷却速度。使用之前,先放在冰箱冷藏保存。使用时,放入搅拌盆中用刮刀重新搅拌,让奶油恢复浓稠顺滑的状态就可以了。
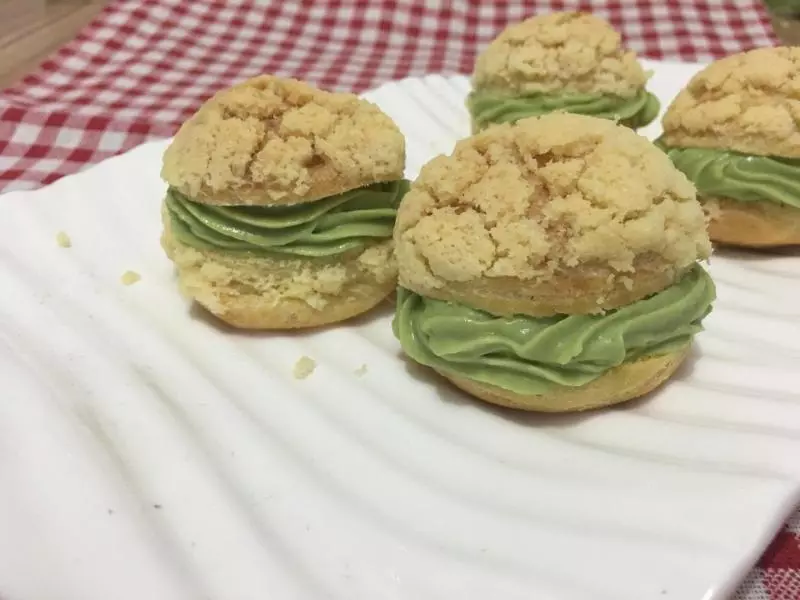
12卡士达奶油有很多变化,比如这款抹茶卡士达奶油,在基本分量的细砂糖中,加入1大匙抹茶粉,后续做法参考基础方子来做。
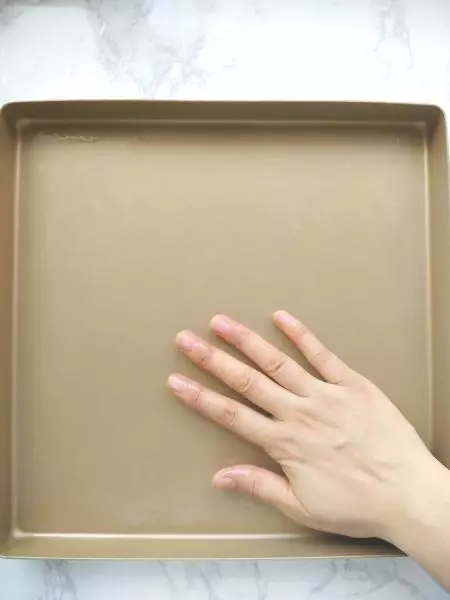
13接下来做泡芙面糊。我们先做好准备工作。用手掌在烤盘上涂抹薄薄一层黄油。(不沾烤盘忽略)图中我演示时借用的是不沾烤盘。
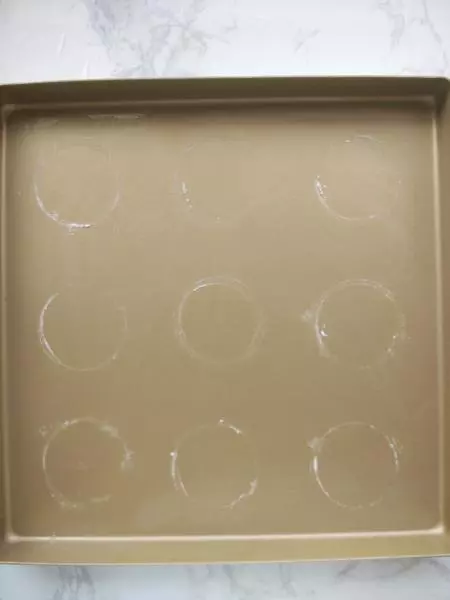
14用直径5厘米的圆形切模,沾面粉在烤盘上做上印记。
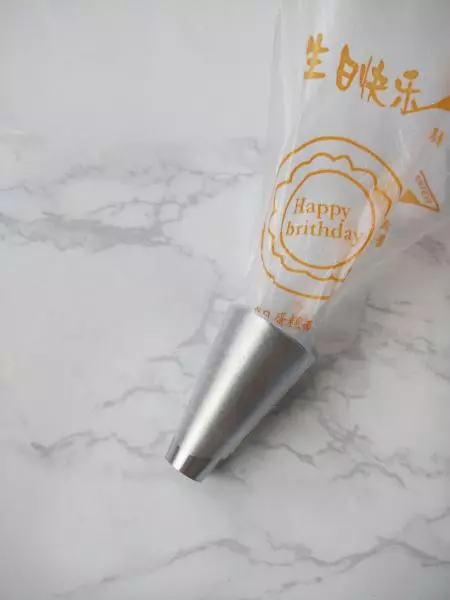
15把裱花袋装入花嘴,然后扭转袋子将花嘴前端部分塞入其中。
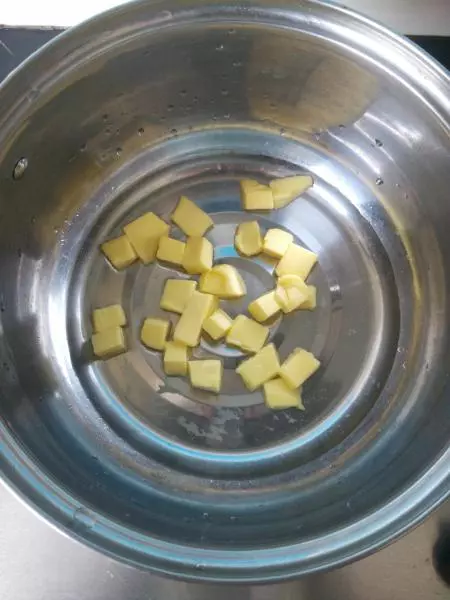
16将水,黄油,盐放入锅中。
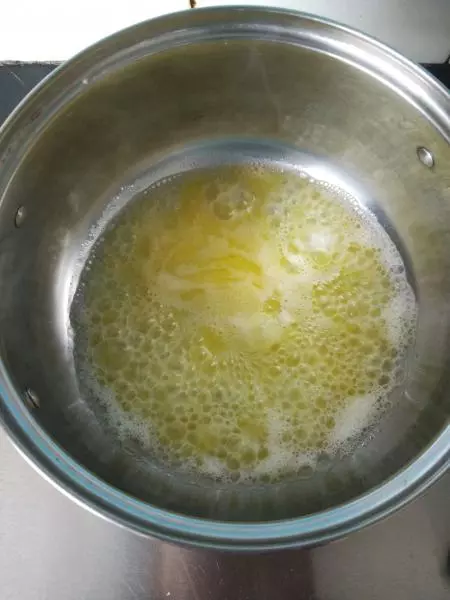
17中火煮至黄油溶化、沸腾。
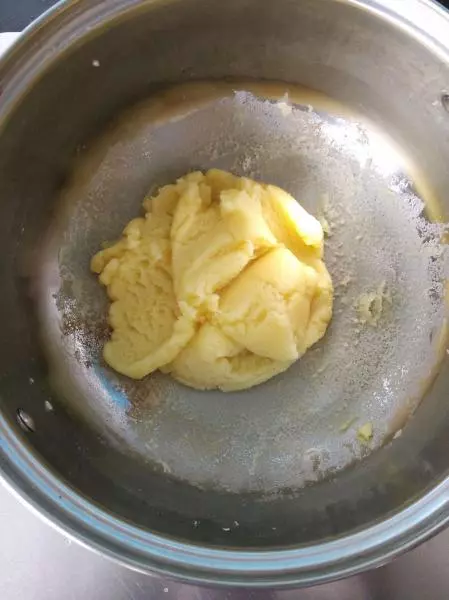
18关火,将面粉倒入锅中
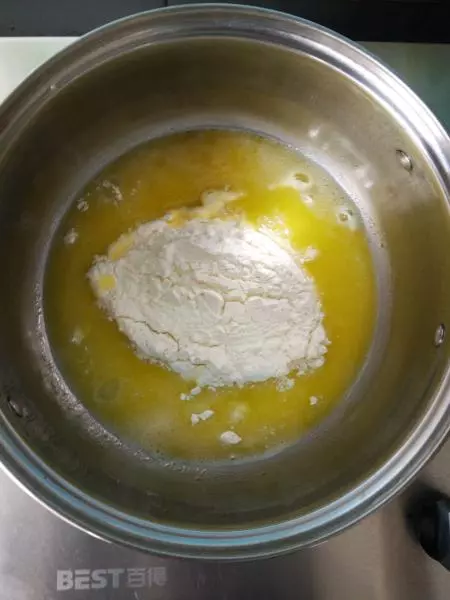
19搅拌至面糊呈光滑透明状且具有黏性。
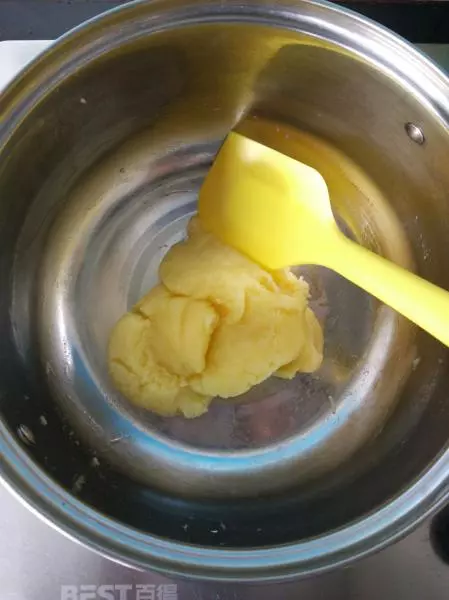
20小火加热,并仔细搅拌,加热面糊,蒸发水分,直到锅底形成薄膜即可取出面糊。
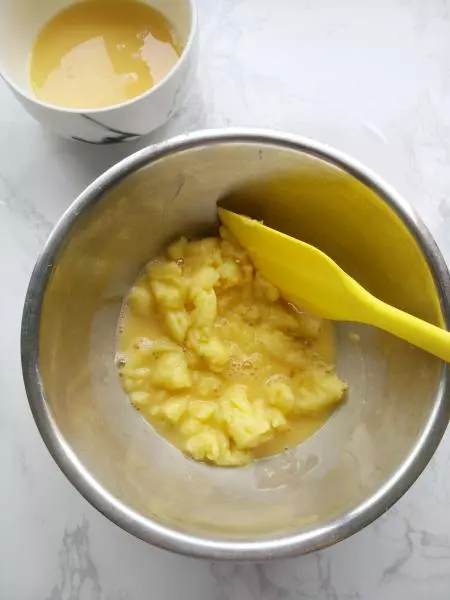
21将面糊移至搅拌盆,慢慢加入蛋液,用刮刀快速搅拌均匀。
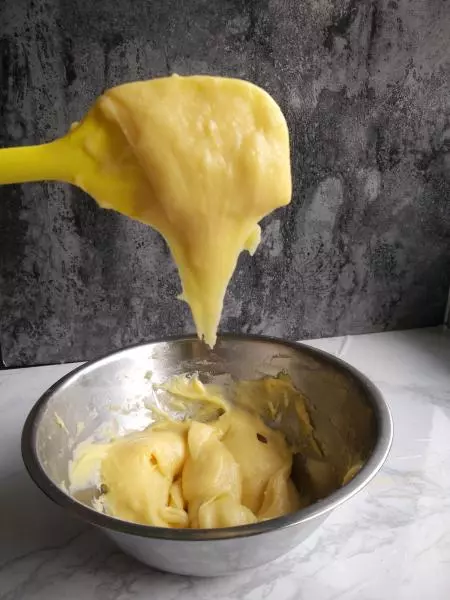
22一边慢慢加蛋液,一边确认面糊状态。面糊充分变软后,用刮刀舀起,面糊呈倒三角停留在刮刀上3-5秒之后滴落且有部分残留,为最佳状态。
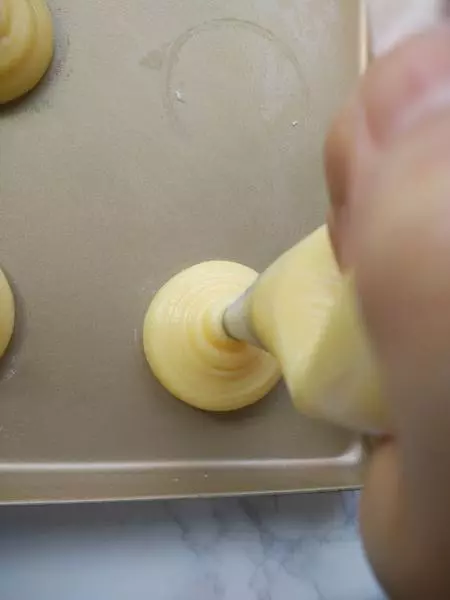
23将面糊装入裱花袋。
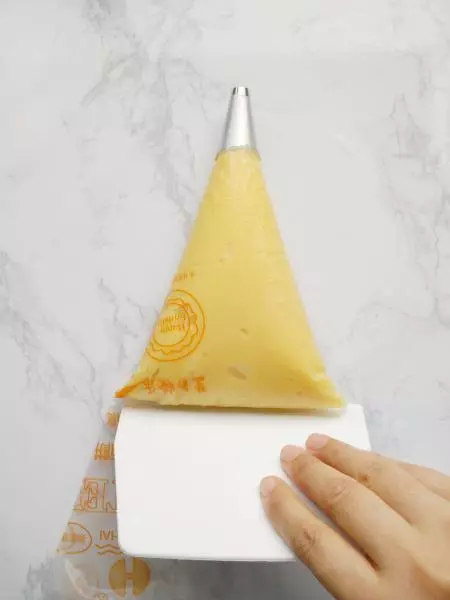
24按照记号挤出圆形面糊。
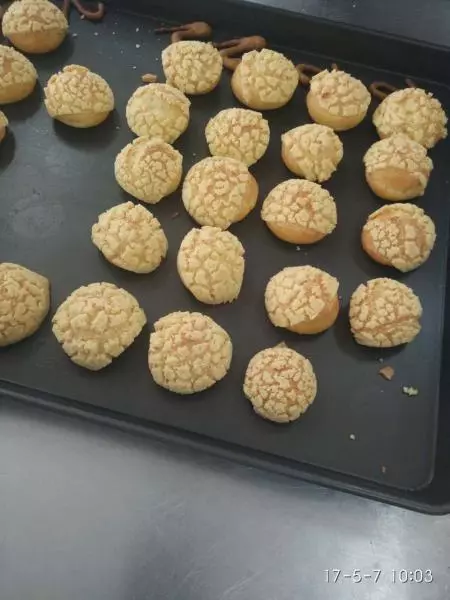
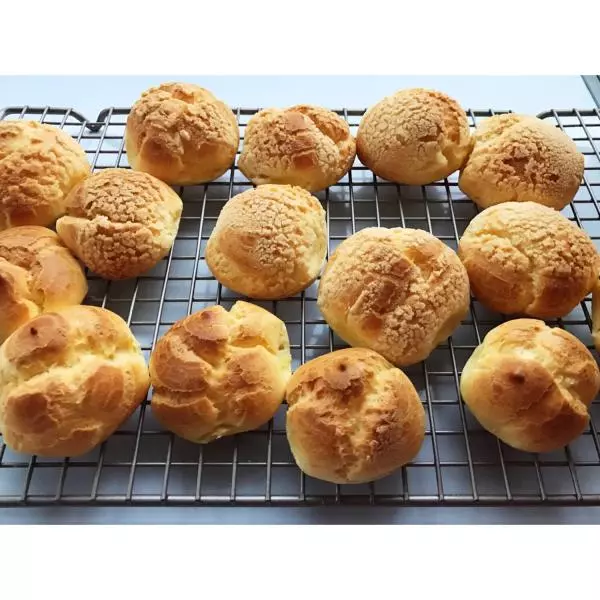
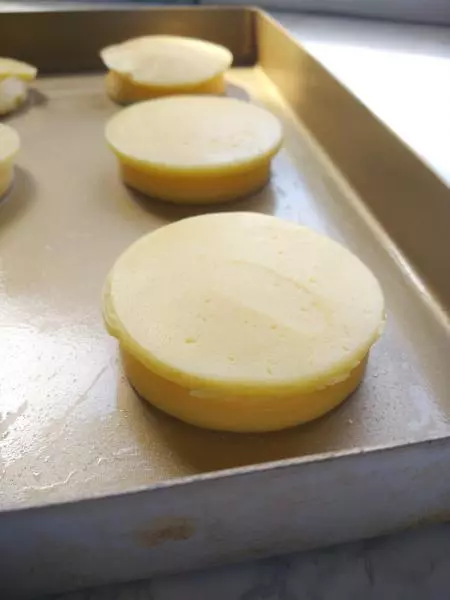
25轻轻盖上酥皮。
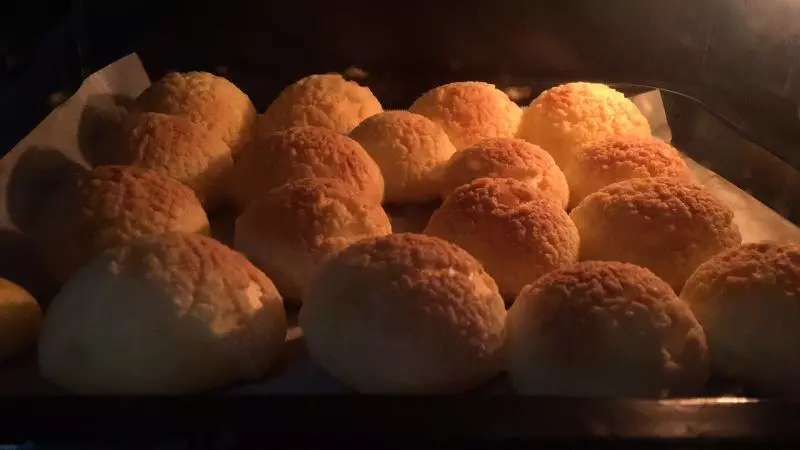
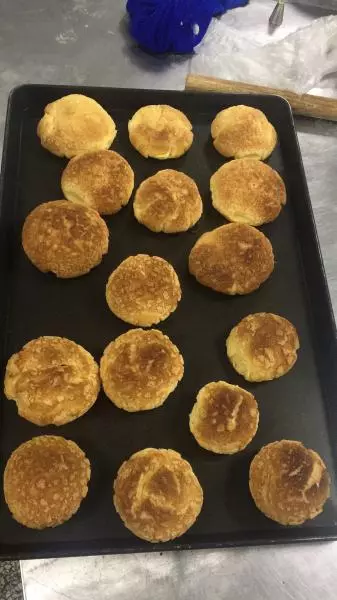
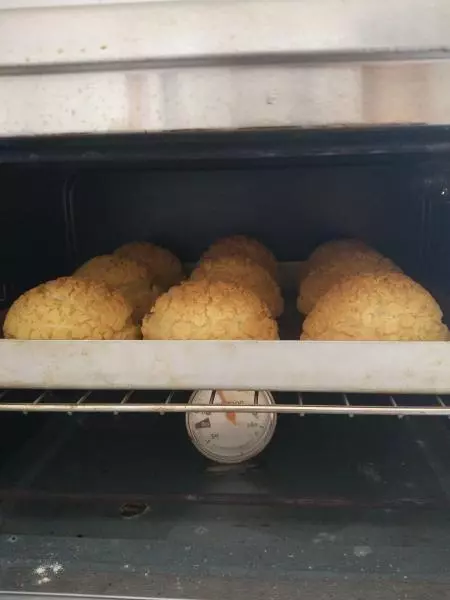
26送入预热好的烤箱, 中层上下火190度20分钟,再转170度15分钟。(参考温度)
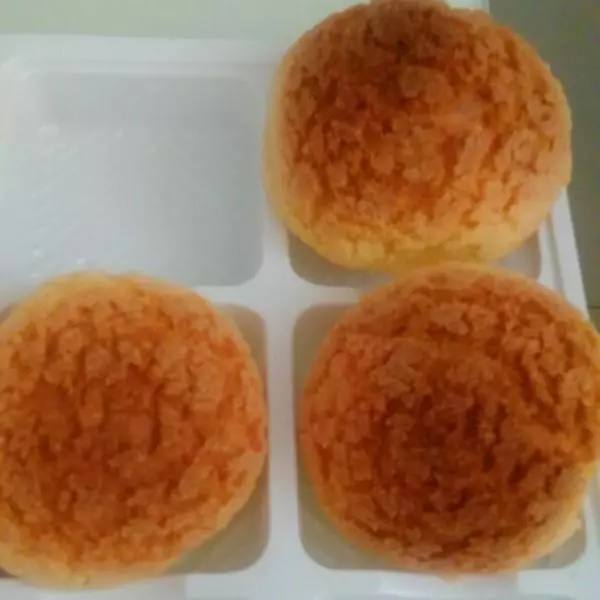
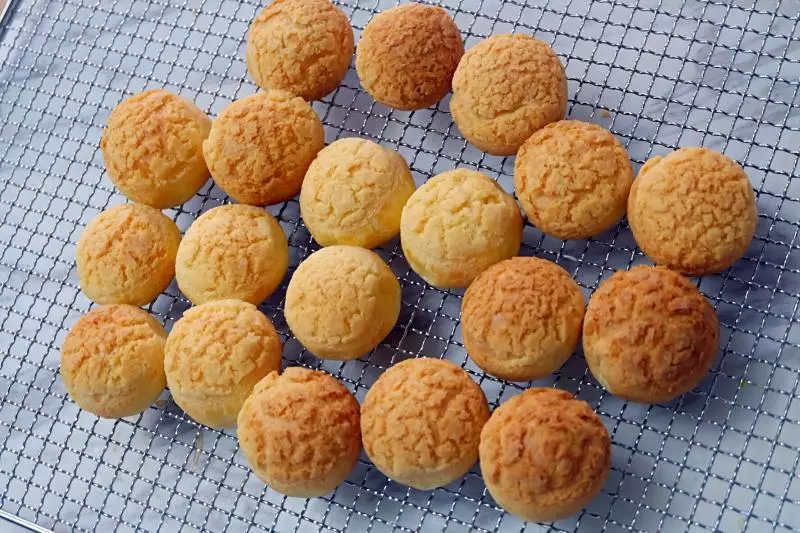
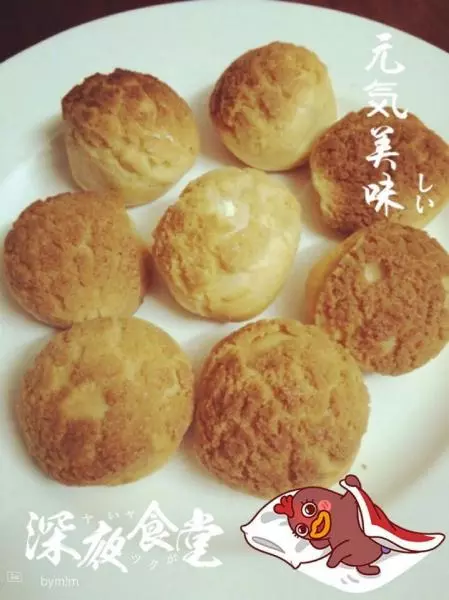
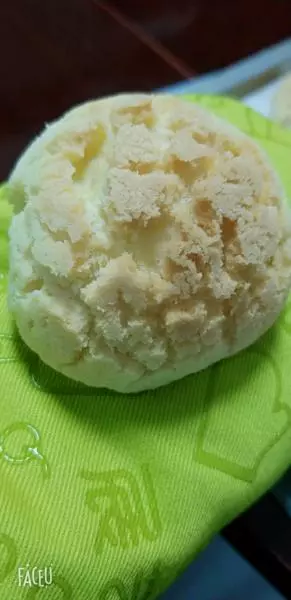
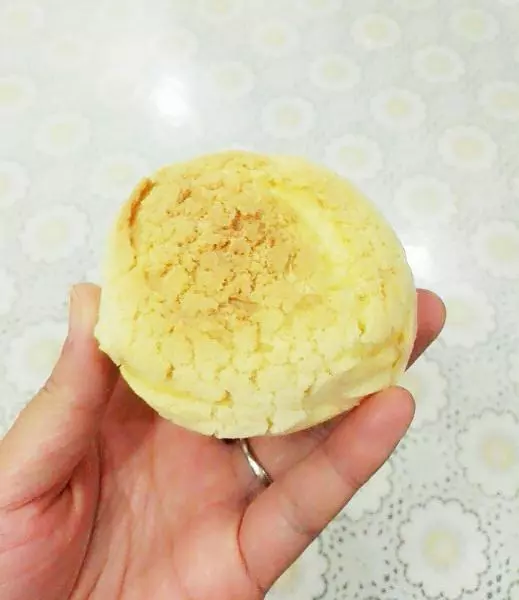
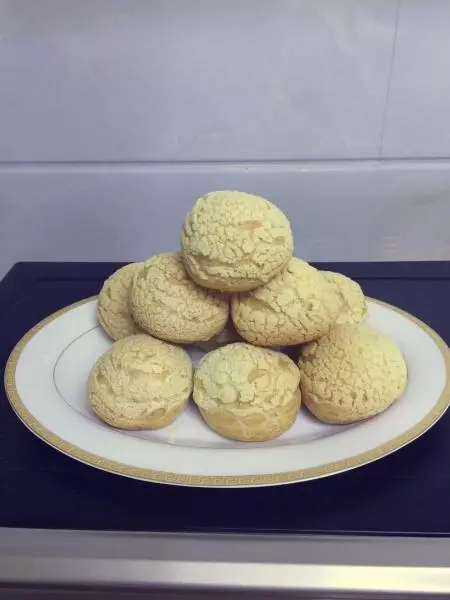
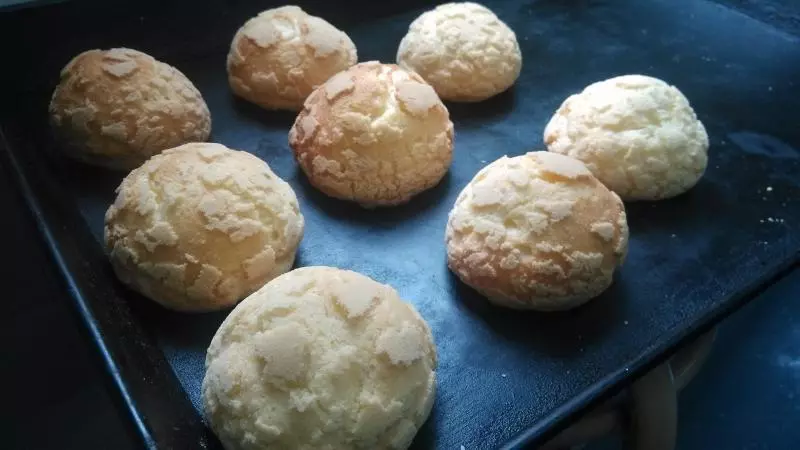
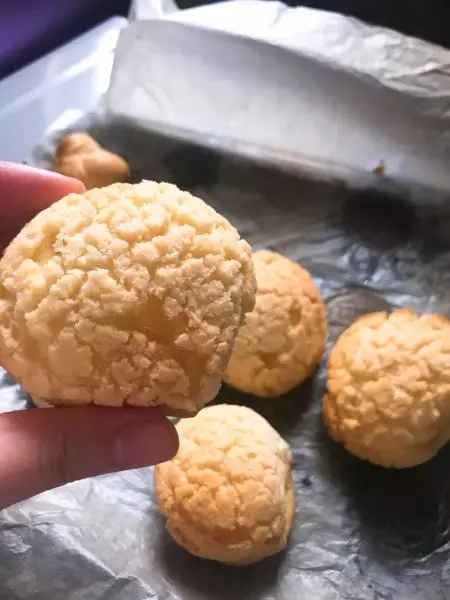
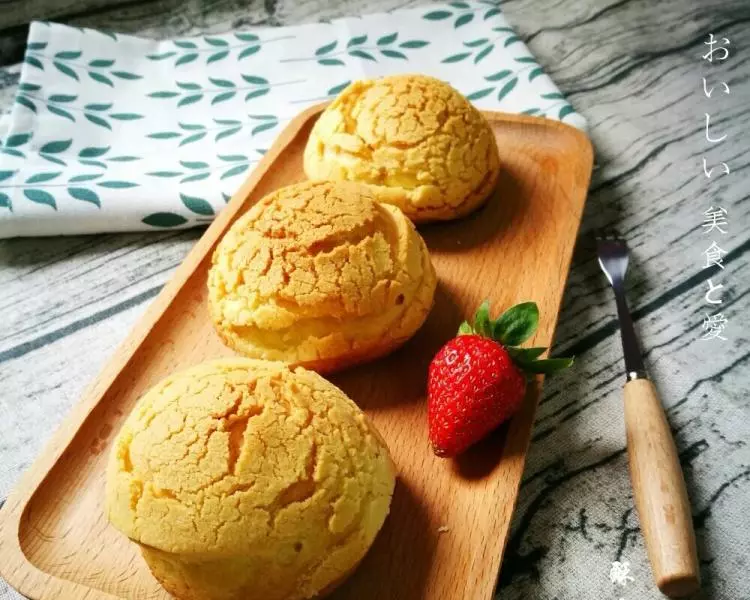
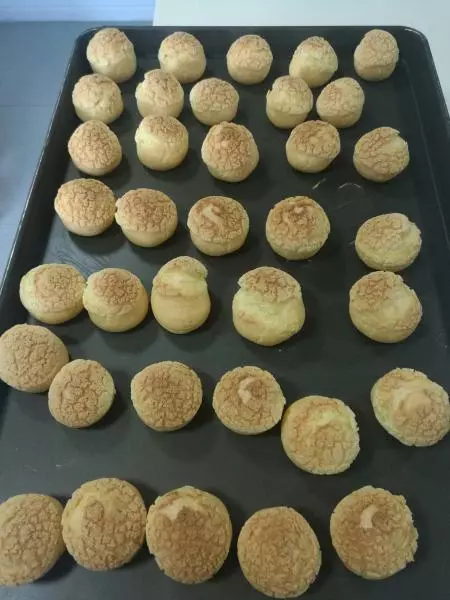
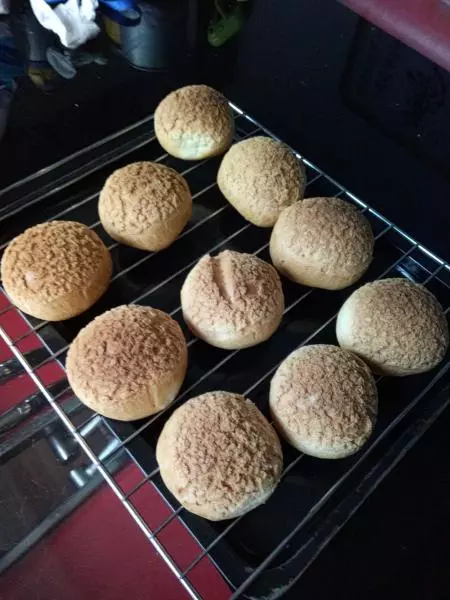
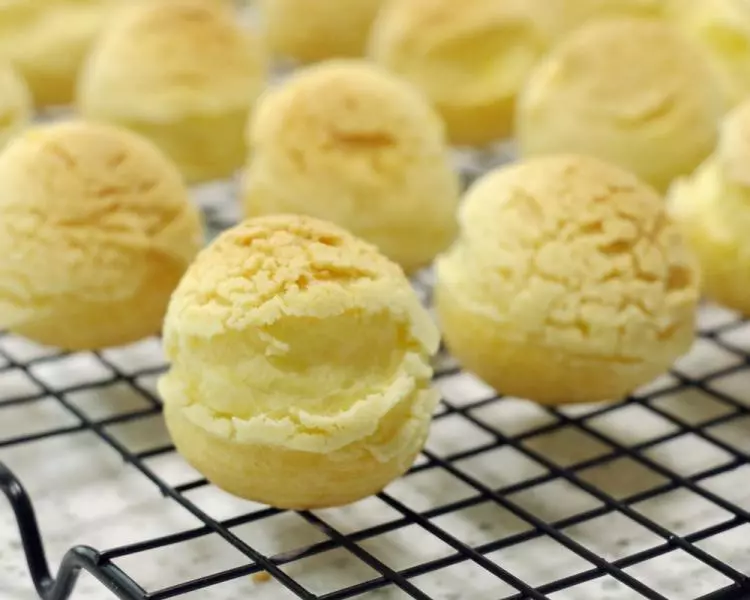
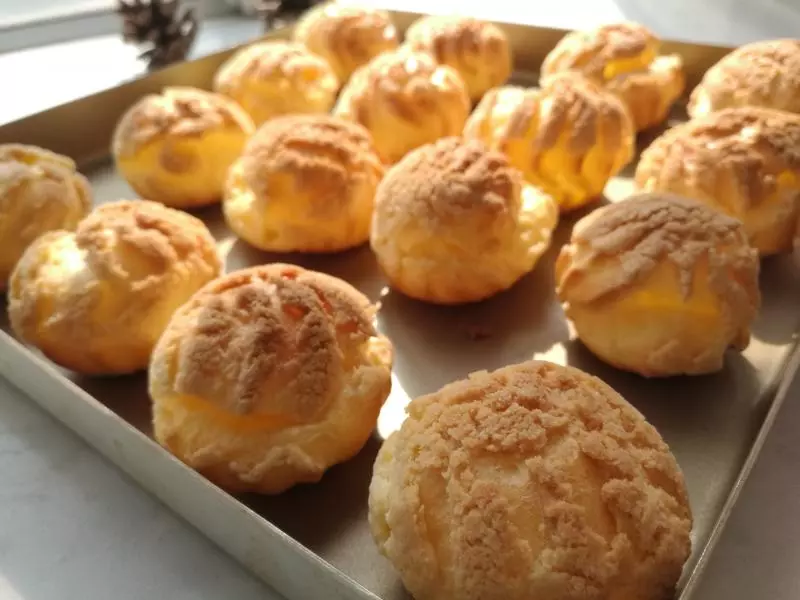
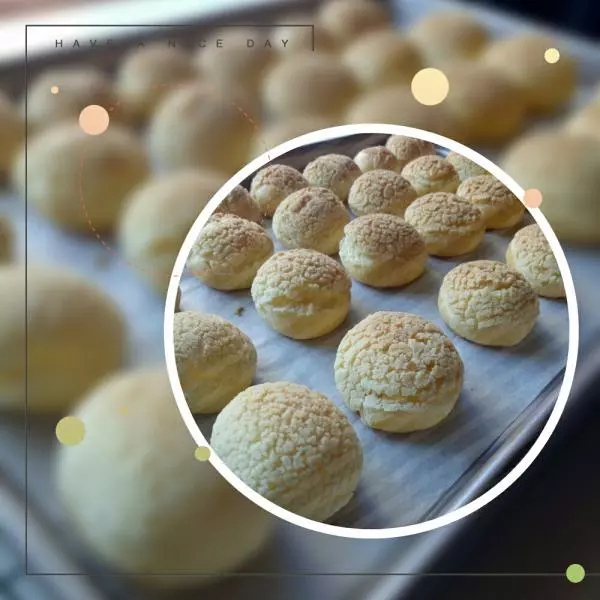
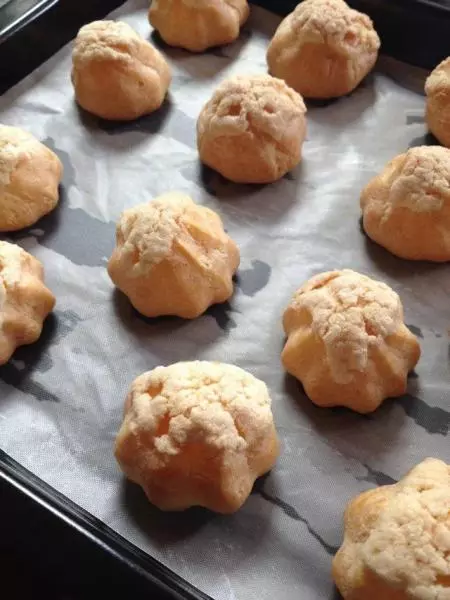
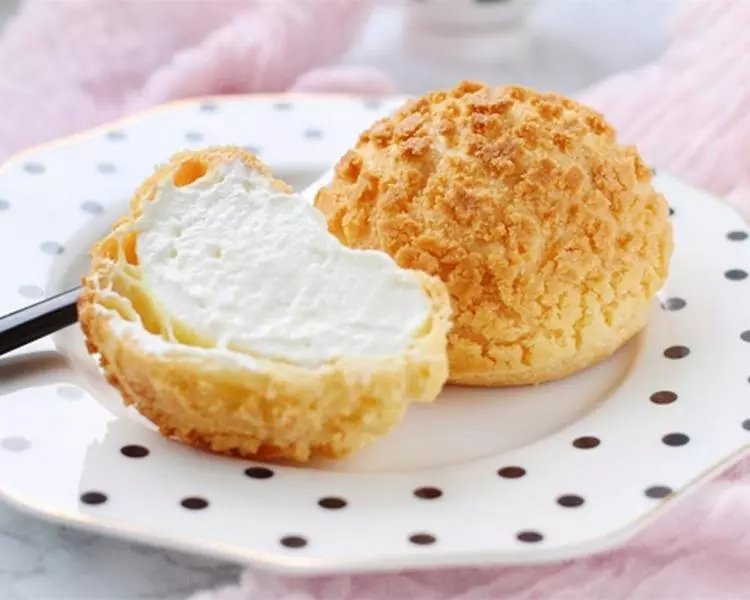
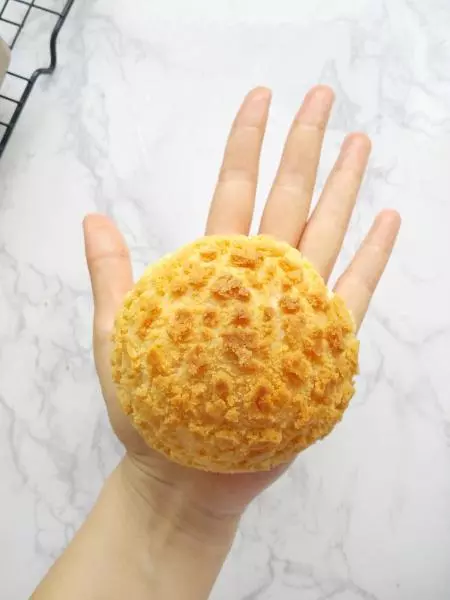
27烘烤好的泡芙,半球形,膨胀隆起,形状饱满。表皮金黄色,上色均匀,酥皮纹路清晰漂亮。底部没有凹陷。
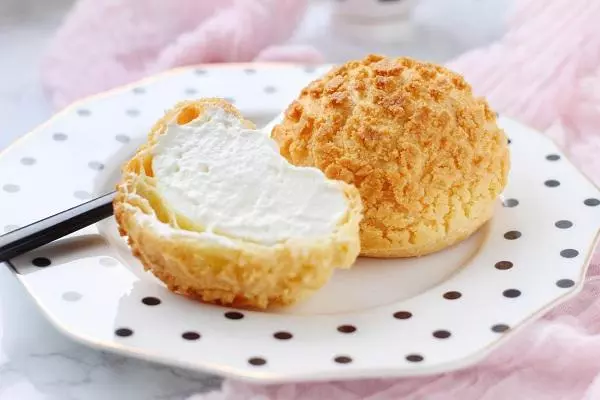
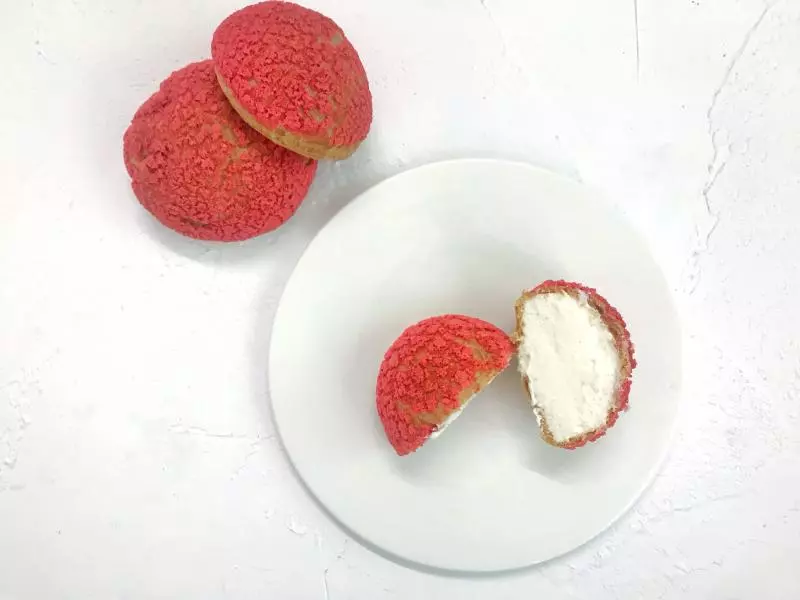
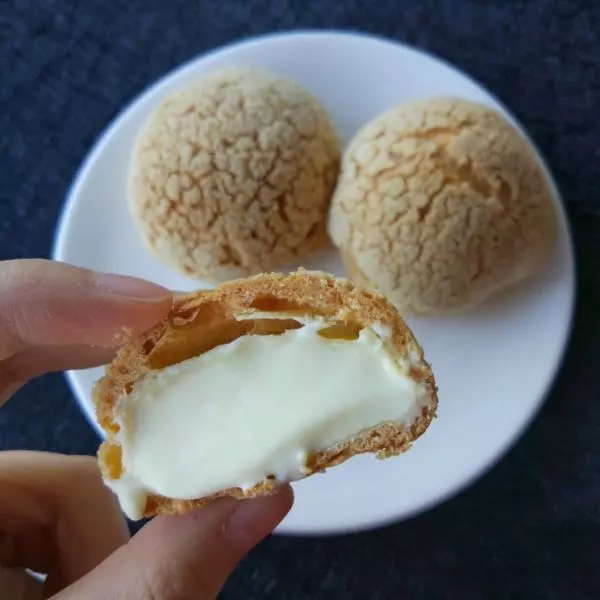
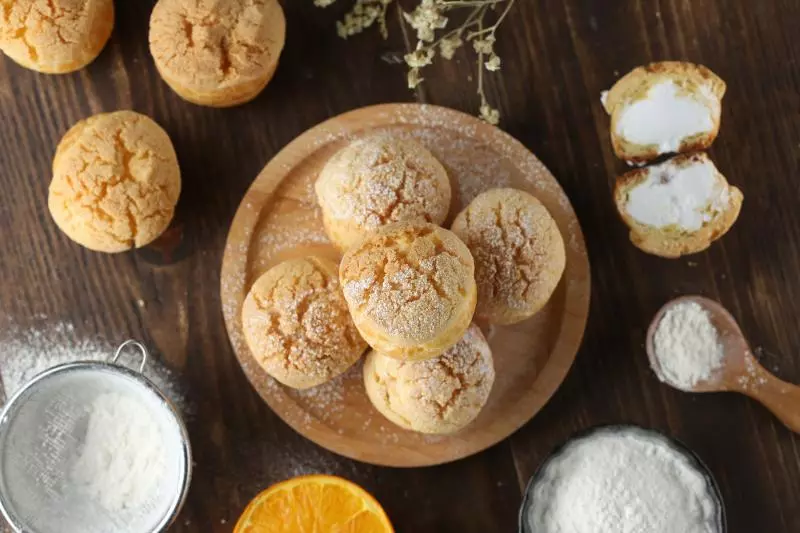
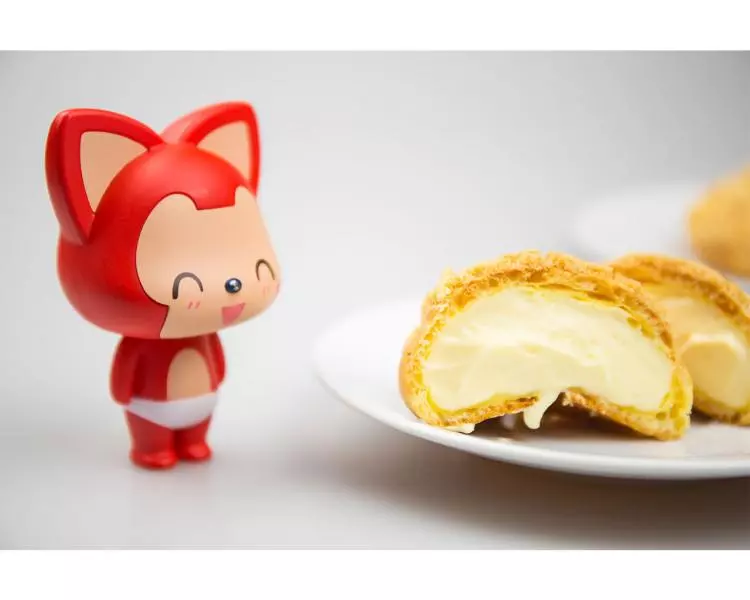
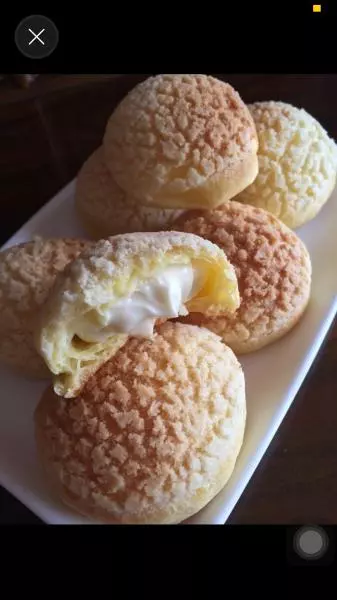
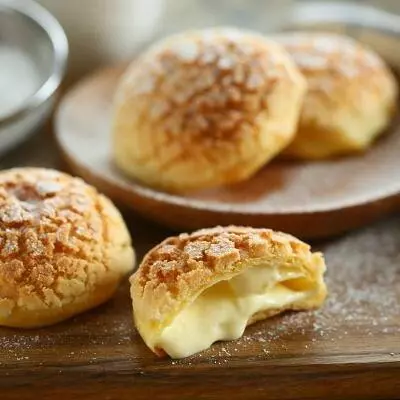
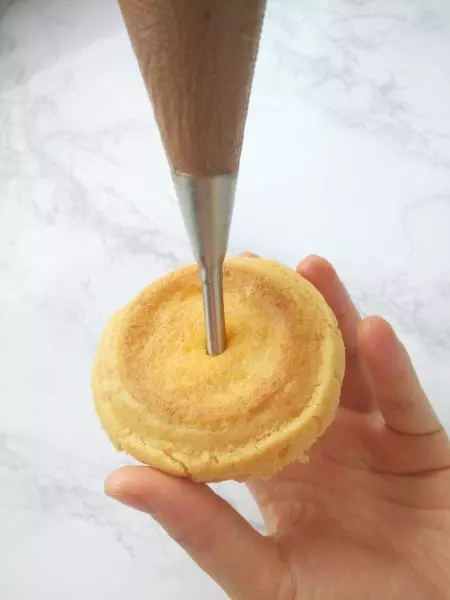
28将卡士达奶油装入裱花袋,挤入泡芙中。
29如果这些泡芙一次吃不完,剩下的空泡芙可以放入冰箱密封冷冻,保存1个月以上。使用前取出回温并放入烤箱170℃烘烤3分钟就可以用了,记住吃的时候再填充奶油。

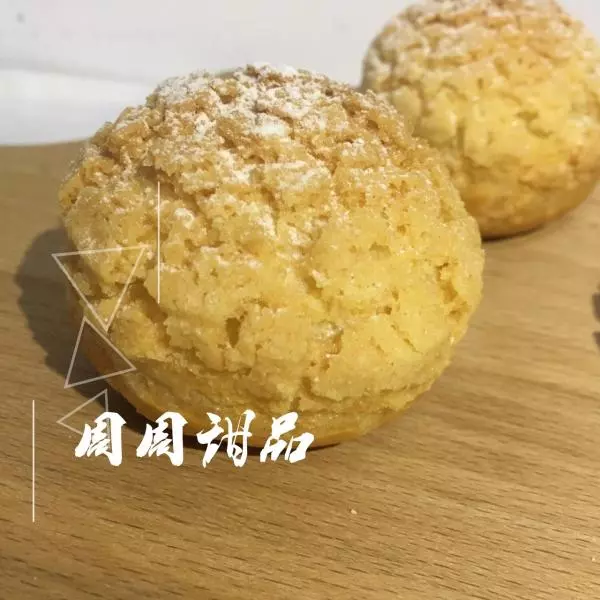
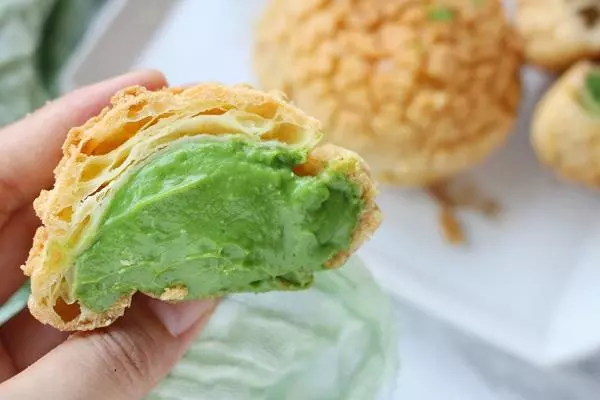
30抹茶卡士达泡芙
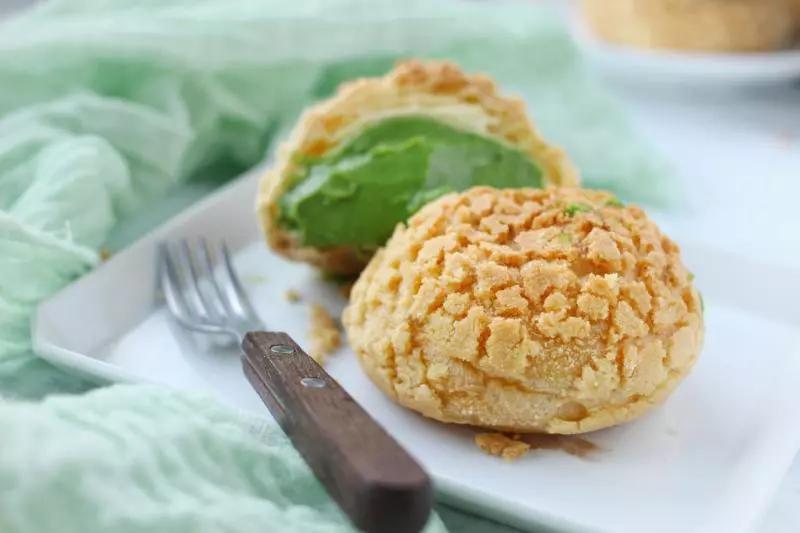
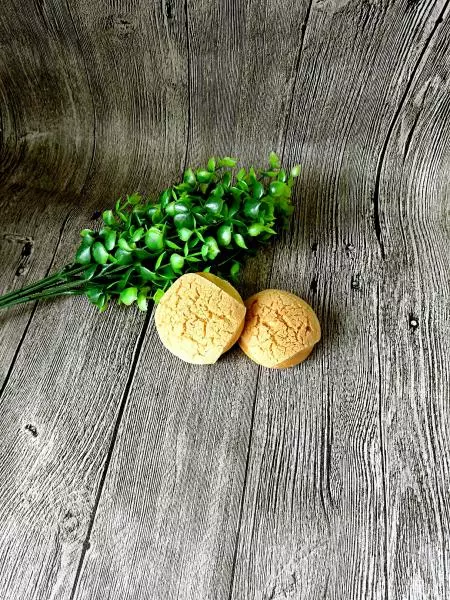
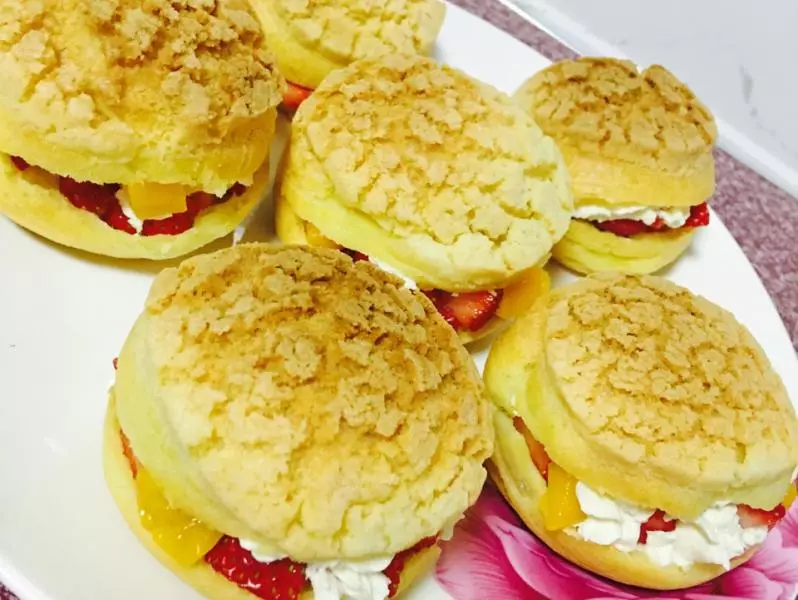
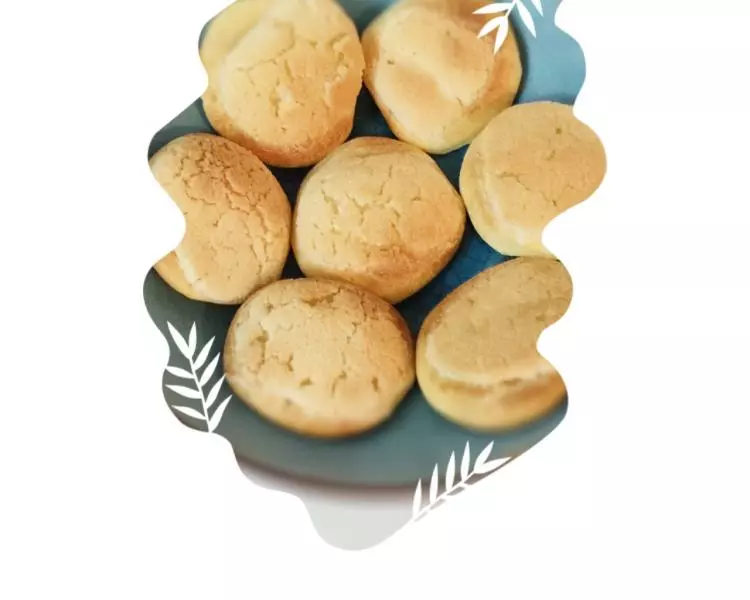
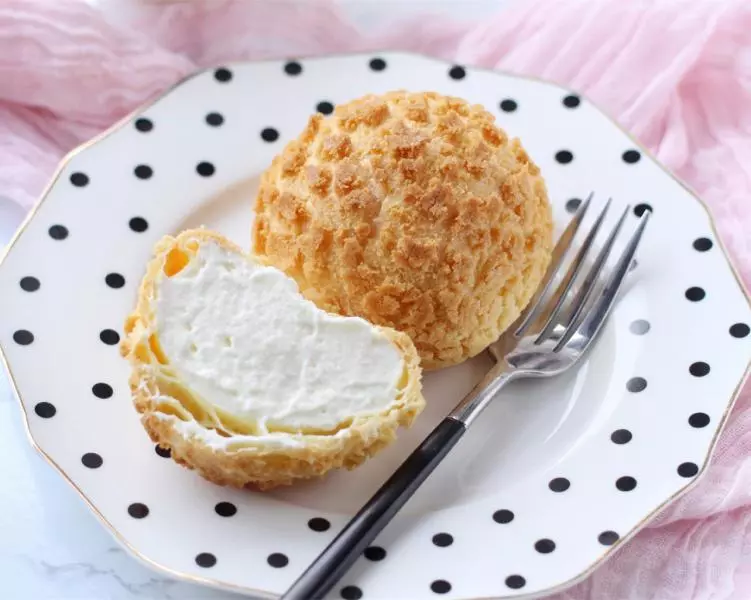
31成品