原料
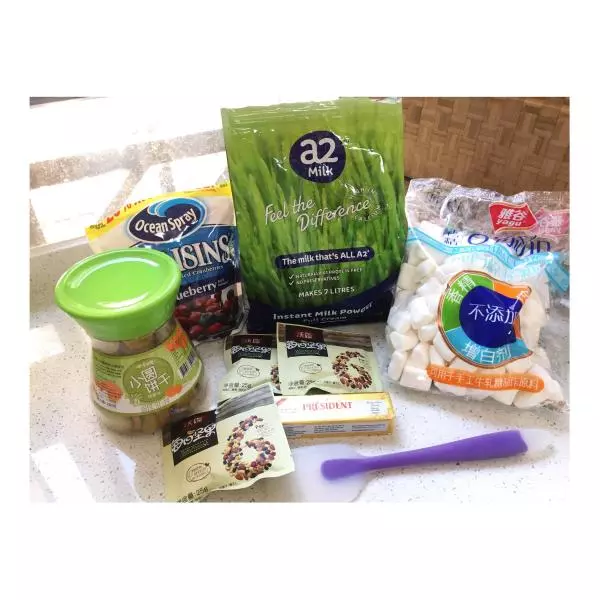
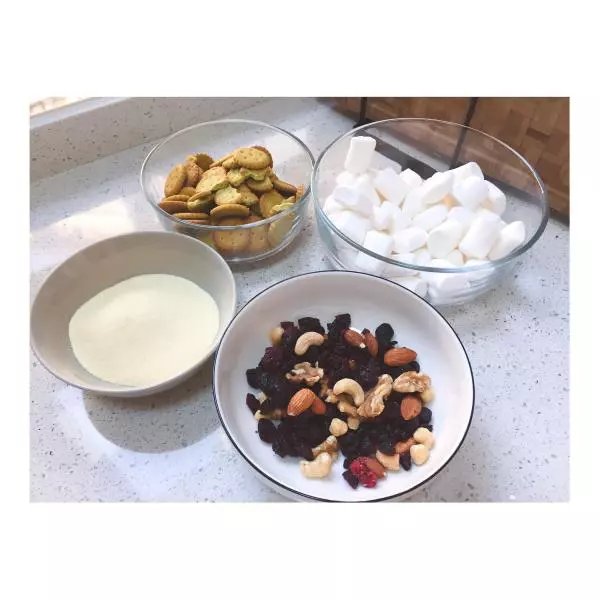
饼干: 120克, 棉花糖: 160克, 全脂奶粉: 50克, 黄油: 50克, 蔓越莓: 50克, 混合坚果: 50克
步骤
1首先准备好材料,我用的这些材料,做出来的雪花酥真的很香!饼干蔬菜味,有点淡咸味,刚好跟棉花糖的甜味中和了一下~
2称好分类,饼干跟坚果先混合好,方便后面跟棉花糖炒在一起~
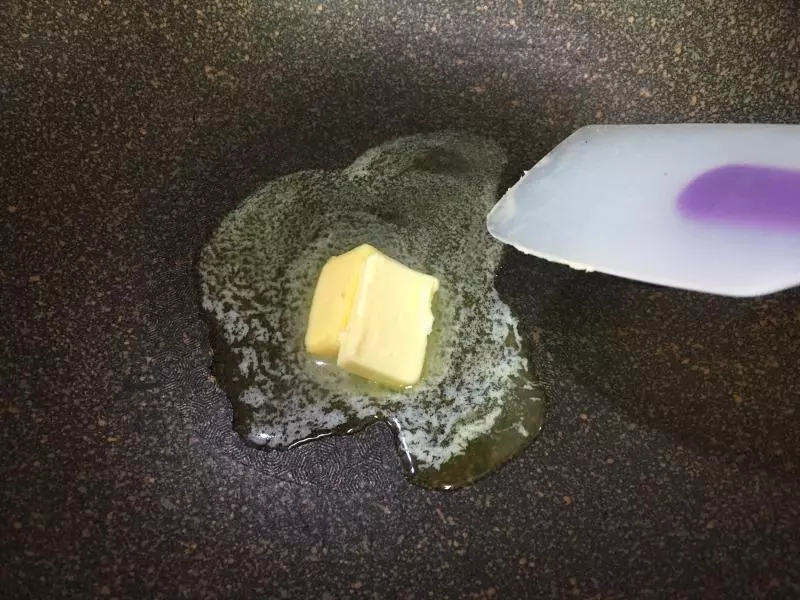
3先融化黄油,为了炒那个棉花糖不粘,我还特意用了个韩国不粘石锅,真的太有必要!
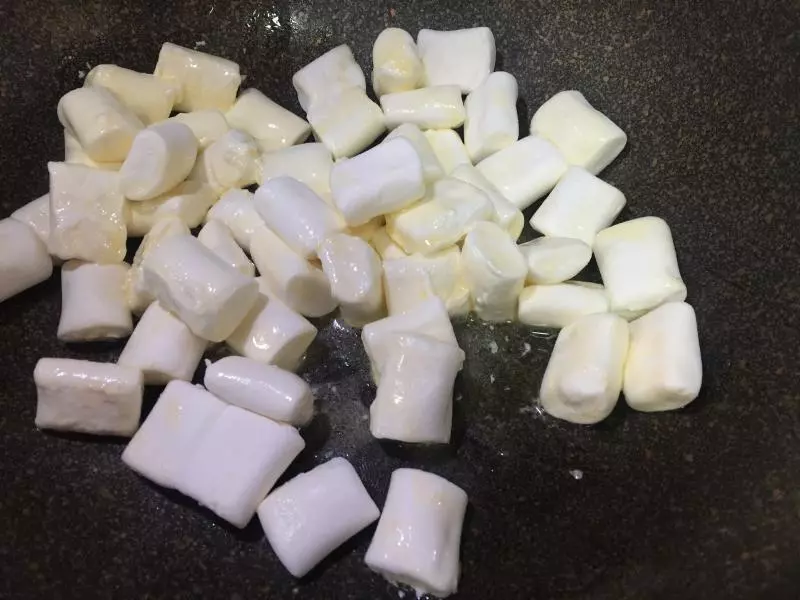
4黄油溶化以后,就可以倒入棉花糖,记得一定要用慢火炒棉花糖,等棉花糖慢慢溶化,要不然炒焦了没用了~
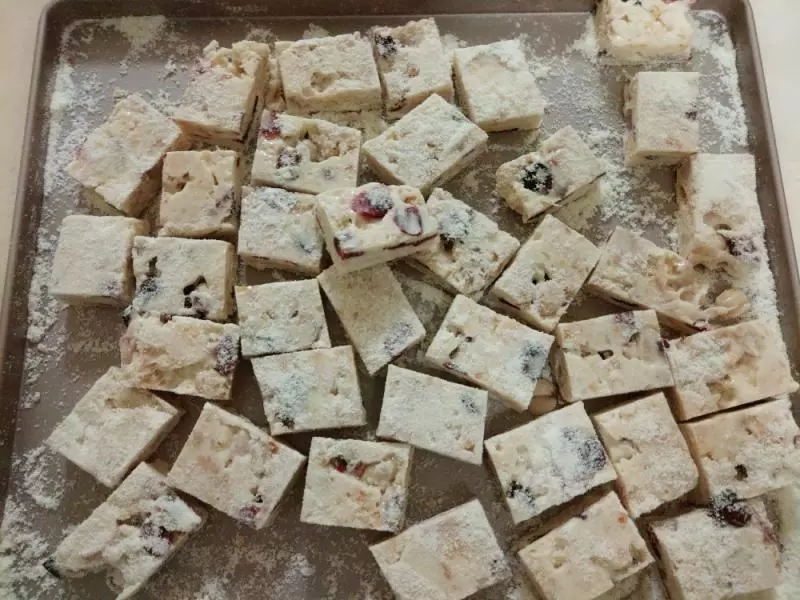
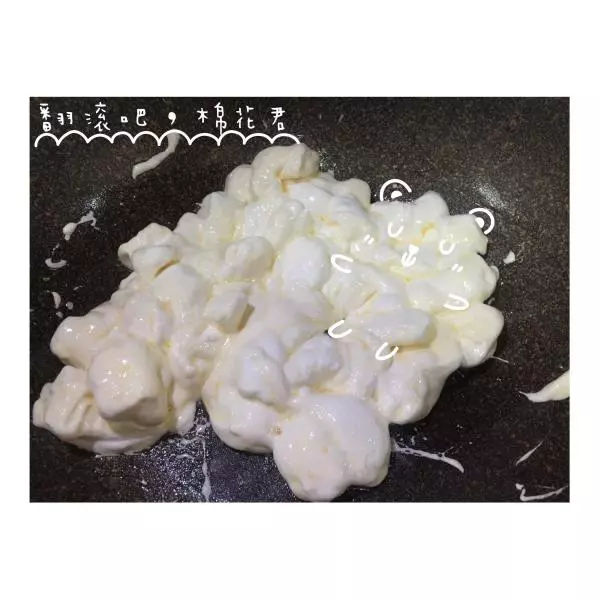
5棉花糖开始溶了,就加入奶粉,我觉得关不关火加也可以,主要看你处理的速度怎么样~我是没有关火的,加入奶粉后,棉花糖就变得可以拉丝,到这里会有点难处理,我也就来不及拍照了~ 等奶粉混合得差不多,就关火把混合好的饼干坚果倒进去,东西倒进去以后,就不太好炒了,这时就直接用手去抓,记得带一次性的手套~ 等所有东西混得差不多,就放到烤盘上定型,烤盘里先洒点奶粉,然后把混满棉花糖的东西放上去压好形状~
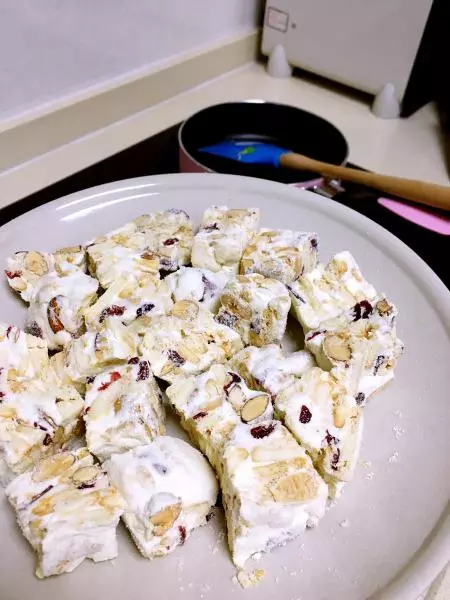
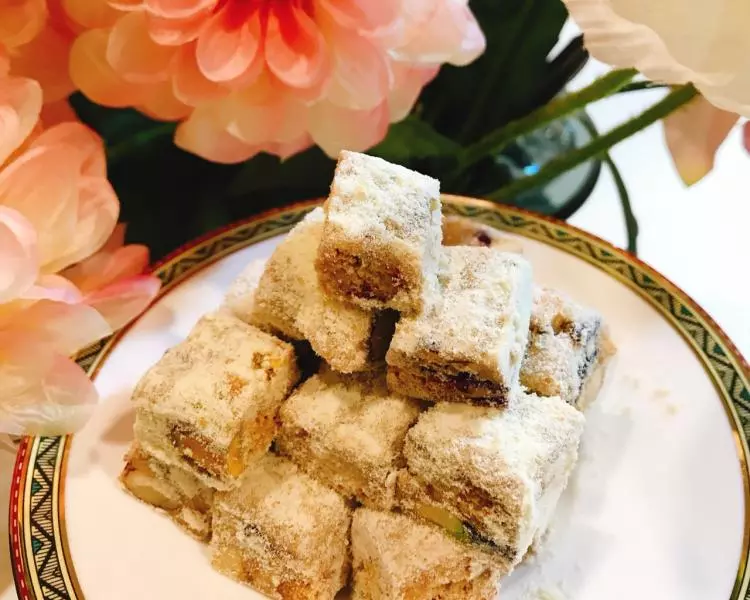
6刚才的分量出来就这么点,怪不得这东西卖得那么贵!
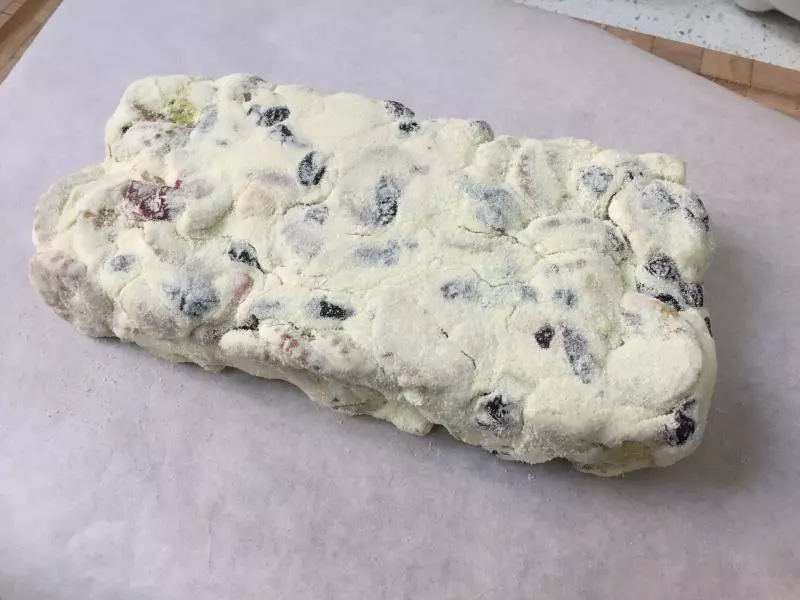
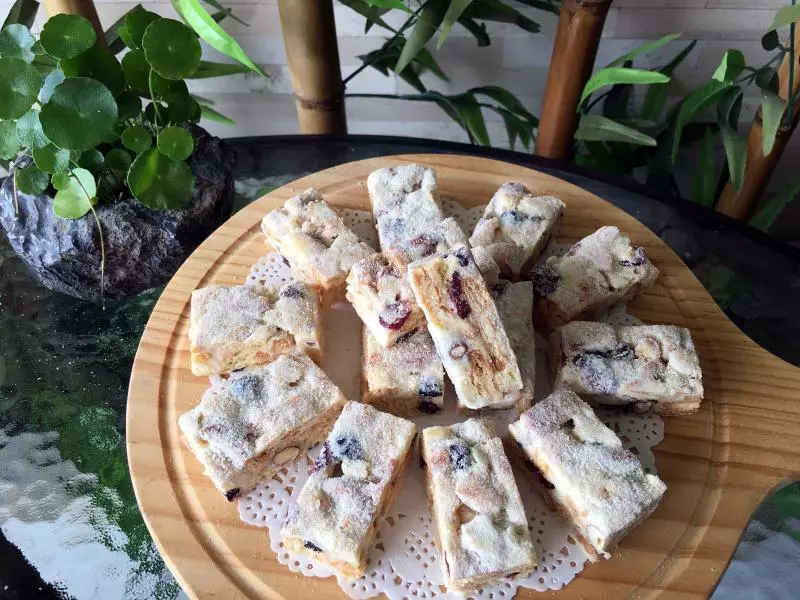
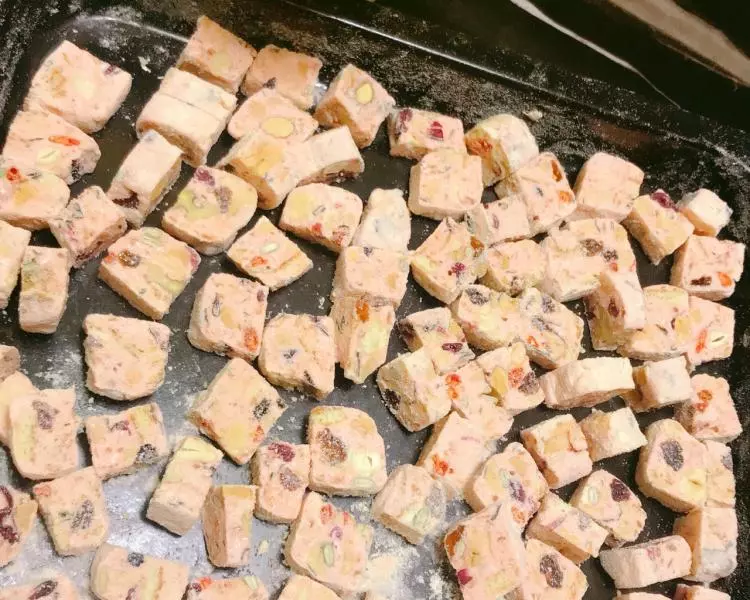
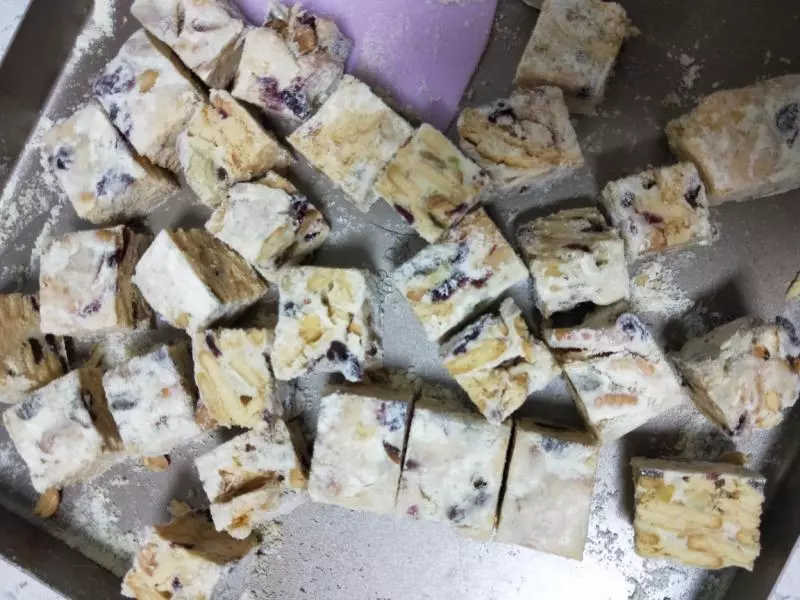
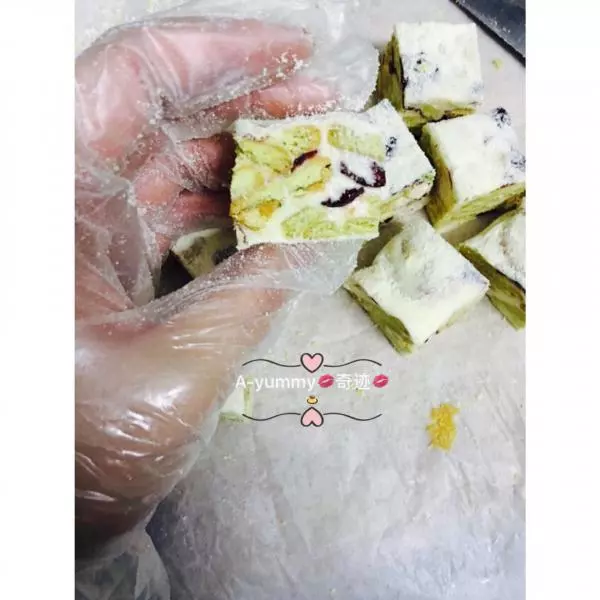
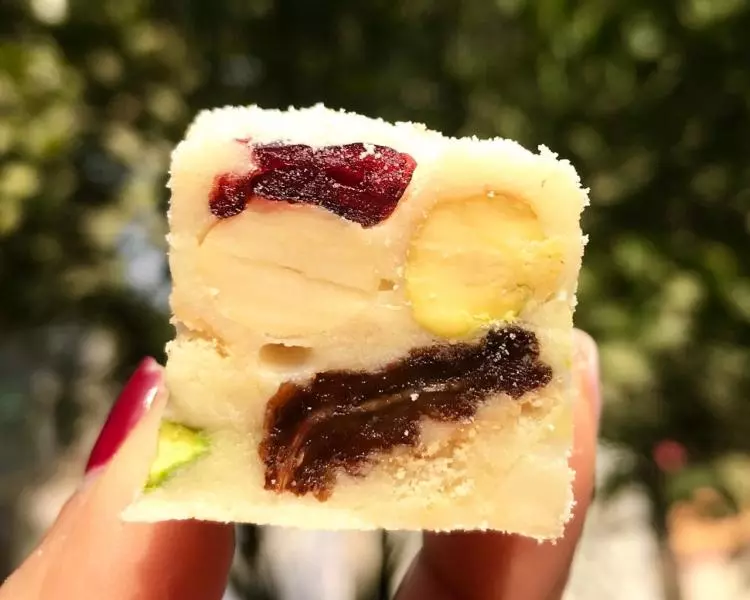
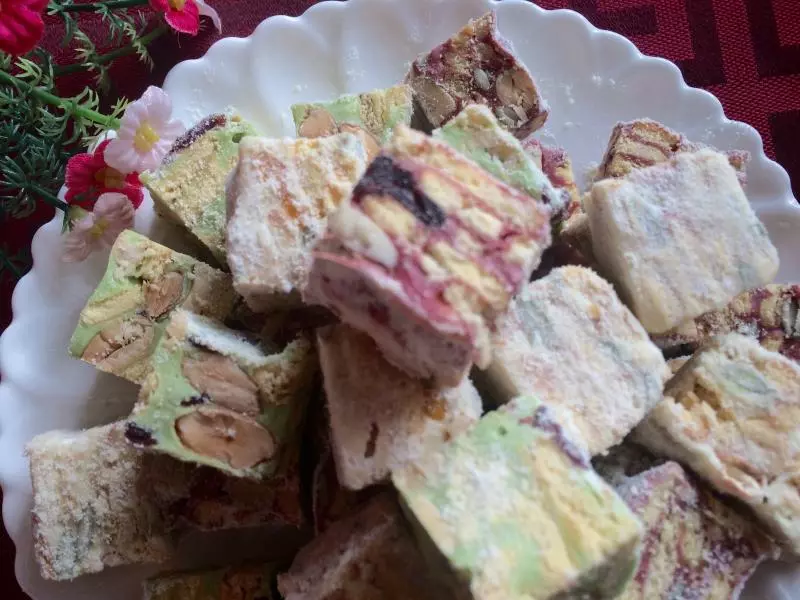
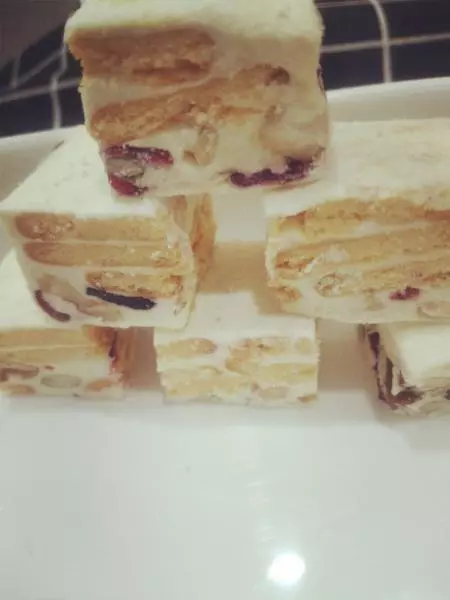
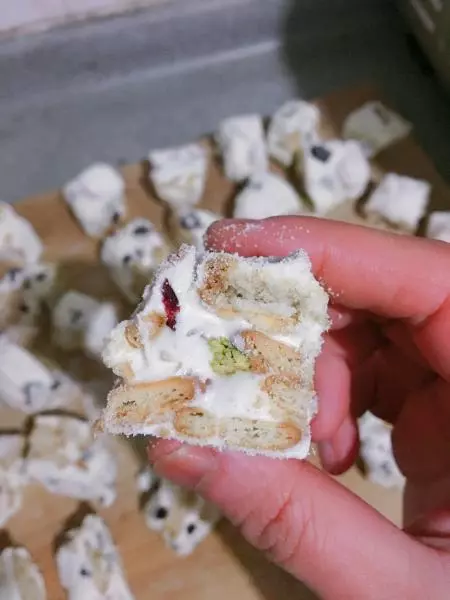
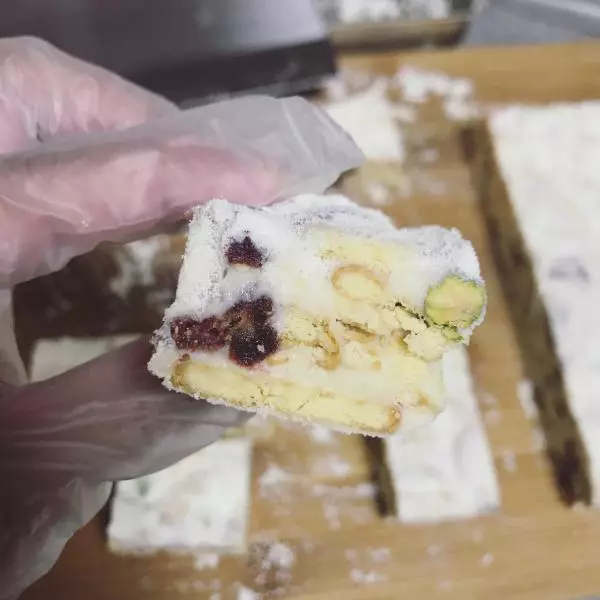
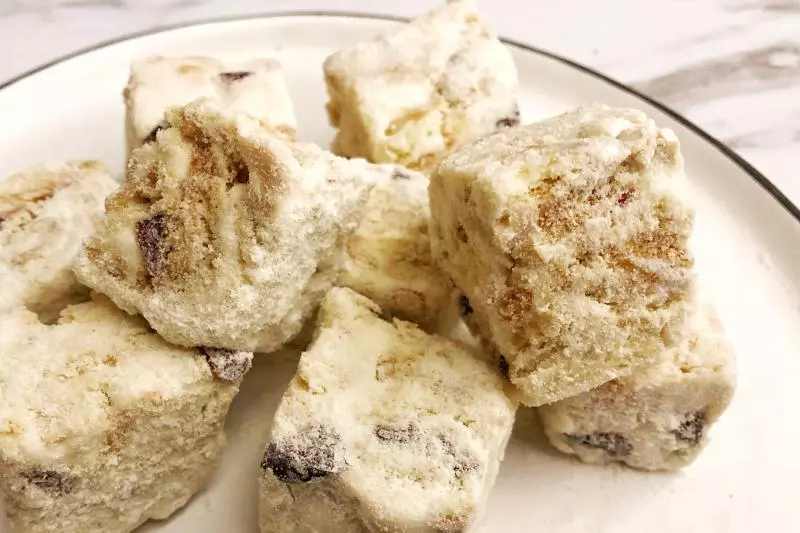
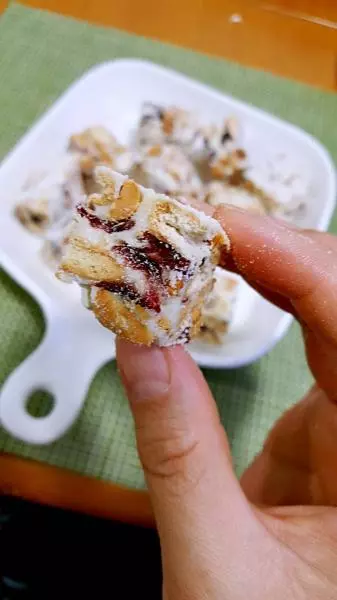
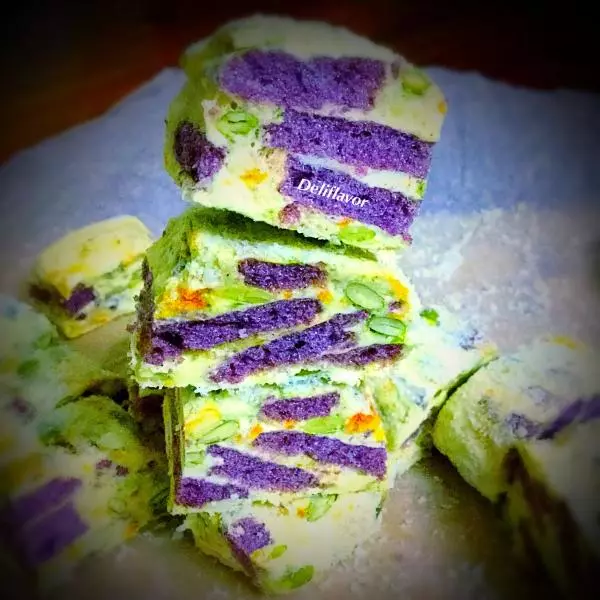
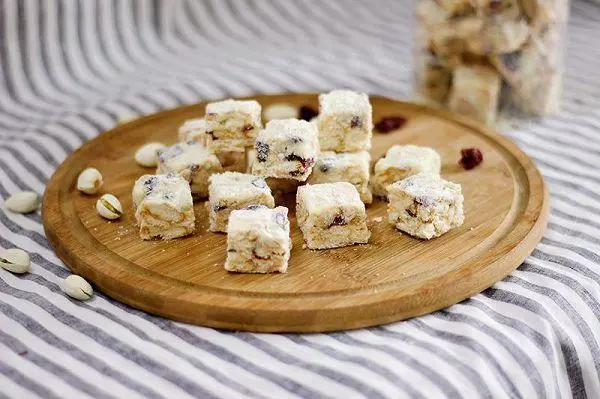
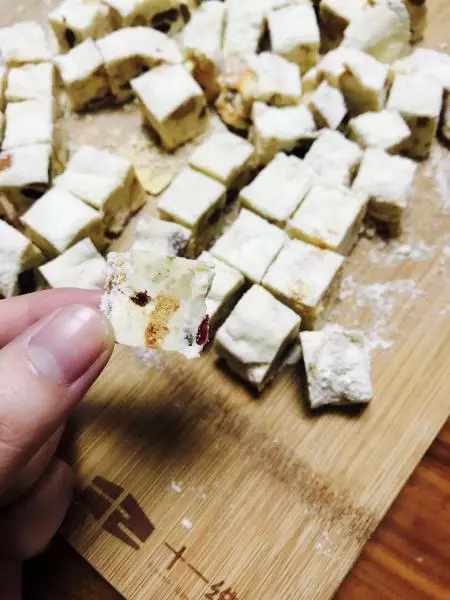
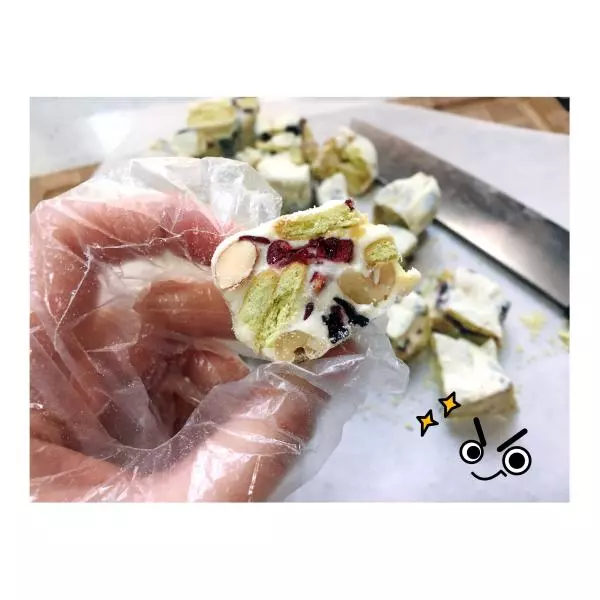
7定好型好,放凉一阵子就可以切了~如果没有放凉,可能会有点粘刀哦~切好的一面看起来就是酱紫的~
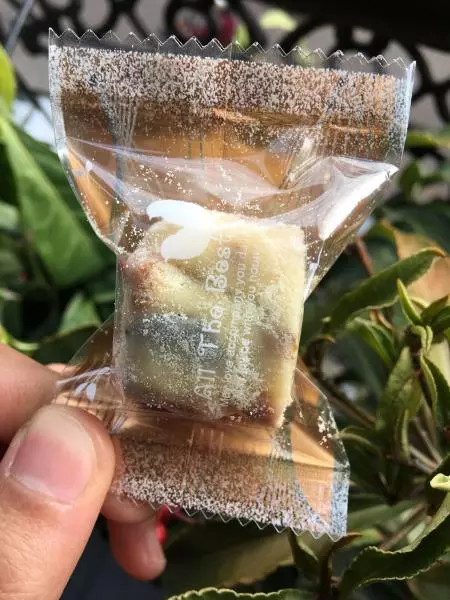
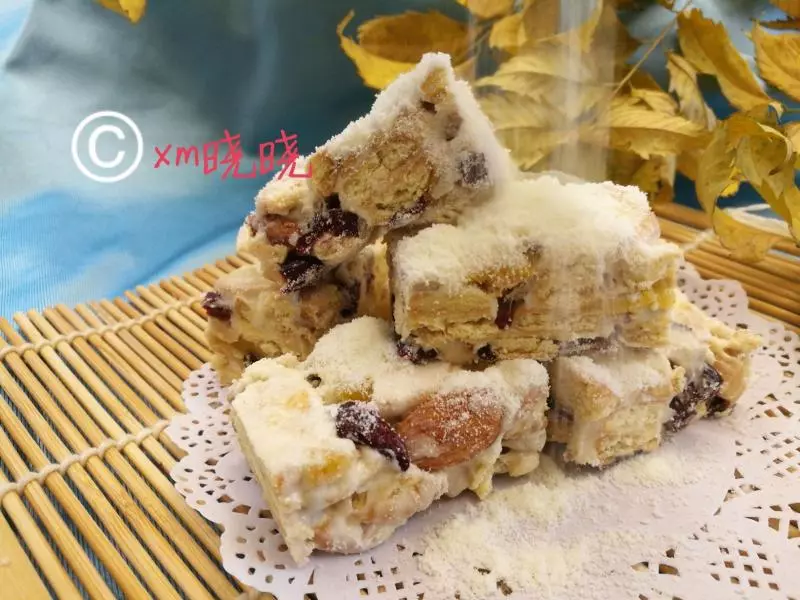
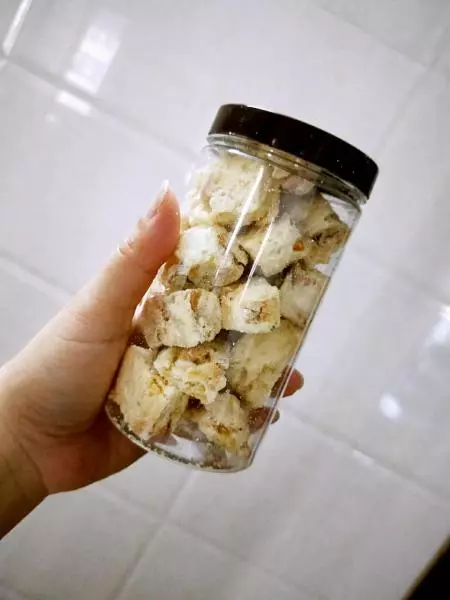
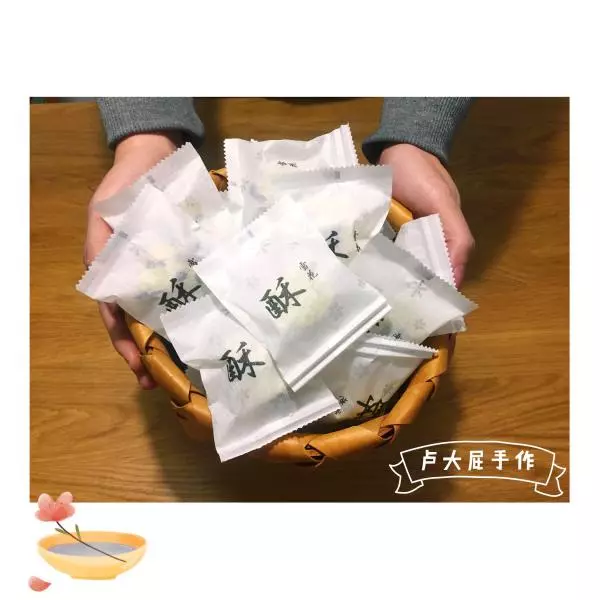
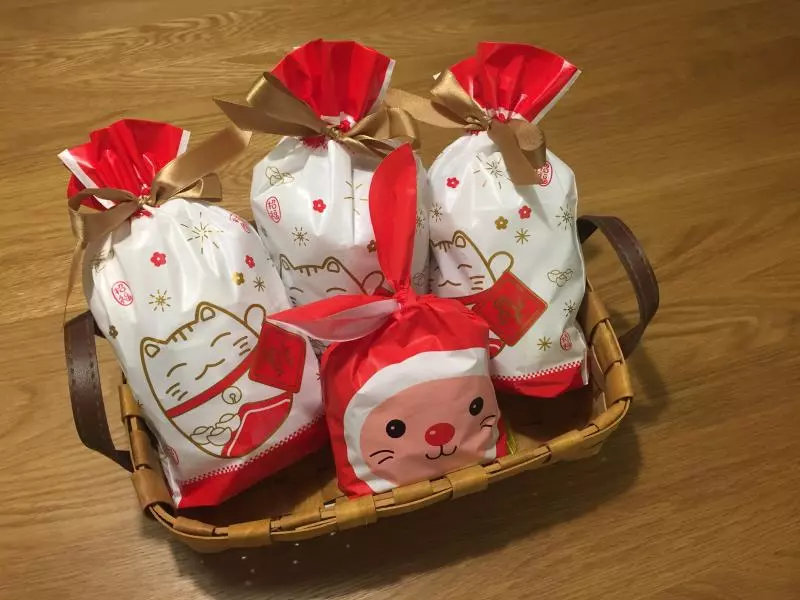
8然后放好进包装~网红雪花酥get!
9放心有过年气氛的包装袋里,送人妥妥的!
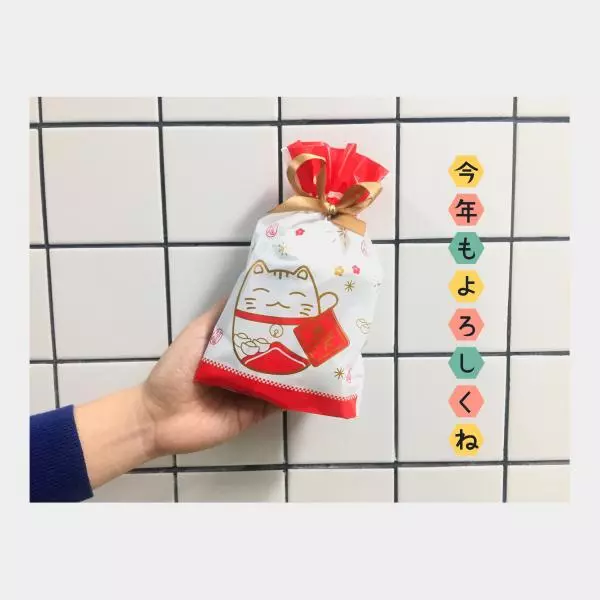
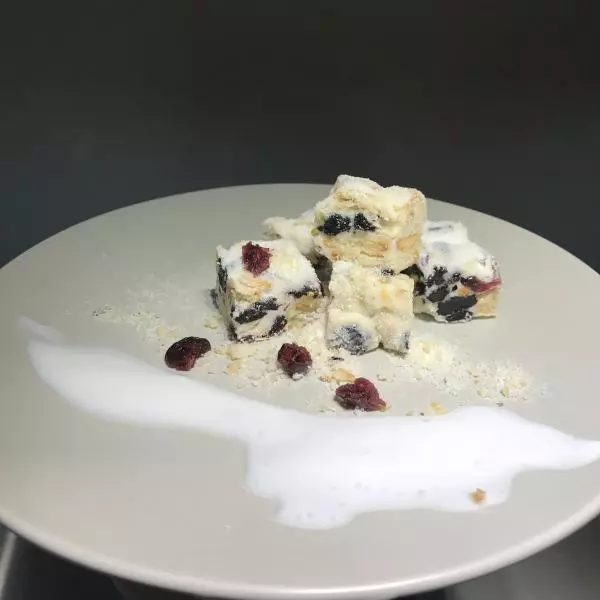
10过年的时候就做了好几包来送给别人,好香的奶味!
小技巧
雪花酥其实很简单,但是用料会决定整个味道,我在做这个之前是从来没有吃过外面的,用料本来是想着自己吃,就稍微贵一点也可以~后来有朋友给了一块外面买的,发现味道真的差很远,还是自己做的比较香甜~