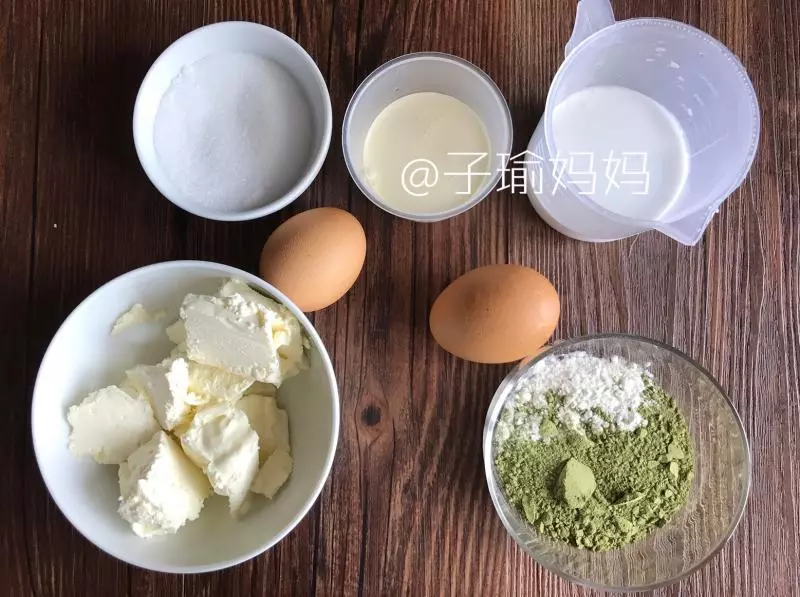
原料
抹茶: 10克, 奶油奶酪: 125克, 奶油: 50克, 牛奶: 50克, 蛋黄: 40克, 柠檬汁: 几滴, 低筋面粉: 20克, 细砂糖: 40克, 蛋白60克:
步骤
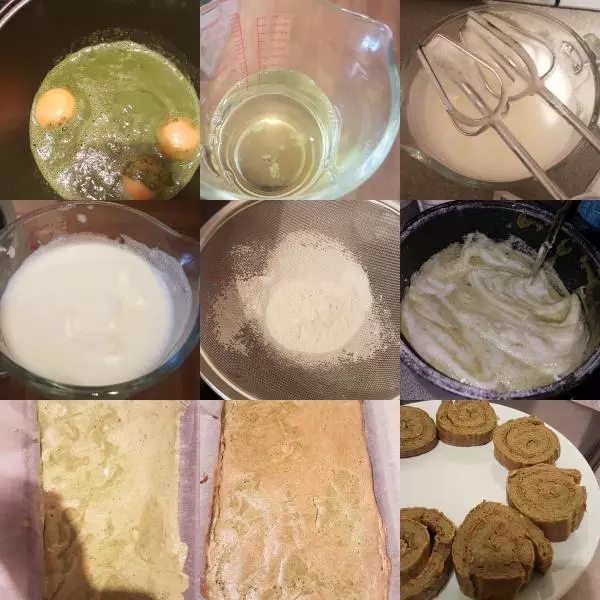
1奶油奶酪125克,牛奶50克,奶油50克,糖40克,蛋黄40克,蛋白60克,柠檬汁几滴,低粉20克,抹茶粉10克
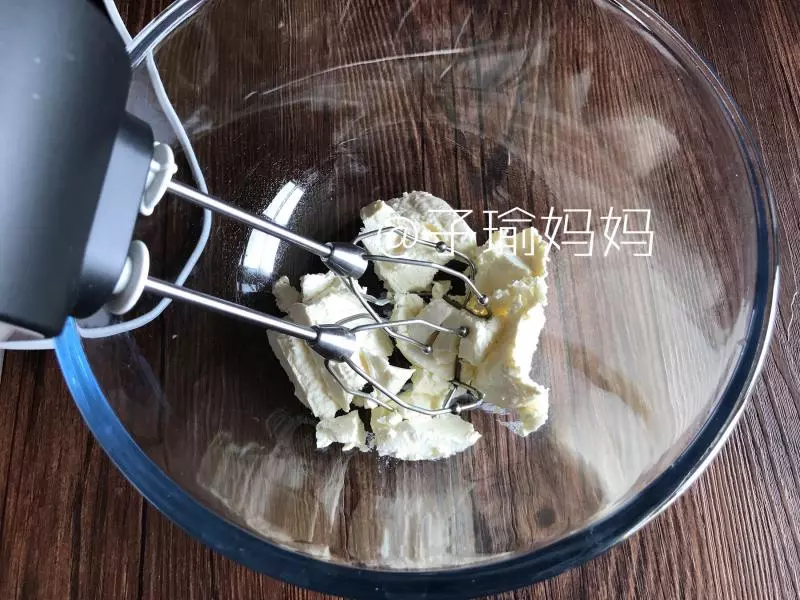
2奶油奶酪室温软化,要软软的哦,搅打1分钟;
3加入牛奶和奶油(都要放置常温后再使用哦)
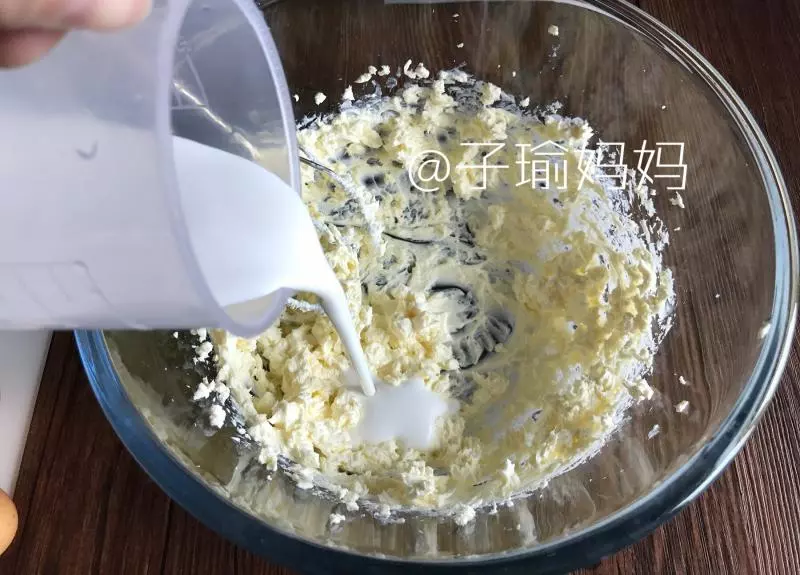
4最低速搅拌1分钟,转中速打约2分钟;
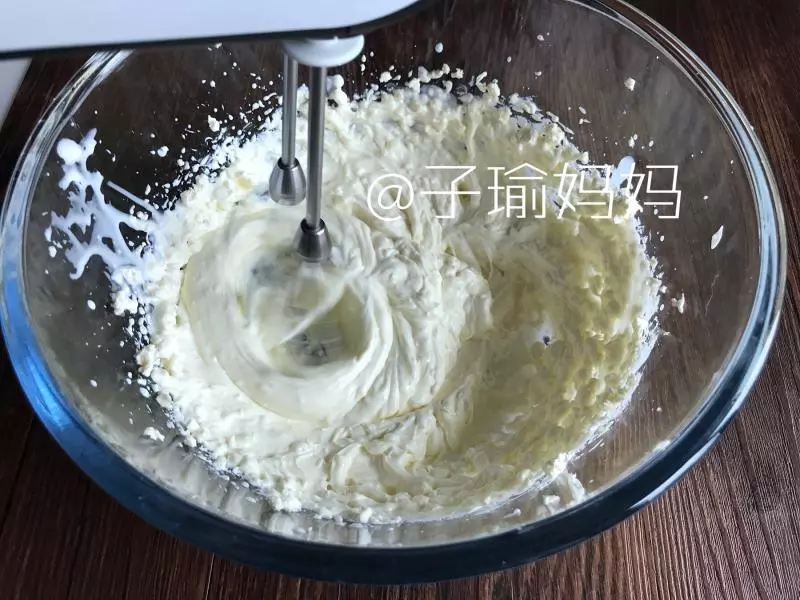
5打至乳酪糊细腻无颗粒,(有少量的颗粒也是可以的,太多的话不行,继续打~)
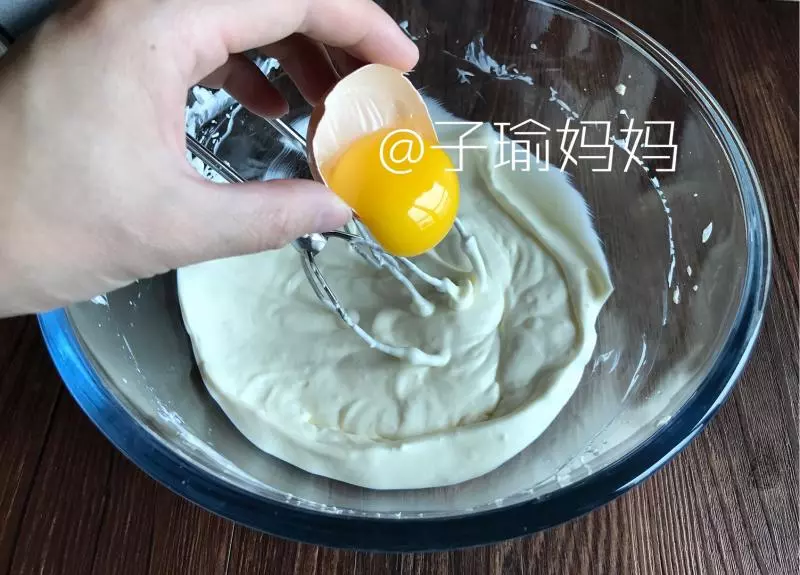
6分两次加入蛋黄,搅拌均匀;
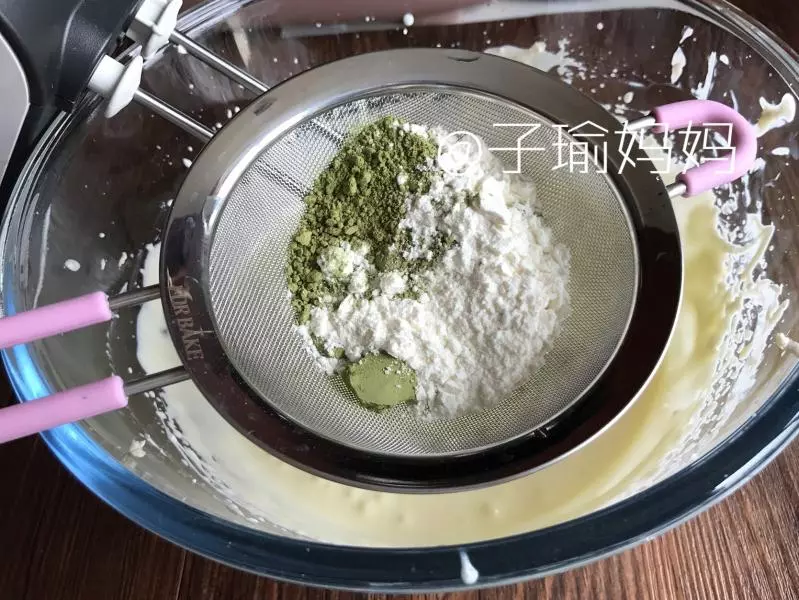
7筛入低粉和抹茶粉;
8低速搅拌均匀即可;
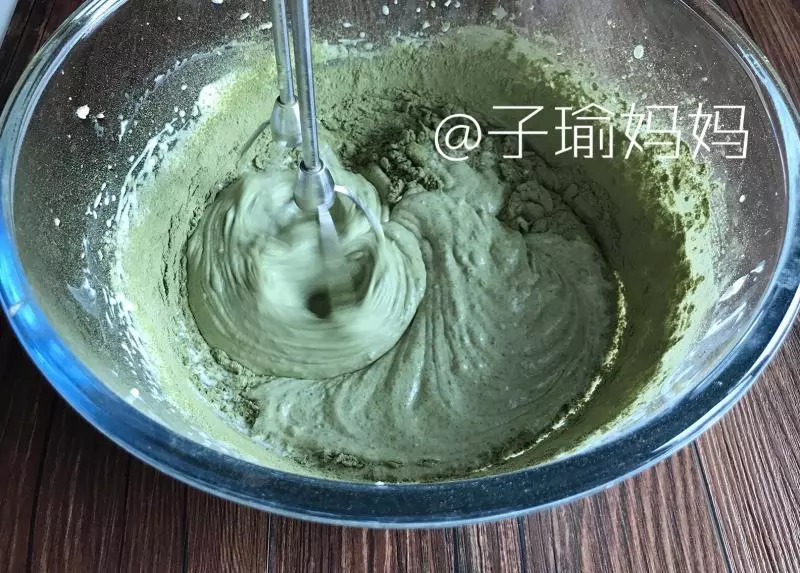
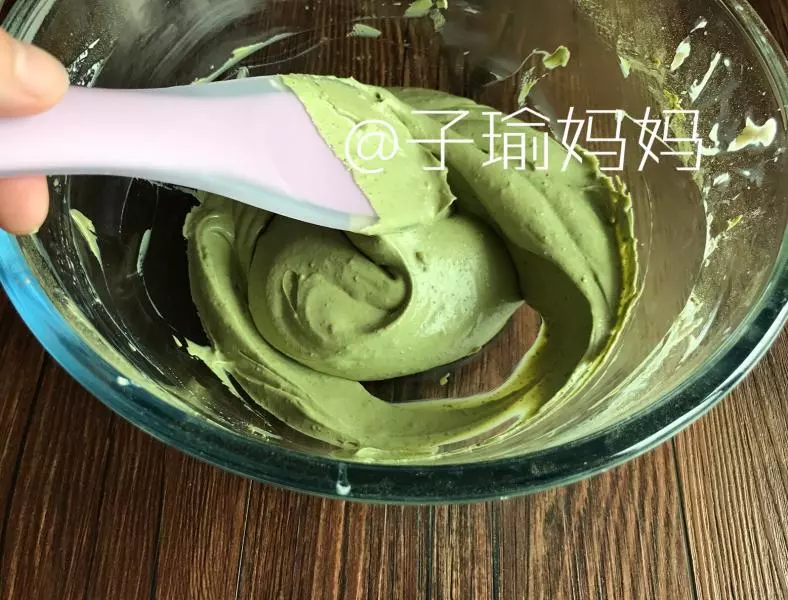
9换成刮刀搅拌均匀;
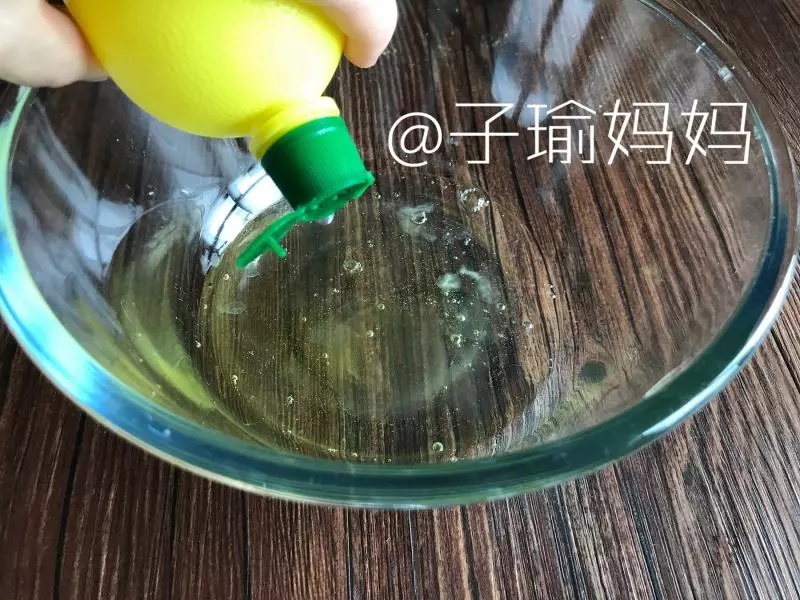
10蛋白中加入几滴柠檬汁
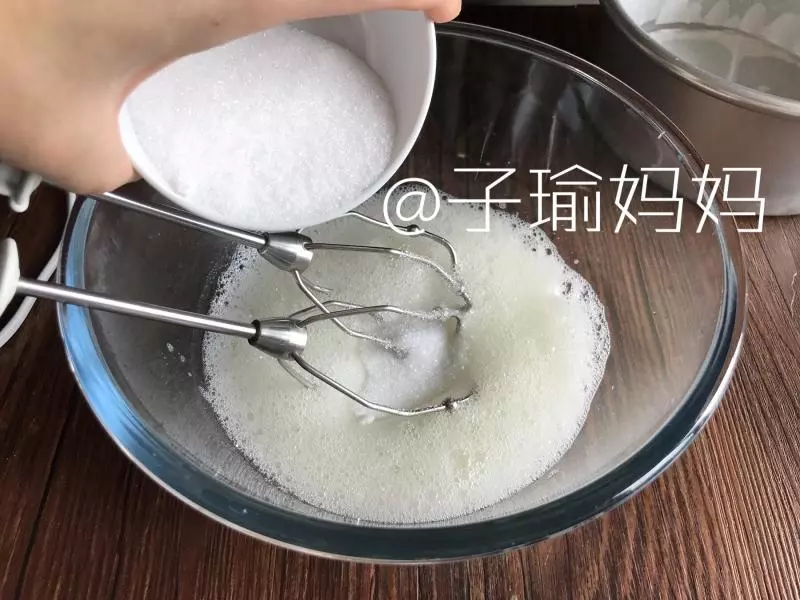
11蛋白打至粗泡,加入一半的糖;
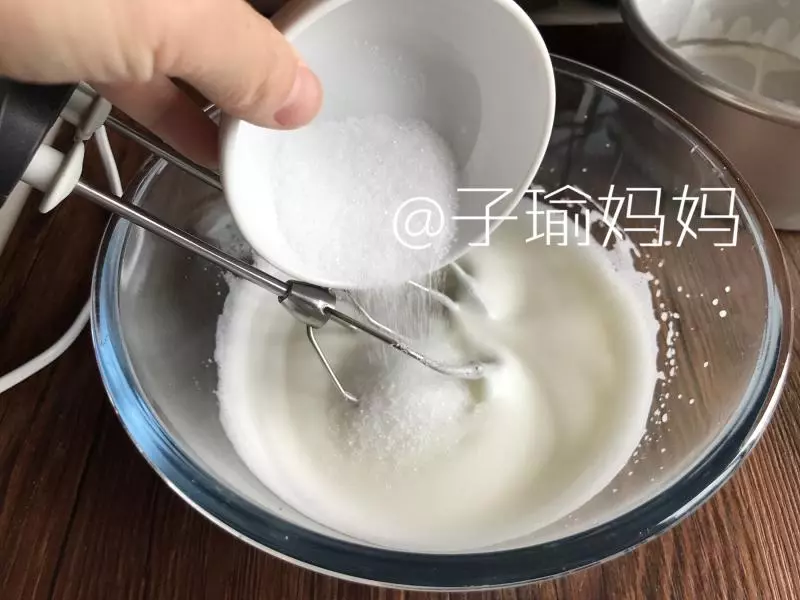
12蛋白打至细腻泡沫时候加入剩下的糖;
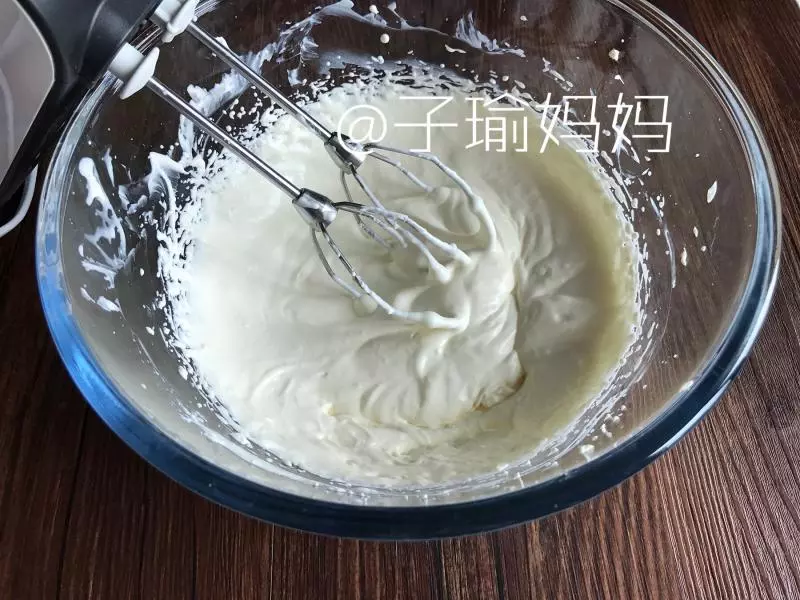
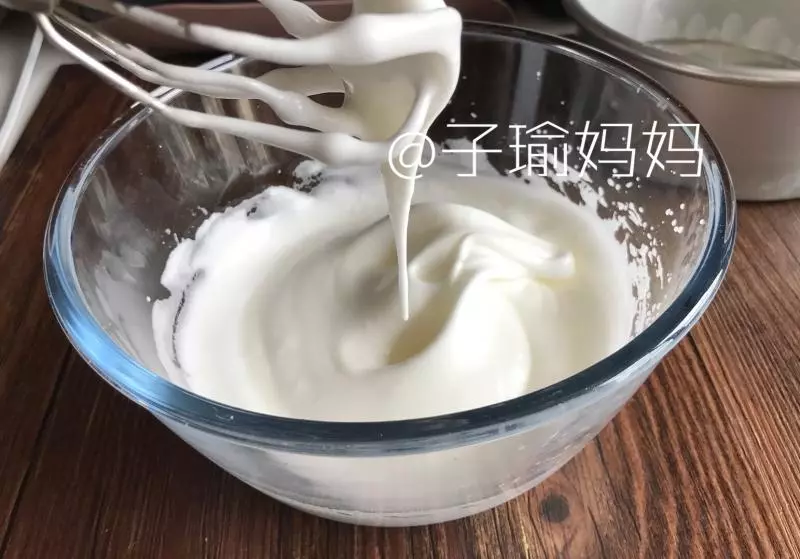
13打到如下图状态,细腻下垂,湿性发泡状态。
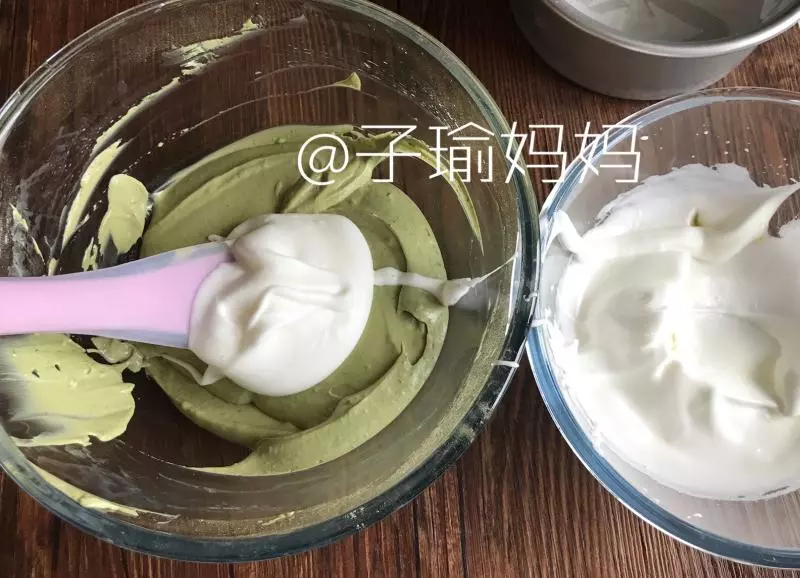
14取1/2蛋白霜入抹茶乳酪糊中抄底拌匀
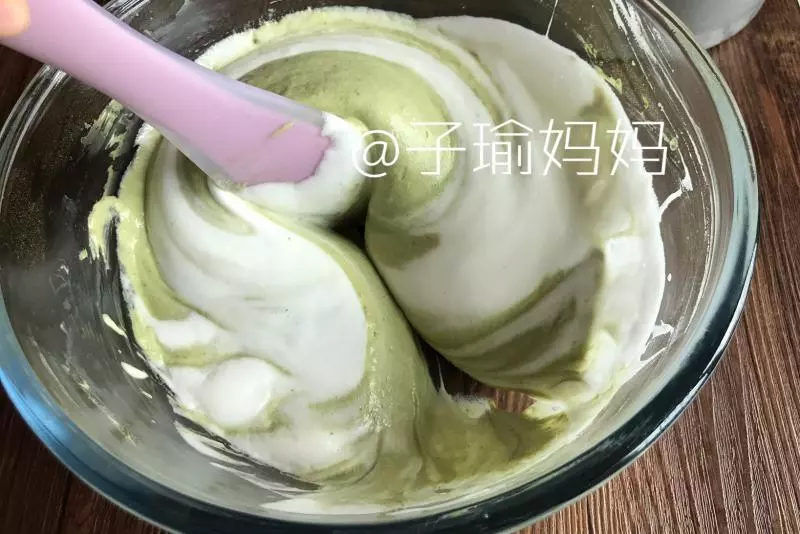
15再将乳酪盆里的全部倒入剩下的蛋白霜中搅拌均匀;
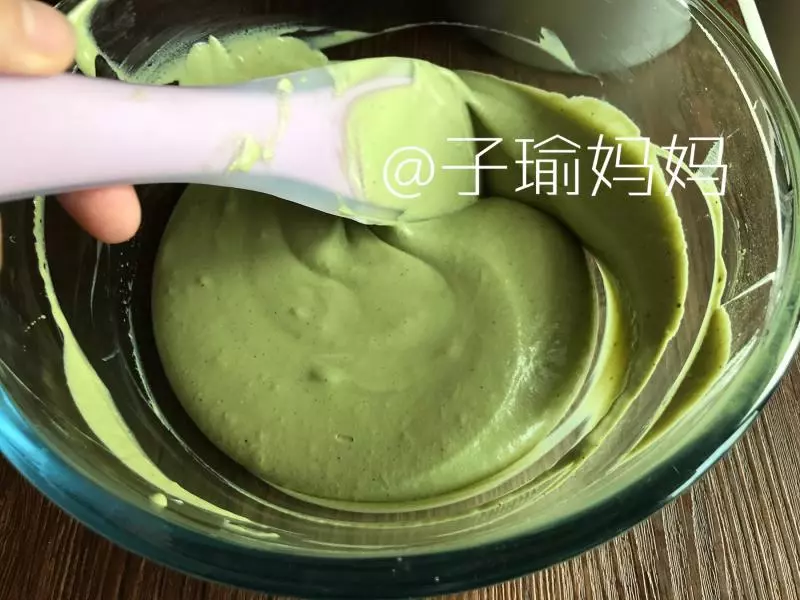
16拌匀如上图,细腻光滑。
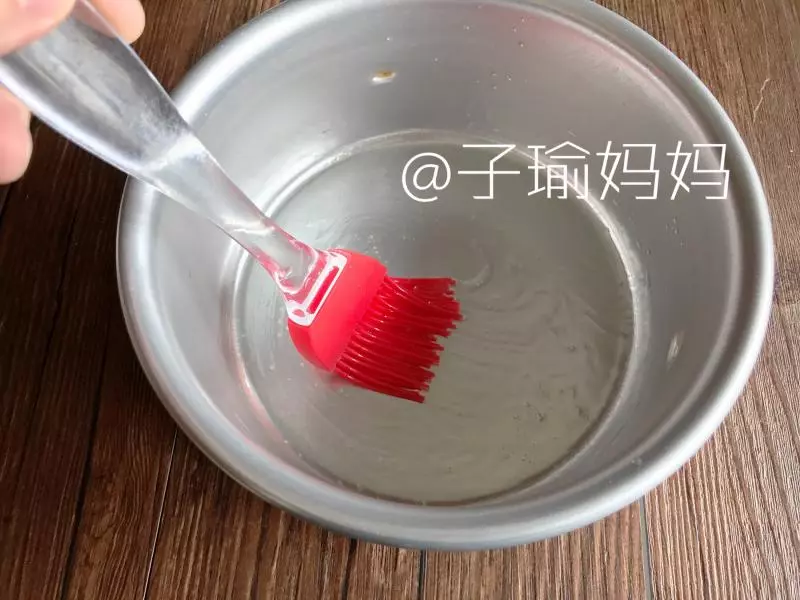
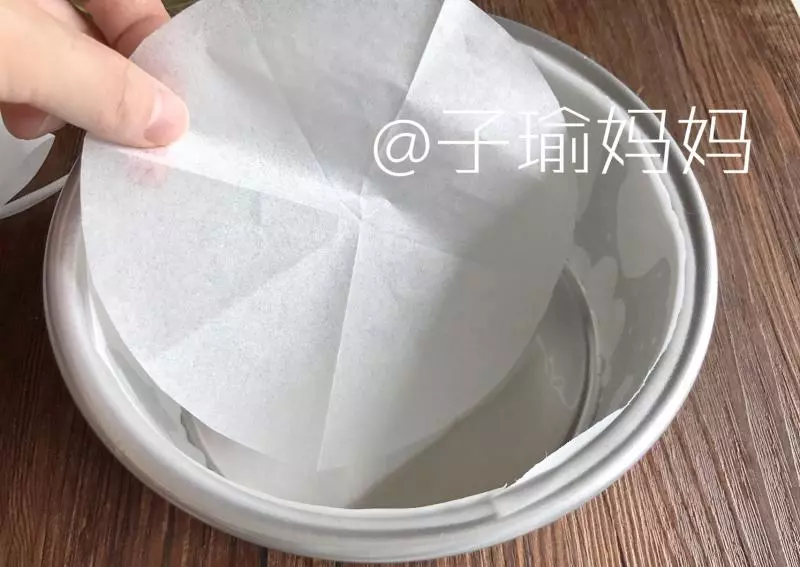
176寸固体模具刷上一层油
18垫上烤盘纸;
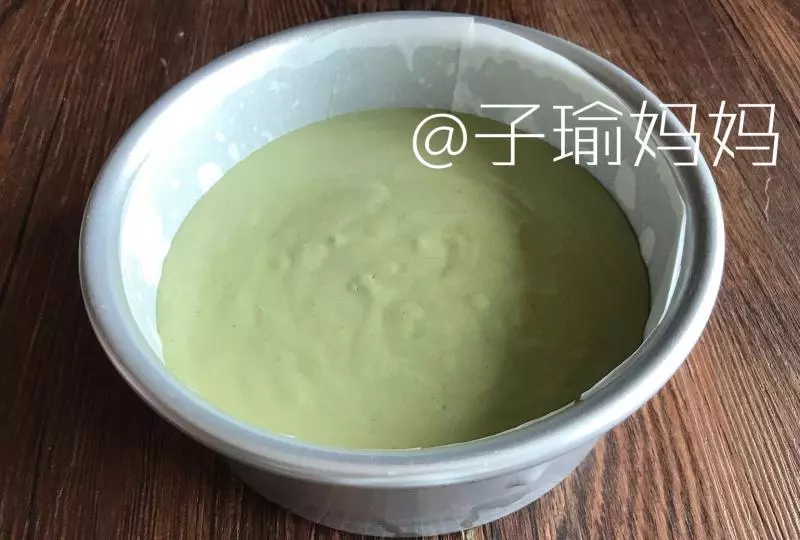
19倒入面糊;
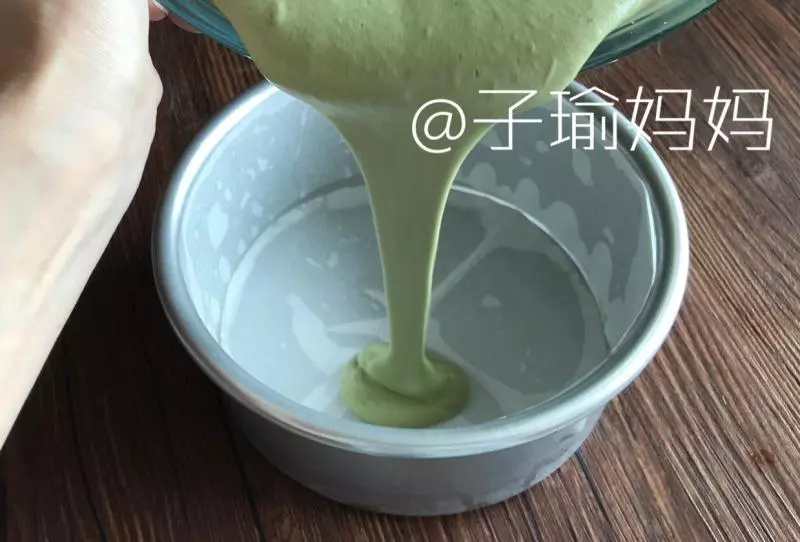
20轻敲几下模具。
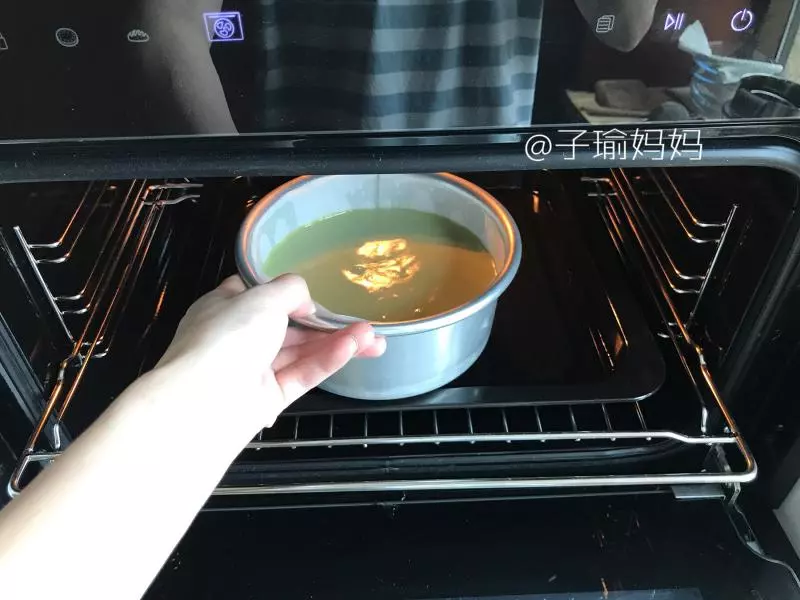
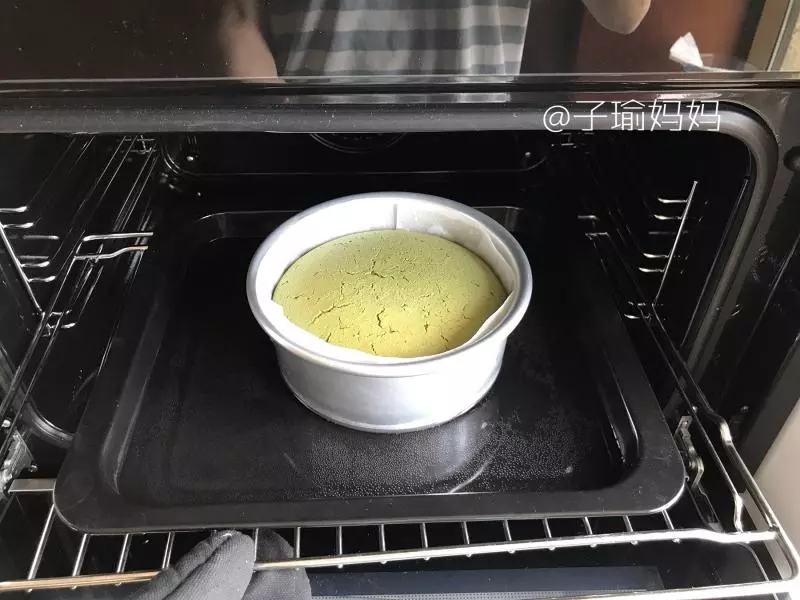
21送入预热的烤箱,放在注水的深烤盘里,140度,上下火60分钟。
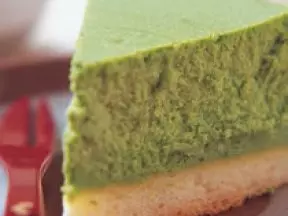
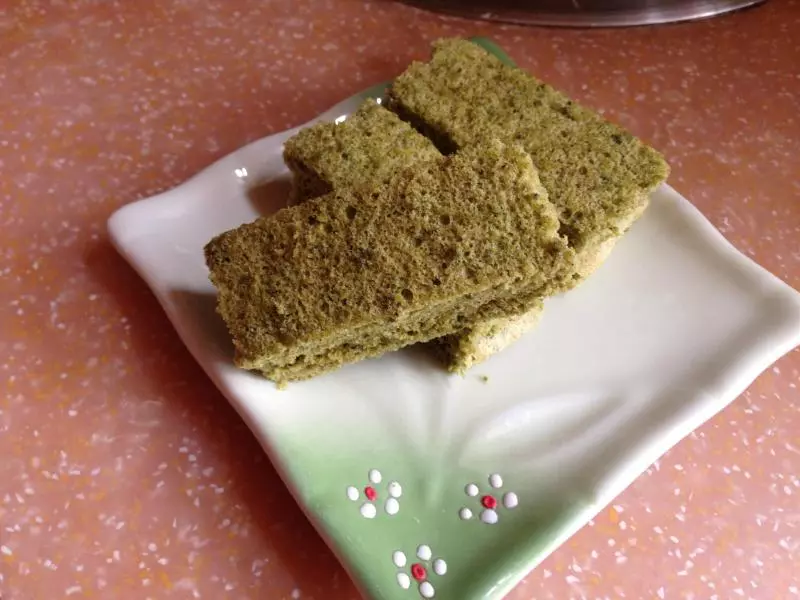
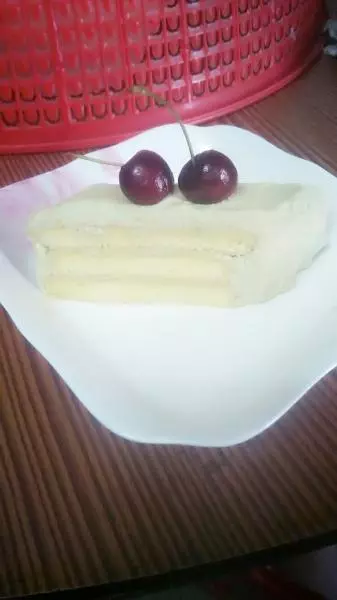
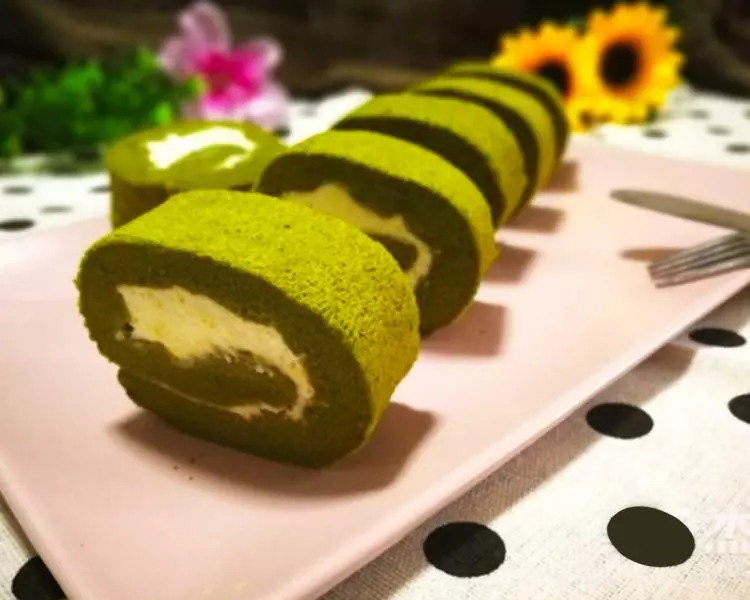
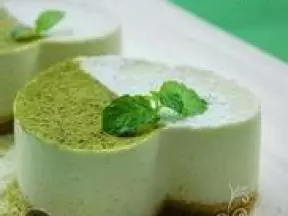
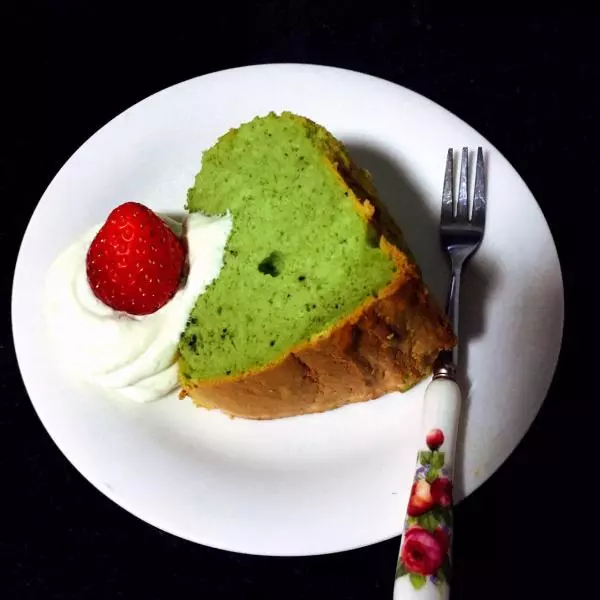
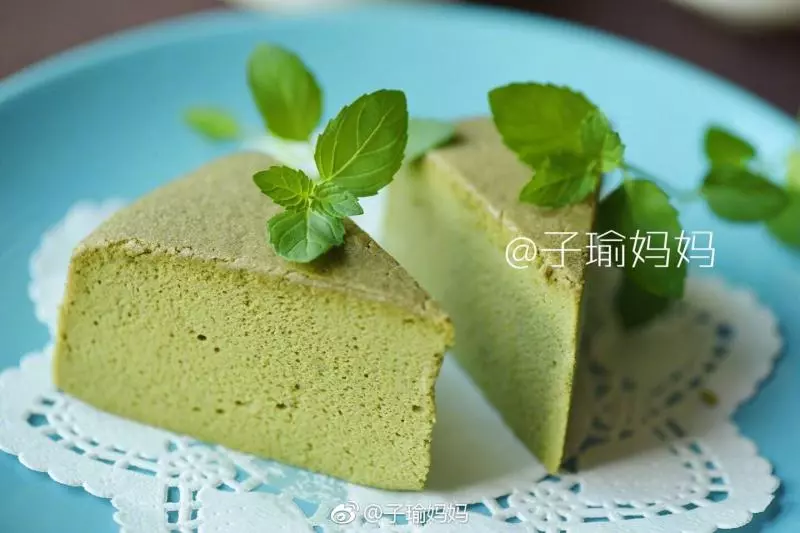
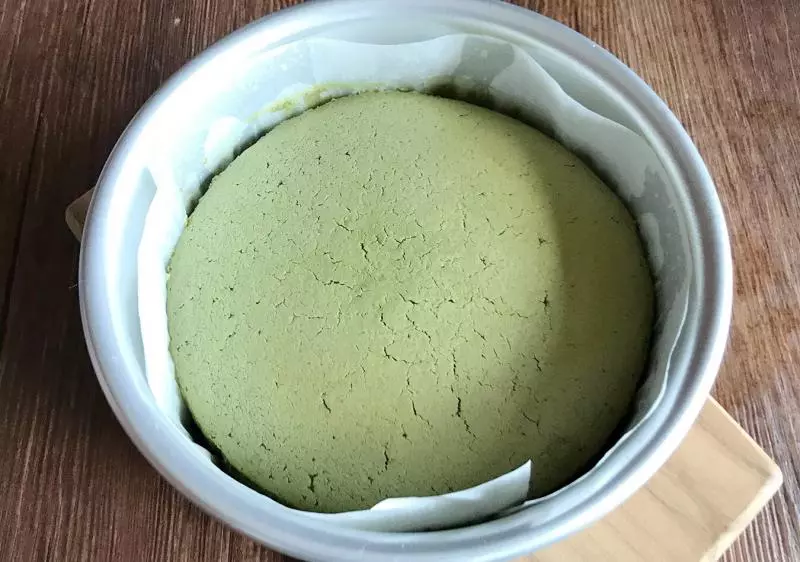
22烤好了。
23凉了
24开吃啦