原料
豌豆淀粉: 50g, 水1: 50g, 水2: 250g, 蒜泥: 15g, 芝麻酱: 15g, 盐: 3g, 生抽酱油: 5g, 白糖: 10g, 辣椒油: 适量, 香菜: 适量
步骤
1在容器中倒入几滴植物油,用刷子刷匀,防粘。

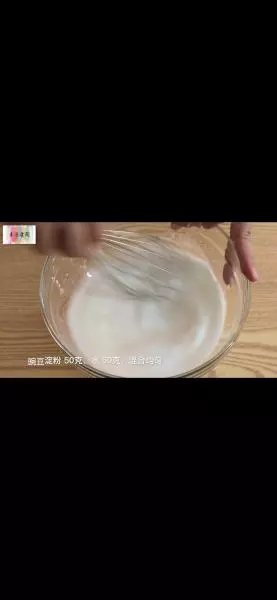
2豌豆淀粉和方子中的水1混合均匀。
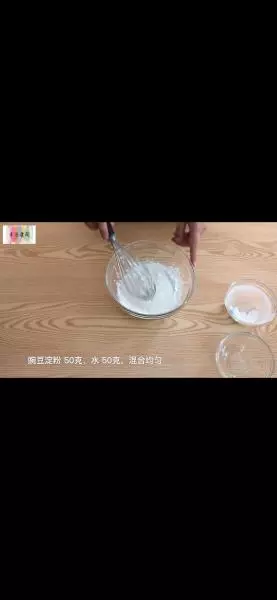
3很容易混合均匀(但静置一会儿很快就会分层,所以用之前先搅拌均匀)。
4方子中的水2烧开后立即关火,边搅拌边倒入豌豆粉水。
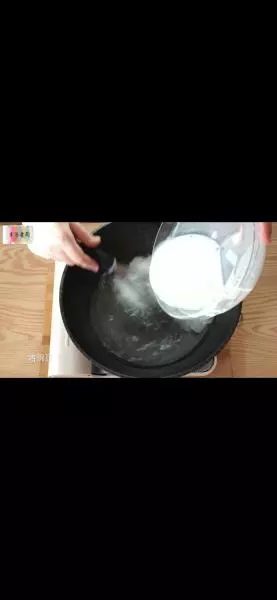
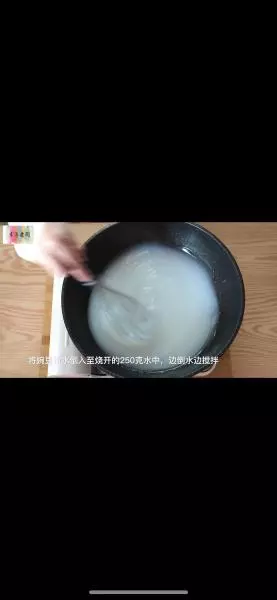
5不停的搅拌至豌豆粉水全部融合。
6立即倒入刷过油的容器中。
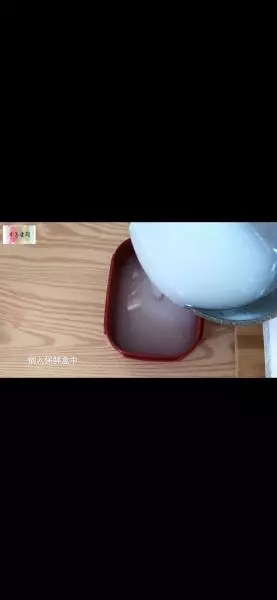
7盖上盖子,放入冰箱冷藏3小时以上。

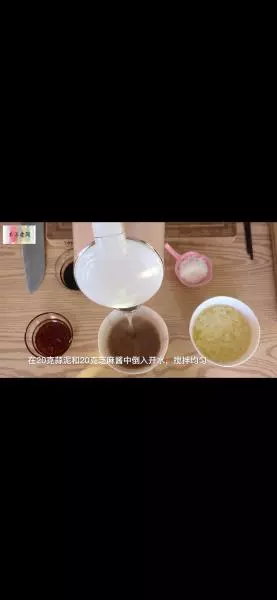
8准备开水,倒入蒜泥和芝麻酱中。
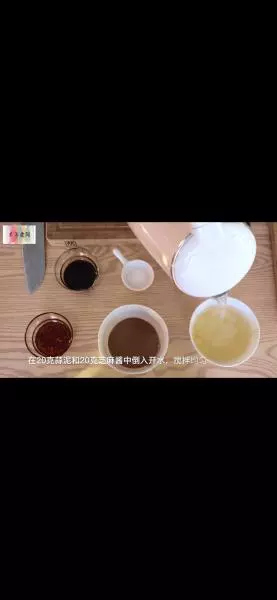
9蒜泥静置一会,制成蒜水;芝麻酱用水稀释。
10根据自己的口味在芝麻酱中加入生抽酱油、盐、白糖调味。
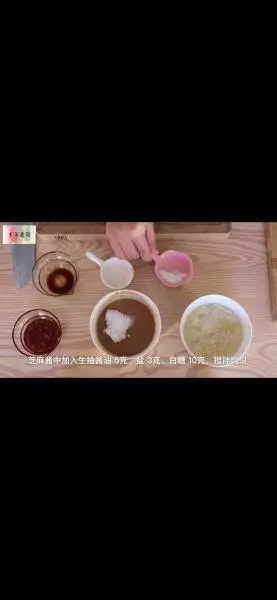
11搅拌均匀,酱料做好了。

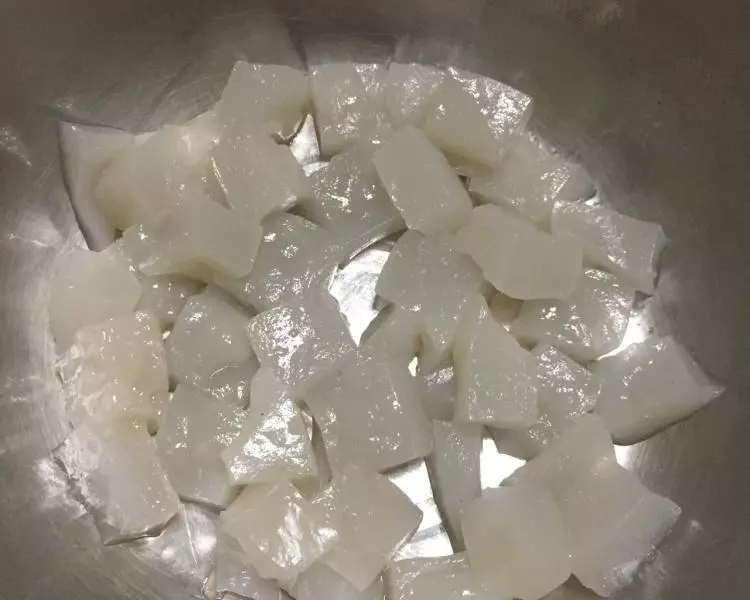
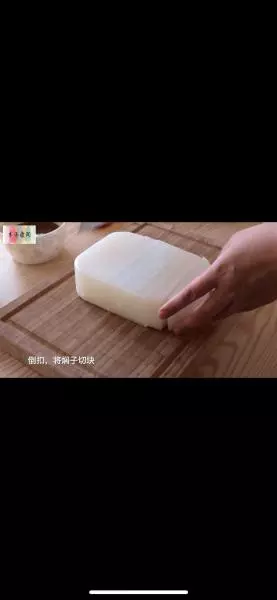
12将冷藏定型后的焖子切块。
13少油煎至焖子表面变硬即可出锅(由于我用的葵花籽油无色,所以煎出的焖子颜色也发白,如果用颜色重的油煎出的焖子颜色会更好看)。

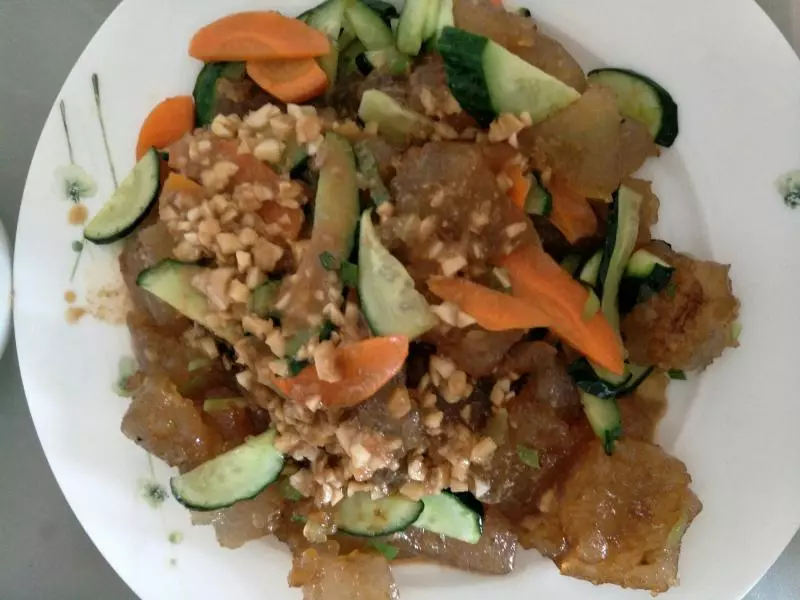
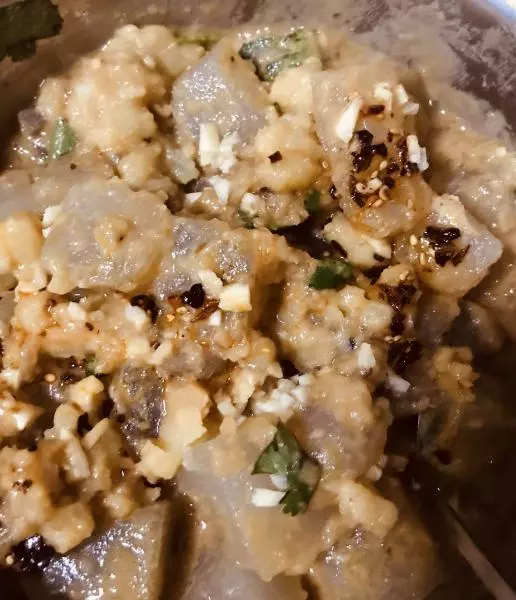
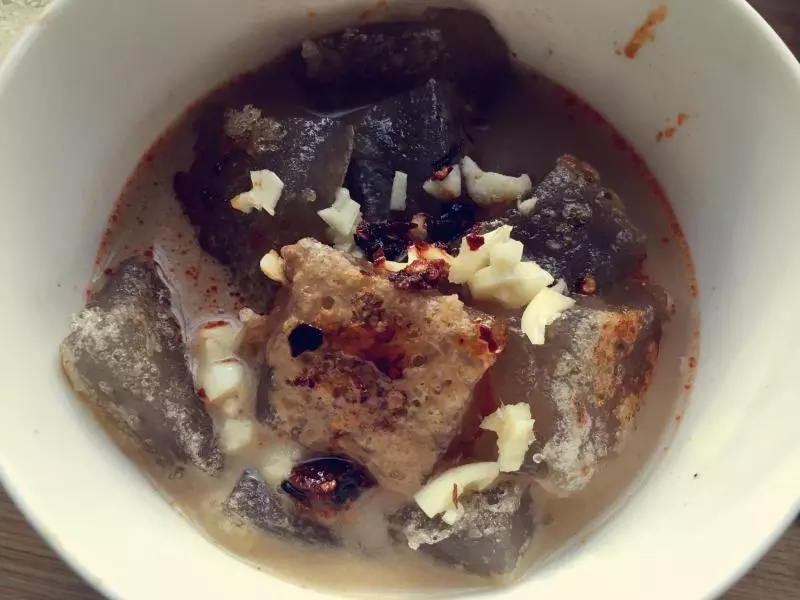
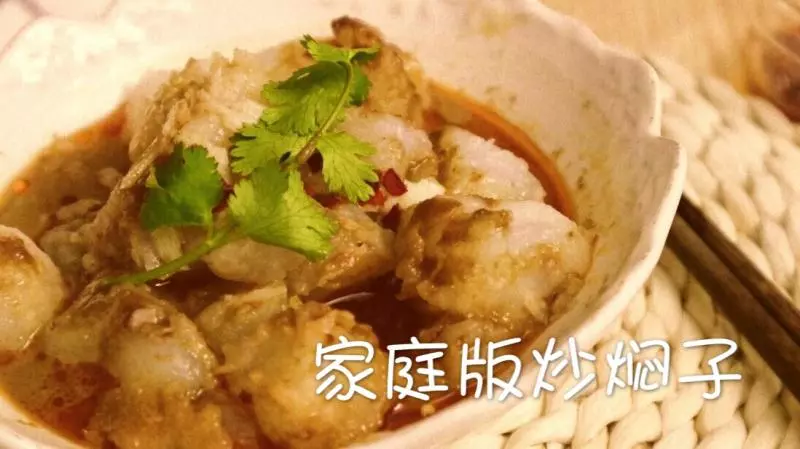
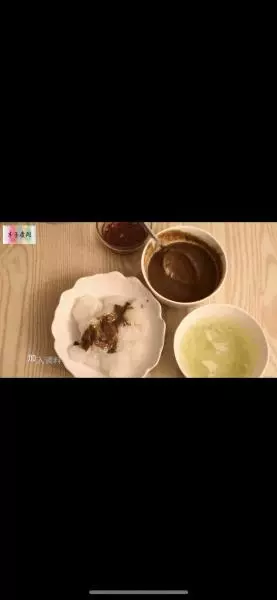
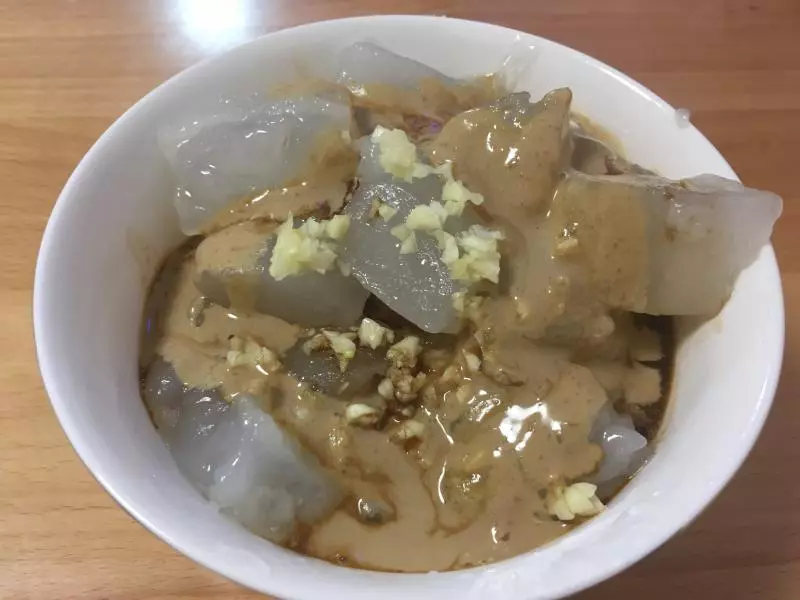
14加入酱料、蒜水和辣椒油调味,点缀香菜。
15完成~

小技巧
1.煎焖子的时候油一定要少放,因为这种家庭版焖子的做法没有添加一些胶质类的添加剂,油一多容易化掉。 2.豌豆淀粉:水1: 水2 = 1:1:5,可以根据自己的喜好去调整焖子的量。


![黄鳝焖黄瓜[家庭版]](/images/node/28/289036.webp?1638107403)