原料
自制无糖希腊酸奶(滤掉乳清非常厚): 200克, 淡奶油: 40克, 低筋粉: 50克, 蛋黄: 4个, 自制香草精或柠檬汁(可选): 几滴, 蛋白: 4个, 细砂糖(喜甜的增加到70克吧): 55克
步骤
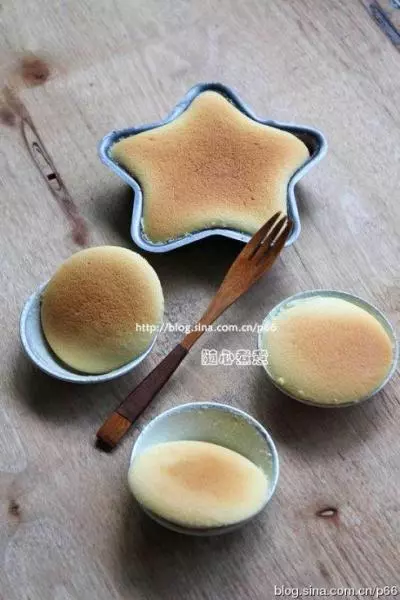
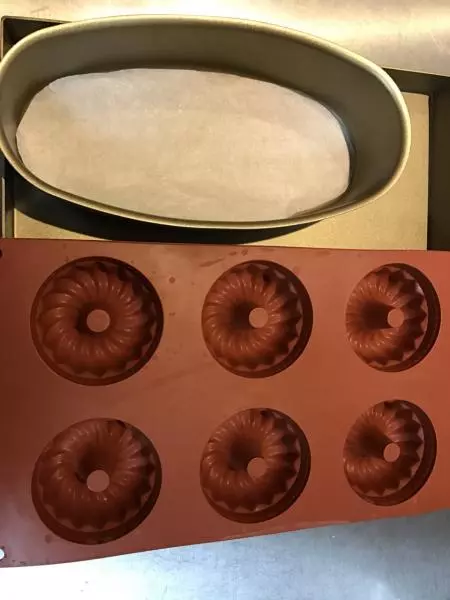
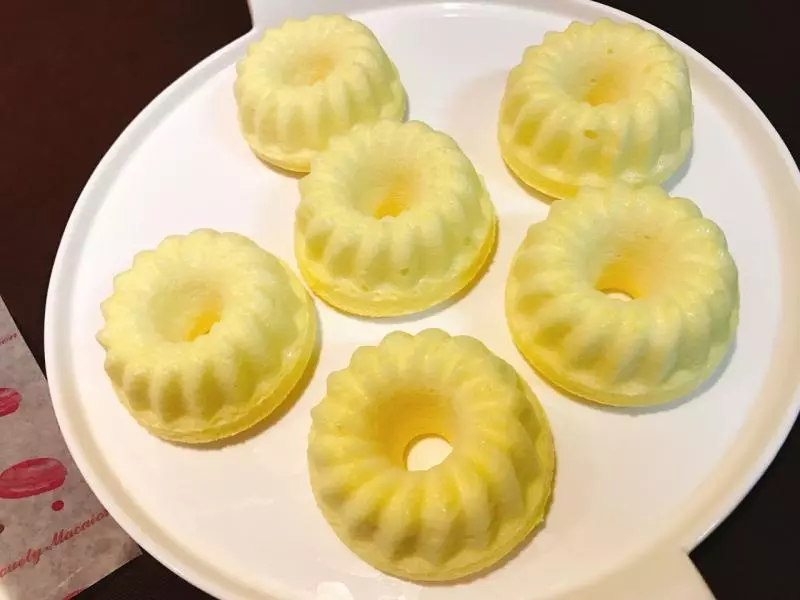
1我用了一个乐葵六连模,一个六寸椭圆模,相当于一个8寸。 你可以选择固底的模具或者是活底的模具,看自己方便。固底模最好剪一块油纸垫在下面,更方便脱模,然后四周可以抹一层黄油,不沾的不用抹。
2称取200克希腊酸奶,关于如何自制希腊酸奶,可以在下厨房搜下菜谱,还蛮多的,做起来很简单。
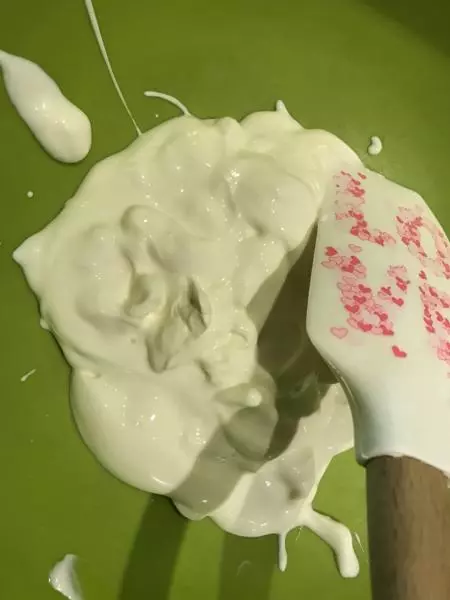
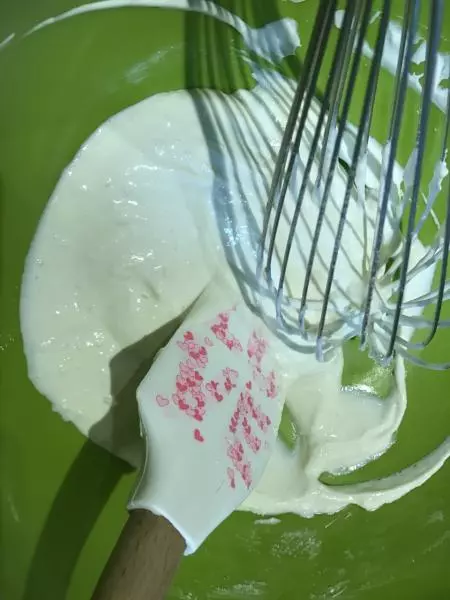
3加入40克淡奶油,搅拌均匀。
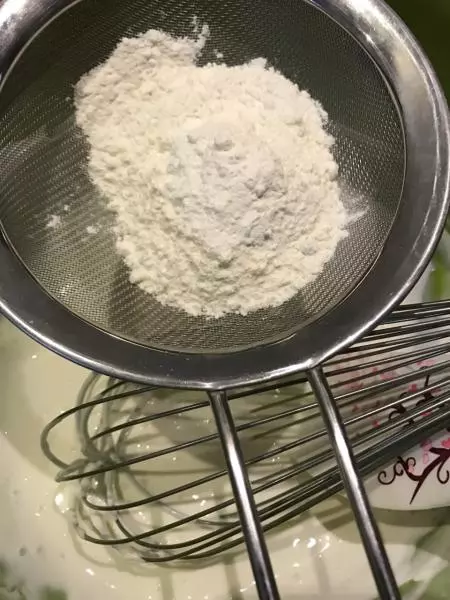
4筛入50克低筋粉。
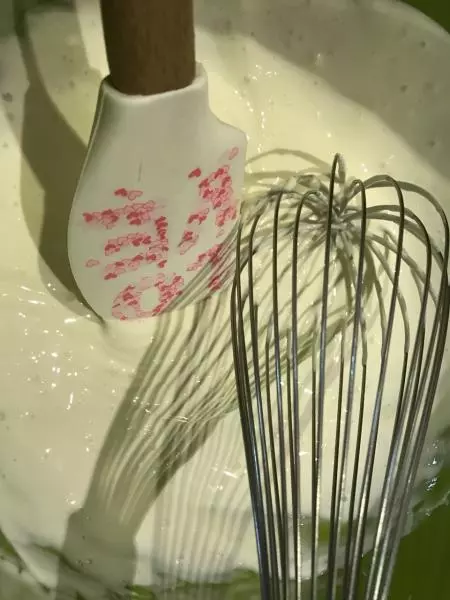
5用打蛋器Z字搅拌均匀。
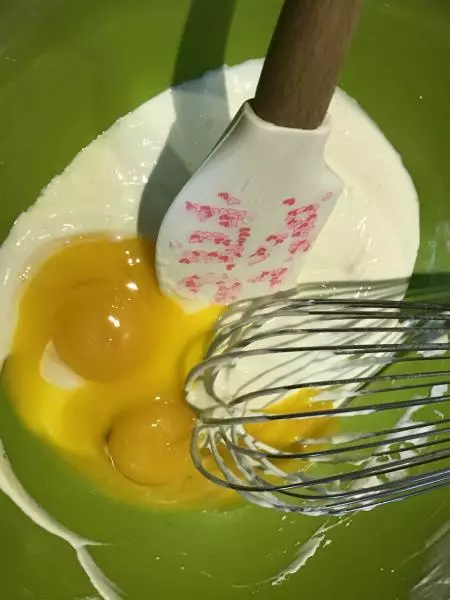
6加入4个蛋黄,继续Z字搅拌均匀。
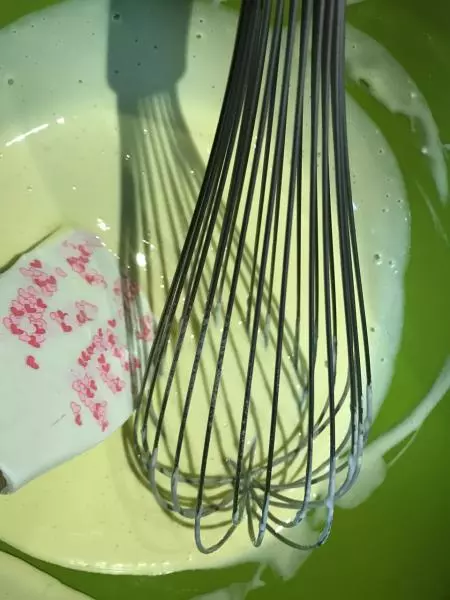
7可以用刮刀辅助按压拌匀,得到非常细腻的蛋黄糊。
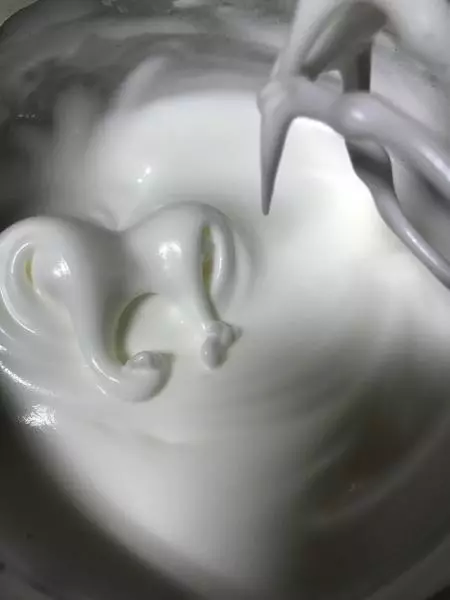
84个蛋白中速打到粗泡,转高速,分3次加入55克细砂糖,打到有纹路转慢速,整理气泡打到湿性,得到非常细腻光滑的蛋白霜。 Ps,蛋白里可以加几滴自制香草精或者柠檬汁去腥,鸡蛋新鲜的话不加也可以。
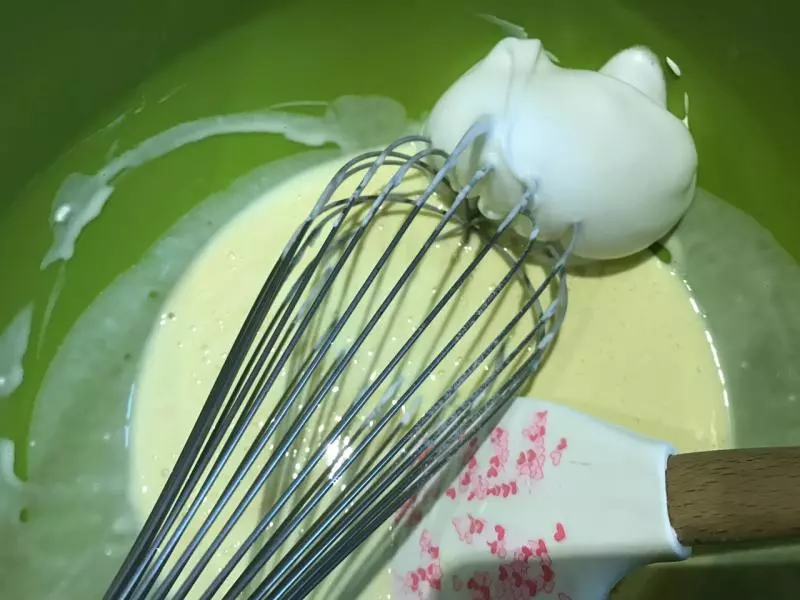
9取一刮刀蛋白霜加入蛋黄糊,用打蛋器无规则拌均匀,拌匀就好,这一步不在乎什么手法,搅拌同时可以用刮刀辅助。 再分两次倒入剩下的蛋白霜,和蛋黄糊快速切拌均匀。
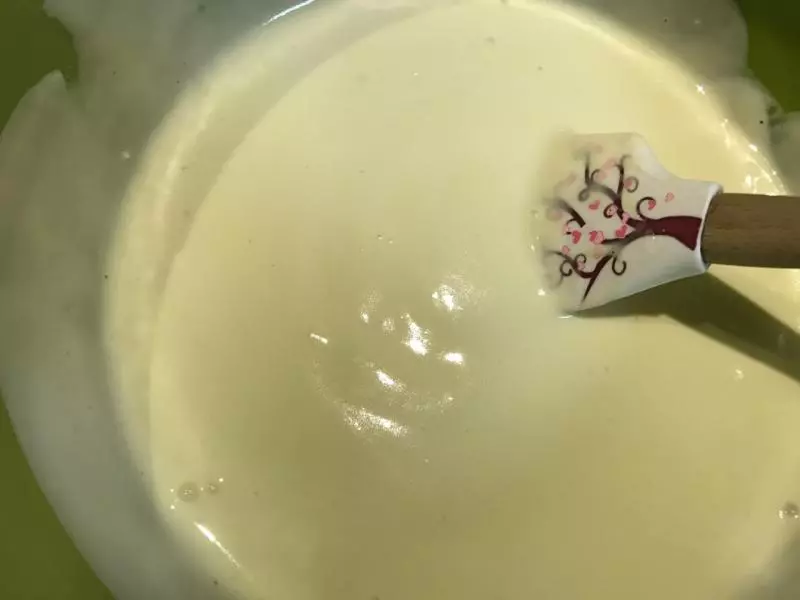
10得到非常细腻的蛋糕面糊。
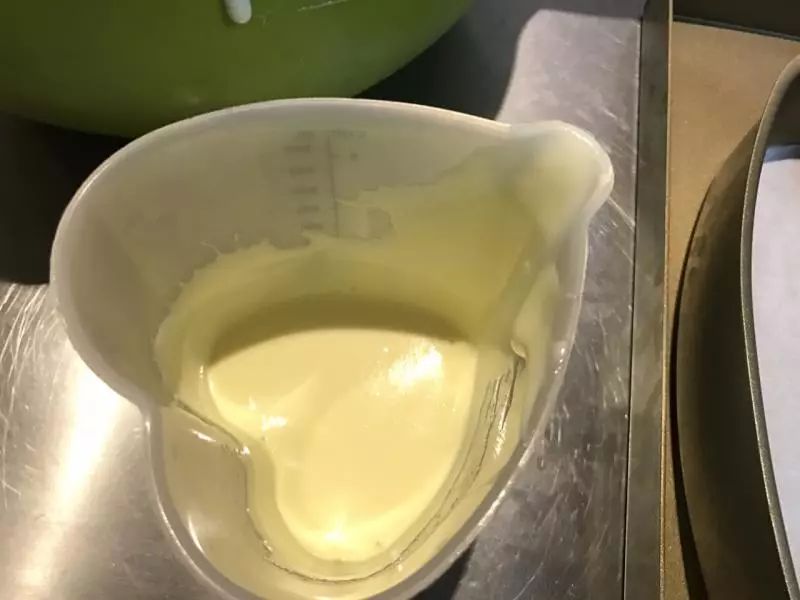
11把面糊倒入硅胶杯,这样倒入小模具比较方便。
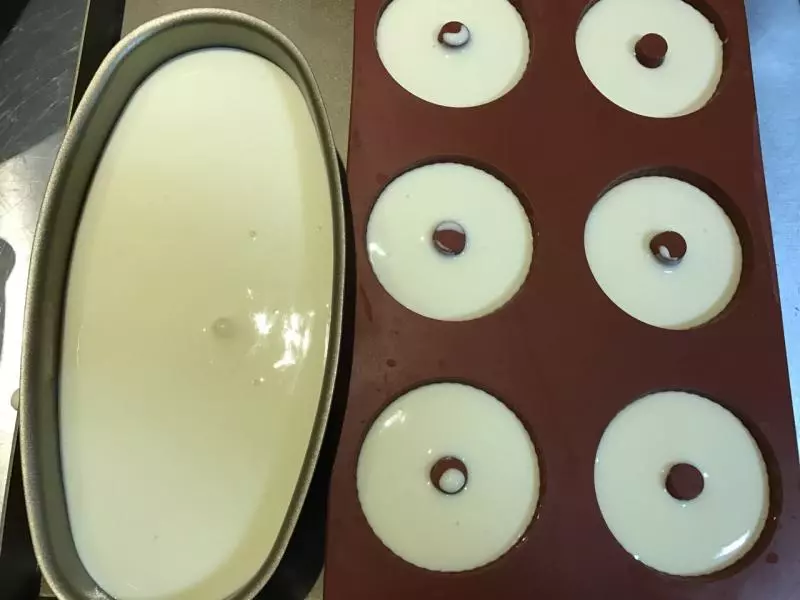
12倒入模具轻震出气泡。蛋糕糊不要倒太满,最多8分满。
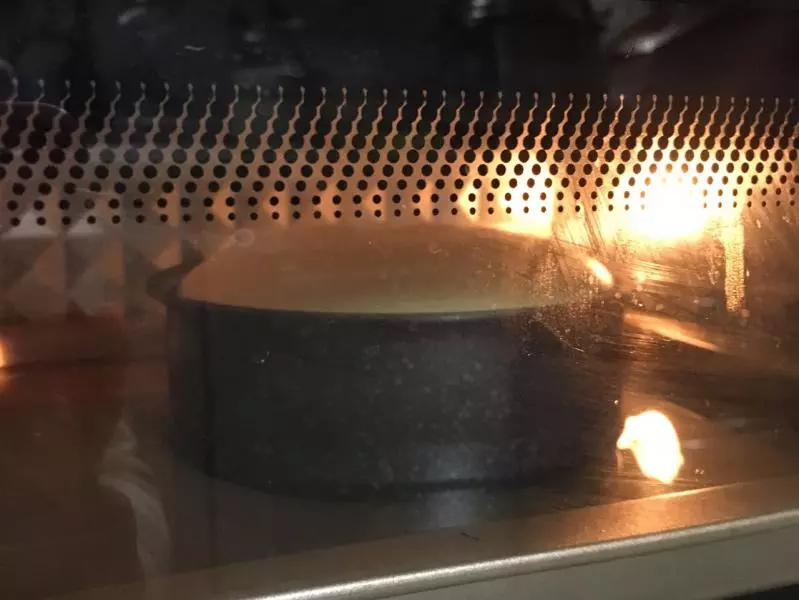
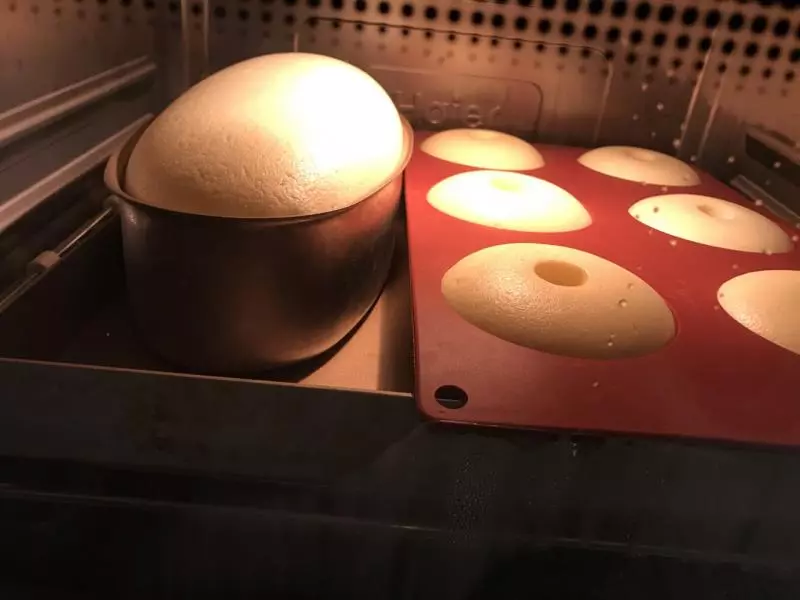
13入烤箱中下层,无需预热,120度嫩烤模式10分钟。

14十分钟后再转110度烤70分钟。烤的时候该干啥就干啥去吧。 Ps,普通烤箱的话水浴160度一个小时左右,如果发现要开裂的话再把温度调低点。
15嫩烤就是表皮不上色,下次单开上火表皮烤上色试试,普通烤箱应该没有这个问题。
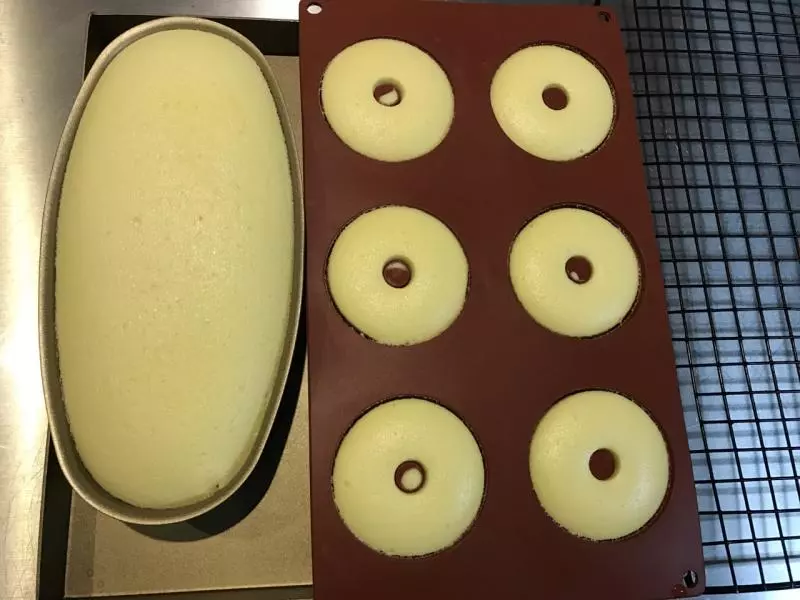
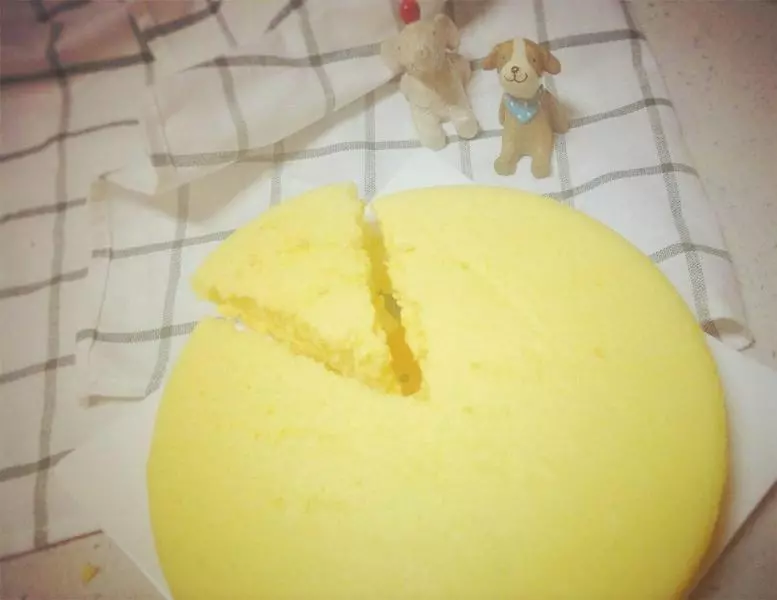
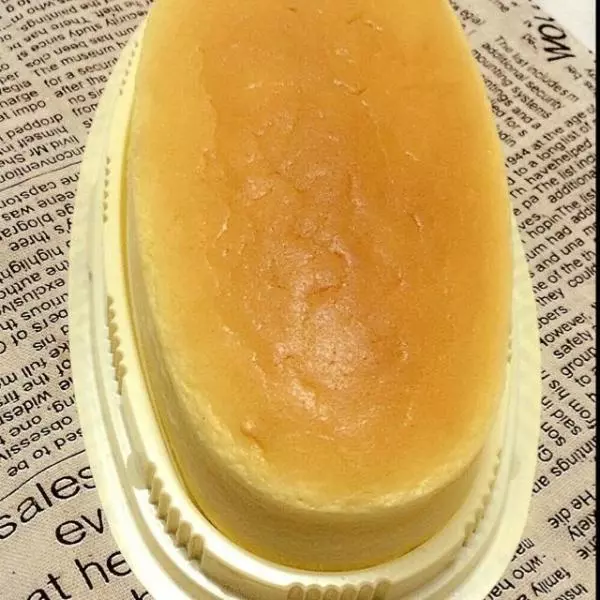
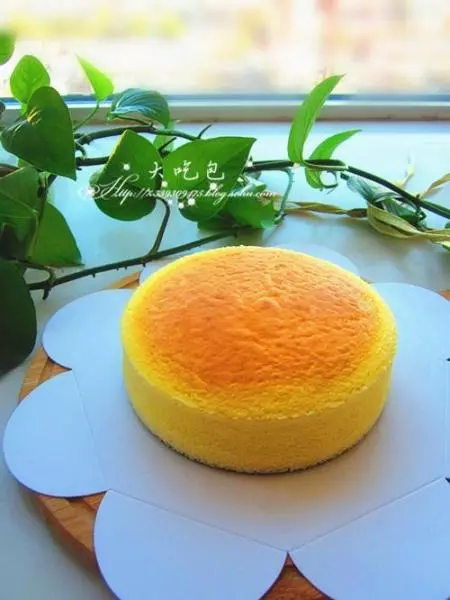
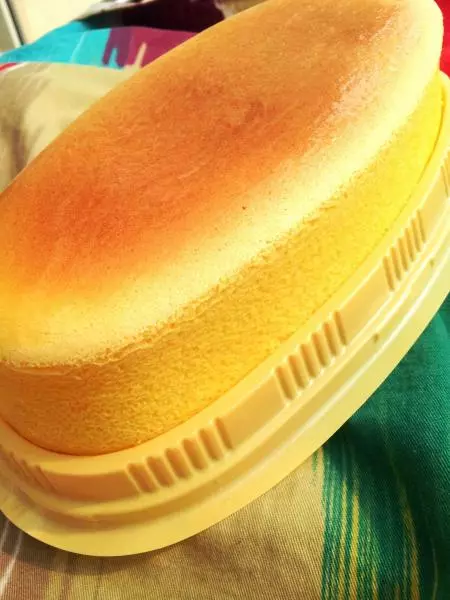
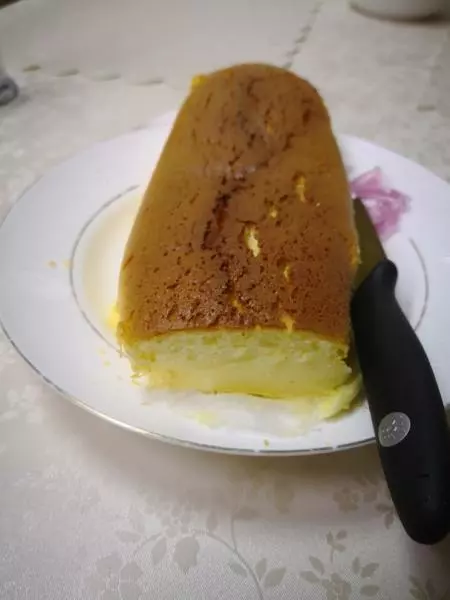
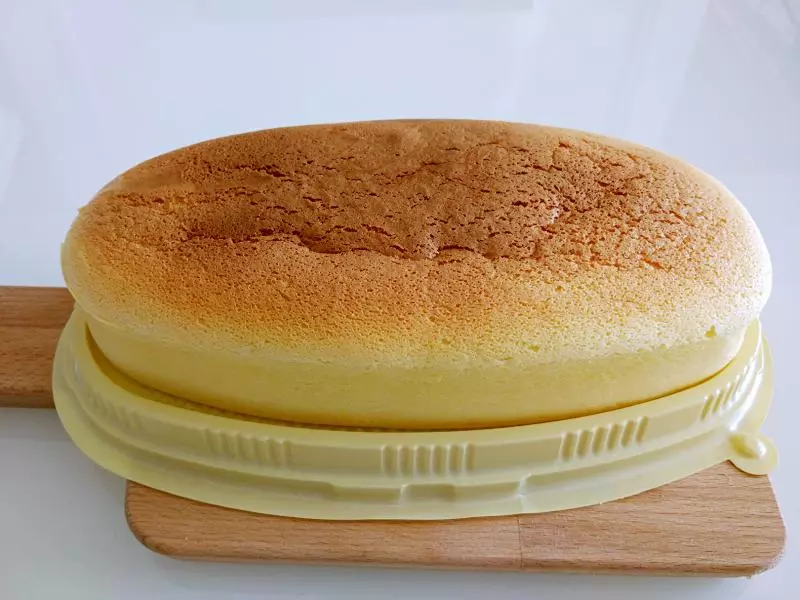
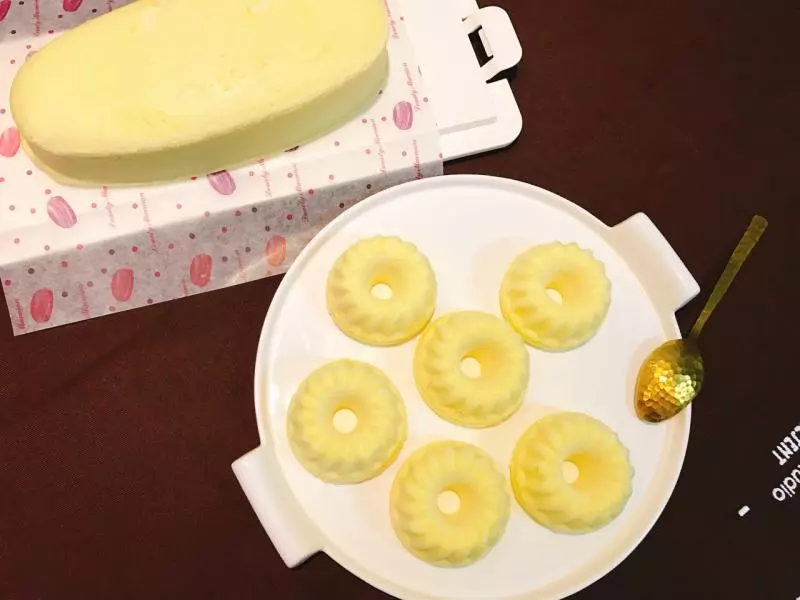
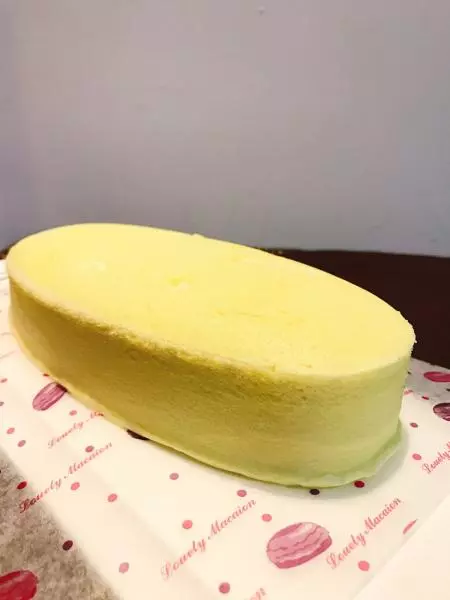
16我是在烤箱闷了12分钟再取出来的。 也可以烤好直接出炉。蛋糕出炉五分钟后,蛋糕体自然回缩,脱离模具。准备两个盘子,把蛋糕倒扣在一个盘子上,再翻转在一个盘子上,蛋糕面就冲上了!冷却后装盒冰箱冷藏一下口感更好! 硅胶模可以倒扣,冷却后会自然脱模。
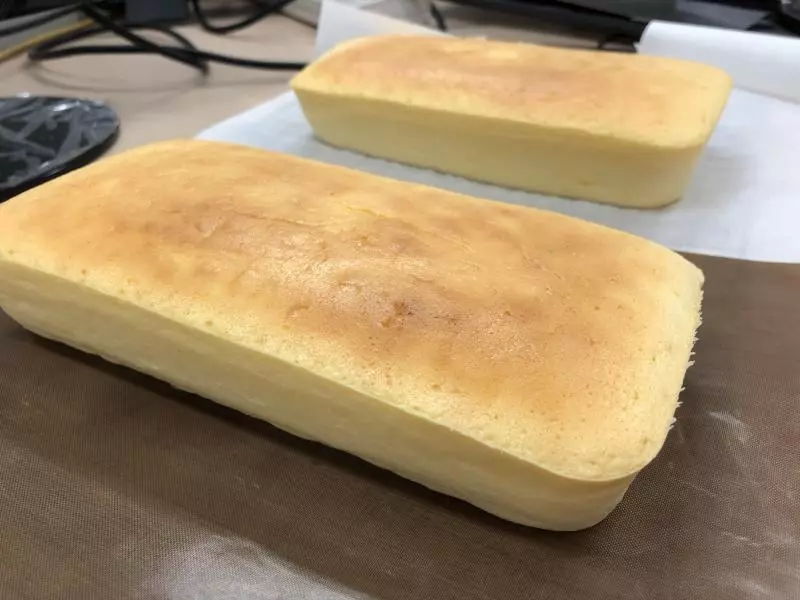
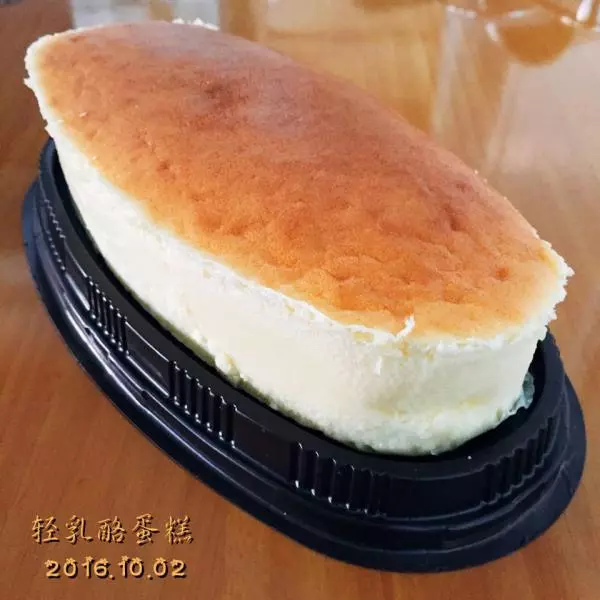
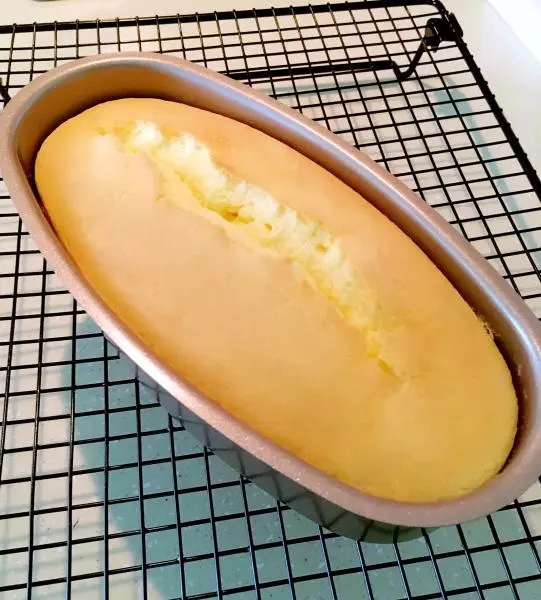
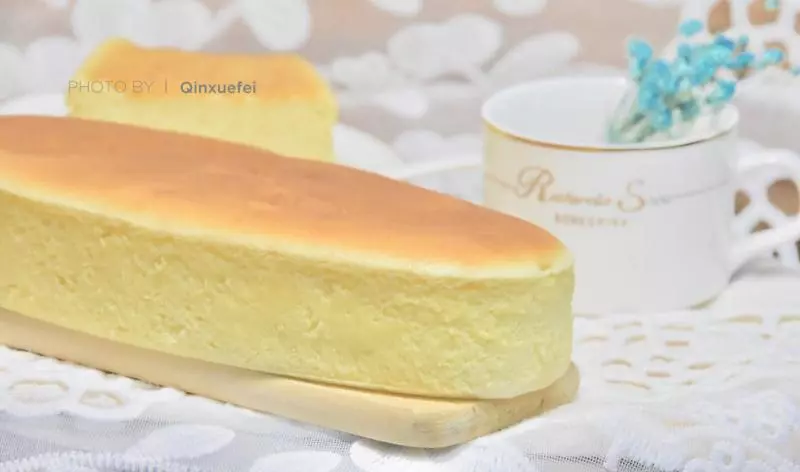
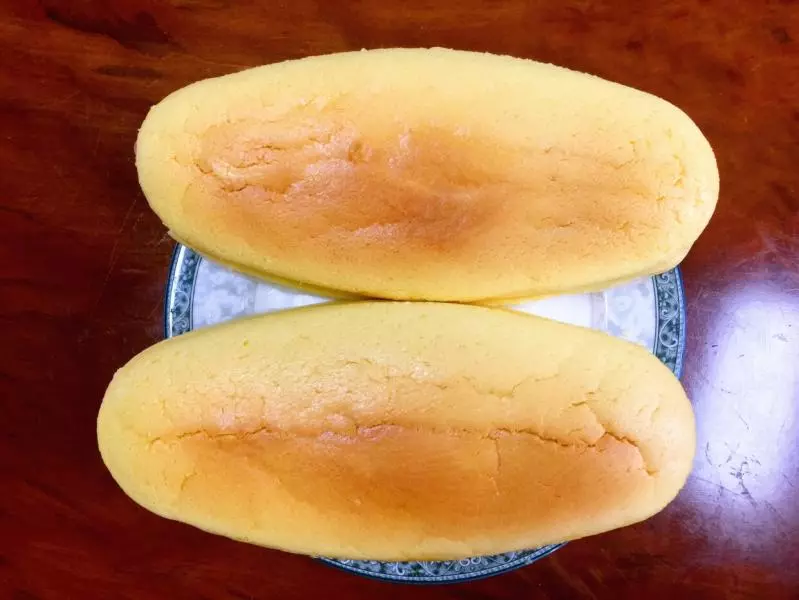
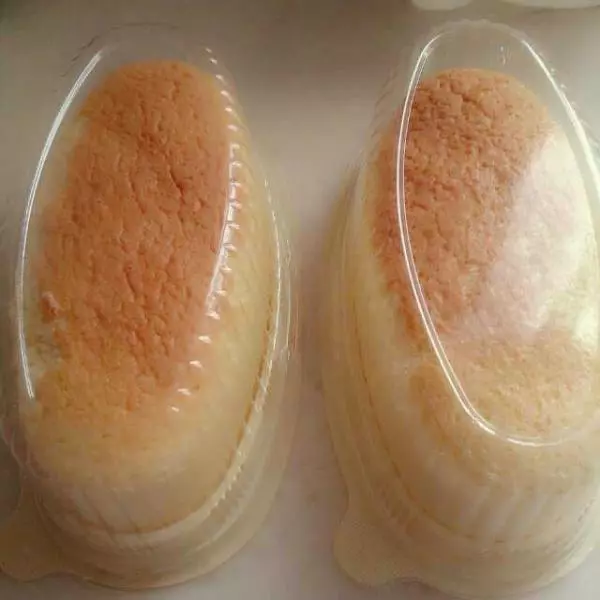
17椭圆模表皮破了,桑心?……本来可以很完美的。
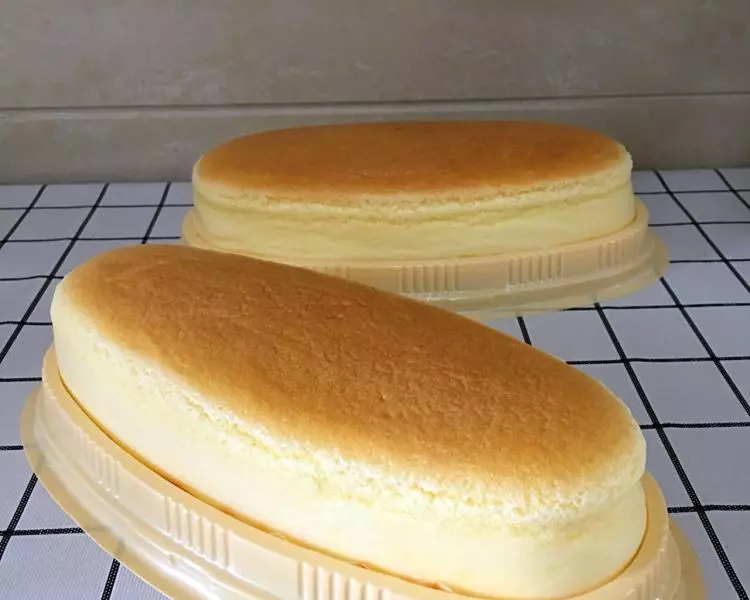
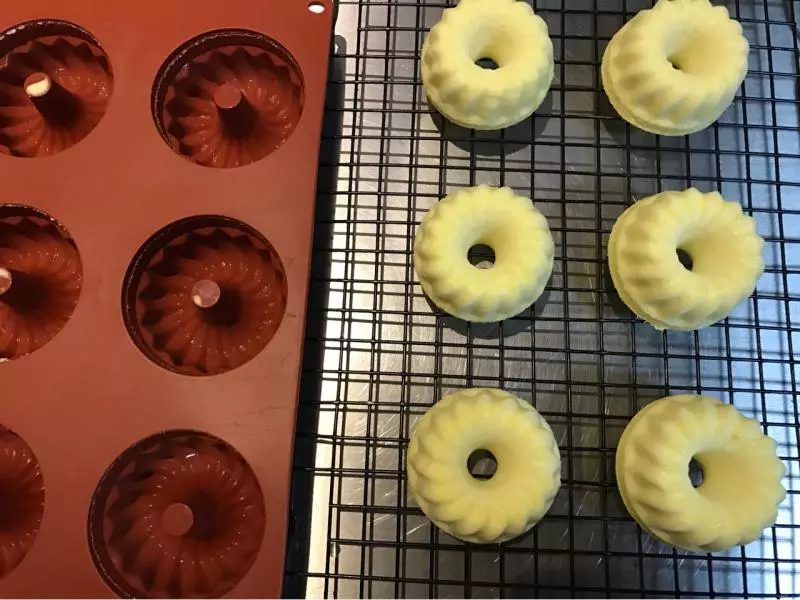
18幸好乐葵模脱出来美美滴~~下次考虑换个乐葵模造型。
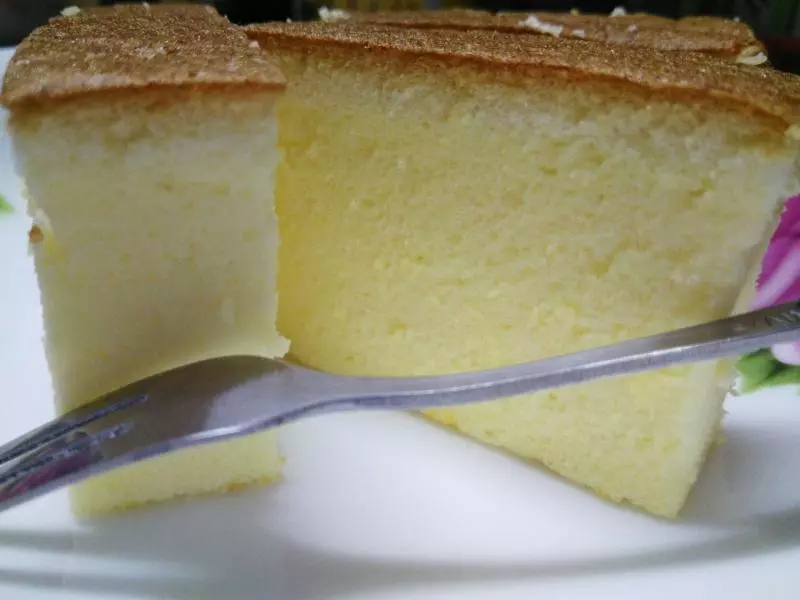
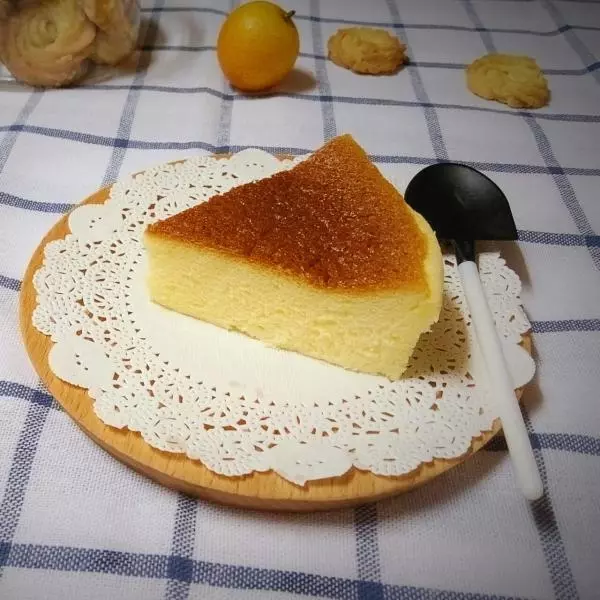
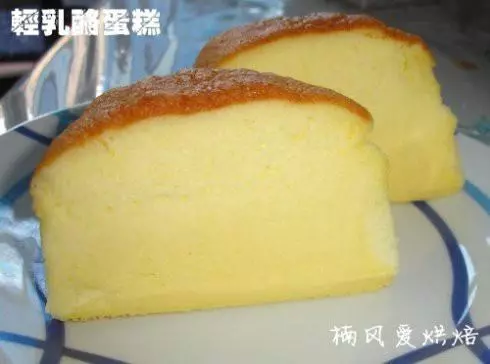
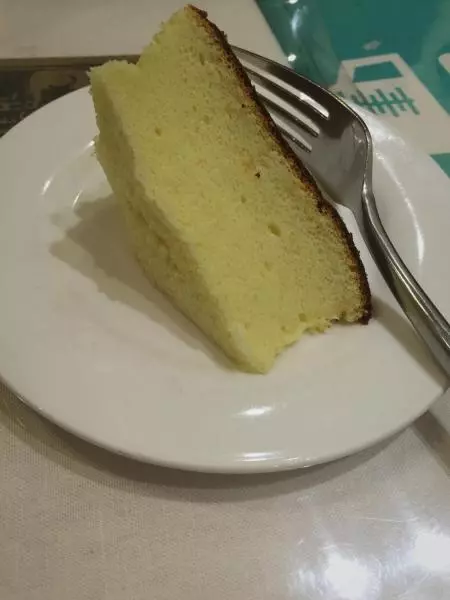
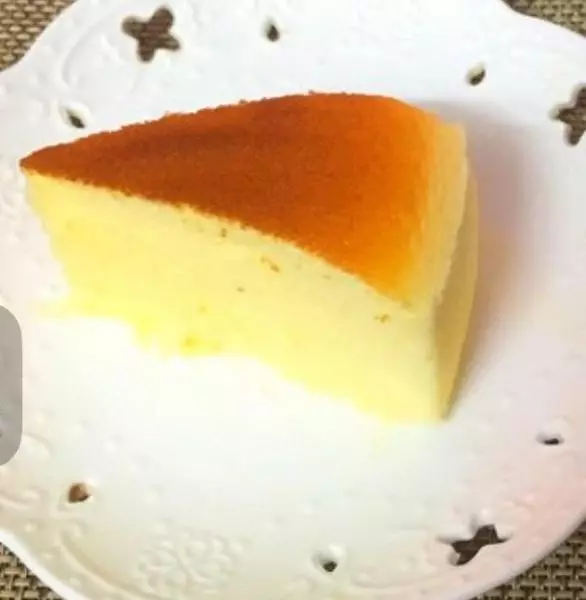
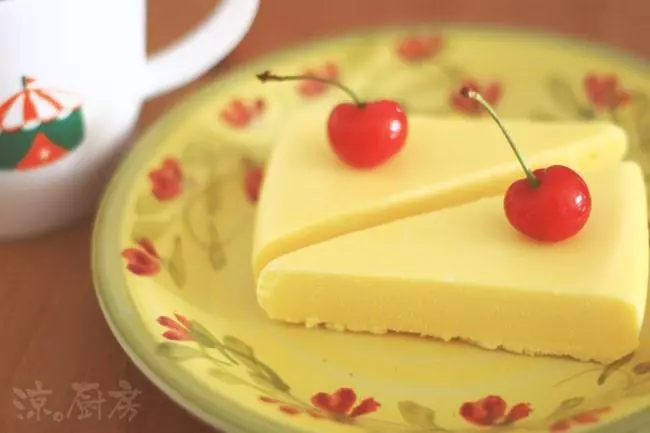
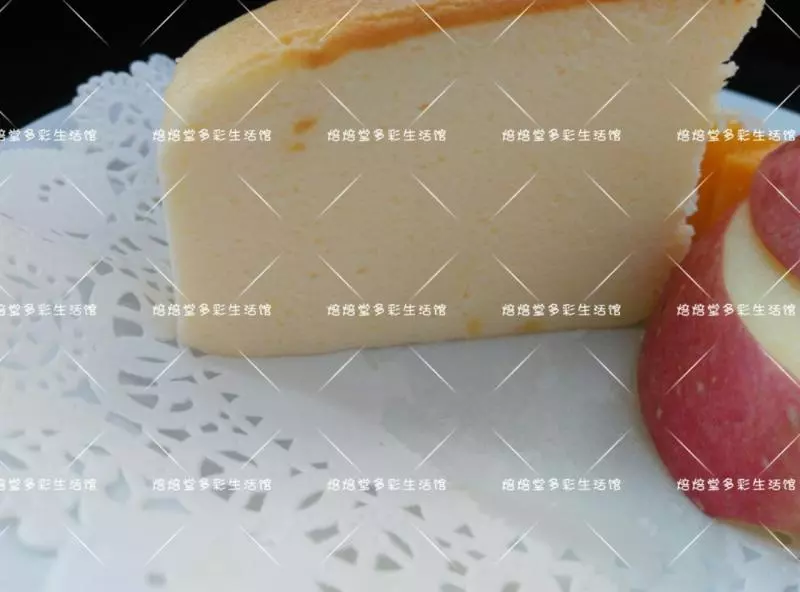
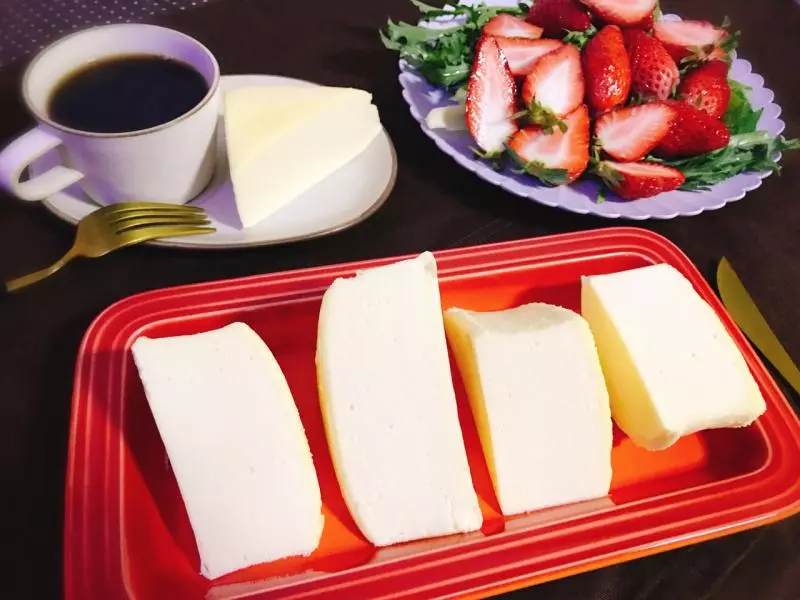
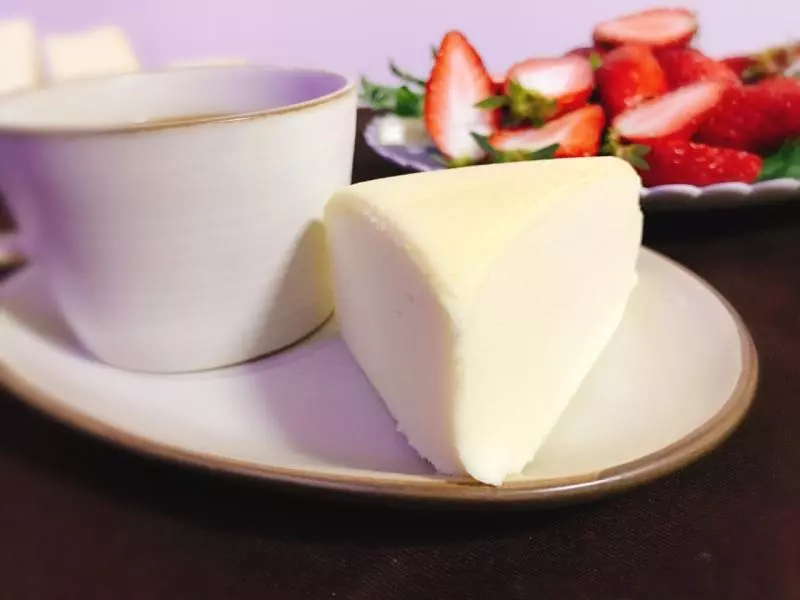
19切开非常细腻,切的话把刀用开水烫一下擦干,然后抹点黄油再切。
20烘焙交流QQ群:下厨房吐司群 255252486 欢迎大家关注 新浪微博:Leibaobao00 微信公众号:Lei宝宝的小作坊 便于回答大家问题
![媲美轻乳酪--[酸奶蓝莓蛋糕]](/images/node/11/117754.webp?1638098218)