原料
棉花糖: 150克, 无盐黄油: 40克, 全脂无糖奶粉: 40克, 紫薯粉: 10克, 蔓越莓干: 60克, 综合坚果: 60克, 小饼干: 180克, 奶粉10克+紫薯粉5克混合均匀: 撒表面用
步骤
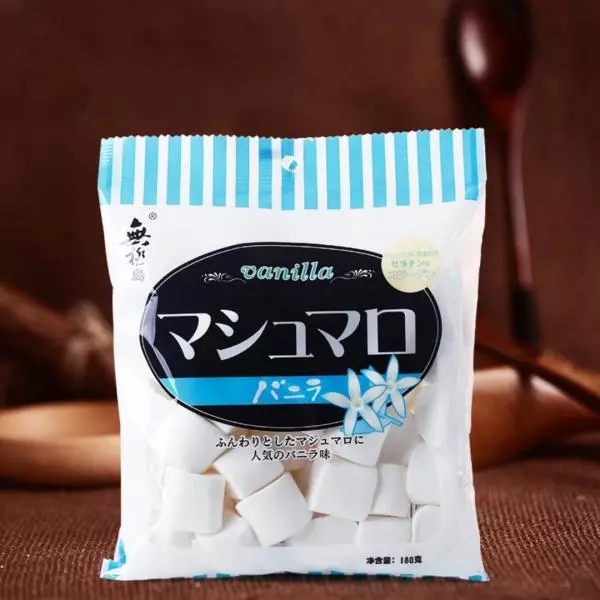
1棉花糖用的是这款。某宝烘焙店一般都有卖。牛轧糖也用的这款,不会出现不好融化的情况。棉花糖一定要是无夹心的~
2奶粉用的是这款烘焙乳粉。也可以是雀巢的全脂奶粉。

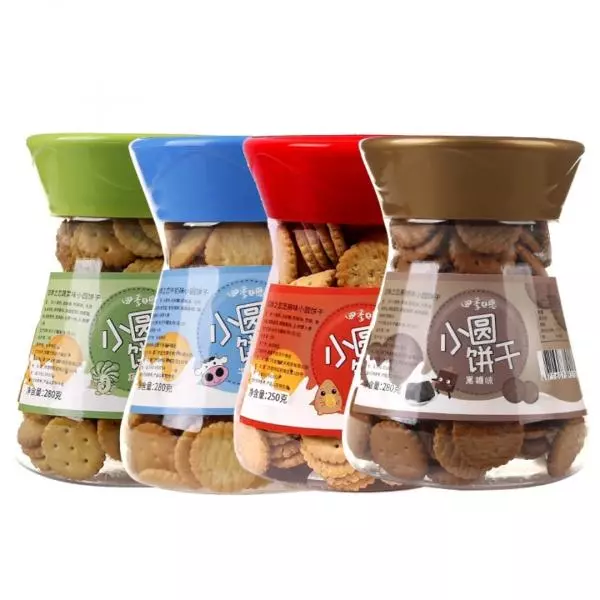
3貌似雪花酥的饼干有点讲究。不能是一压就成粉末的那种饼干会影响口感。基本都是推荐用台湾的小奇福饼干,某宝有卖。我用的是这款小圆饼,芝麻口味,也是ok的。
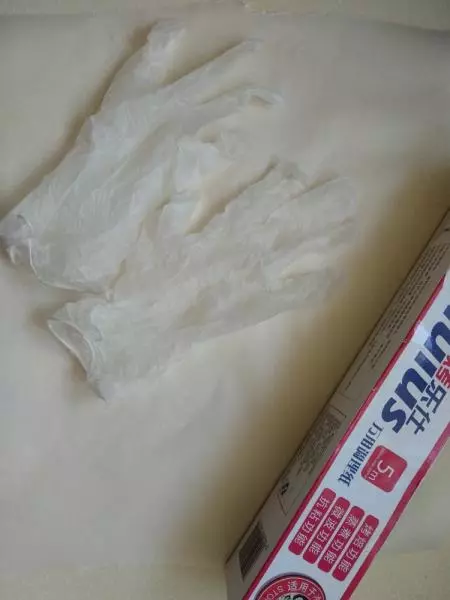
4除了不粘锅是必须的。其次,家里没有不粘模具的话,油纸是很好的防粘工具,还有一次性PVC手套。很好用。我买的是面大师的。
5开工之前,先把所有材料称好。

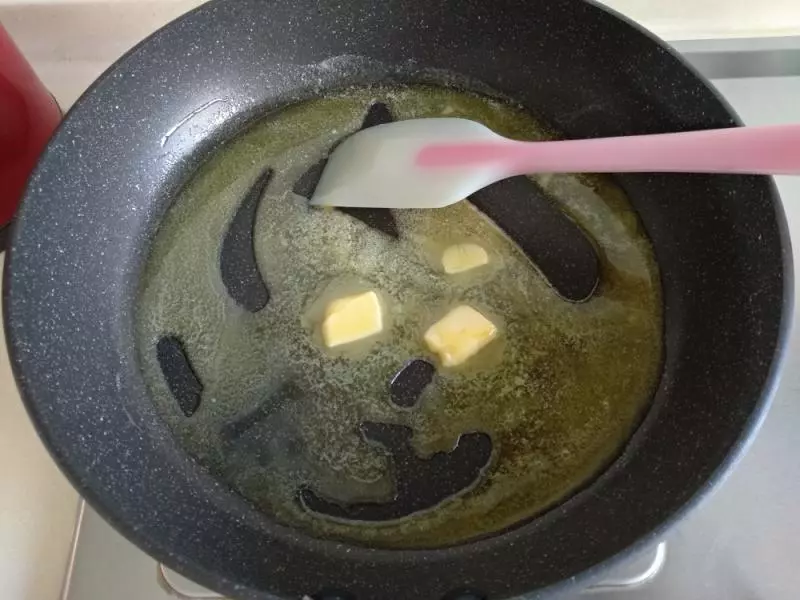
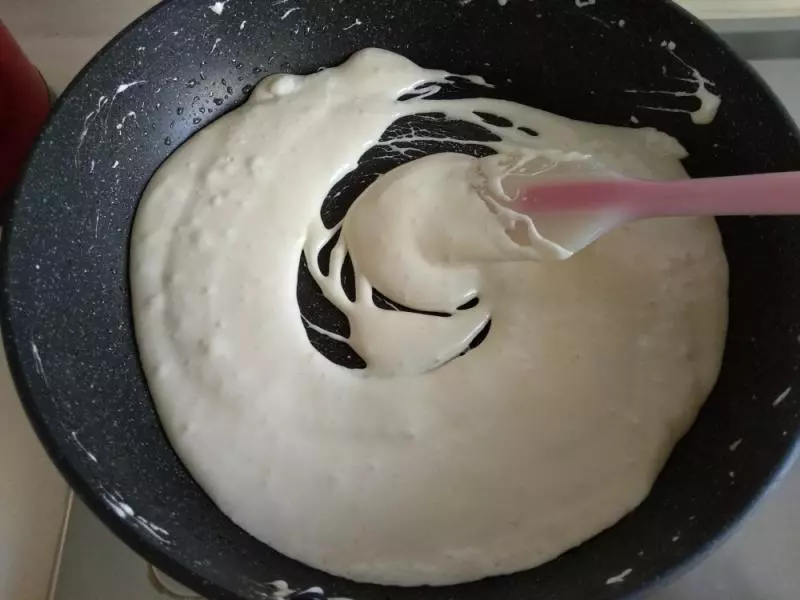
6全程小火,全程小火,全程小火。 先融化黄油。
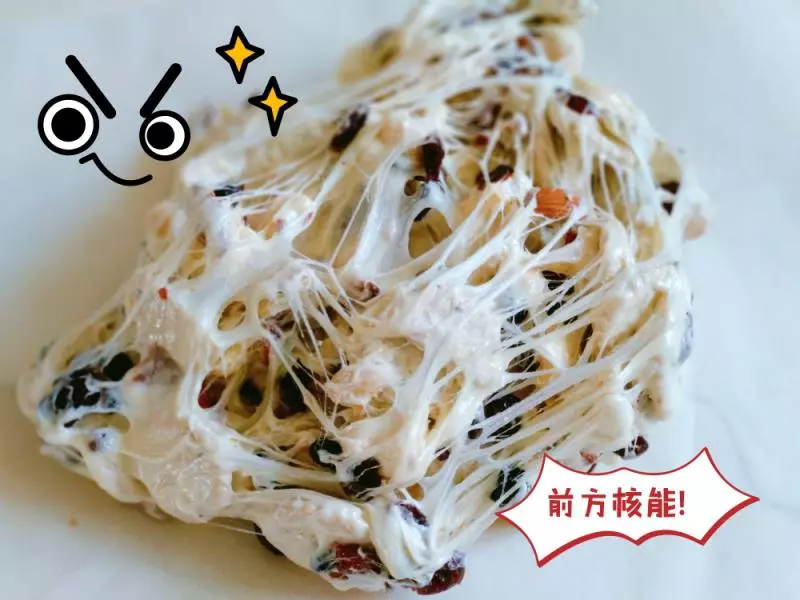
7倒入棉花糖翻拌至完全融化。
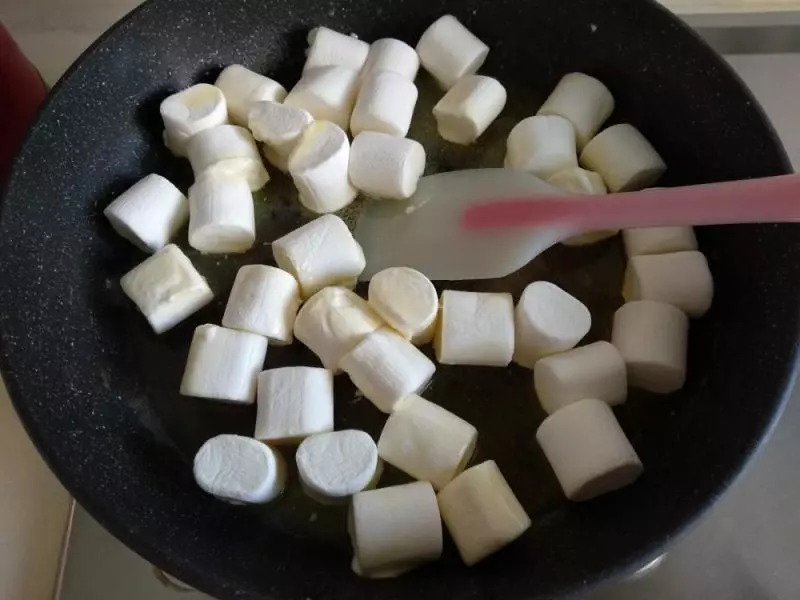
8完全融化的棉花糖长这样。 然后关火?
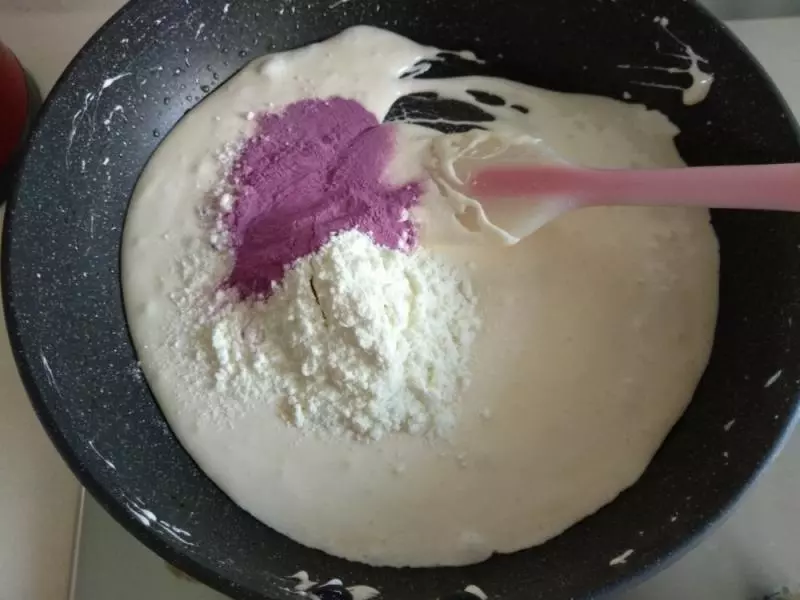
9倒入奶粉和紫薯粉,拌匀。
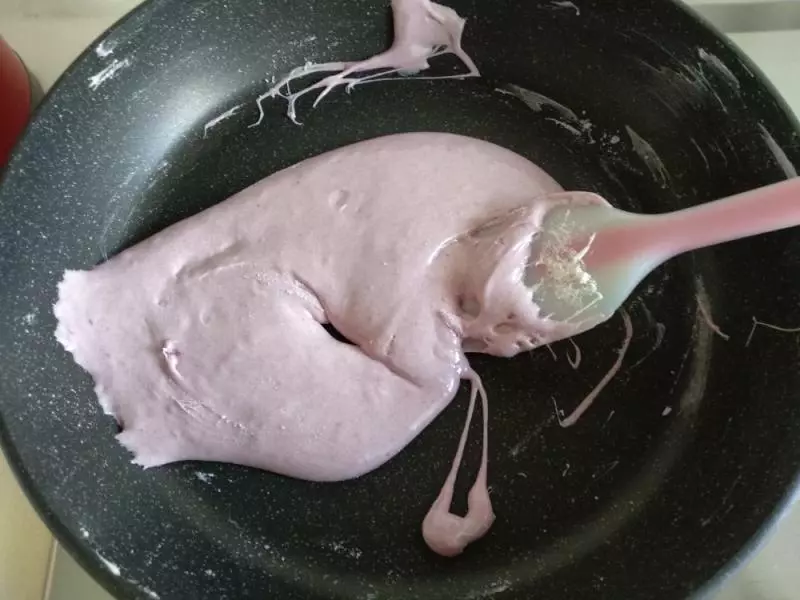
10尽量摊平整个锅底。方便均匀沾上坚果和饼干。
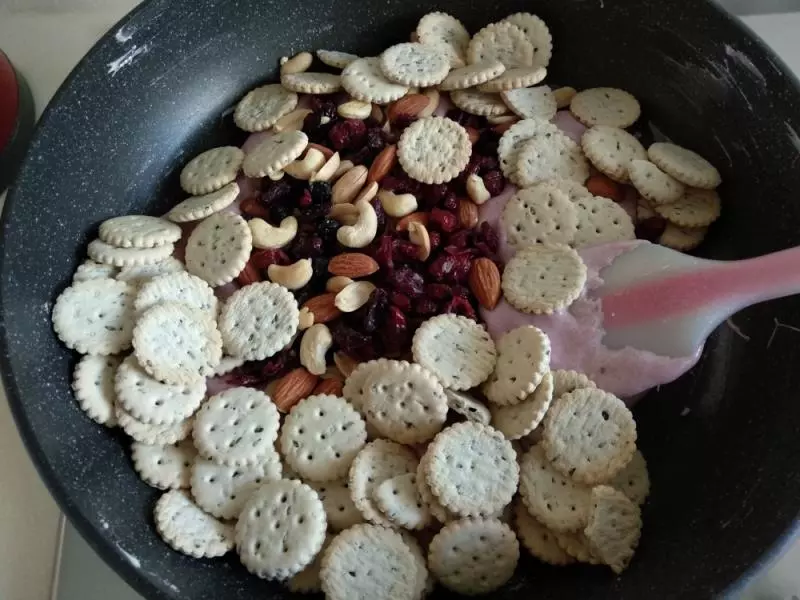
11倒入坚果和饼干,稍微翻拌混合一下。
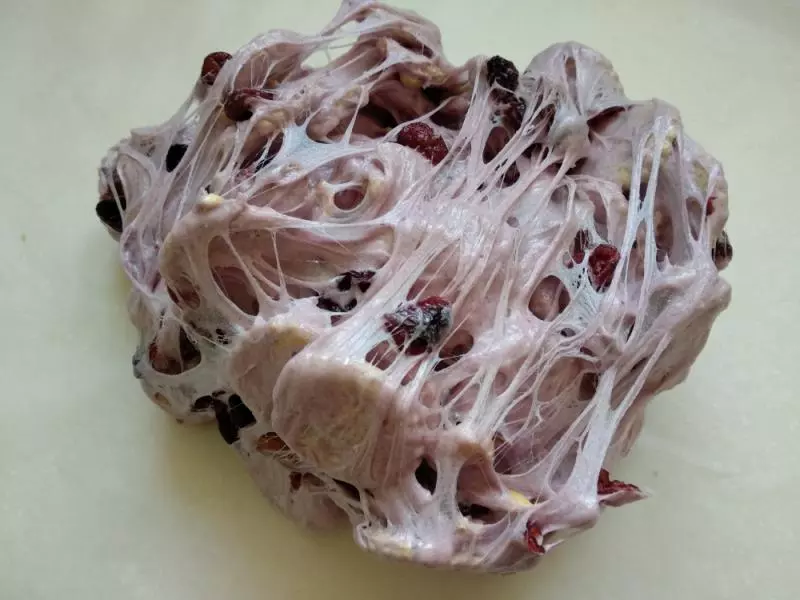
12将所有材料移到油纸上,戴上一次性pvc手套,用手拿住雪花酥材料团由里向外翻,让其均匀。
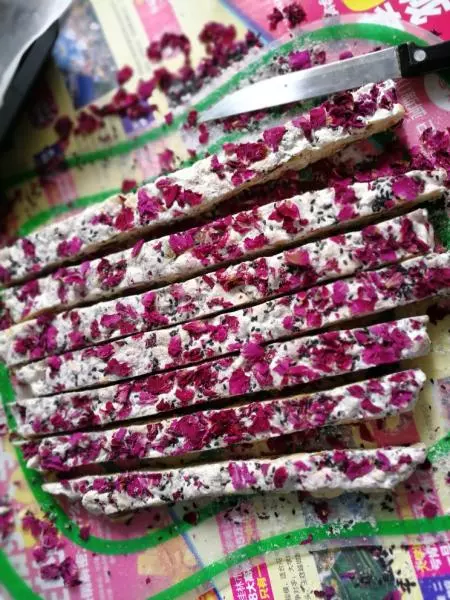
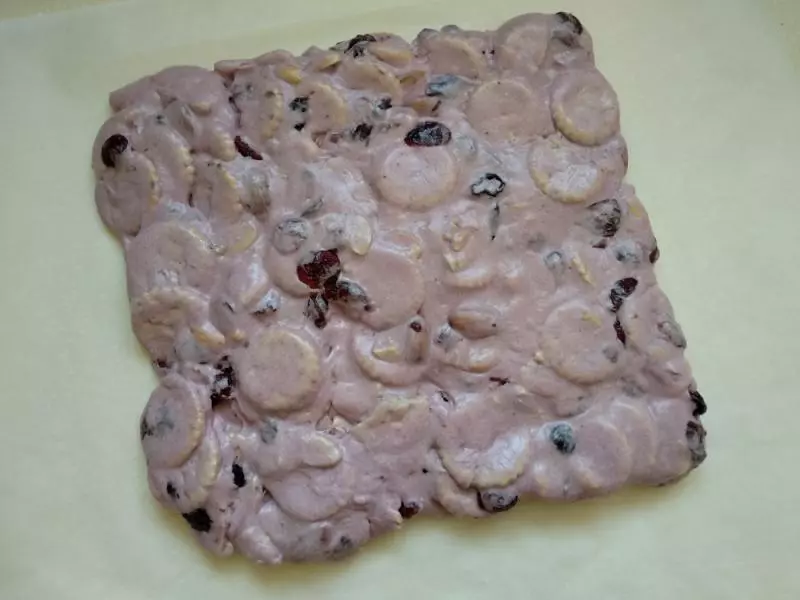
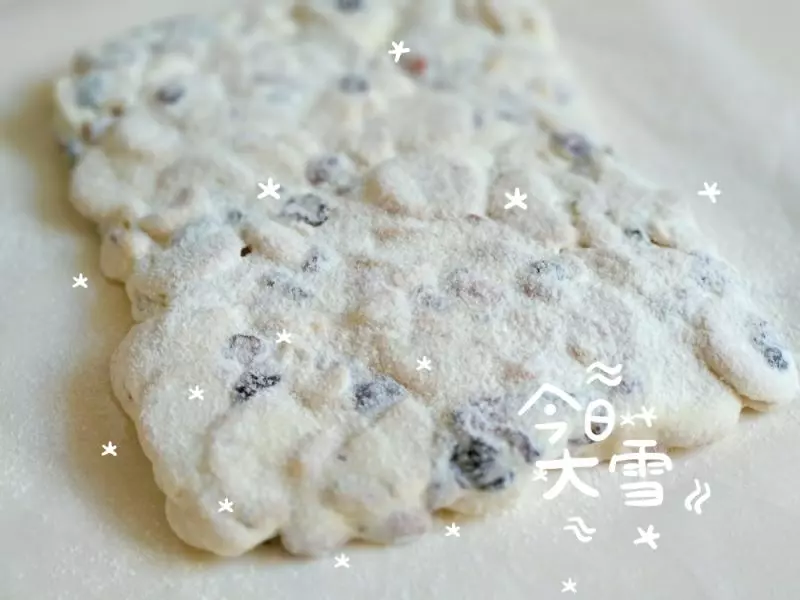
13接着就可以用手按压整形成方块形。约5cm的厚度。
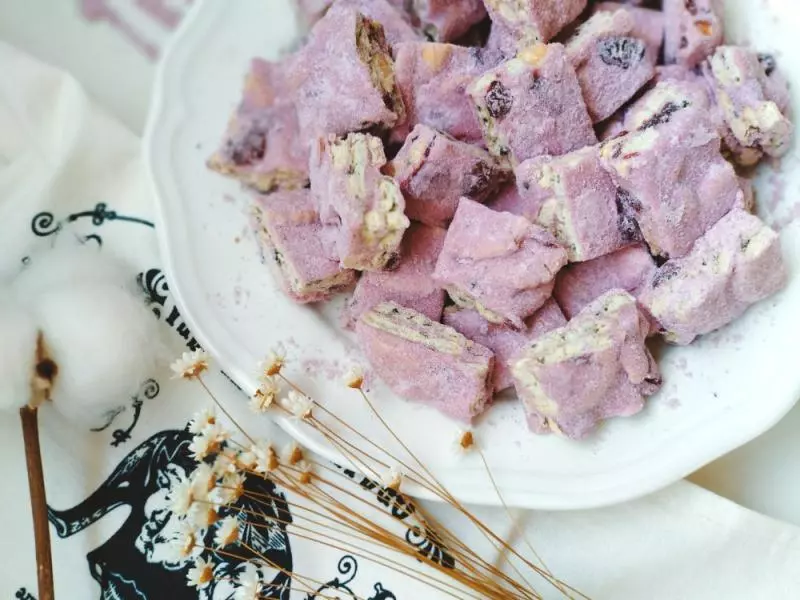
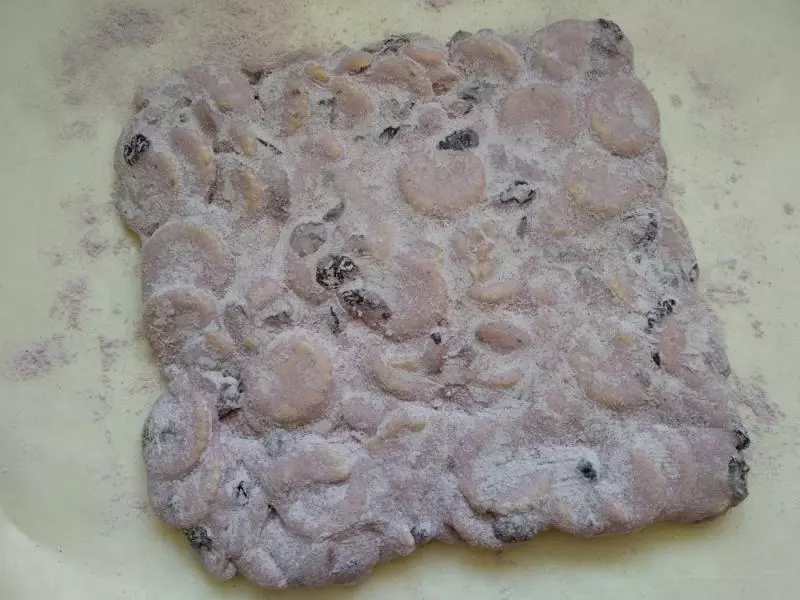
14趁余温,两面都筛上混合的奶粉紫薯粉。即可~
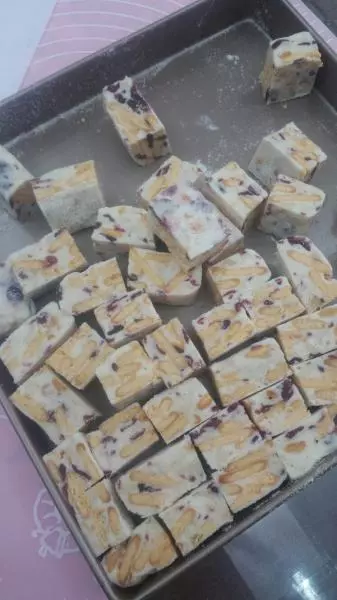
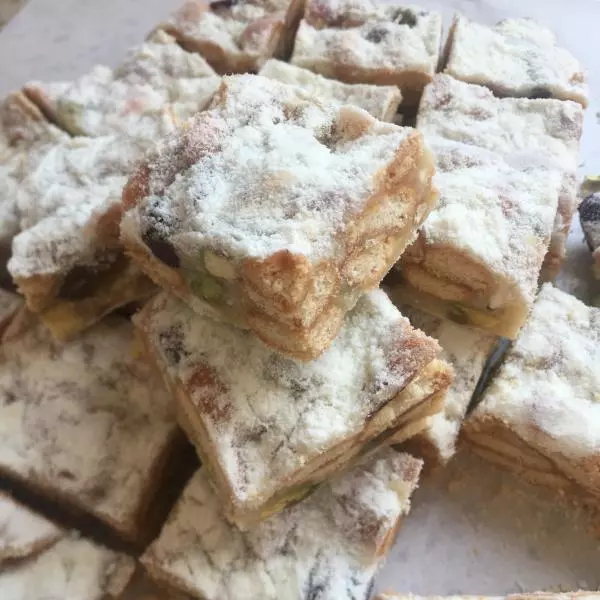
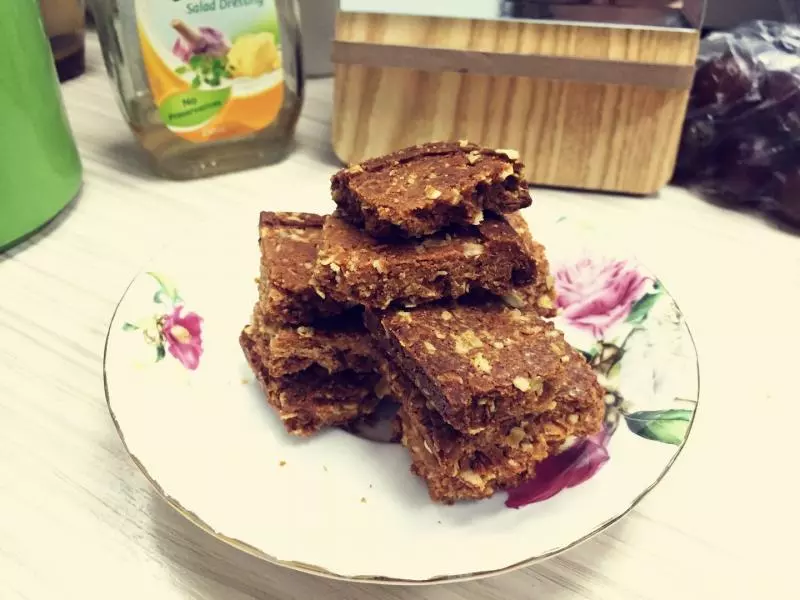
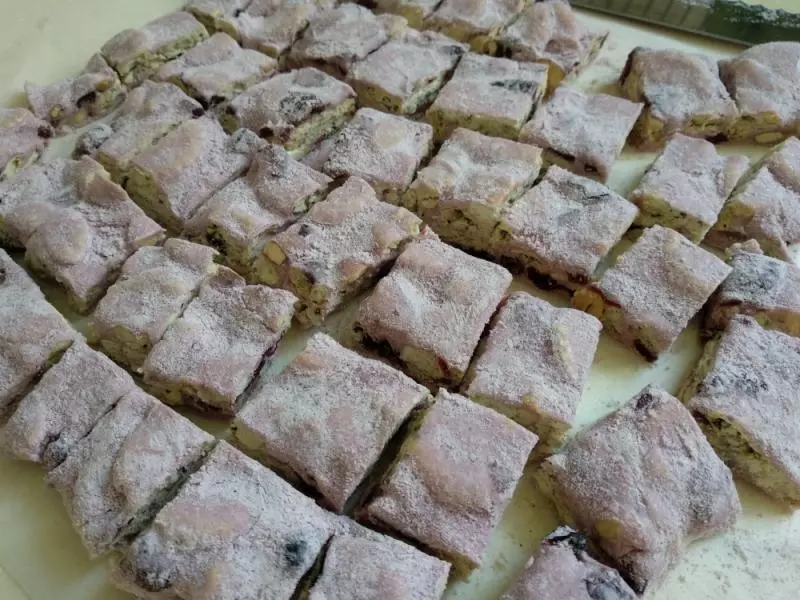
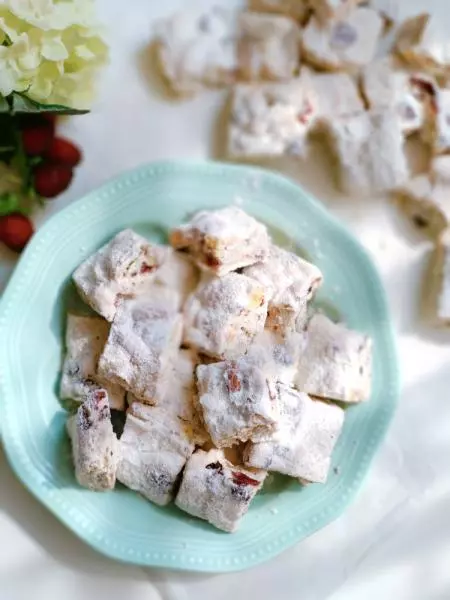
15待放凉后,切块就完工咯!
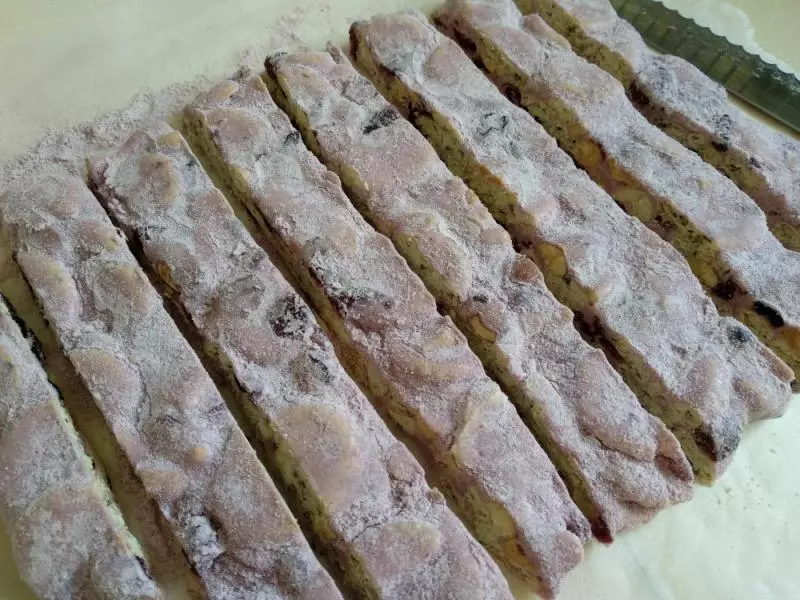
16我觉得切成小方块更加方便入口:)
17画风突变 ?
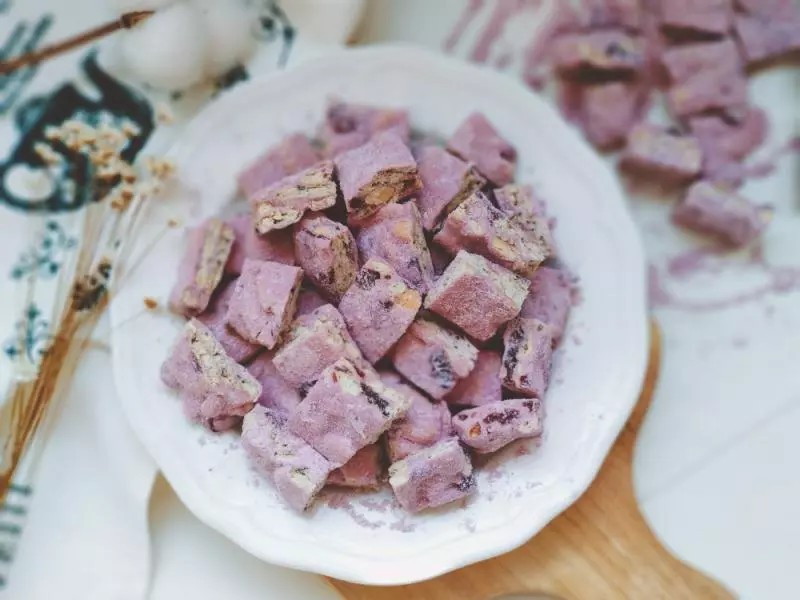
18?
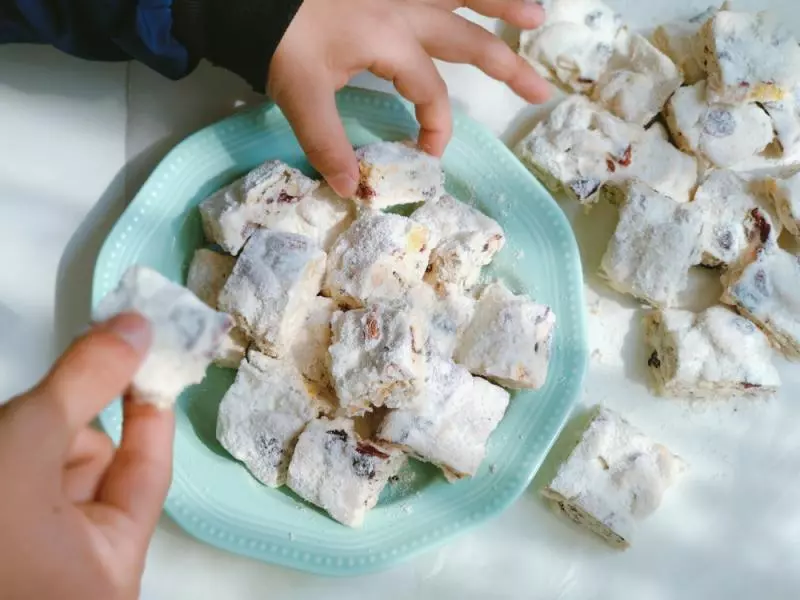
19⋐(ల◕◡◕ల)⋑ Yummy~
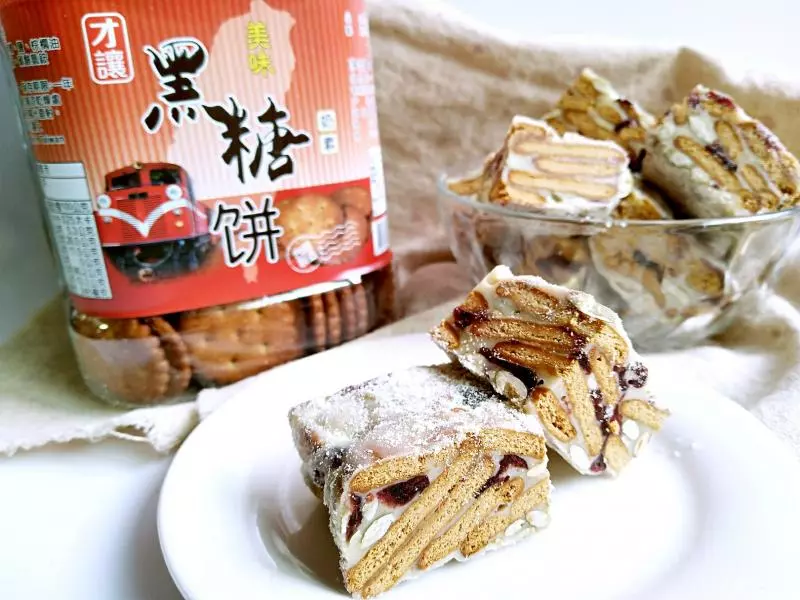
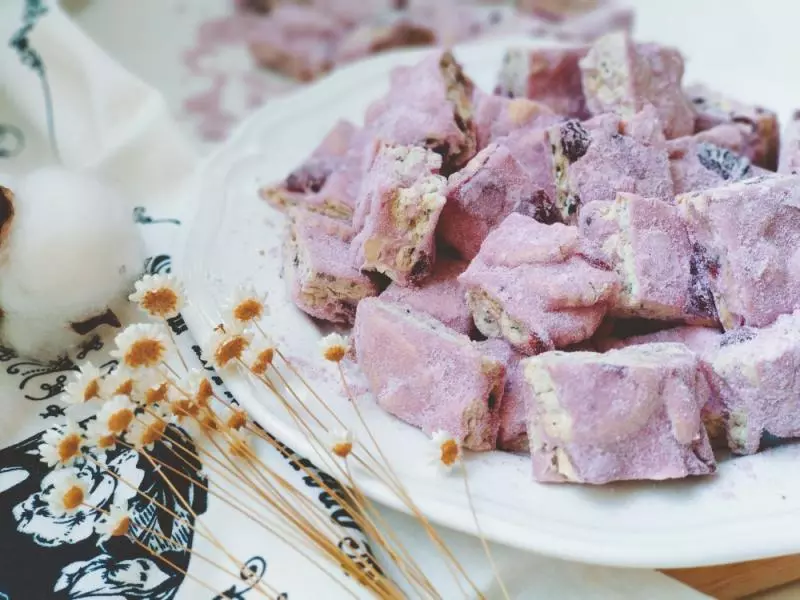
20原味的。
21ɿ(。・ɜ・)ɾ
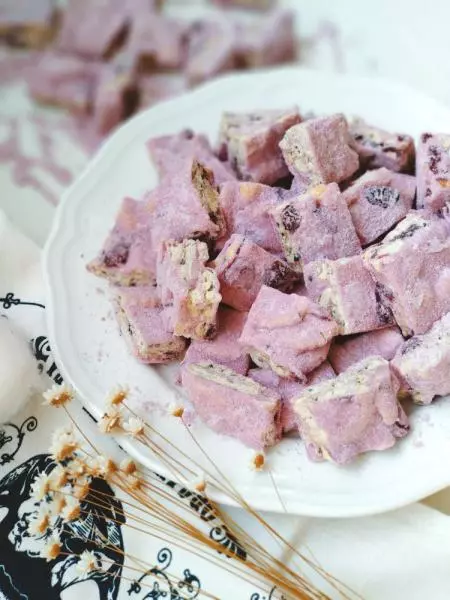
22(๑´⍢`๑)
23三(۶ᐛ )۶
小技巧
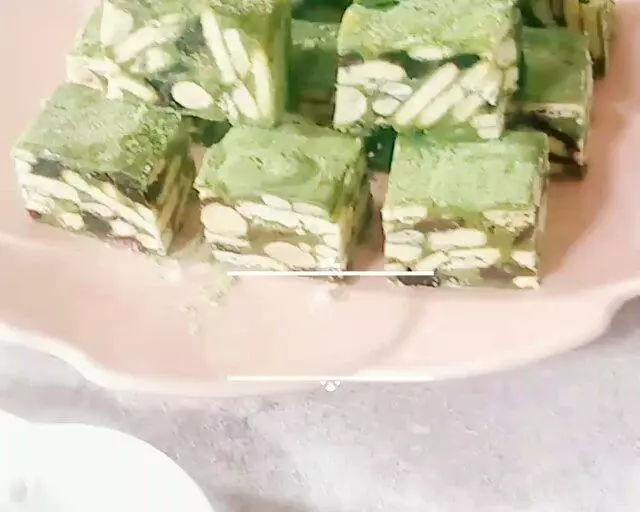
紫薯粉可以换成 抹茶粉或者可可粉,用量一样。原味的话,就是把奶粉的量调至45克即可。