原料
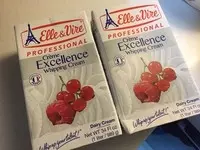
梵豪登黑巧克力幣 適量, 油紙 幾張, 戚風蛋糕胚 2個, 鐵塔奶油 2盒, 水果 適量
步驟
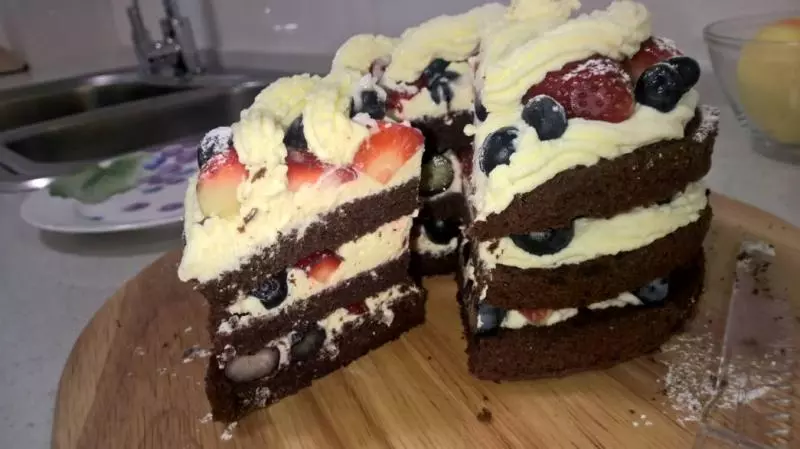
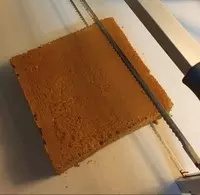
1蛋糕胚用分層刀分成幾片
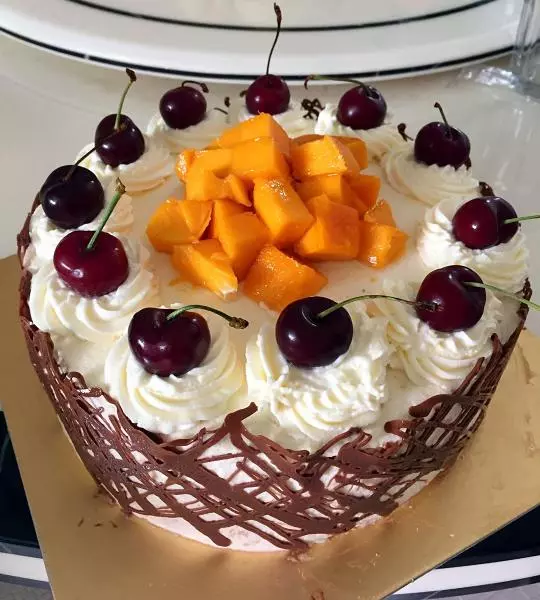
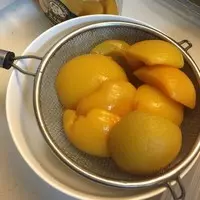
2黃桃罐頭濾去糖水
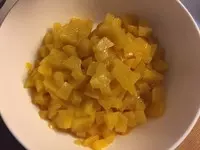
3黃桃切成小丁
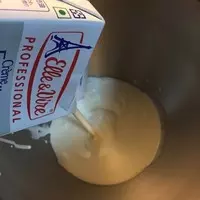
4準備好冷藏的奶油
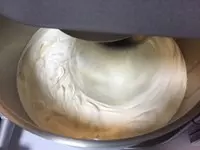
5奶油倒入廚師機
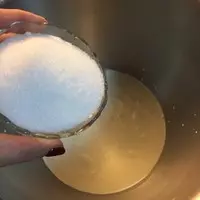
6鮮奶油按10:1加入砂糖
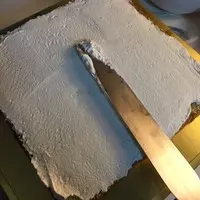
7開始打發奶油
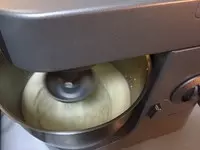
8奶油打發不要太過,出紋路帶尖角即可,堂媽總犯這種過頭的錯誤!
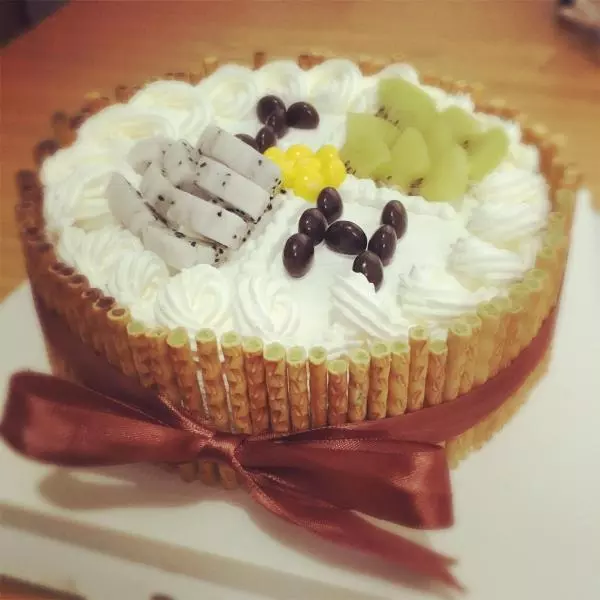
9抹面抹面
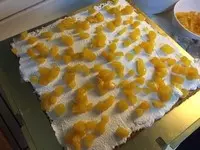
10加入黃桃丁
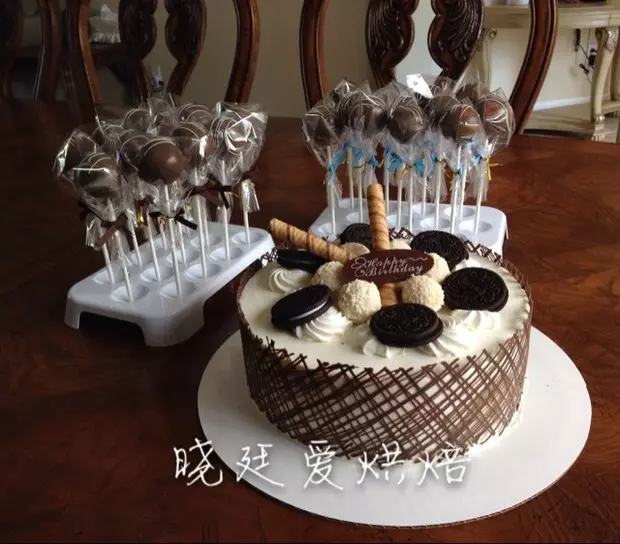
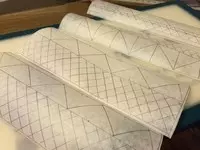
11量好蛋糕圍度和高度,設計好圖案

12準備好圖紙,烘焙紙是不錯的選擇,一定要用烘焙紙的正面,在反面畫用鉛筆繪畫藝術圖案。
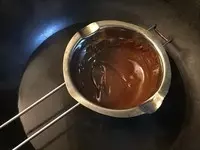
13巧克力幣隔水融化,倒入裱花袋,一定切記融化到無顆粒,否則堵裱花袋,那是相當痛苦滴!
14 直接把裱花袋剪個小孔,按照設計的圖案畫好油紙,全都做完就等它涼透
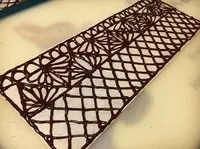
15設計不同的紋路
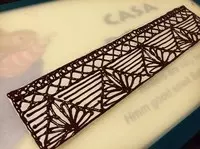
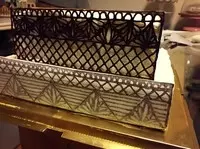
16等啊等啊等巧克力涼透
17不能太硬,硬了打彎,軟了圖案容易碎。做幾次小圖案實驗幾次吧!
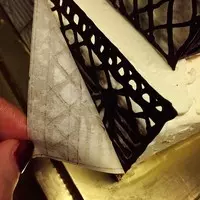
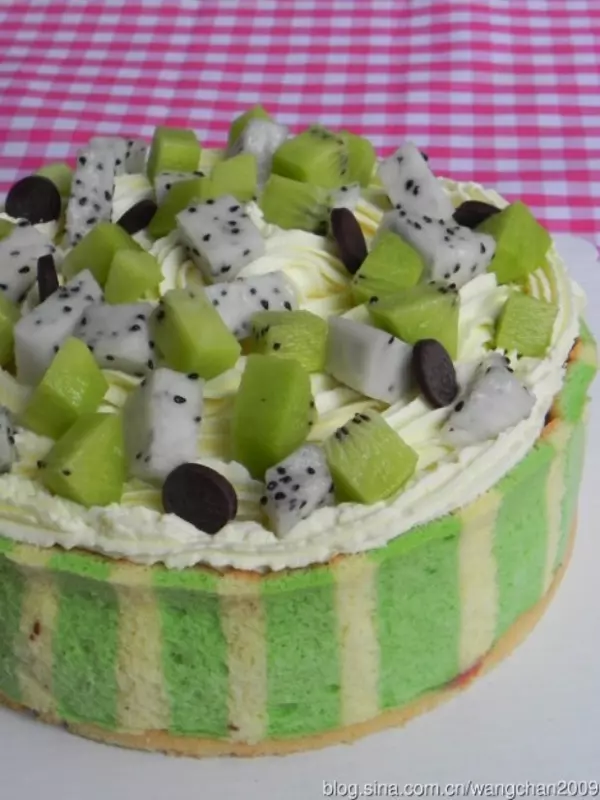
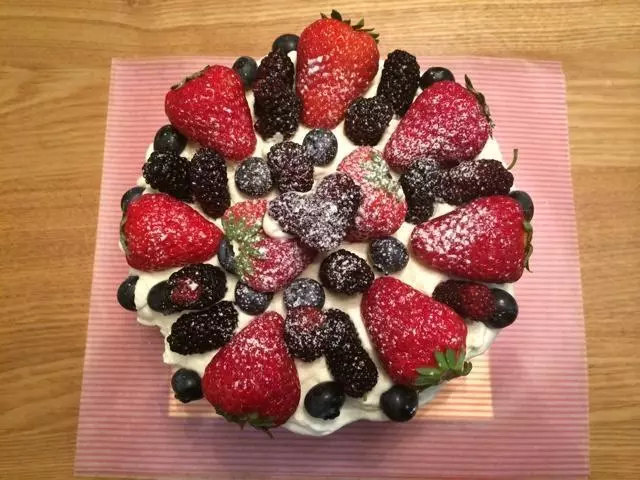
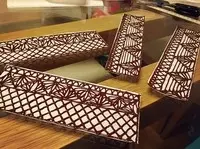
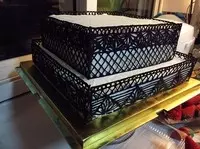
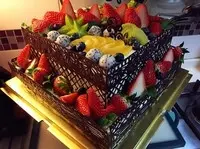
18晾乾的巧克力圍邊輕放倒蛋糕胚邊緣,按壓小心揭下烘焙紙即可!
19圍邊都做好很有成就感
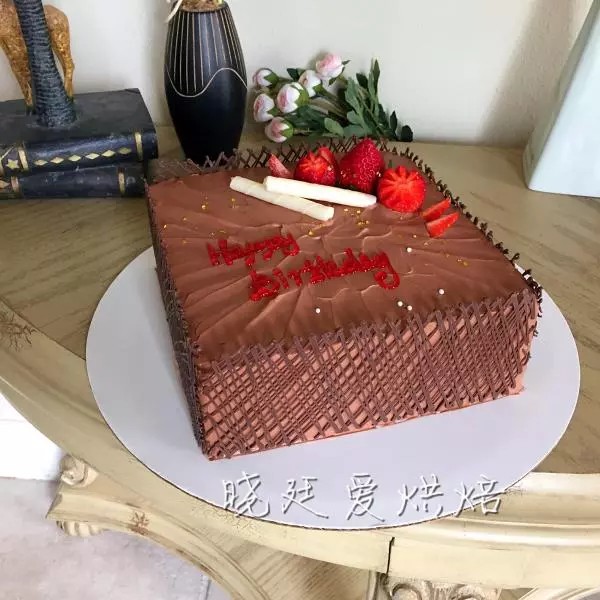
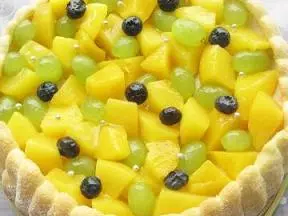
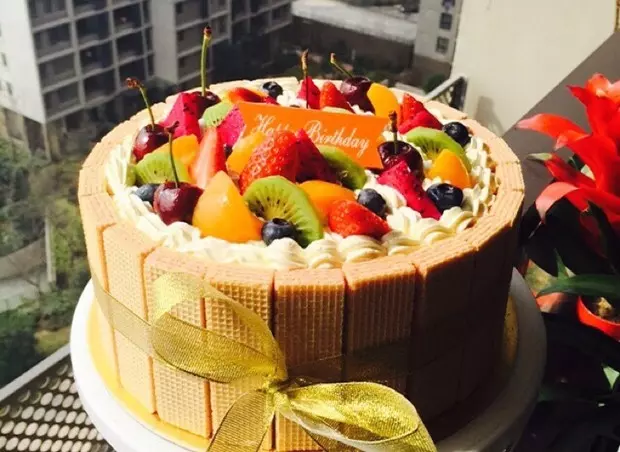
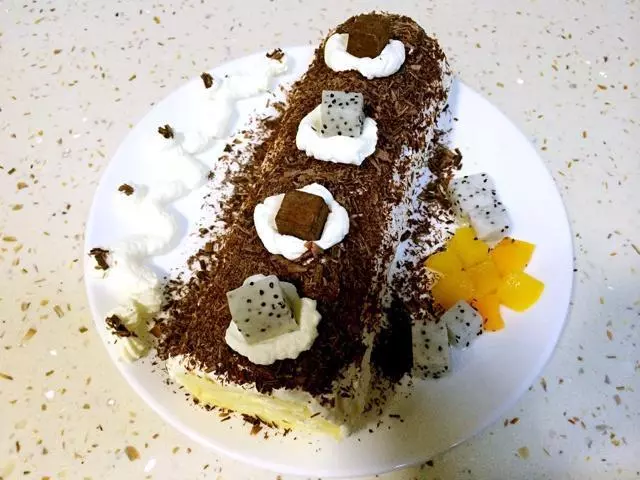
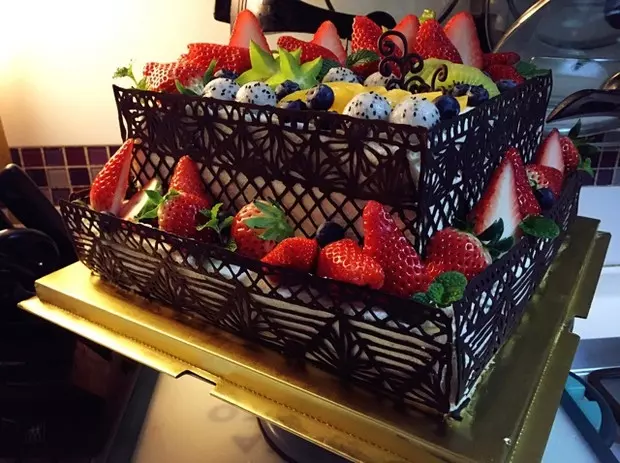
20開始裝飾水果
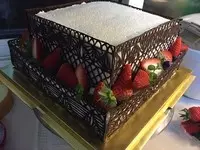
21裝飾水果是件技術活啊,位置不對就不美觀
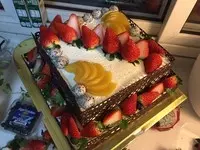
22完成!美麗的巧克力圍邊水果蛋糕
23很驚艷吧?
24打包送給小堂的同學們!

小技巧
不能太硬,硬了打彎,軟了圖案容易碎。做幾次小圖案實驗幾次吧!