原料
蛋黃: 3個, 蛋清: 3個, 低粉: 54G, 牛奶: 45G, 植物油: 35G, 細砂糖: 45G, 榴槤果肉泥: 15G, 牛油果: 50G
步驟
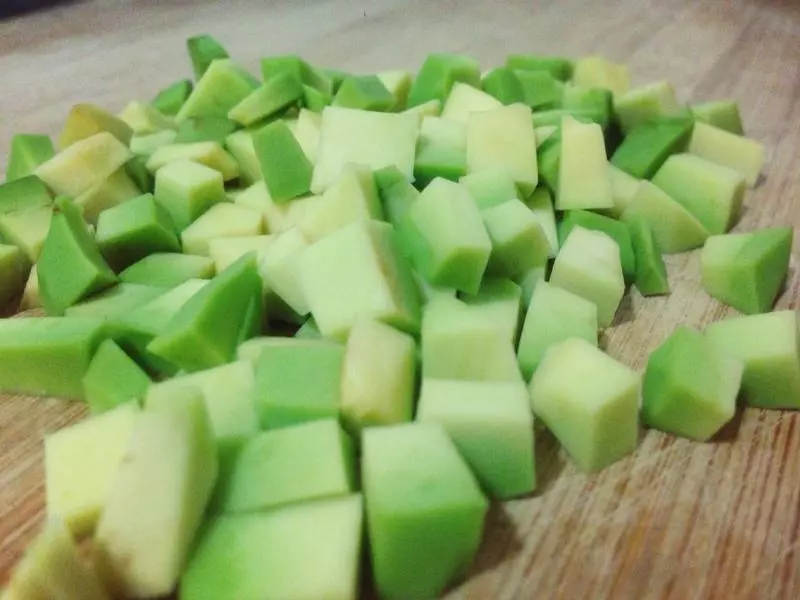
1各種材料稱好,牛油果切細粒
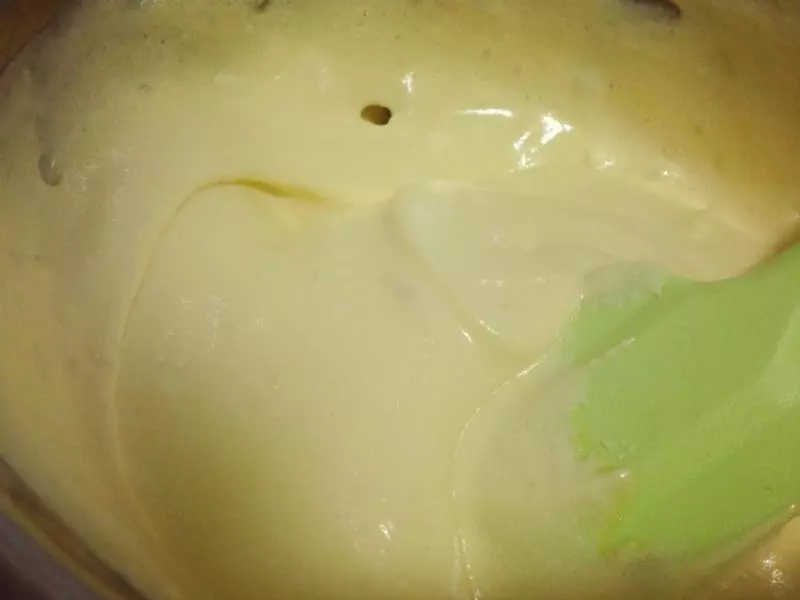
2蛋黃+牛奶+植物油+榴槤肉泥用電動打蛋器攪拌均勻。然後篩入低粉,先用刮刀拌,然後用打蛋器低速攪拌兩分鐘即可成光滑的蛋黃糊狀。
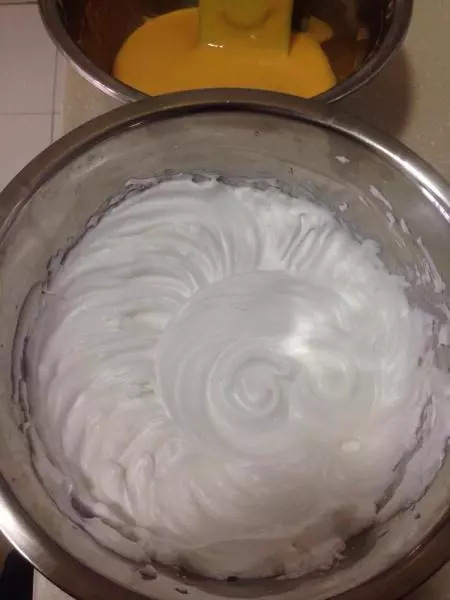
3細砂糖分三次加入蛋清,用電動打蛋器打至乾性發泡。
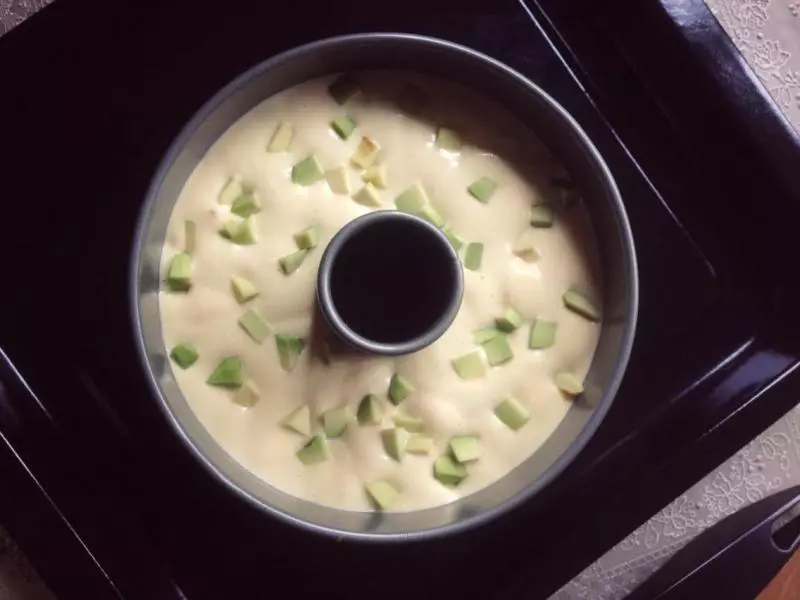
4就是普通戚風的方式,蛋黃糊和蛋白糊翻拌均勻,倒入模具。記得:蛋糊倒了一半時先撒一層牛油果粒。然後蛋糊倒完後再撒剩下的牛油果粒。
5烤箱當然是先預熱過的。我的烤箱是170度烤40分鐘。
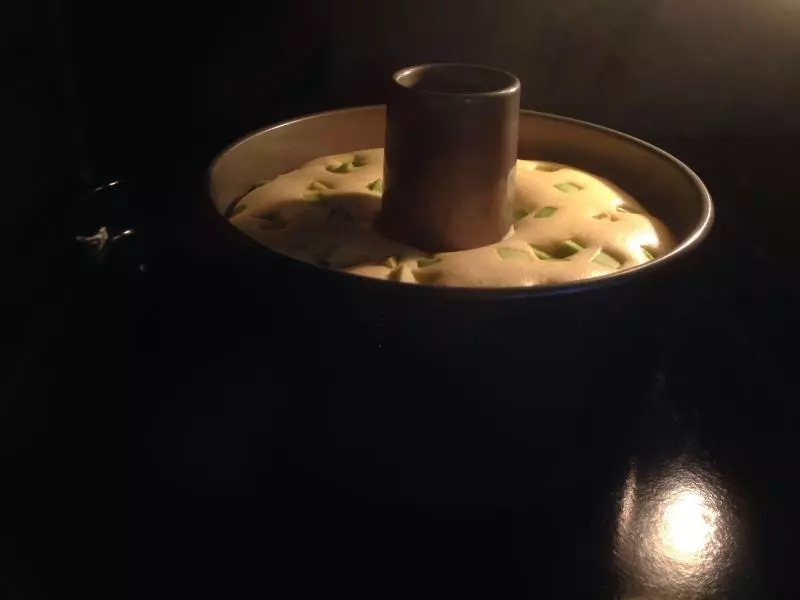
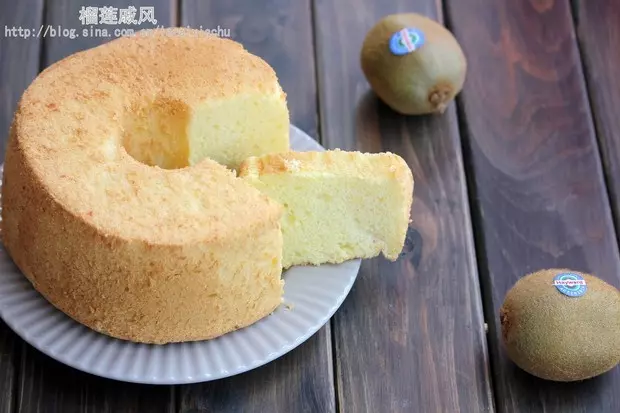
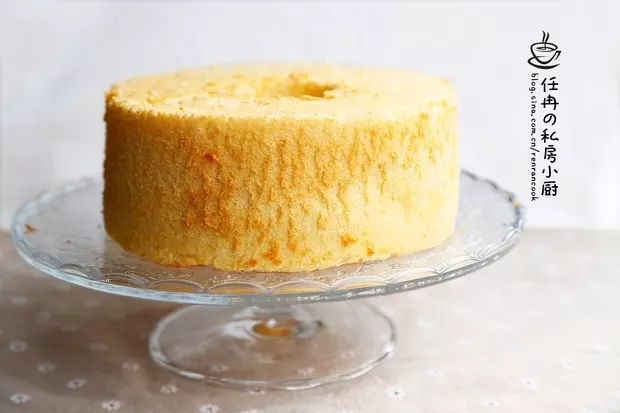
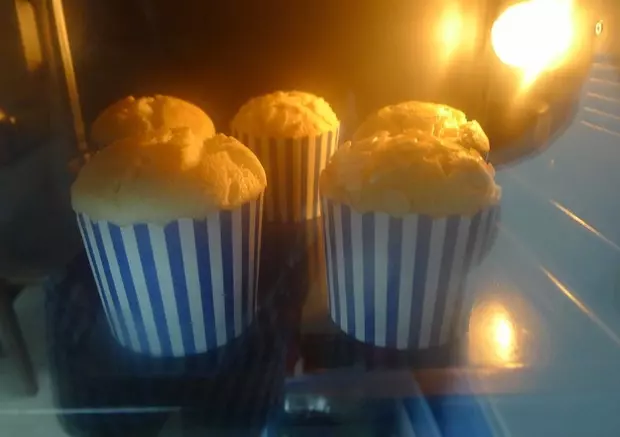
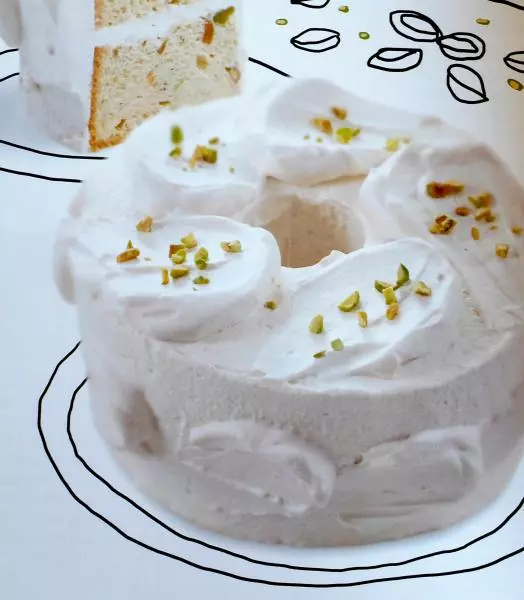
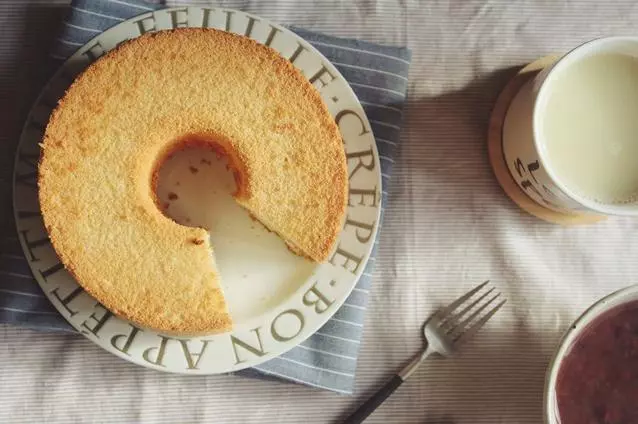
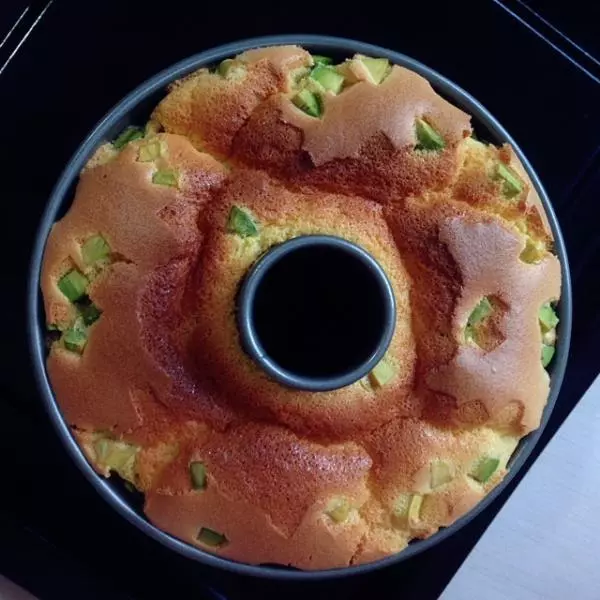
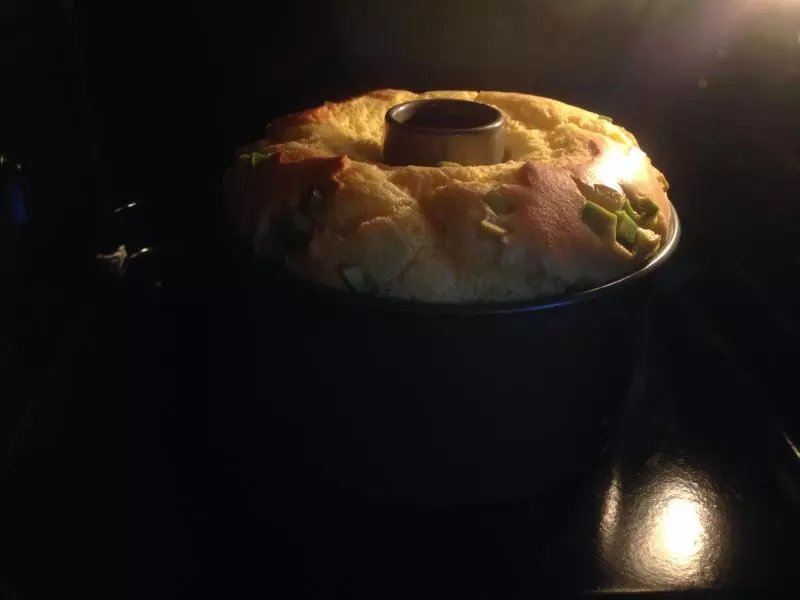
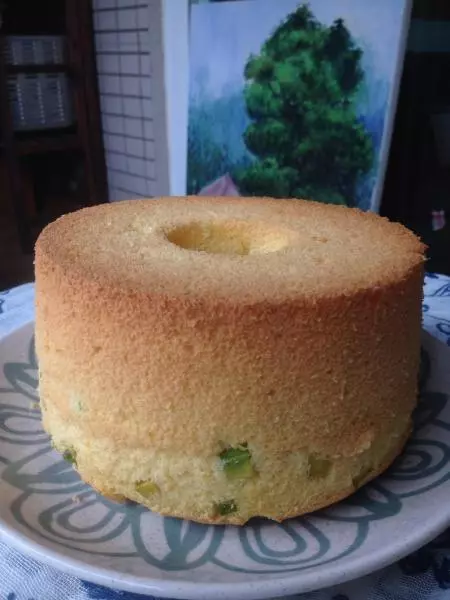
6最喜歡看中空模的戚風在烤箱裡慢慢膨脹的樣子……
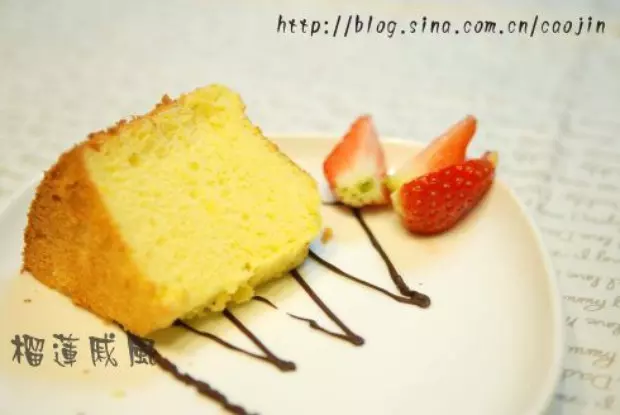
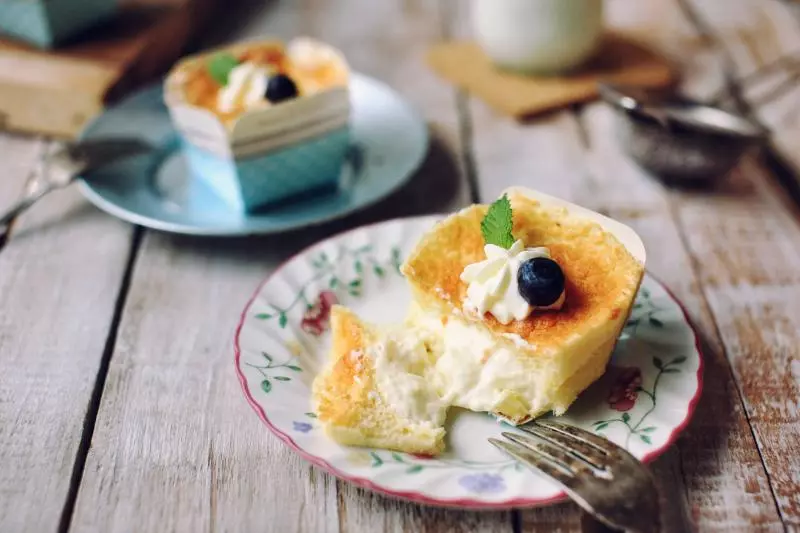
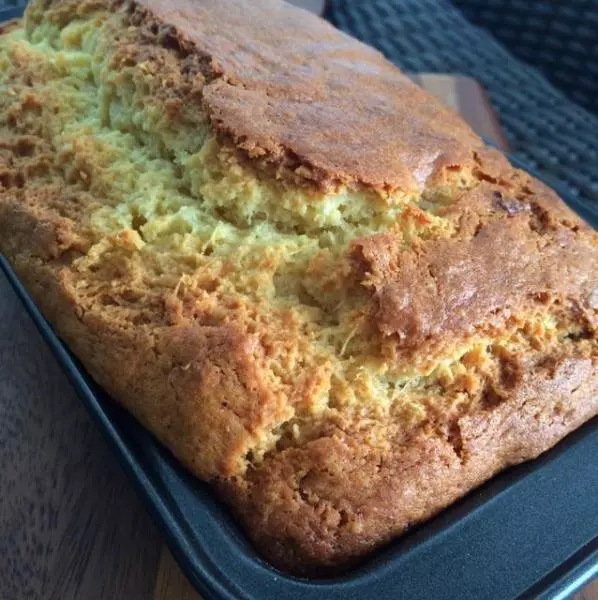
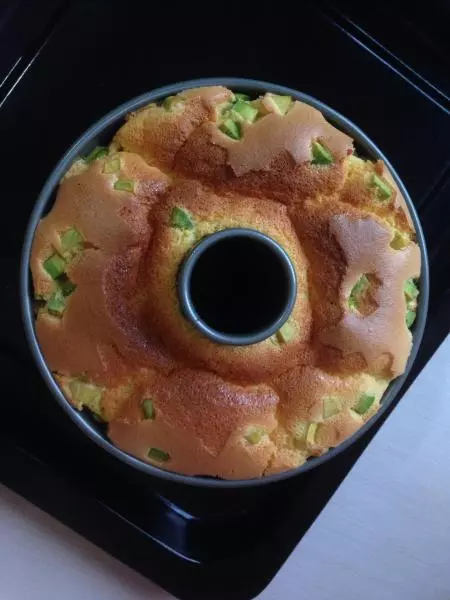
7這個……頭面,真的很漂亮
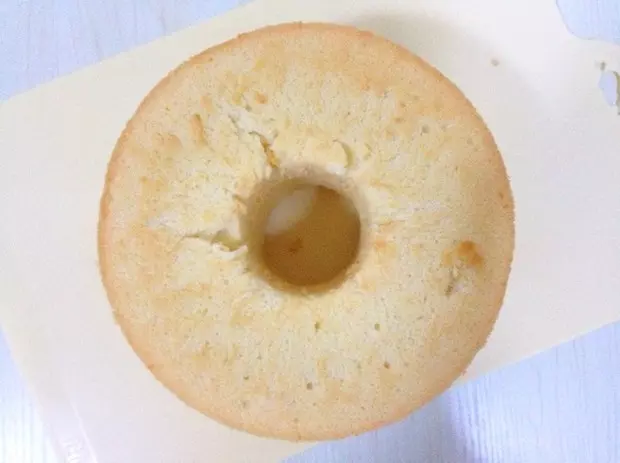
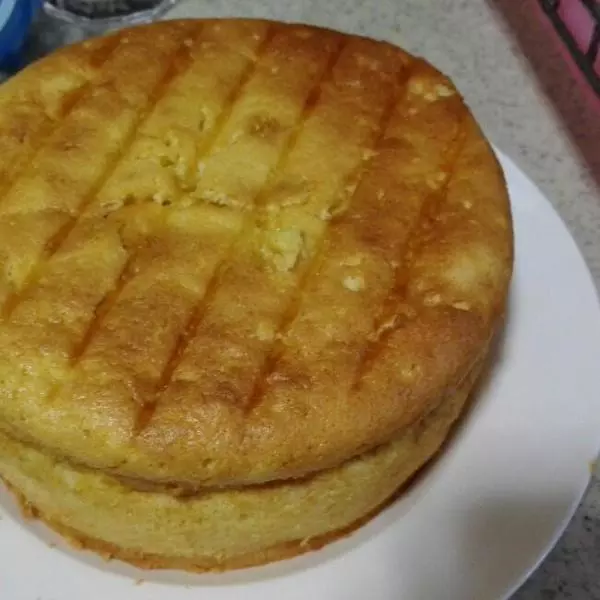
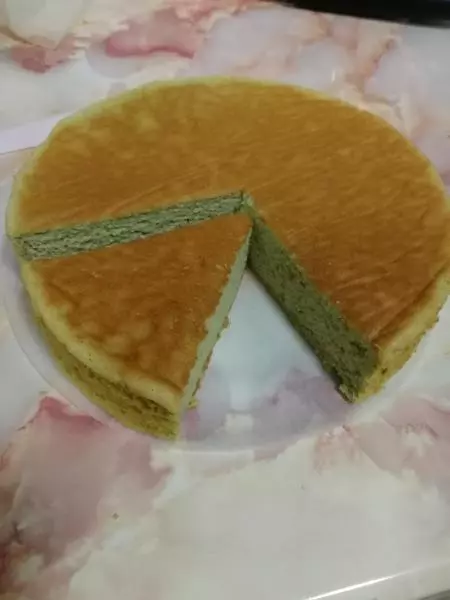
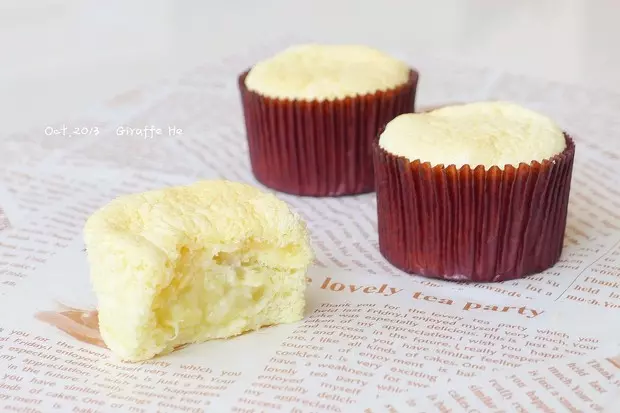
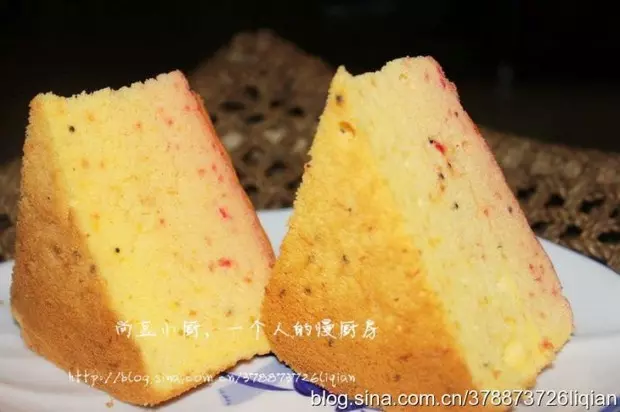
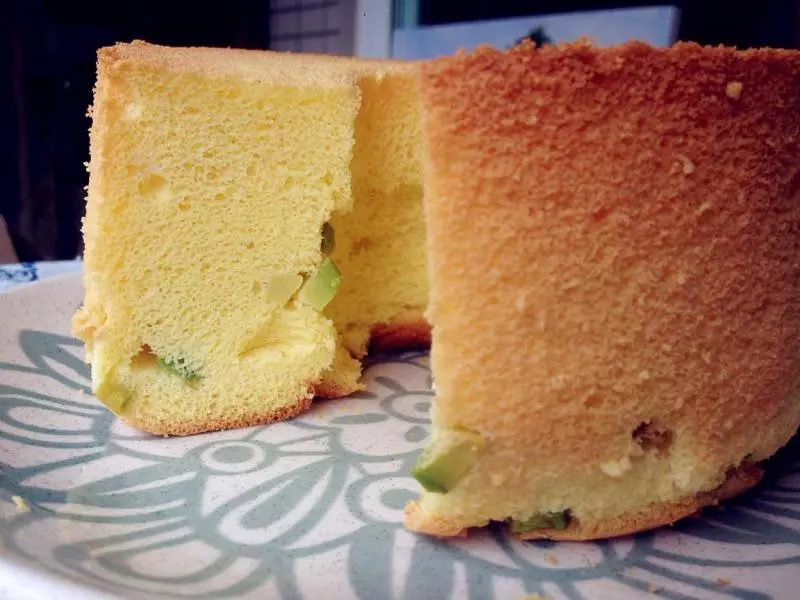
8底面還是好,就是普通戚風的模樣。
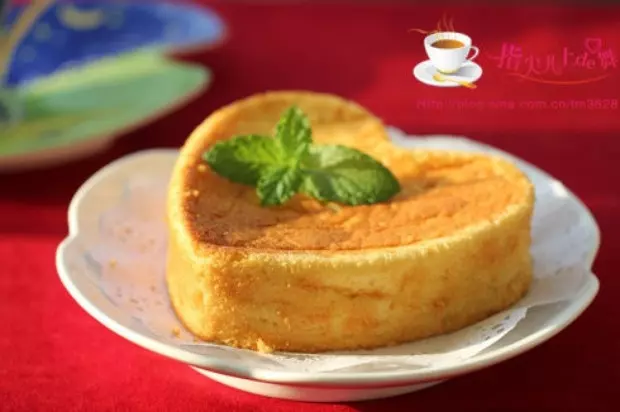
9好吃好吃好吃好吃……一百遍
小技巧
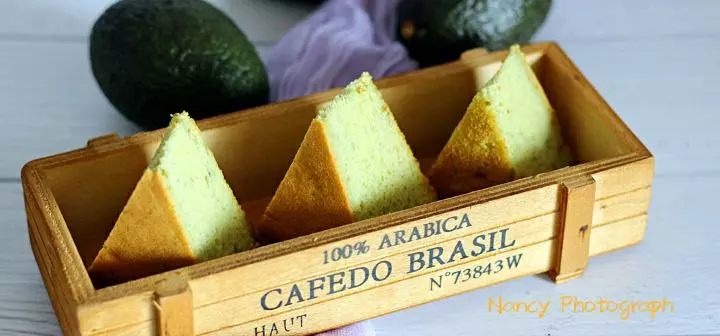
我用的牛油果是比較生的,這樣切起粒來乾淨利落,烤後不會化泥,很成型,吃起來又是粉粉的,真不錯。如果是用熟透了的牛油果,估計就得打成泥拌在蛋黃糊里了吧,而且我猜烤後顏色不會是翠綠的,嗯,一定不會……