原料
酵頭: , 金像高金麵粉: 150克, 雞蛋: 一個, 奶粉和水混合液: 55克, 耐高糖酵母: 2克, 主麵糰: , 金像高筋麵粉: 150克, 細砂糖: 60克, 鹽: 3克, 耐高糖酵母: 2克, 奶粉: 15克, 南瓜泥: 125克, 黃油: 30克, 餡料和裝飾: , 自製蜜豆: 一碗, 南瓜子: 一把, 玉米油: 少量
步驟
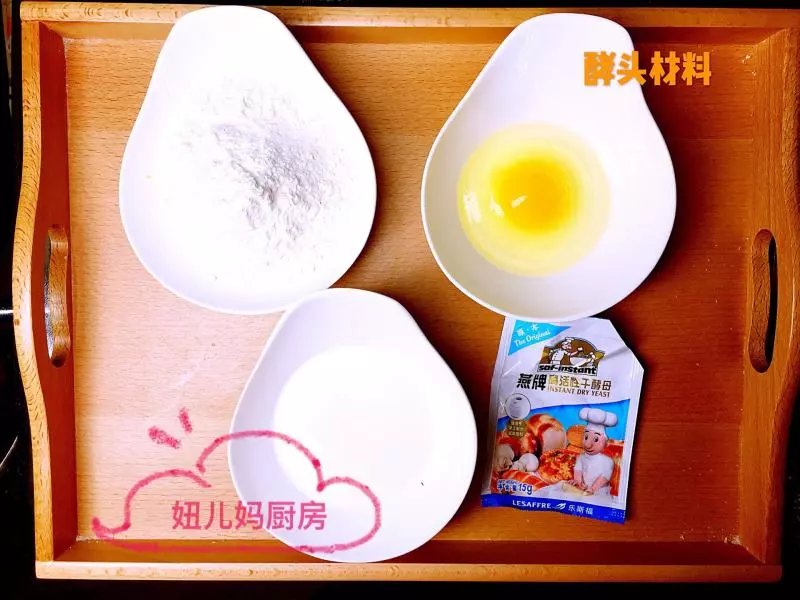
1準備酵頭材料
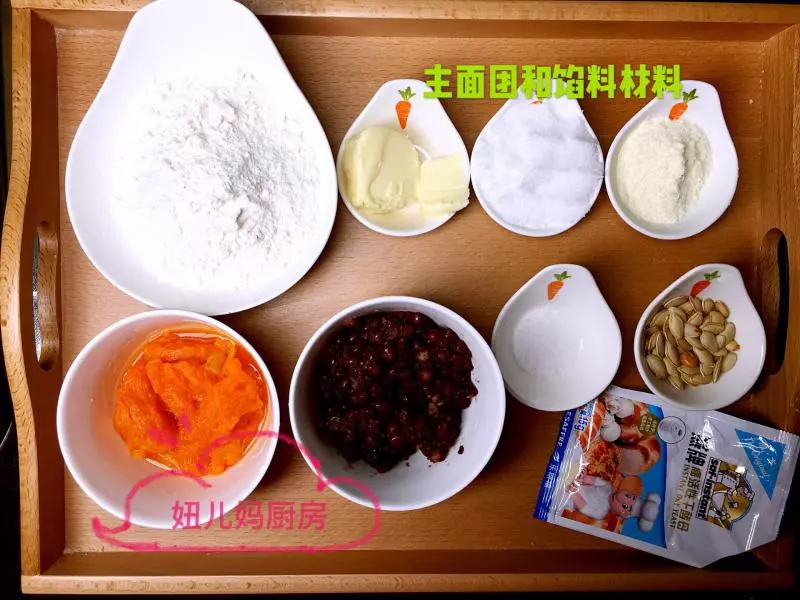
2準備主麵糰材料

3蜜豆和南瓜籽
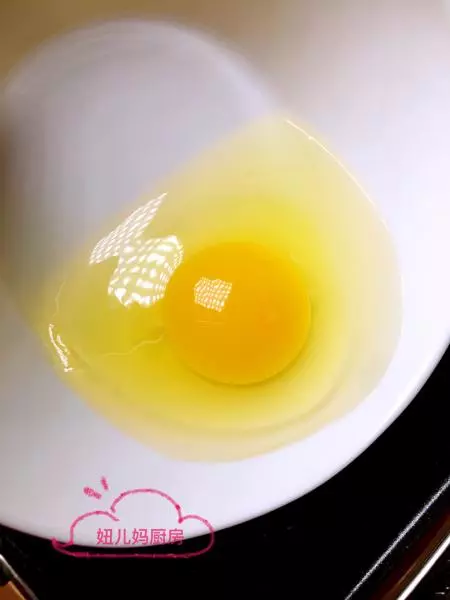
4麵包機加入雞蛋
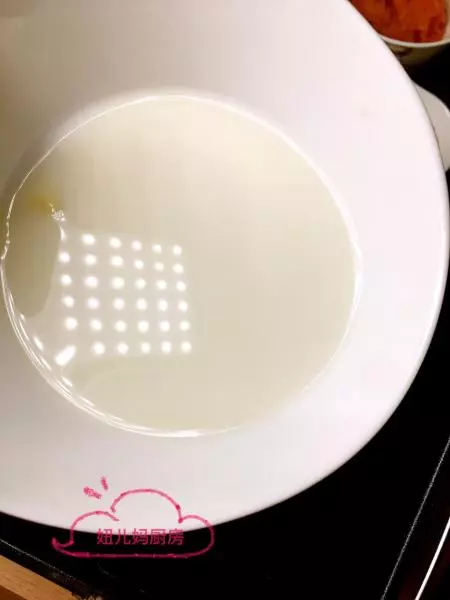
5加入奶粉混合液
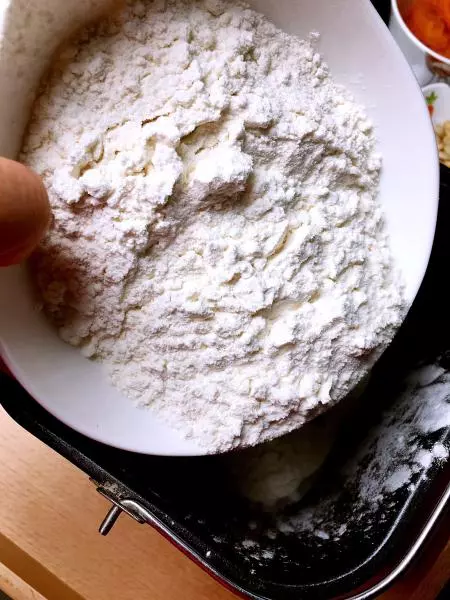
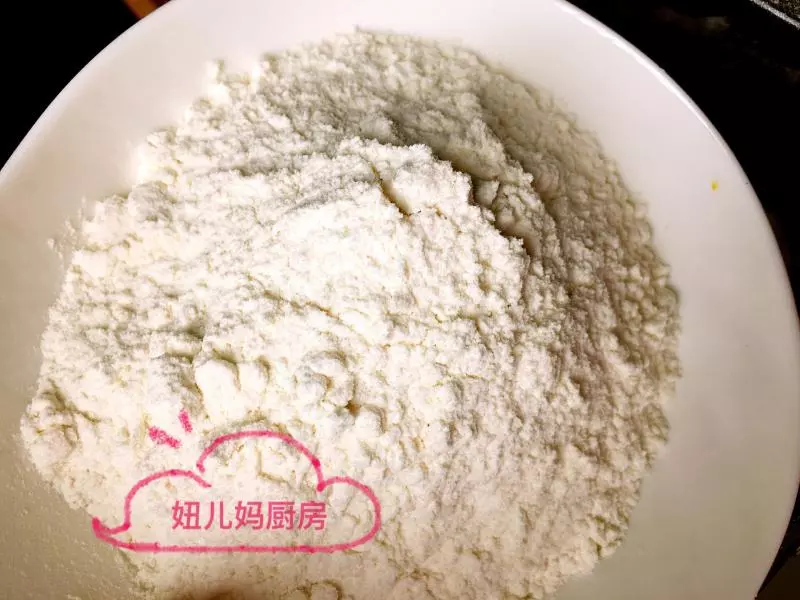
6加入高筋粉
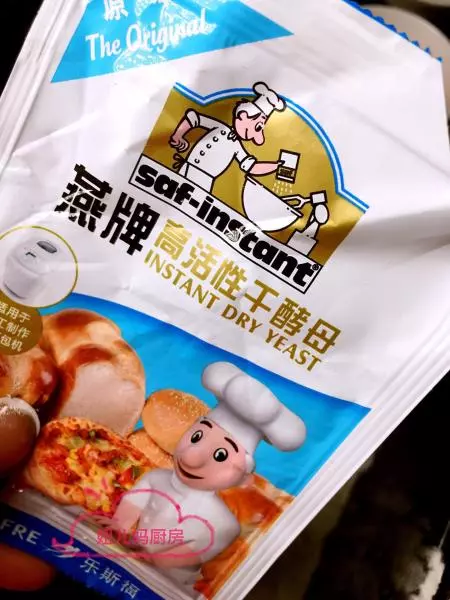
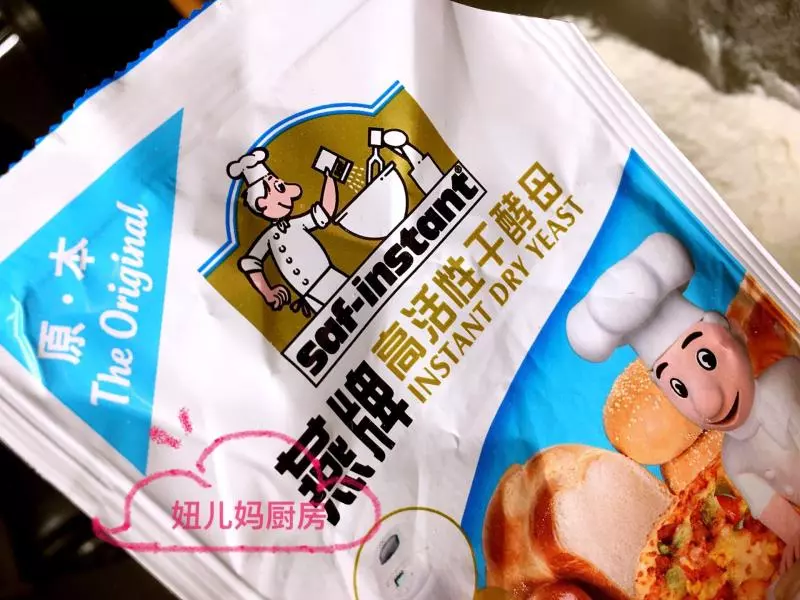
7麵粉中間戳一個洞洞放酵母
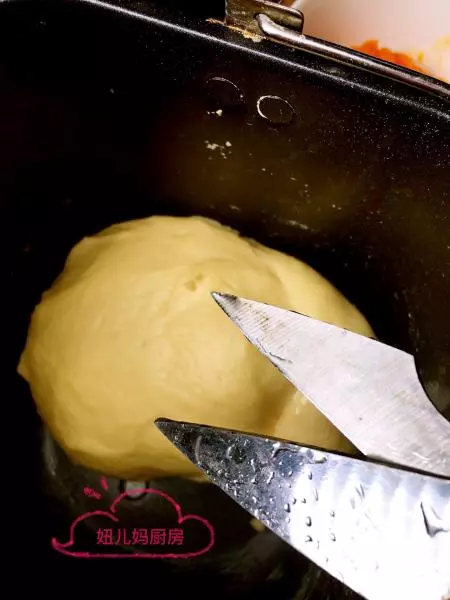
8按發酵鍵,發酵好後,用廚房剪刀剪一塊一塊的面塊
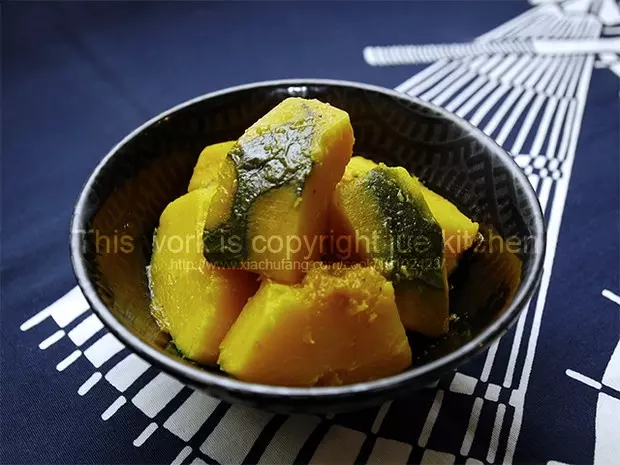
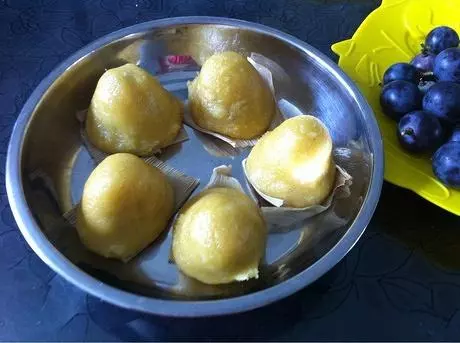
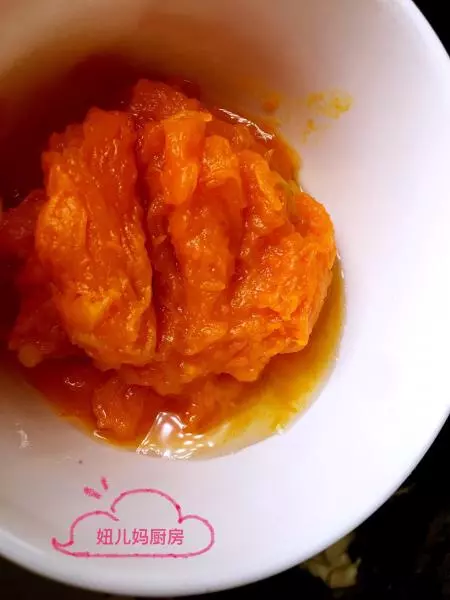
9加主麵糰材料,加入涼涼的南瓜泥
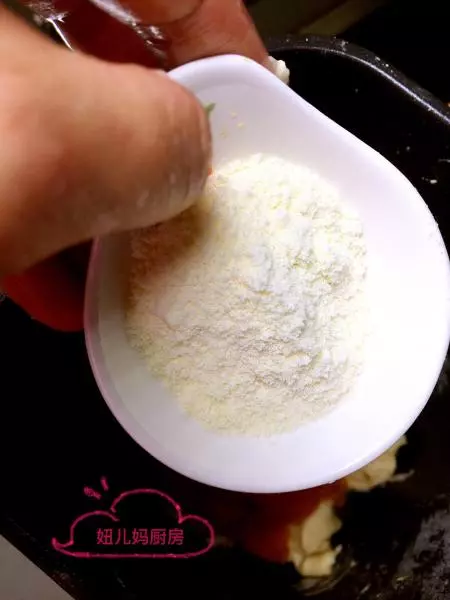
10加奶粉
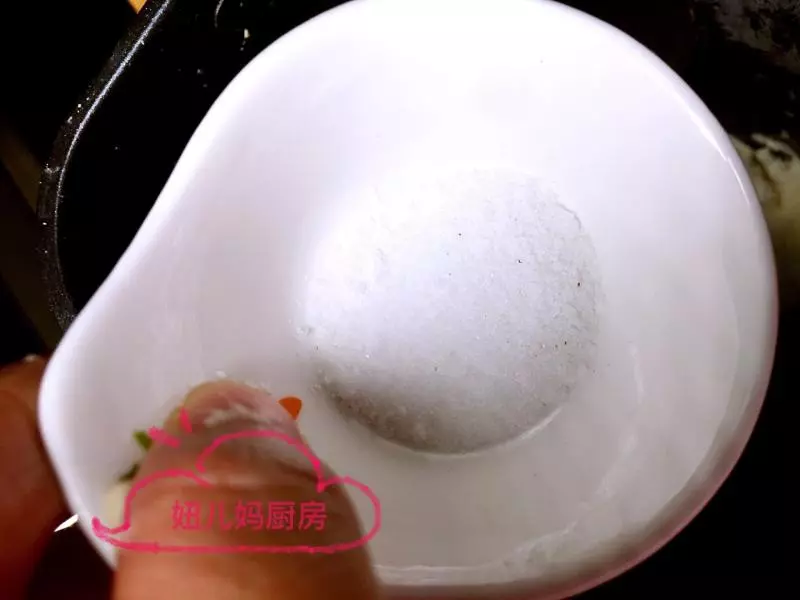
11加鹽
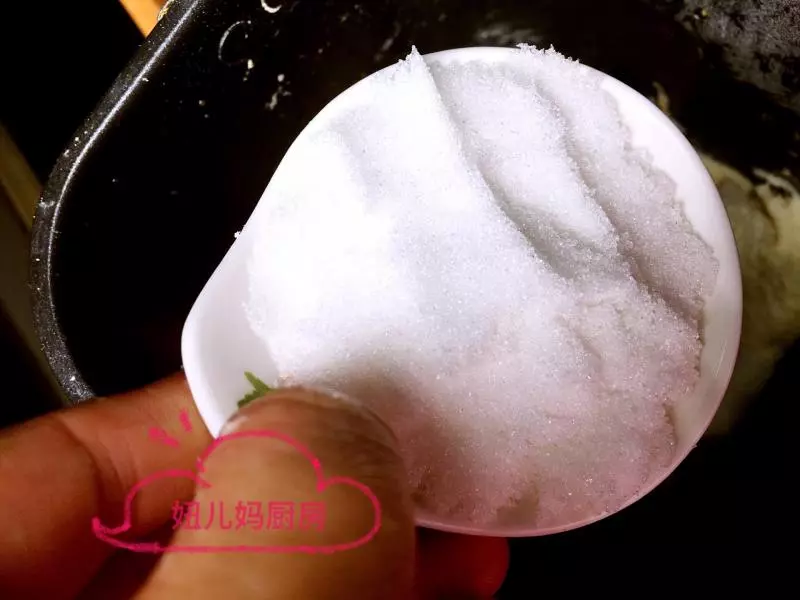
12白糖
13加高筋粉
14放酵母,然後揉面功能15分鐘
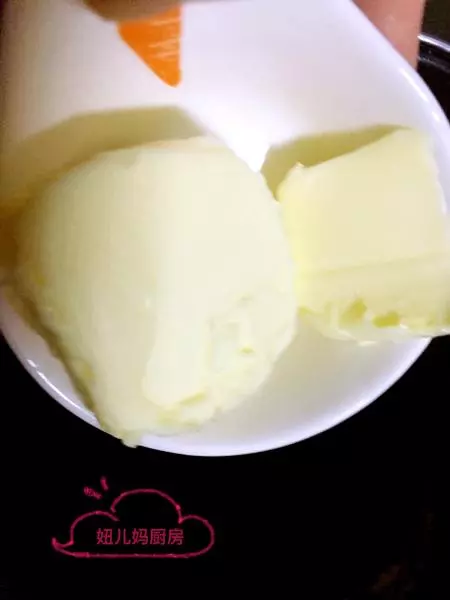
15揉好後加入黃油,再一次揉面功能15分鐘
16取出麵糰
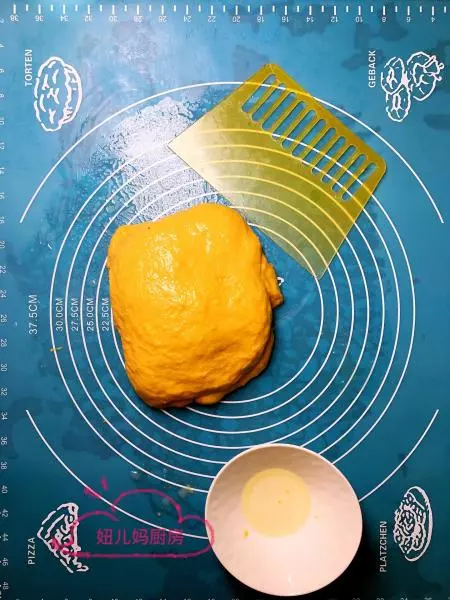
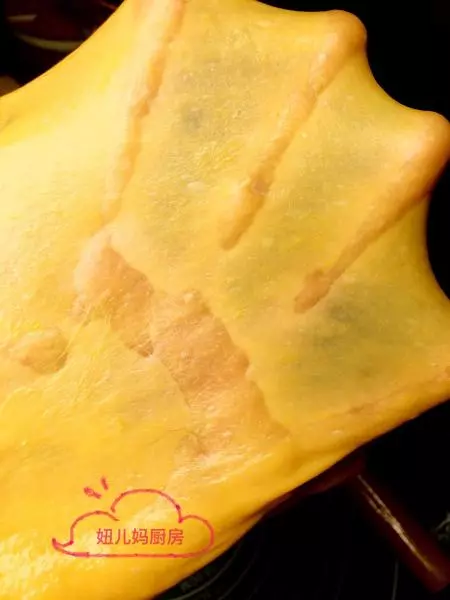
17再揉一會兒,揉出手套膜,這個過程手可以沾一些玉米油,可以加速手套膜形成
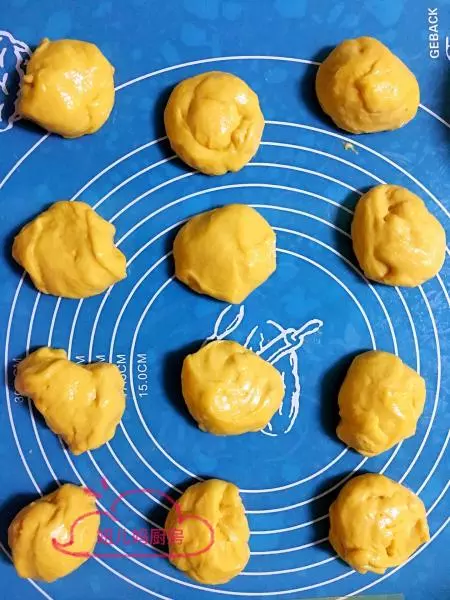
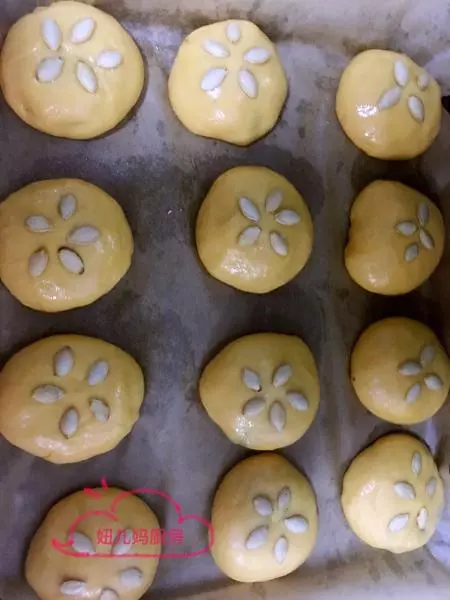
18分成50克的麵糰12份
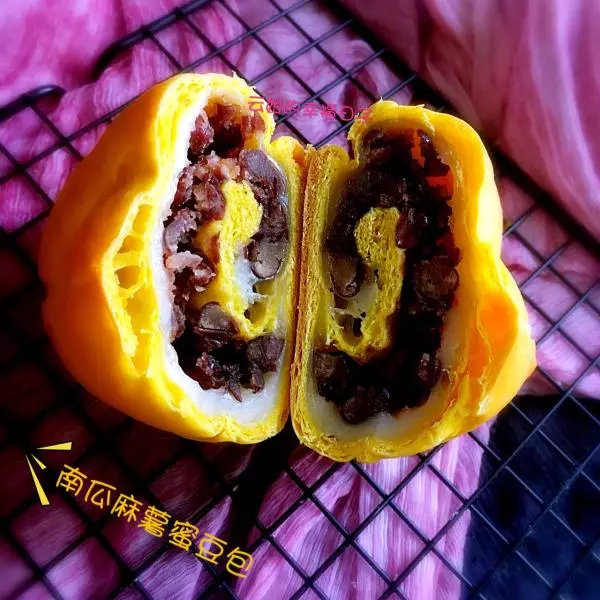
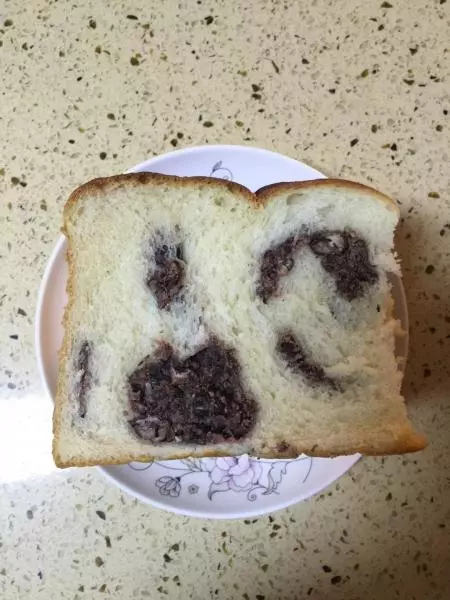
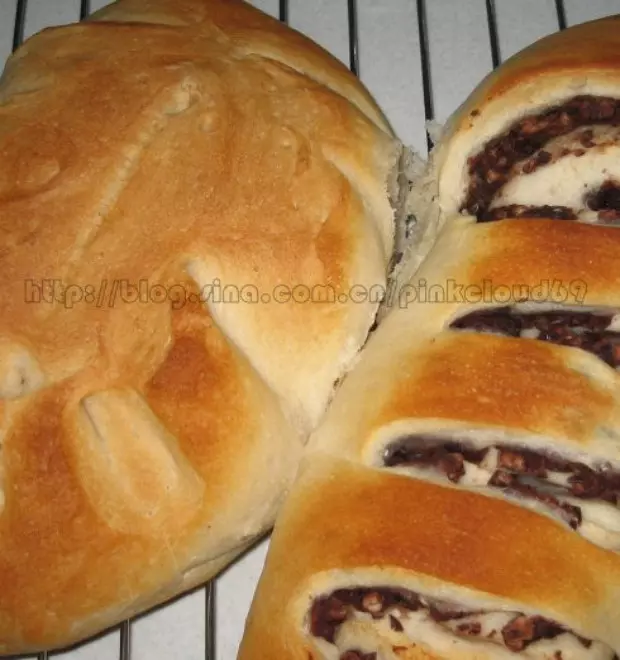
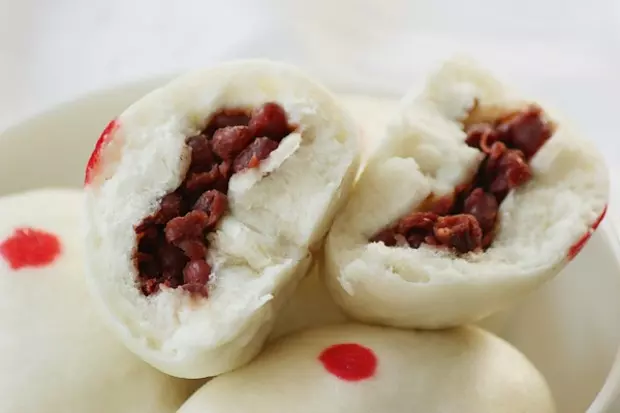
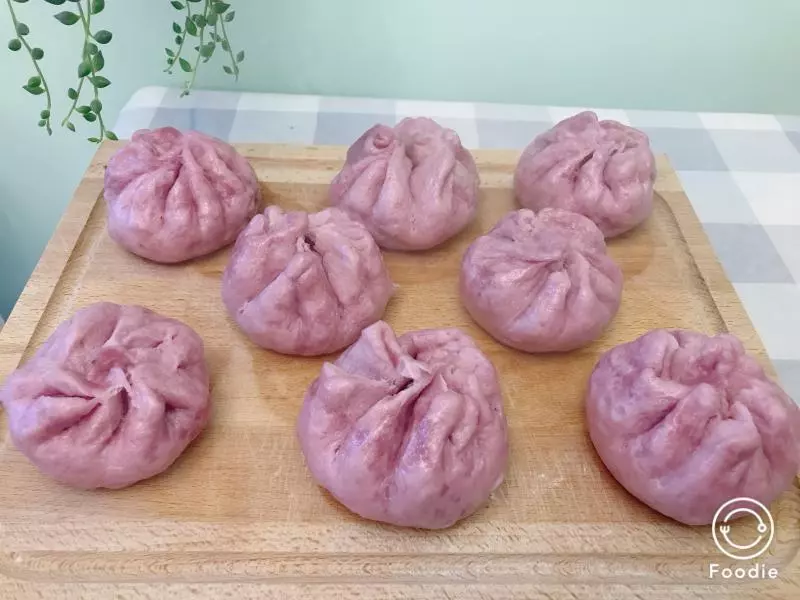
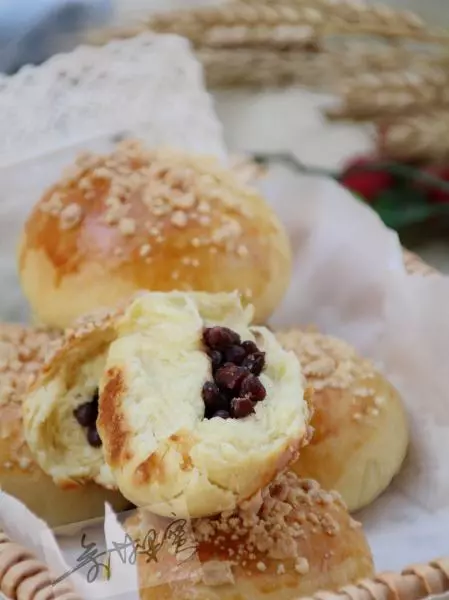
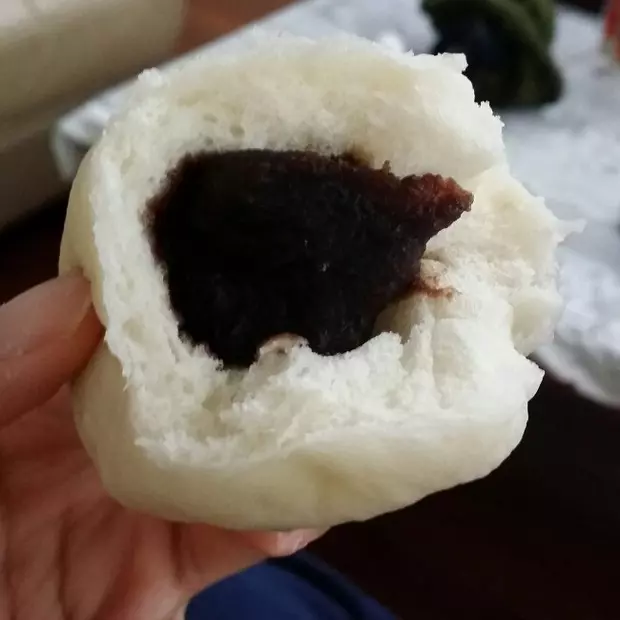
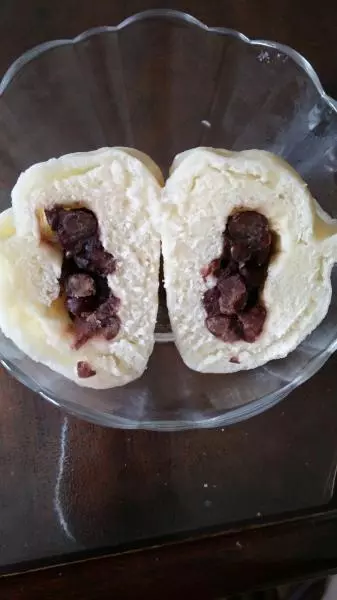
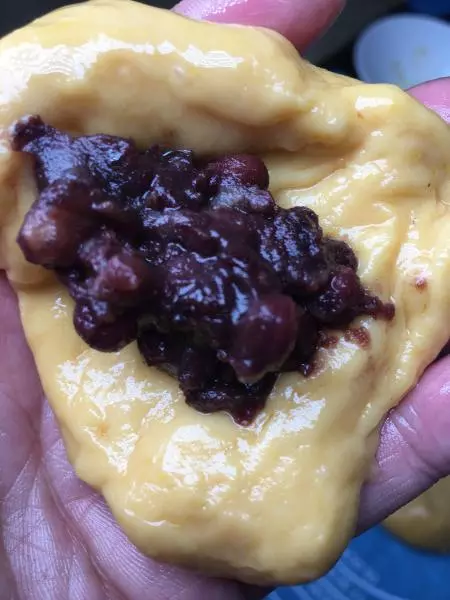
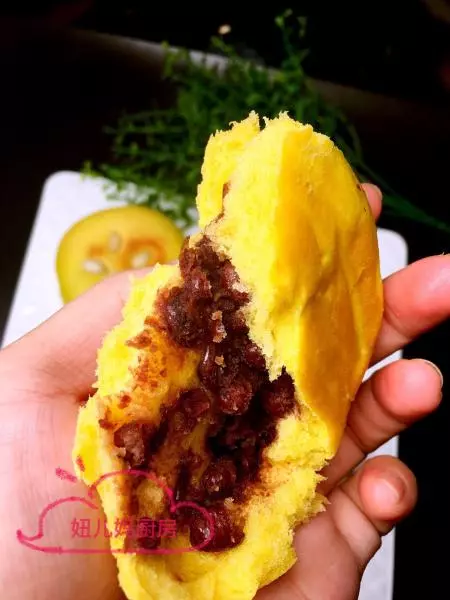
19包上蜜豆
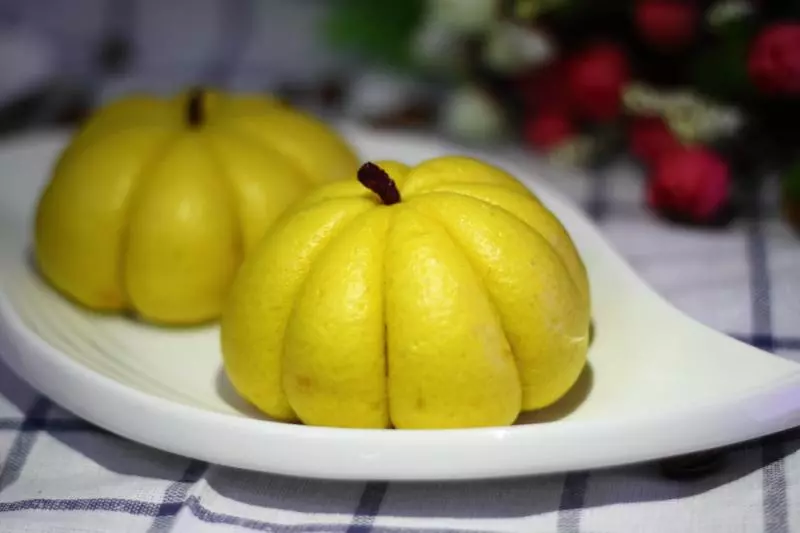
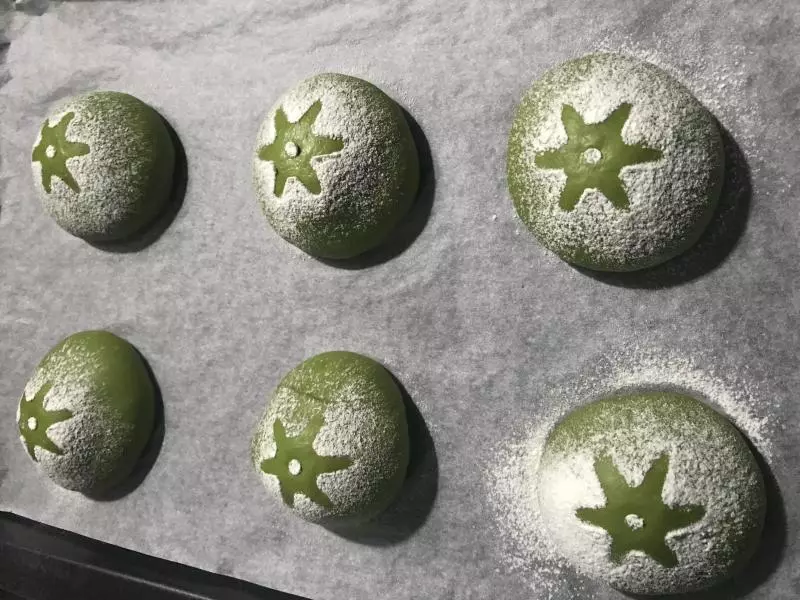
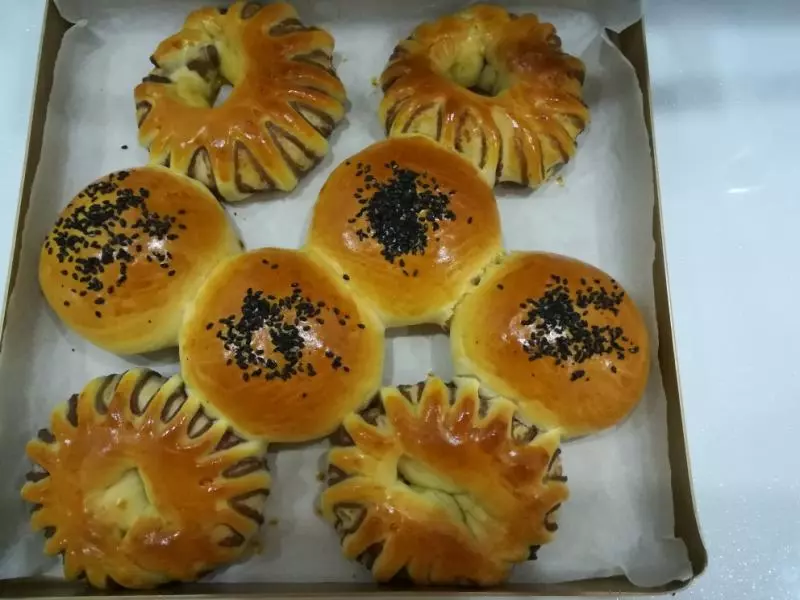
20用南瓜籽點綴一下,我懶沒有扒皮
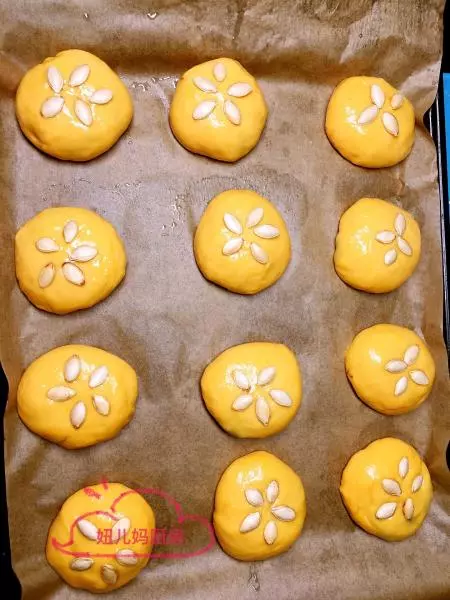
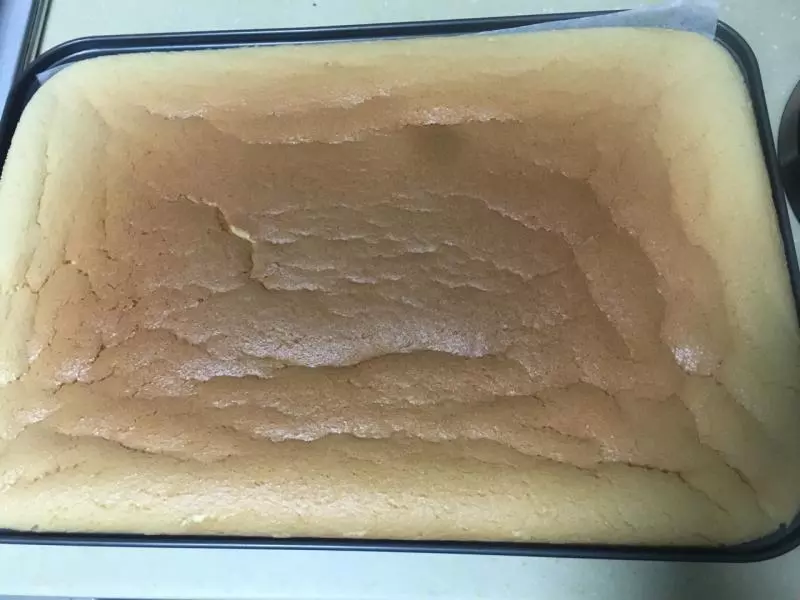
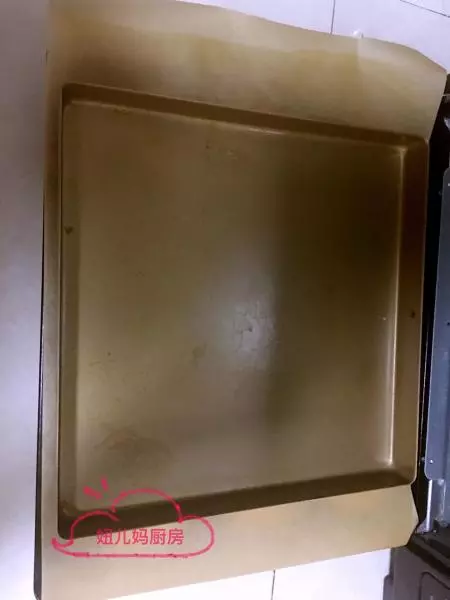
21放入烤箱二次發酵,可以在烤箱內放一碗開水,加速發酵速度
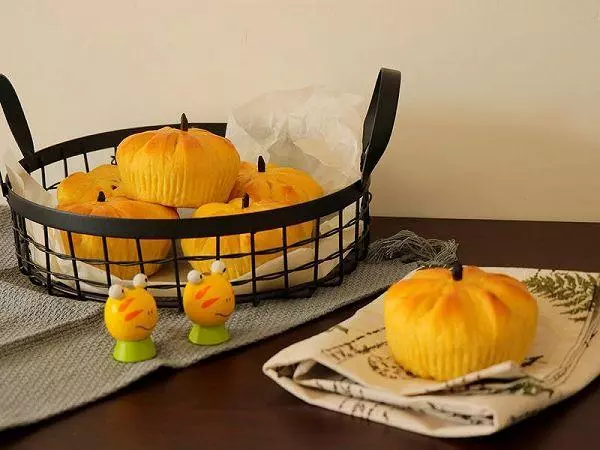
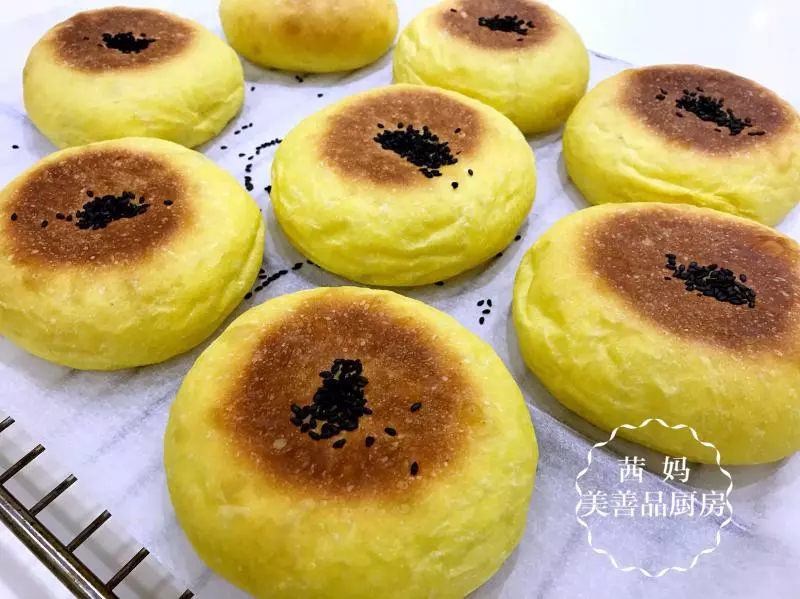
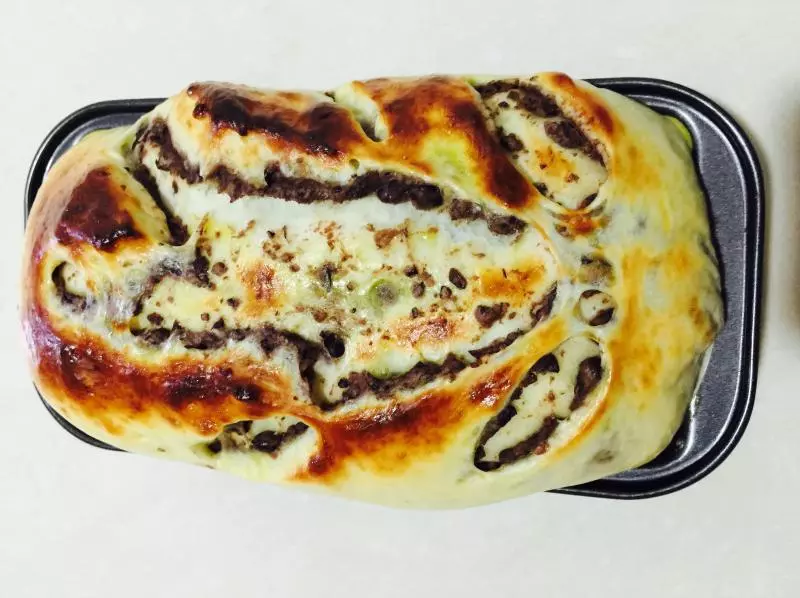
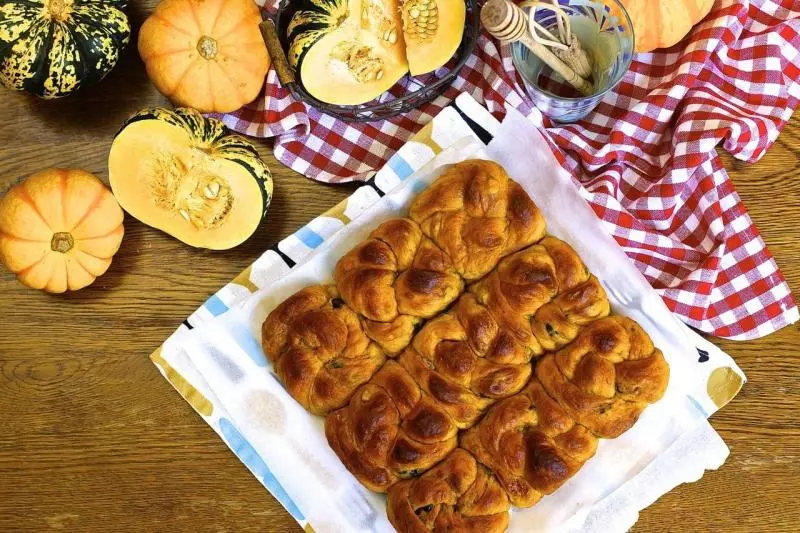
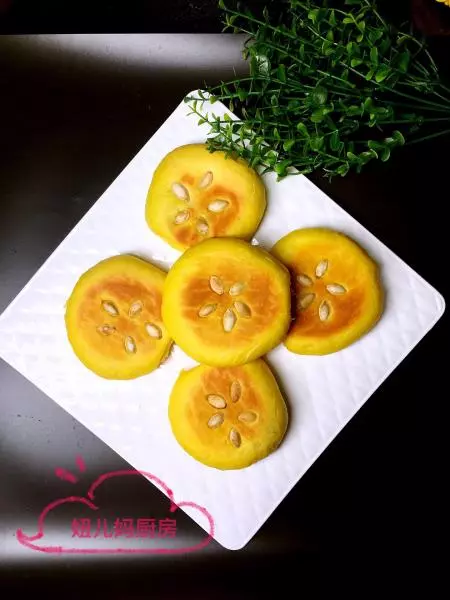
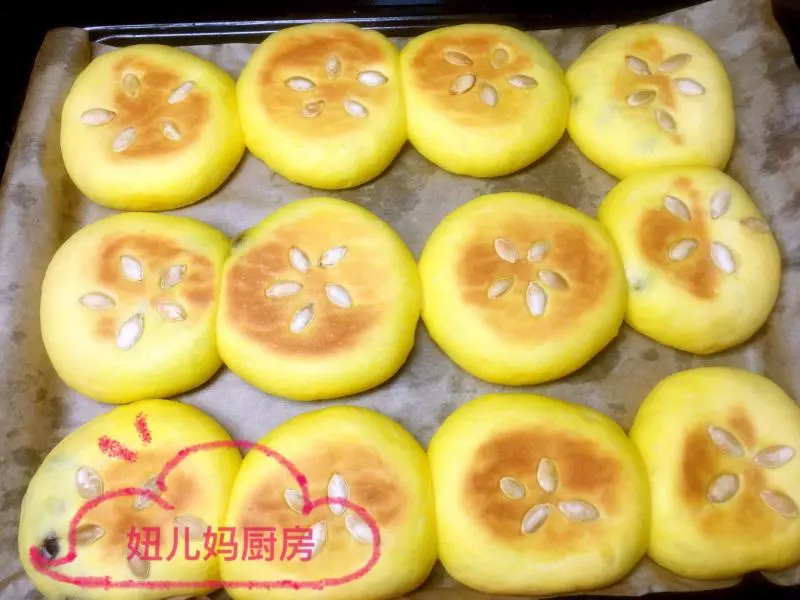
22在發酵好的麵糰上放一張油紙,然後壓上一個烤盤,上下火中層170度,烤20分鐘
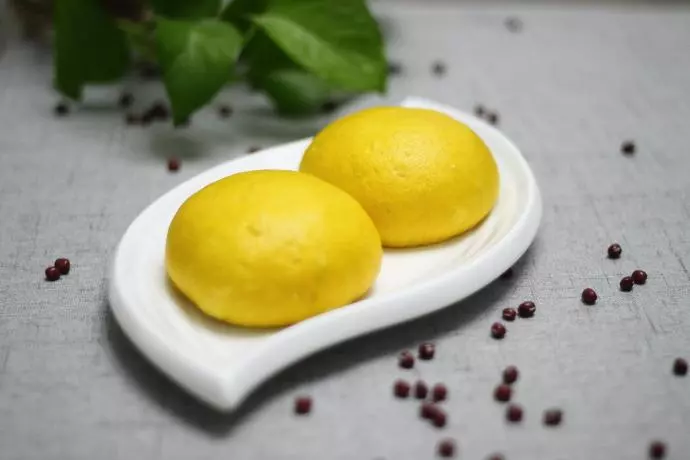
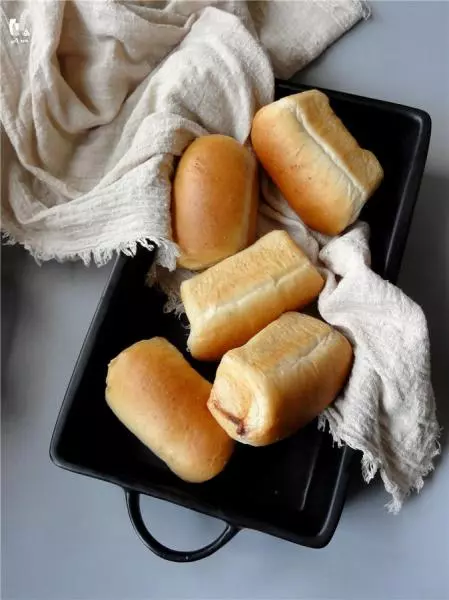
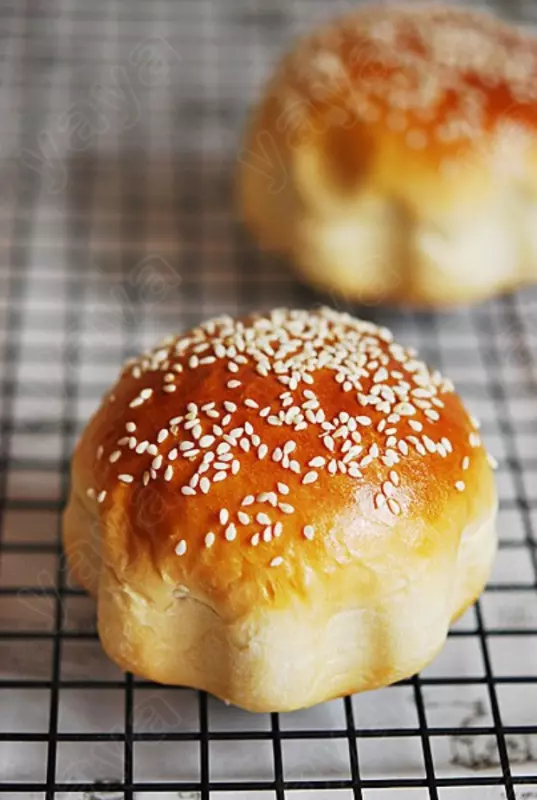
23各個都是小胖子
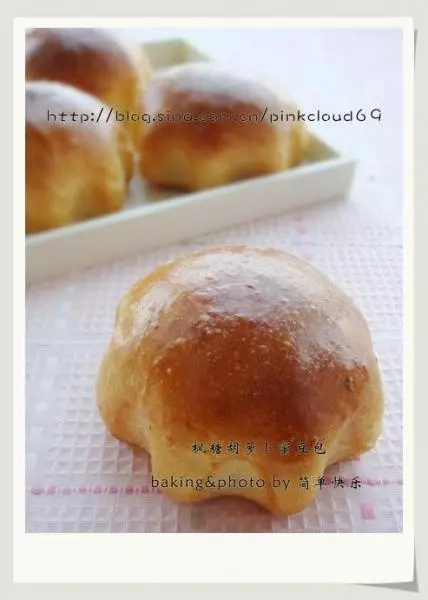
24完成
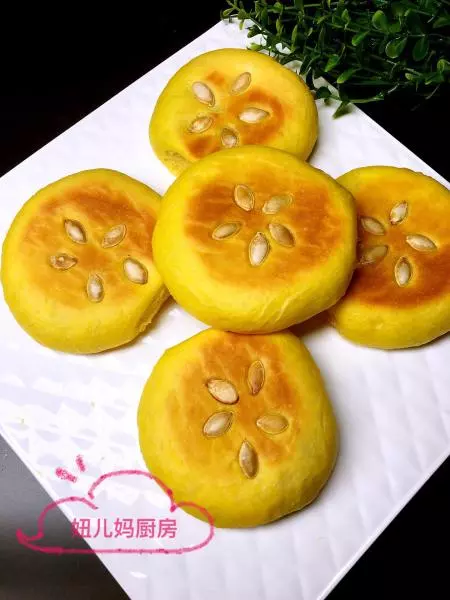
25蜜豆
小技巧
烤箱看自己家烤箱的脾氣