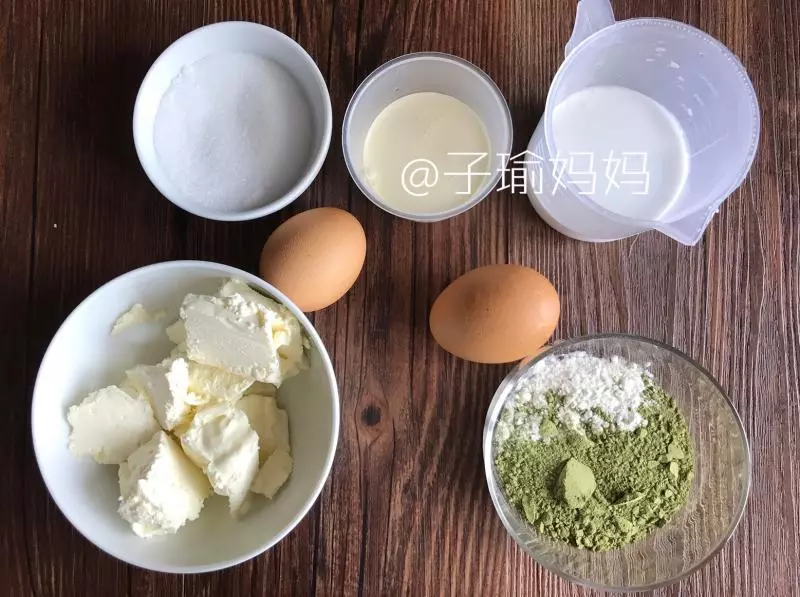
原料
抹茶: 10克, 奶油奶酪: 125克, 奶油: 50克, 牛奶: 50克, 蛋黃: 40克, 檸檬汁: 幾滴, 低筋麵粉: 20克, 細砂糖: 40克, 蛋白60克:
步驟
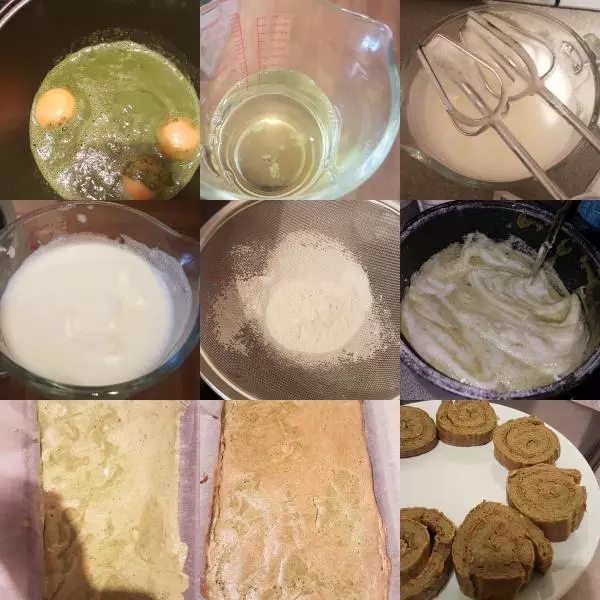
1奶油奶酪125克,牛奶50克,奶油50克,糖40克,蛋黃40克,蛋白60克,檸檬汁幾滴,低粉20克,抹茶粉10克
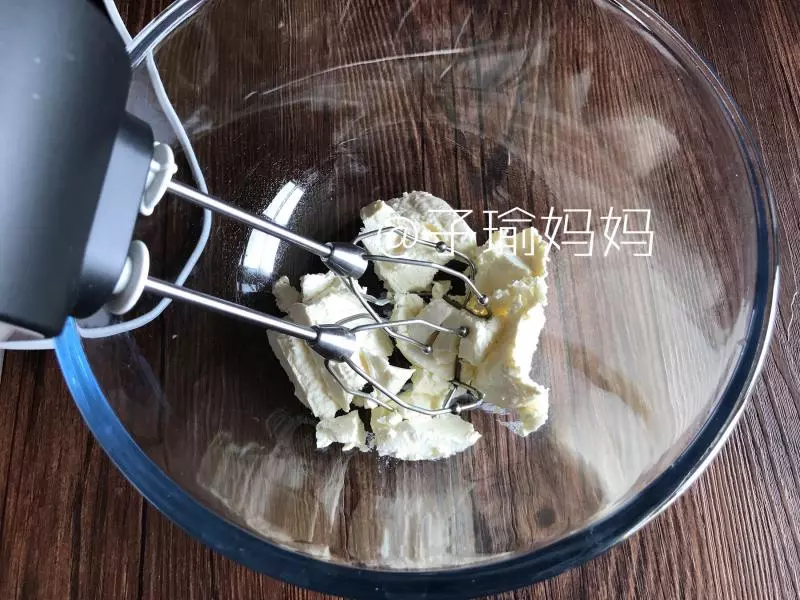
2奶油奶酪室溫軟化,要軟軟的哦,攪打1分鐘;
3加入牛奶和奶油(都要放置常溫後再使用哦)
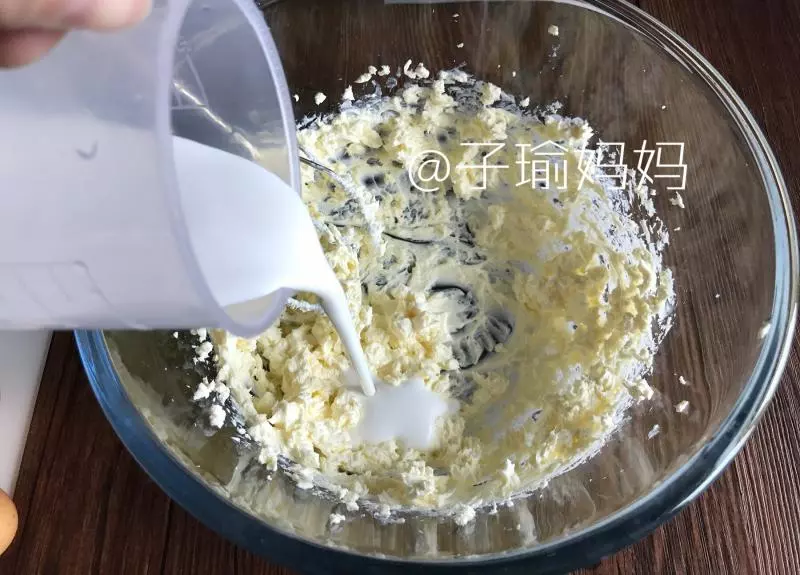
4最低速攪拌1分鐘,轉中速打約2分鐘;
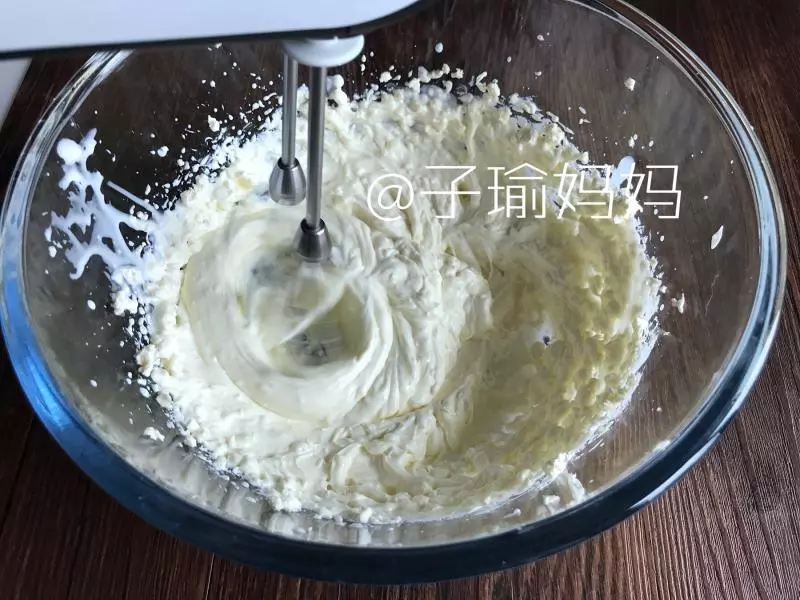
5打至乳酪糊細膩無顆粒,(有少量的顆粒也是可以的,太多的話不行,繼續打~)
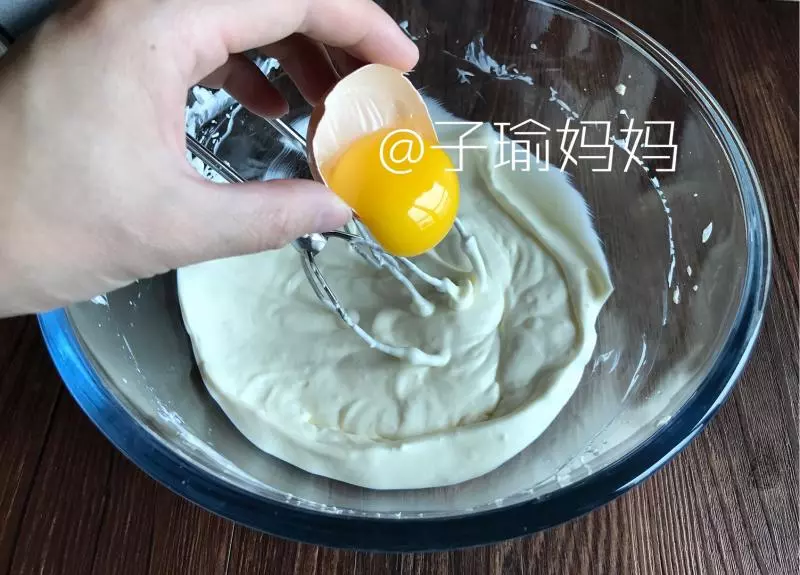
6分兩次加入蛋黃,攪拌均勻;
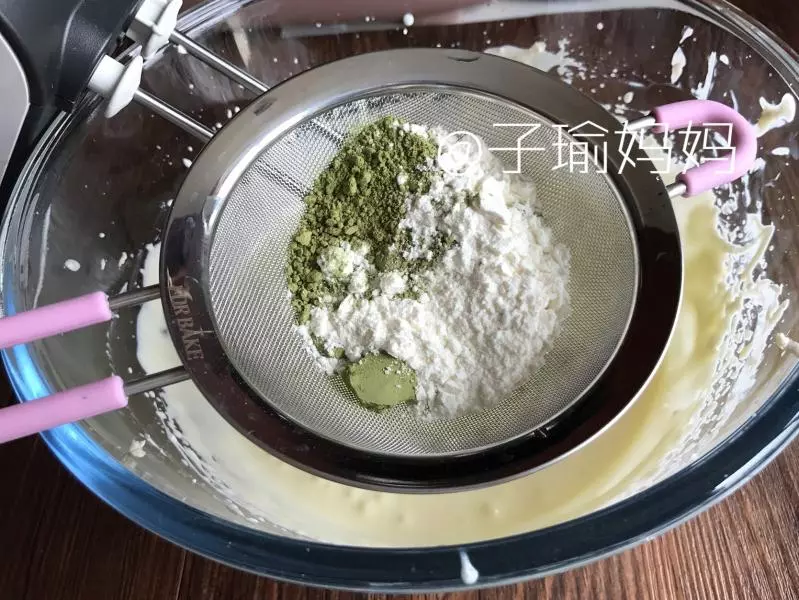
7篩入低粉和抹茶粉;
8低速攪拌均勻即可;
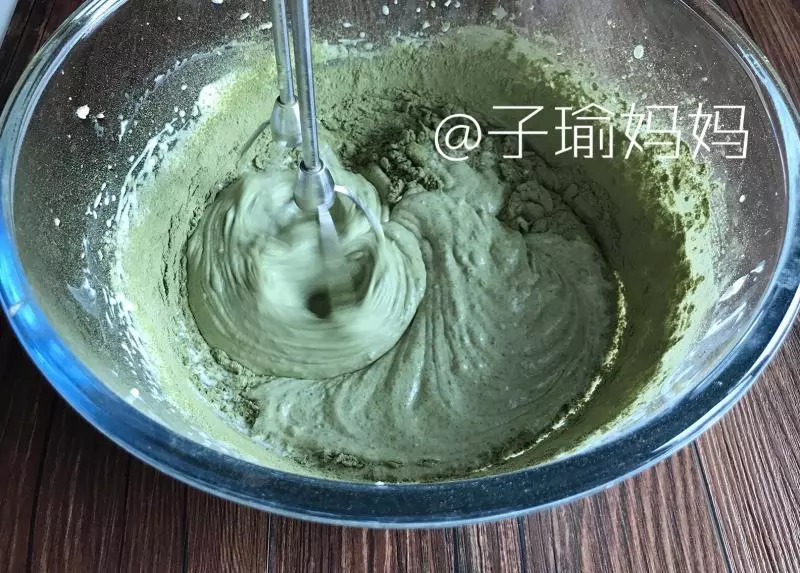
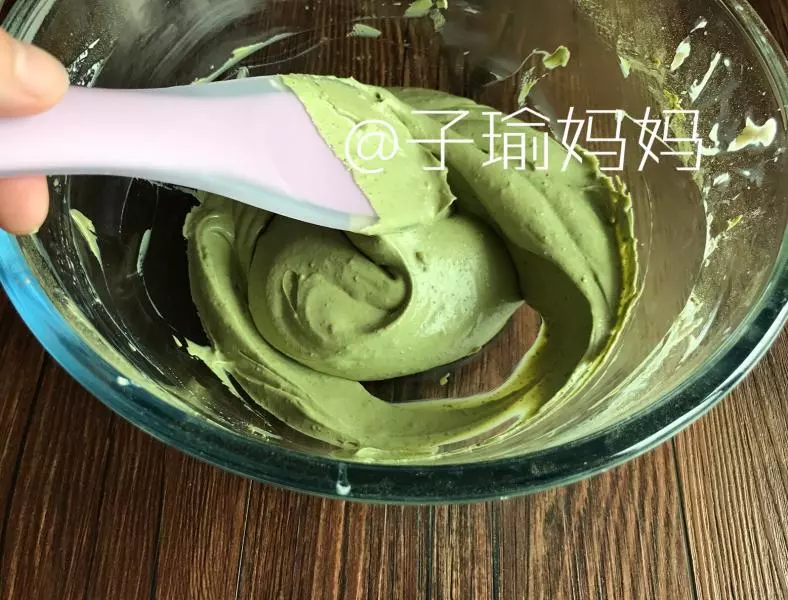
9換成刮刀攪拌均勻;
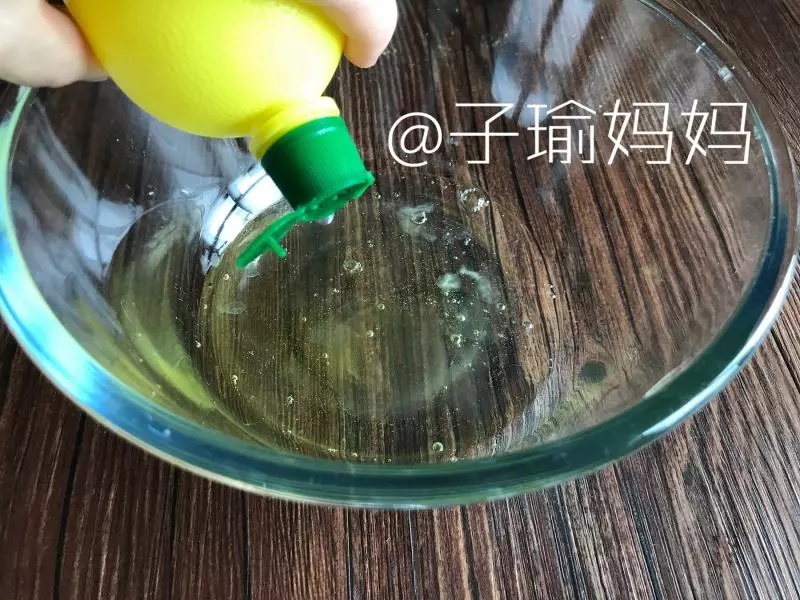
10蛋白中加入幾滴檸檬汁
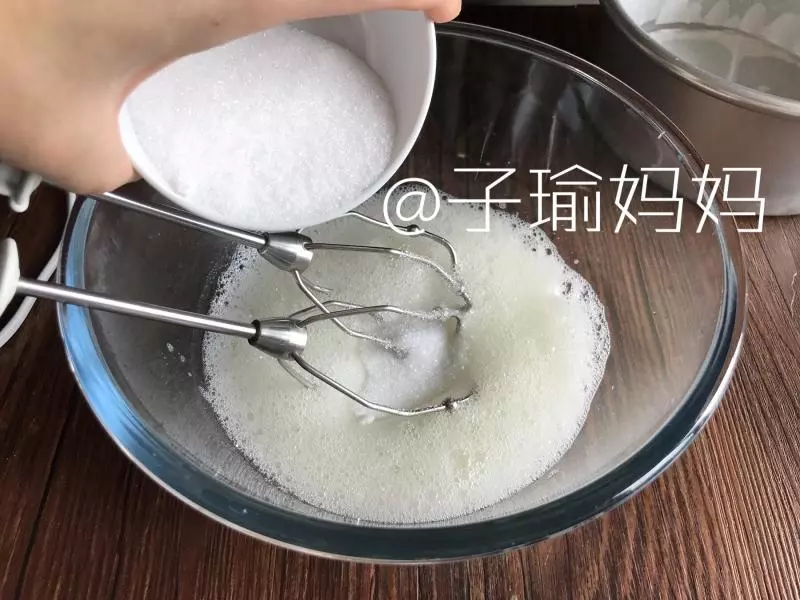
11蛋白打至粗泡,加入一半的糖;
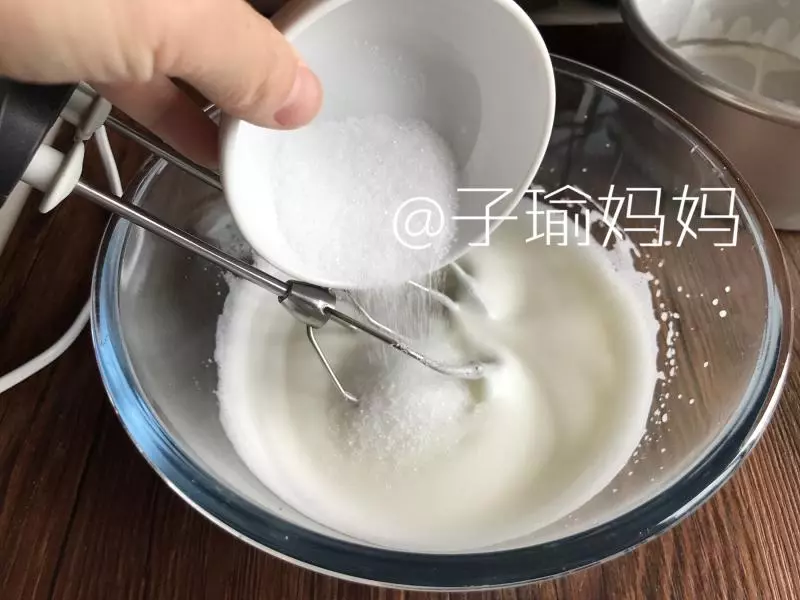
12蛋白打至細膩泡沫時候加入剩下的糖;
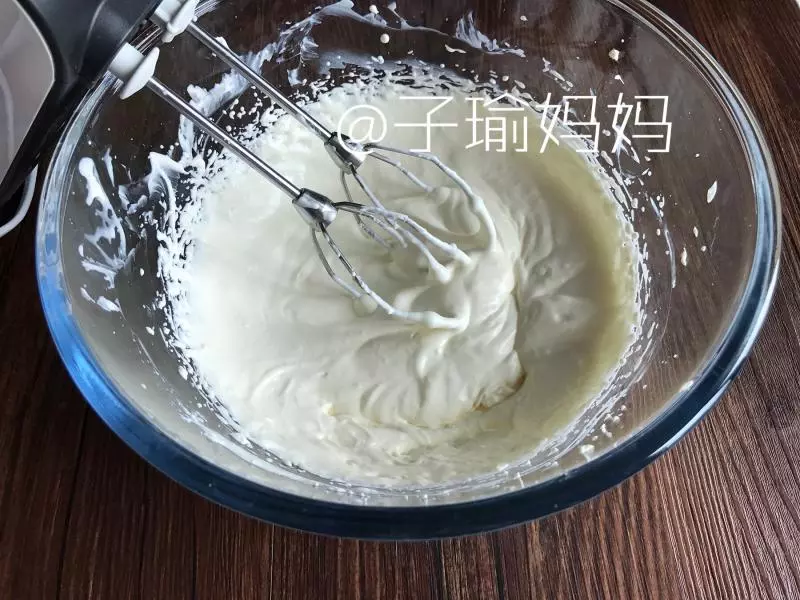
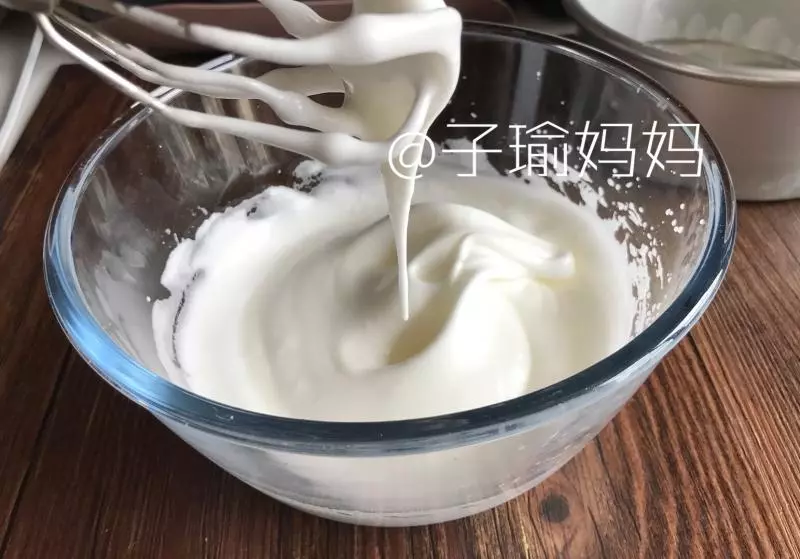
13打到如下圖狀態,細膩下垂,濕性發泡狀態。
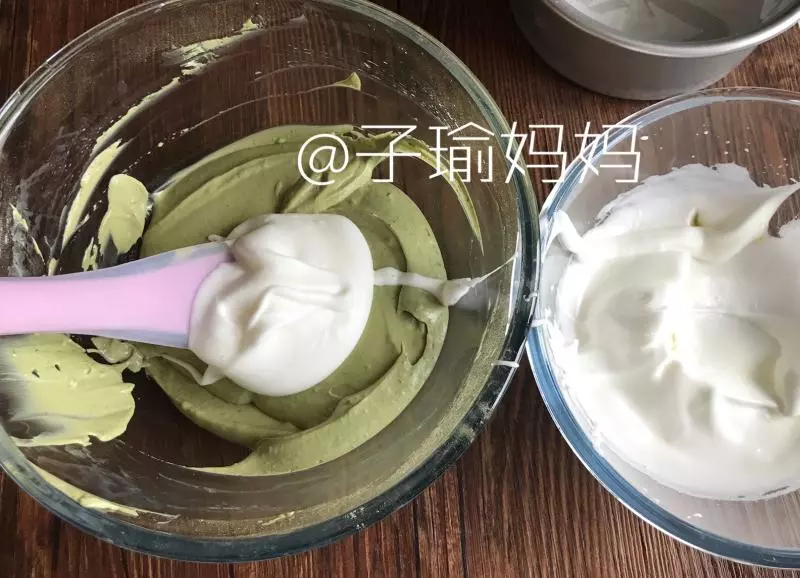
14取1/2蛋白霜入抹茶乳酪糊中抄底拌勻
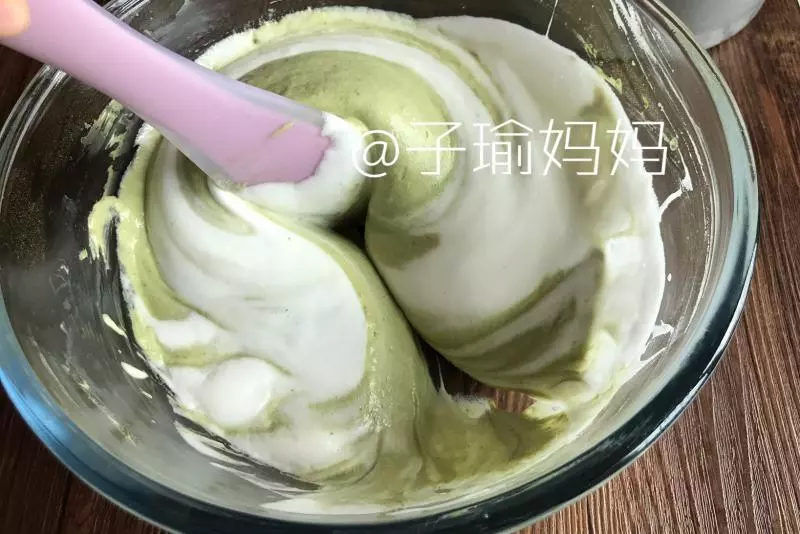
15再將乳酪盆里的全部倒入剩下的蛋白霜中攪拌均勻;
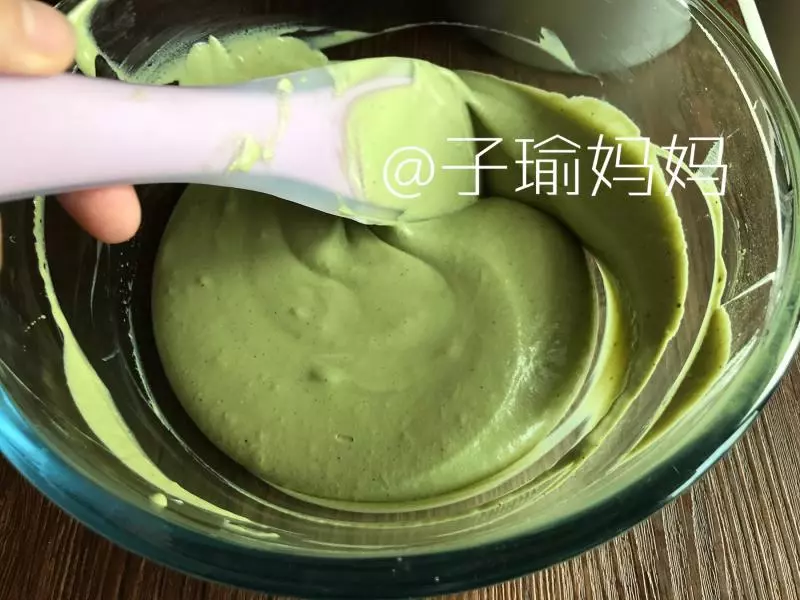
16拌勻如上圖,細膩光滑。
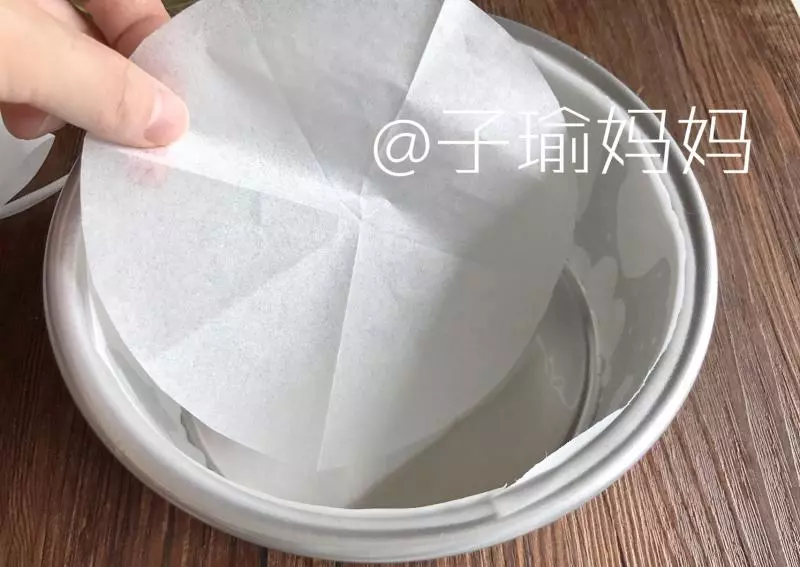
176寸固體模具刷上一層油
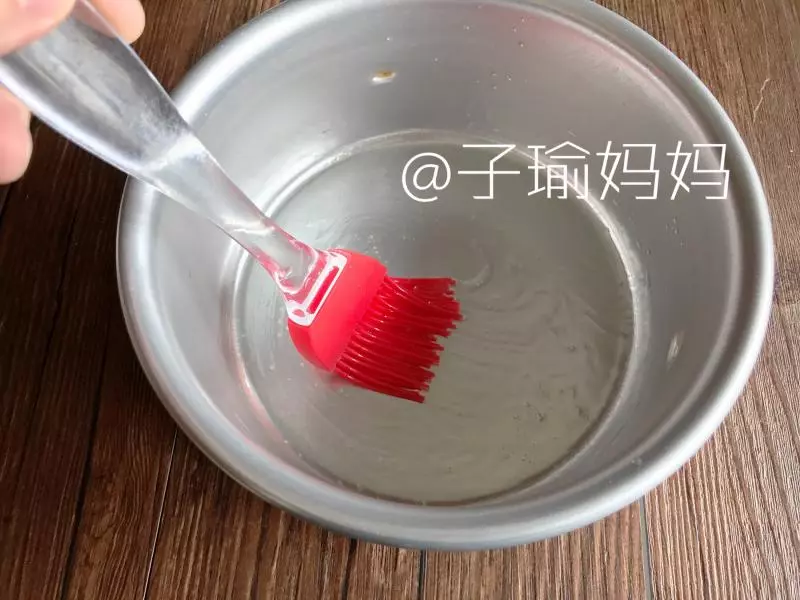
18墊上烤盤紙;
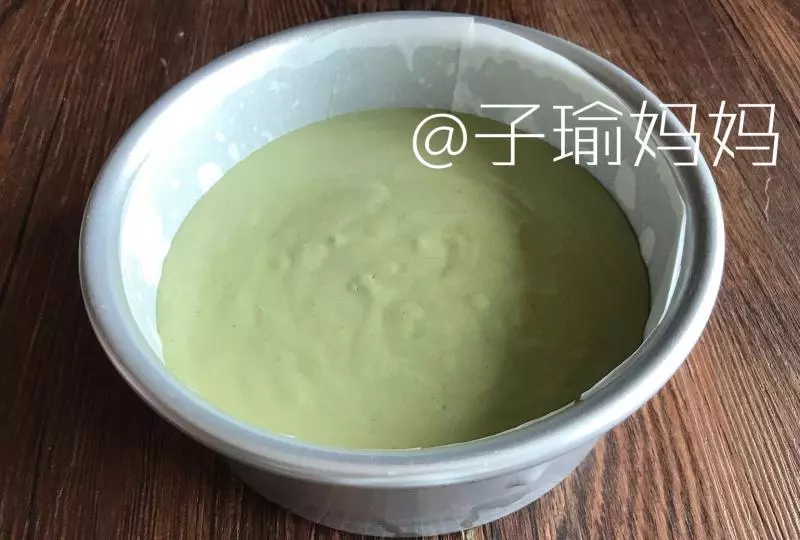
19倒入麵糊;
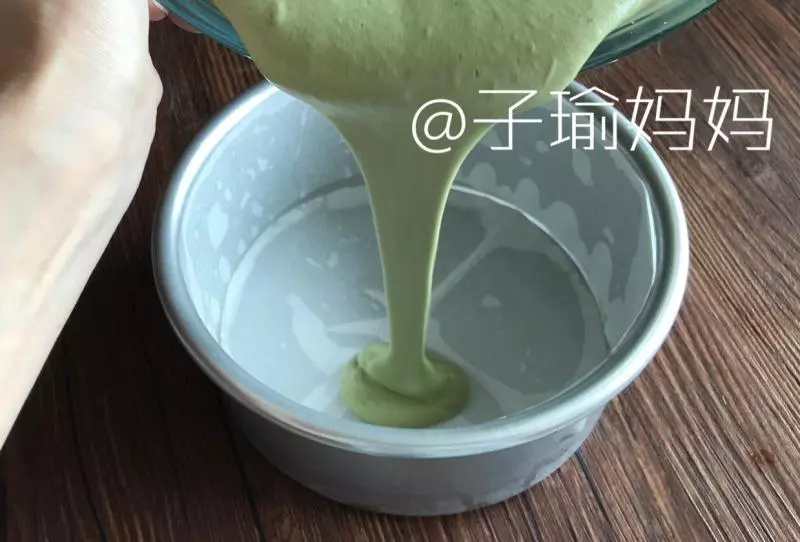
20輕敲幾下模具。
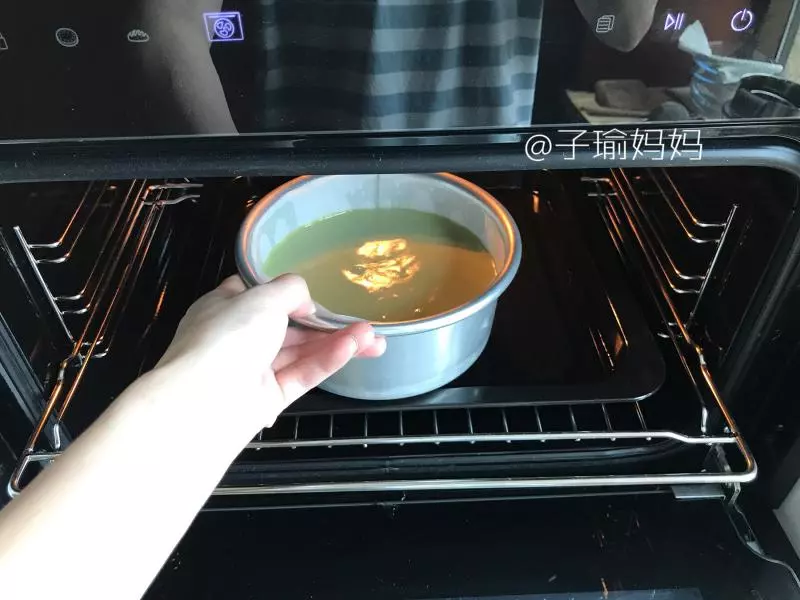
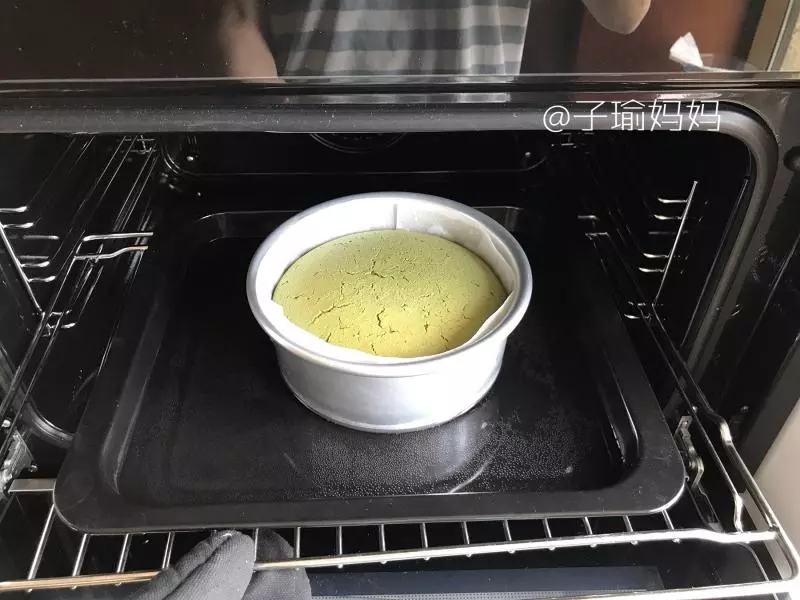
21送入預熱的烤箱,放在注水的深烤盤裡,140度,上下火60分鐘。
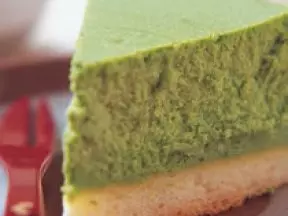
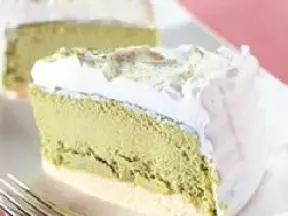
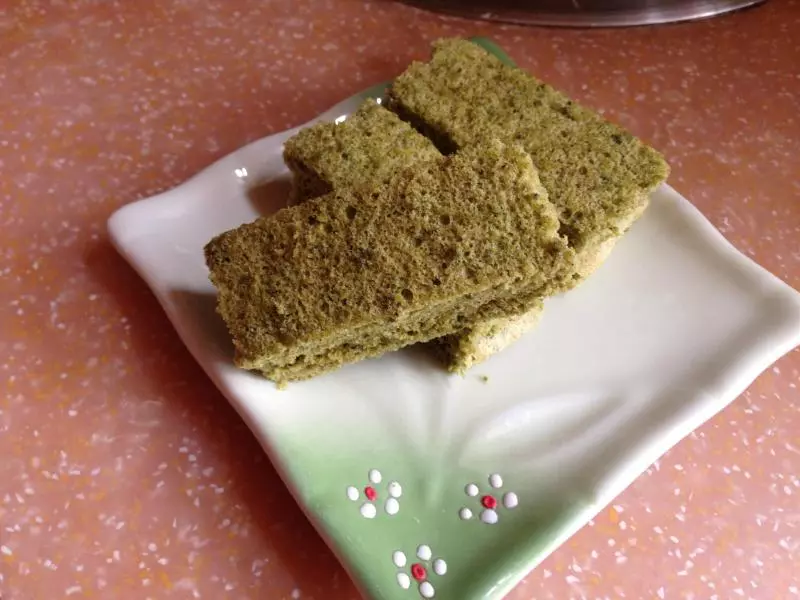
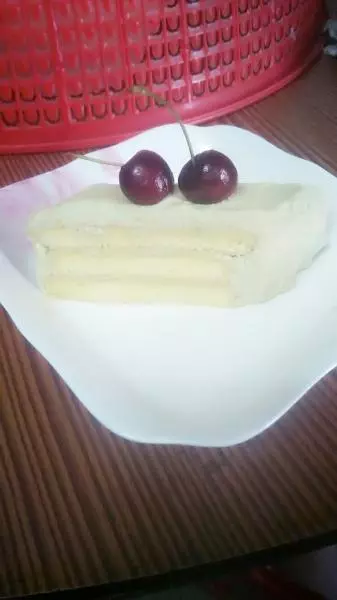
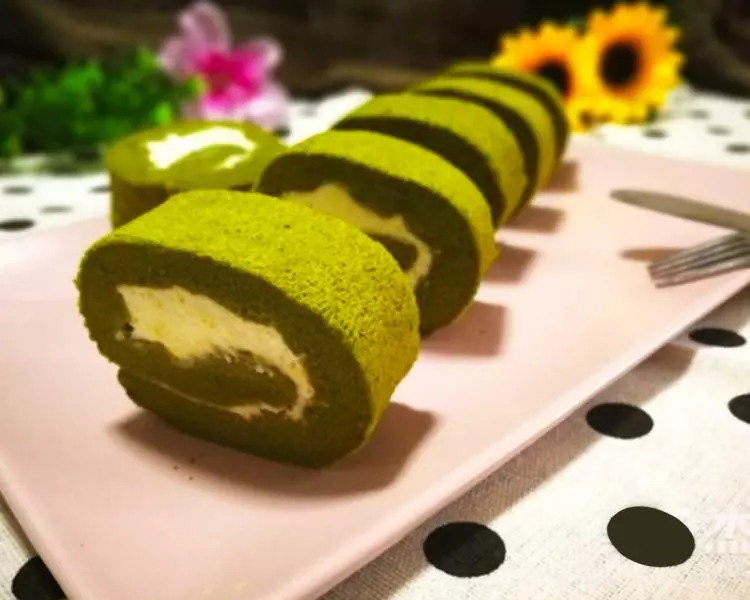
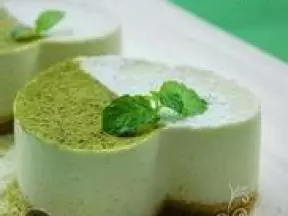
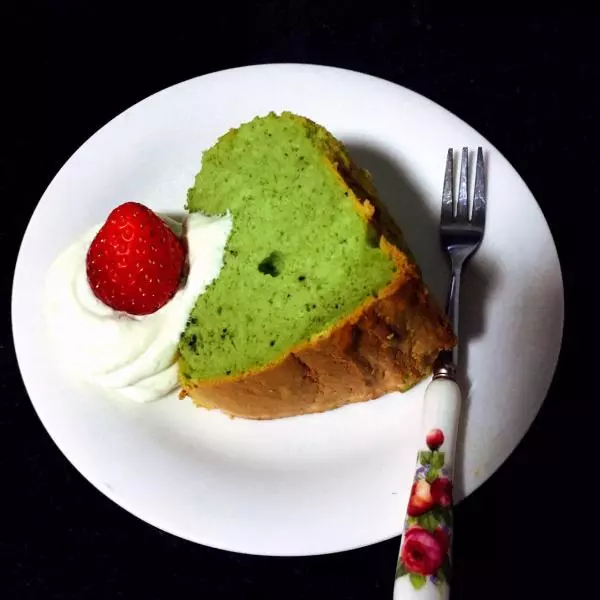
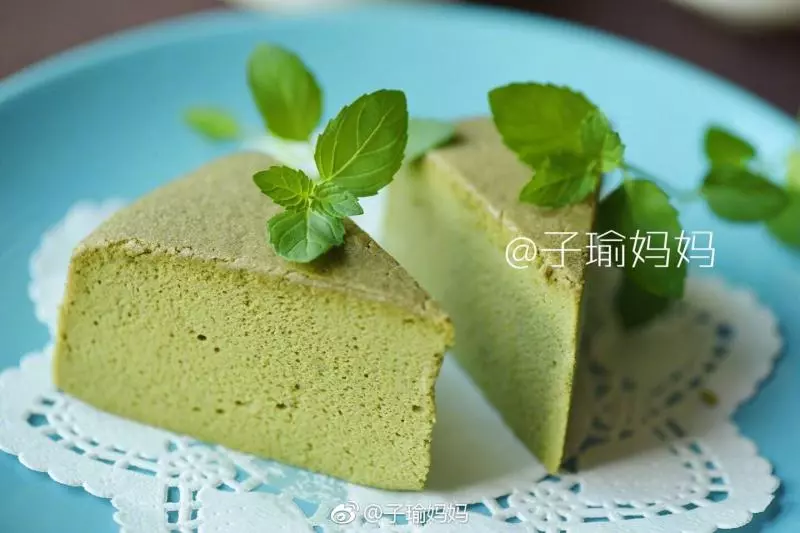
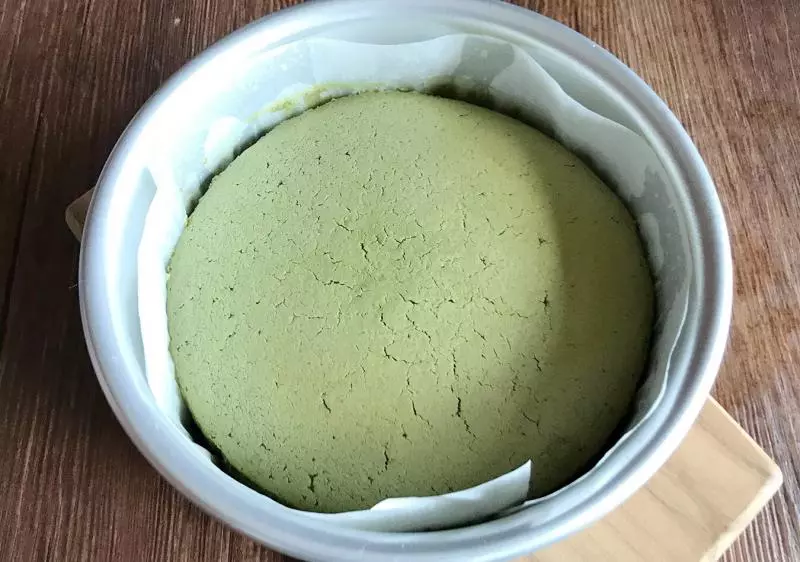
22烤好了。
23涼了
24開吃啦