原料
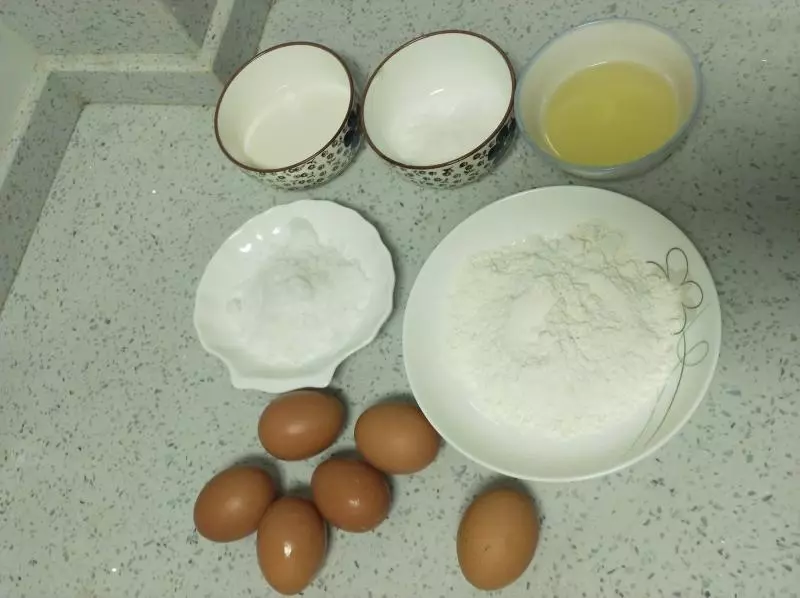
雞蛋: 6個, 細砂糖: 60克, 低粉: 110克, 純牛奶: 70克, 植物油: 60克, 糖: 10克, 奶油: 600克, 火龍果: 適量, 奇異果: 適量, 芒果: 適量
步驟
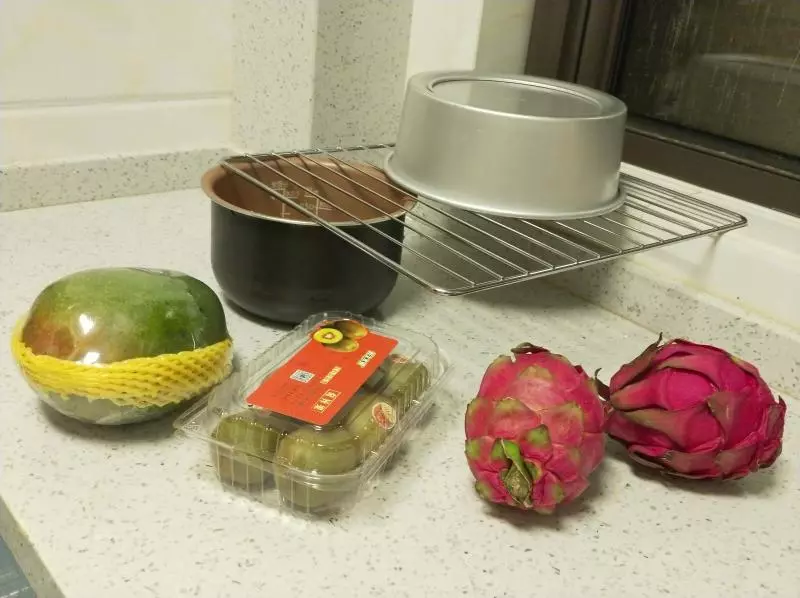
1首先稱量好所有的材料
2將雞蛋的蛋清蛋黃分離,蛋清裡面不可以殘留蛋黃,一點都不行
3取蛋黃,裡面加10克糖,攪拌至糖融化。
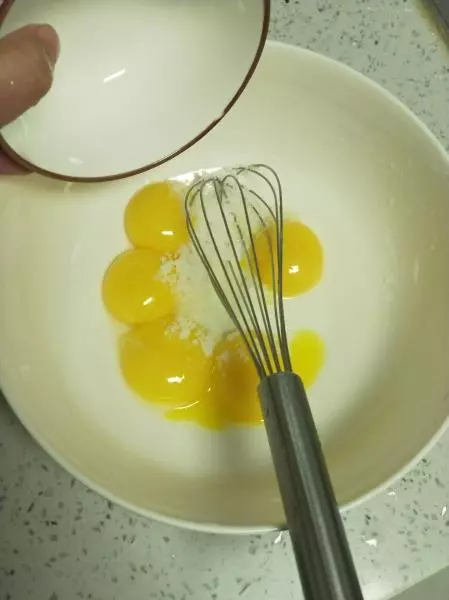
4再加入60克植物油,攪拌均勻。
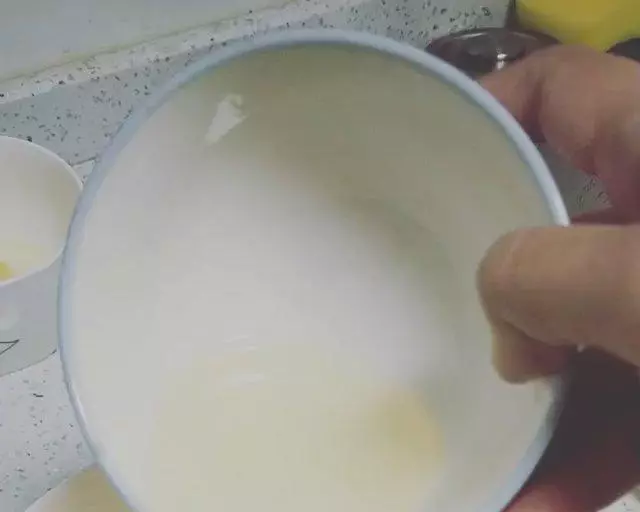
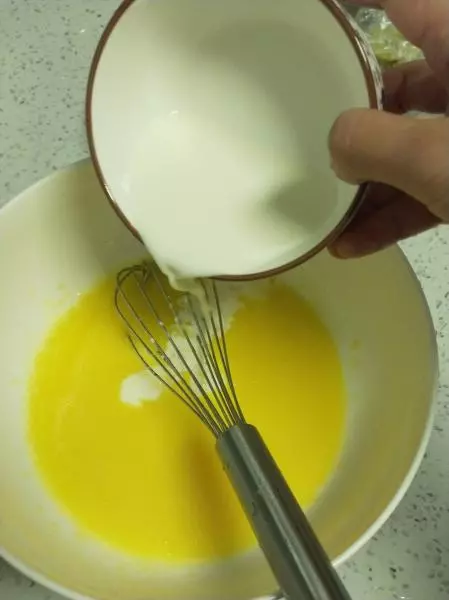
5加入70克純牛奶,攪拌均勻
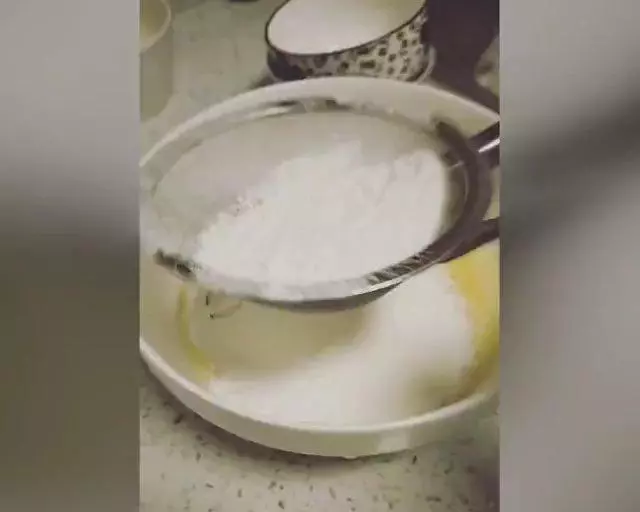
6再篩入低筋麵粉110克,(低粉過篩是為了與蛋黃液體更好的融合均勻,不容易起疙瘩) 用Z字形攪拌,不要打圈,攪拌至無顆粒。備用
7打發蛋清,出現第一次小氣泡的時候加第一次白砂糖(5秒)。
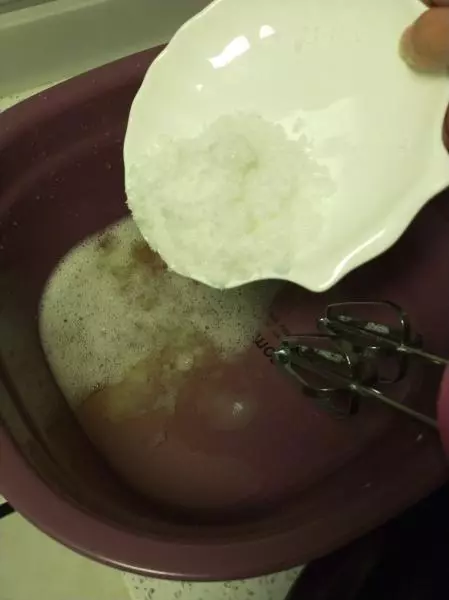
8把糖打開再加入第二次糖。
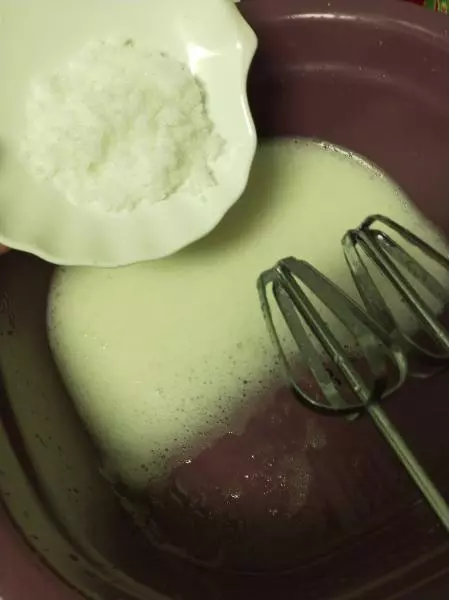
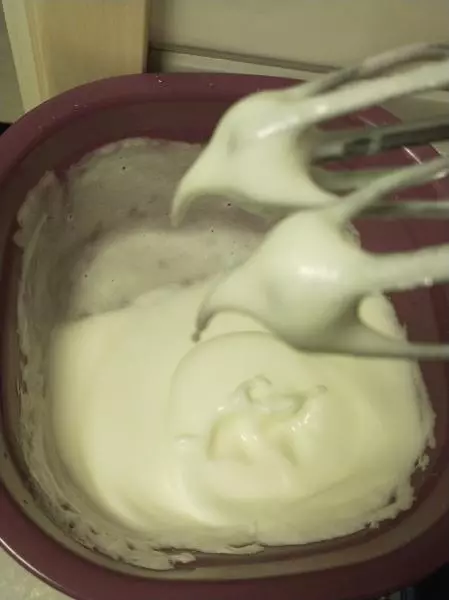
9出現大氣泡時,加入最後一次糖。(打蛋頭垂直提起來,有圖中小尖尖即可)這就是硬性發泡。注意不要打過頭了。
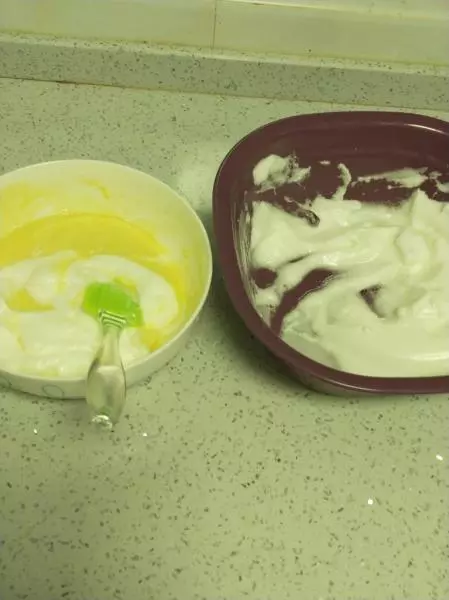
10蛋黃糊和蛋白霜混合,分3次加入。 2點到9點的角度翻拌。 (注意千萬不要用打圈的方式翻拌,不然容易消泡,消泡會導致蛋糕長不高。)
11最後一次翻拌,把它倒入蛋白霜容器里繼續翻拌均勻即可。

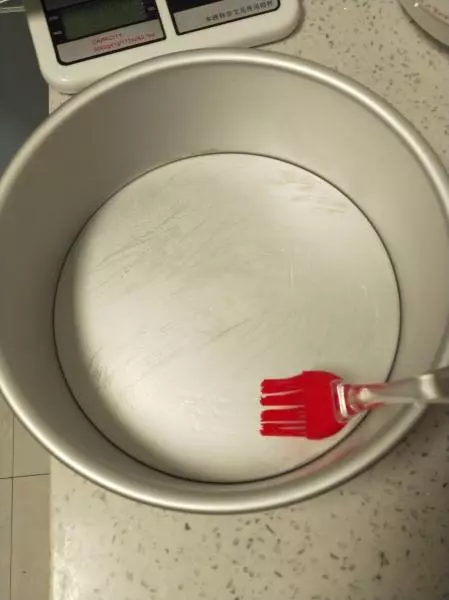
12模具里刷少許植物油
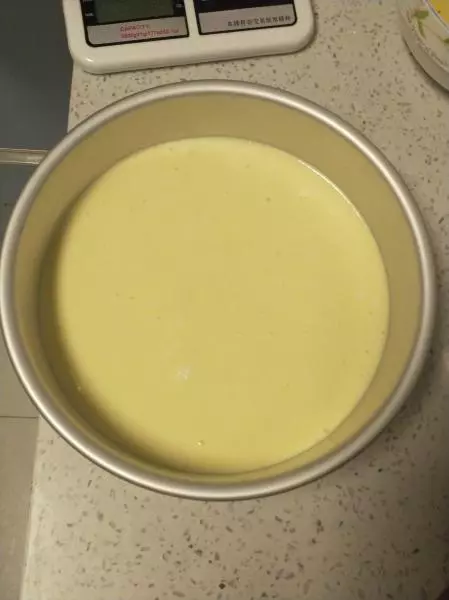
13將做好的蛋糕糊裝入預先準備好的8寸模具中(注意模具一定不能有水)
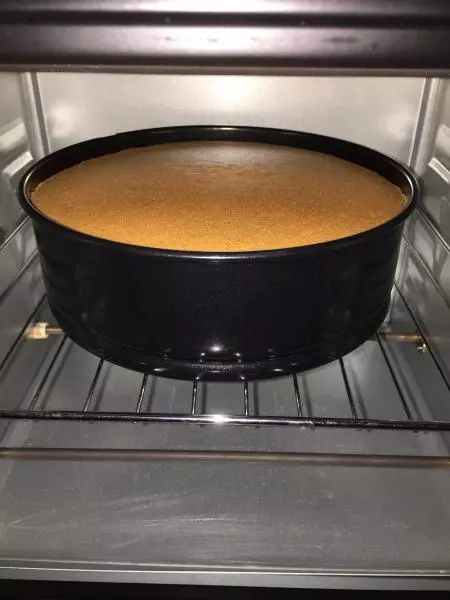
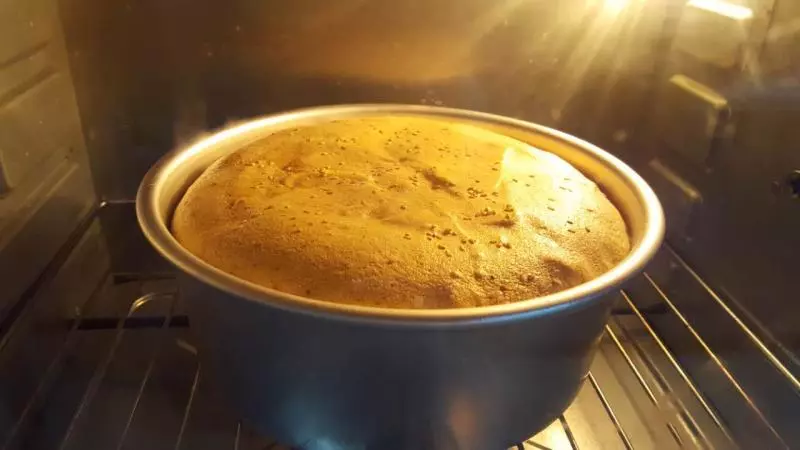
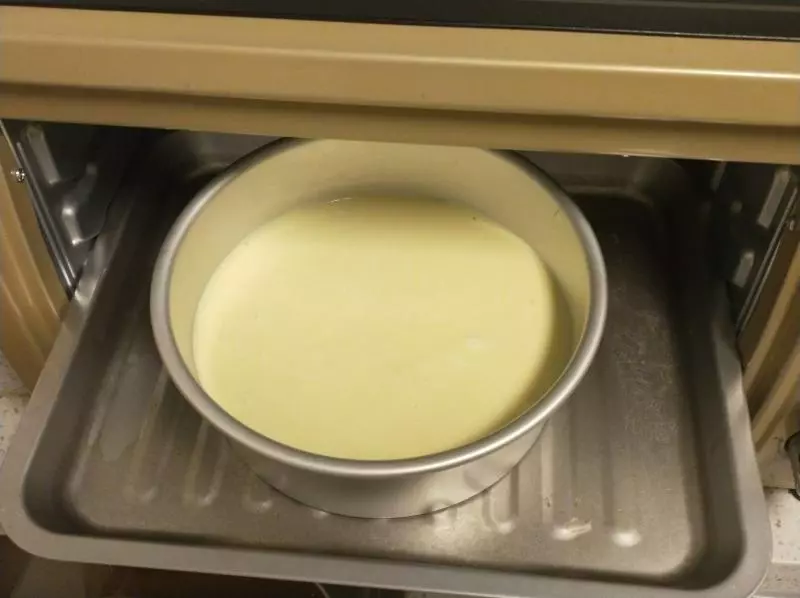
14烤箱預熱五分鐘,放入烤箱中層,上下火130度烤20分鐘,150度再烤25分鐘。(具體根據自己烤箱的情況再微調)
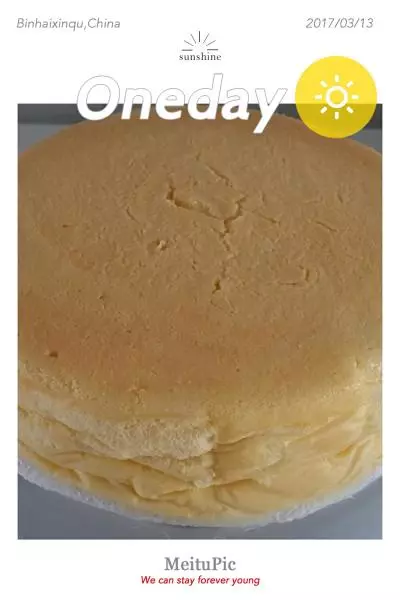
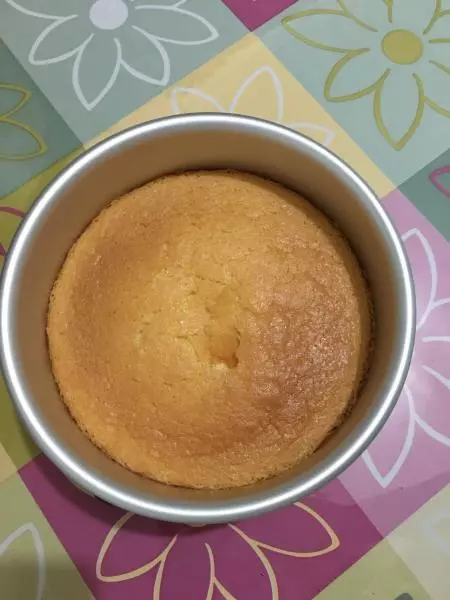
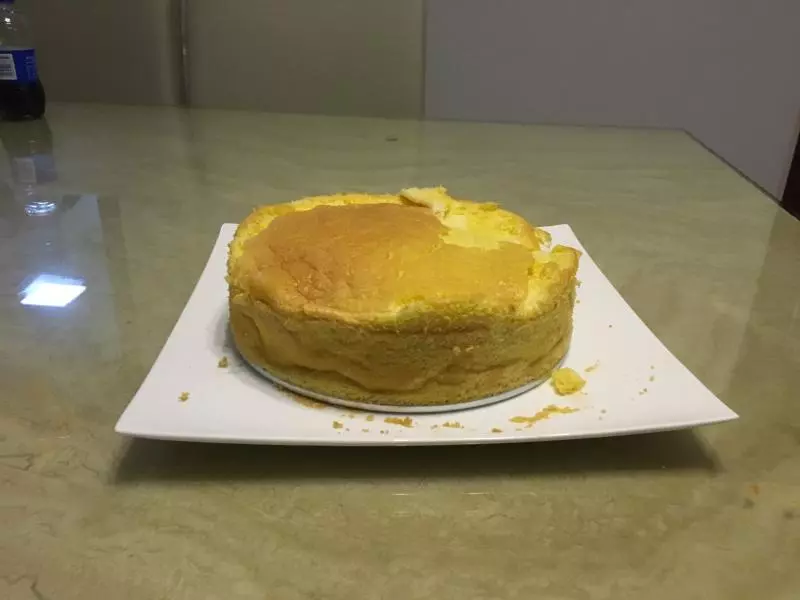
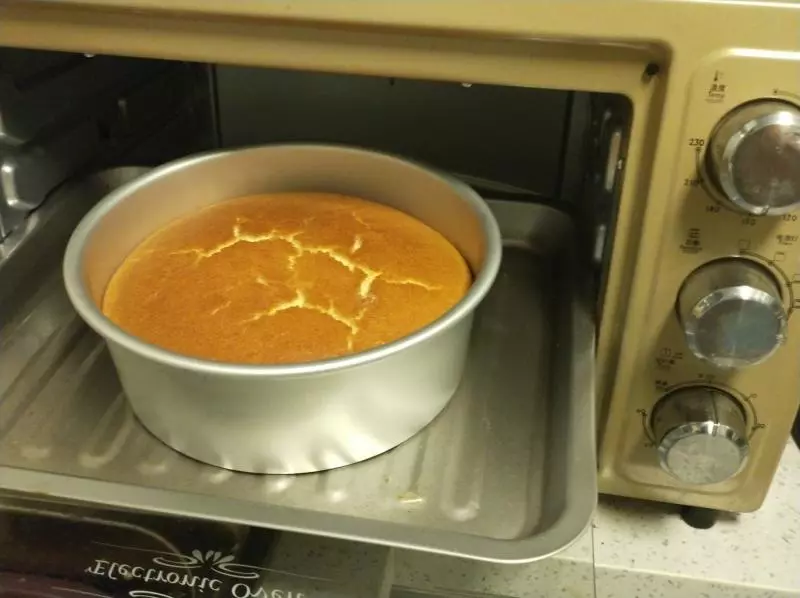
15烤好的蛋糕胚準備出爐啦。
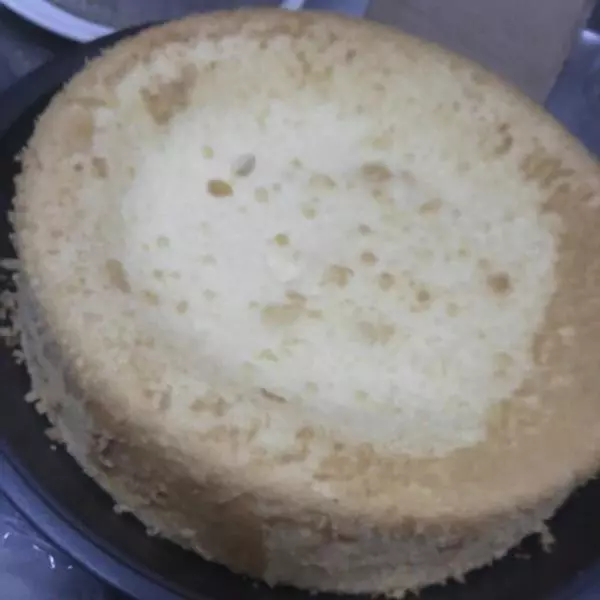
16出爐後放桌子(墊一塊濕抹布)上輕震一下,然後立馬倒扣在烤架上直至完全放涼後即可脫模。
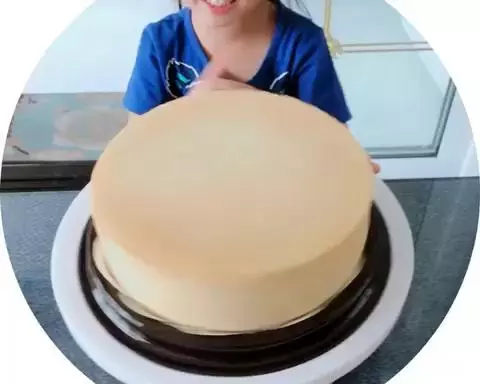
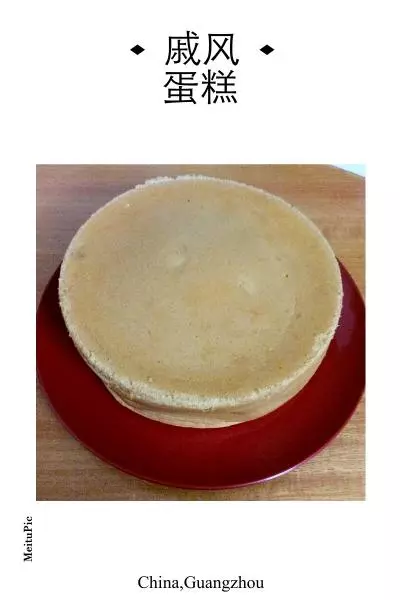
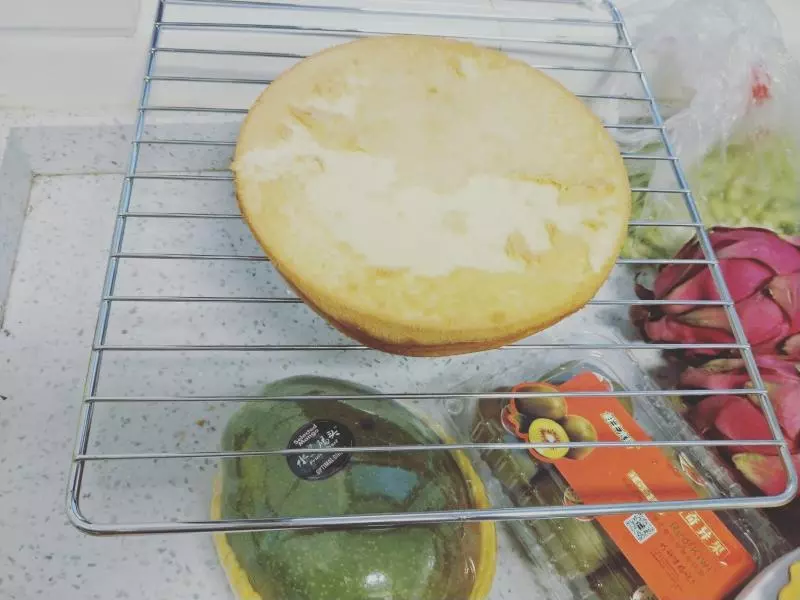
17脫模後的蛋糕體
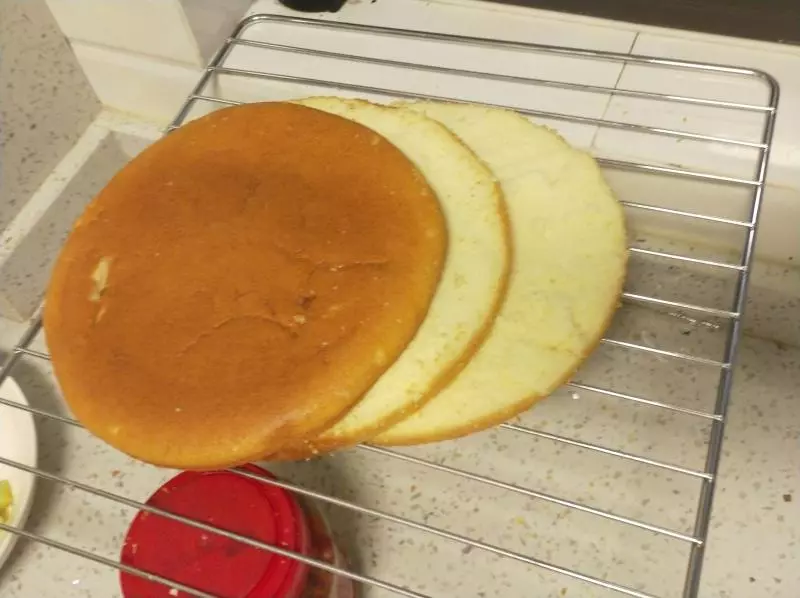
188寸蛋糕胚均勻的分成3層
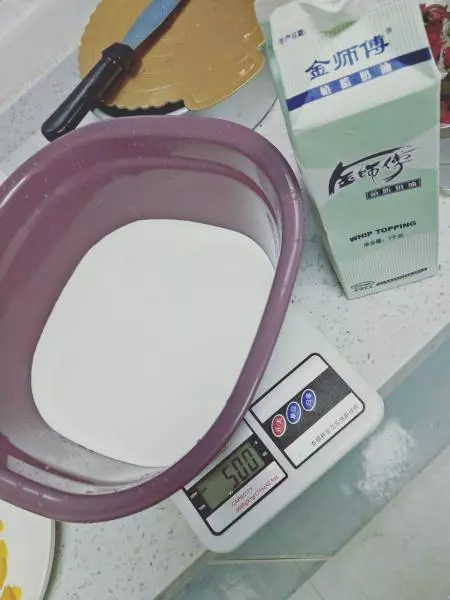
19500克植脂奶油打發(如果你是淡奶油,那麼需要加糖打發,500克淡奶油跟糖的比例是10:1)。
20第一層蛋糕胚放適量奶油用抹刀抹平,再鋪上適量火龍果和奇異果
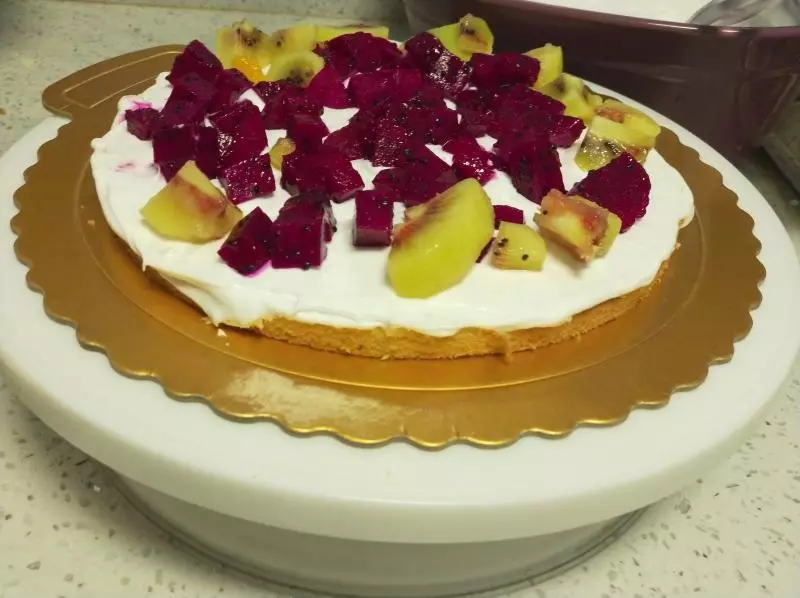
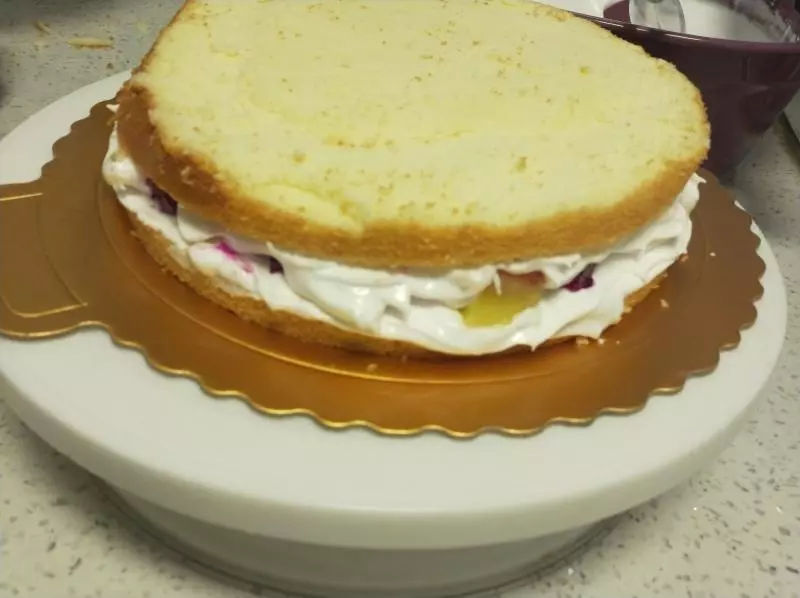
21水果上面放適量奶油並抹平,再放上第二層蛋糕胚
22重複剛才的步驟,加奶油抹平,我這層放的是芒果
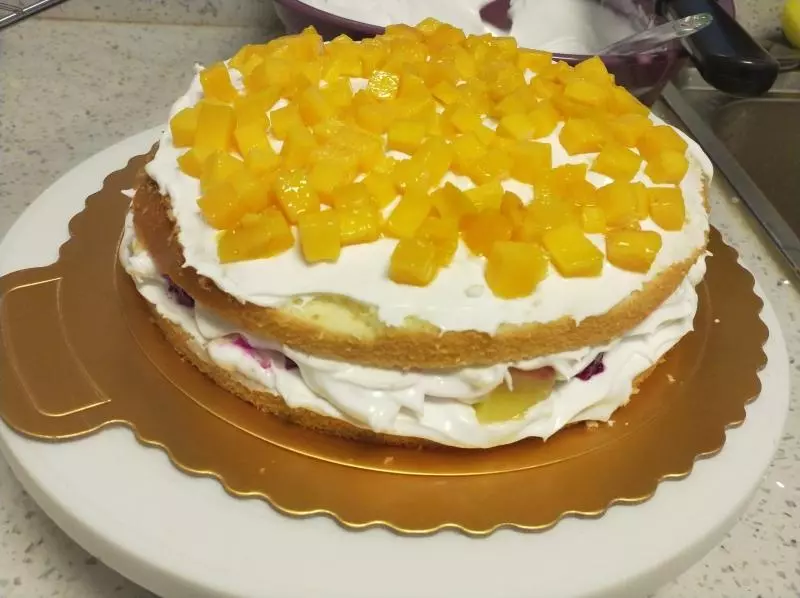
23芒果上面繼續放奶油抹平,然後再放上第三層蛋糕胚
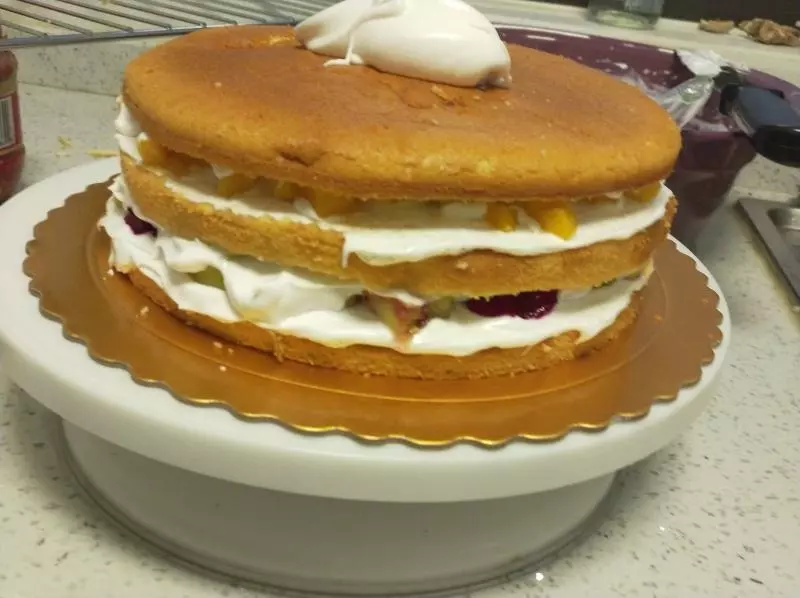
24取奶油,用抹刀均勻的覆蓋在蛋糕體上。
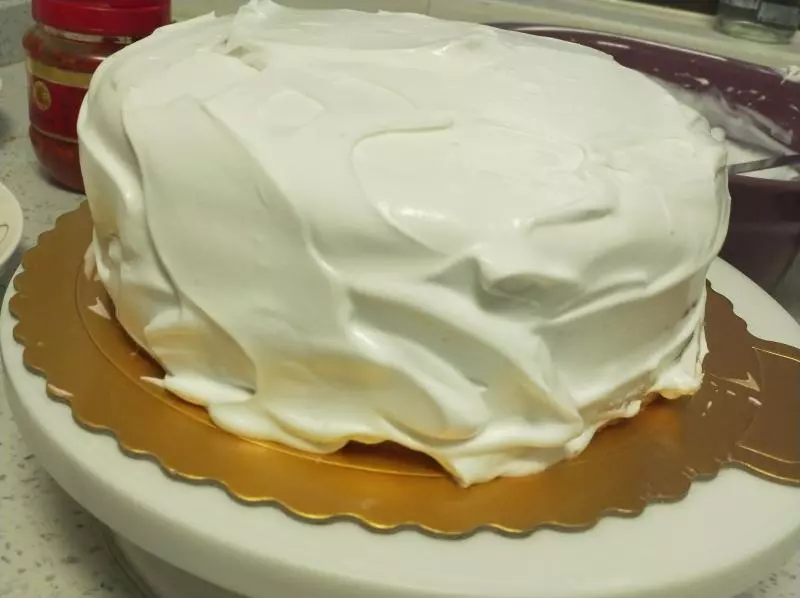
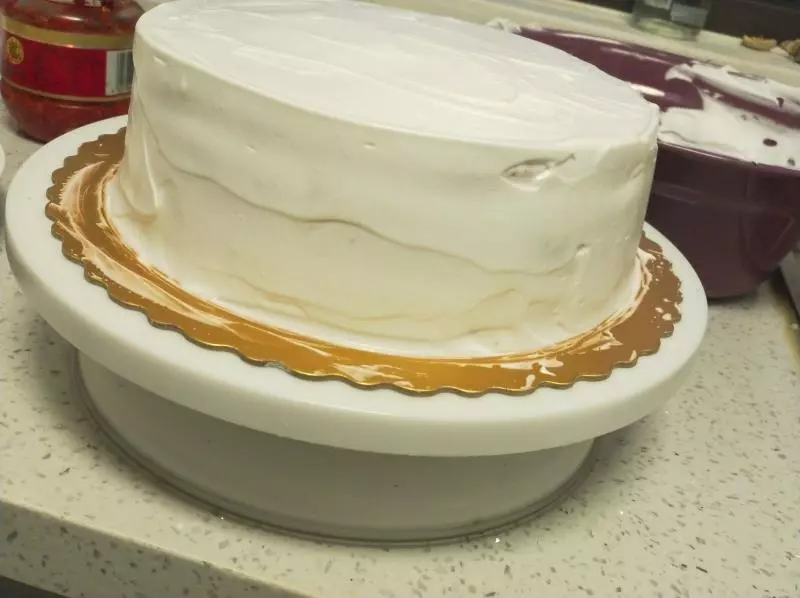
25然後開始抹面。頂部抹均勻即可。
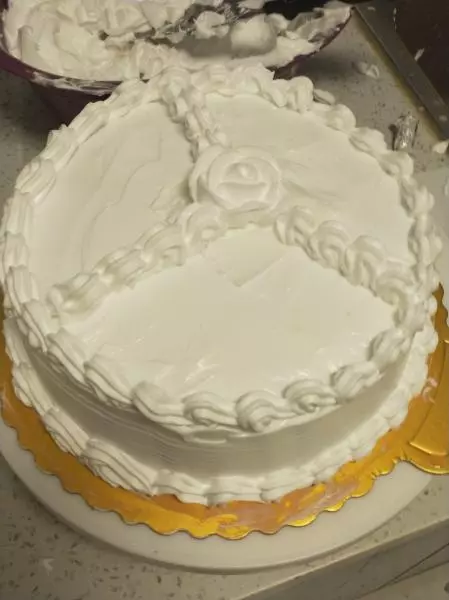
26接下來,蛋糕表面用抹刀均勻分成3等分
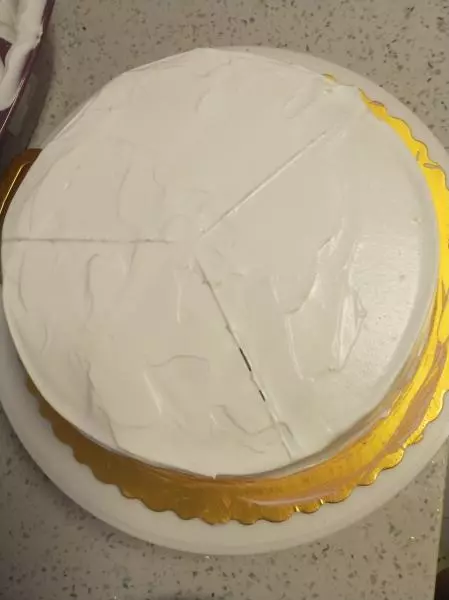
27話說就是這個樣子的,比用牙籤畫簡單多了

28準備好裱花嘴,我需要用兩個

29剩下的奶油裝進裱花袋,先做好圍邊,再把中間的線條填滿。
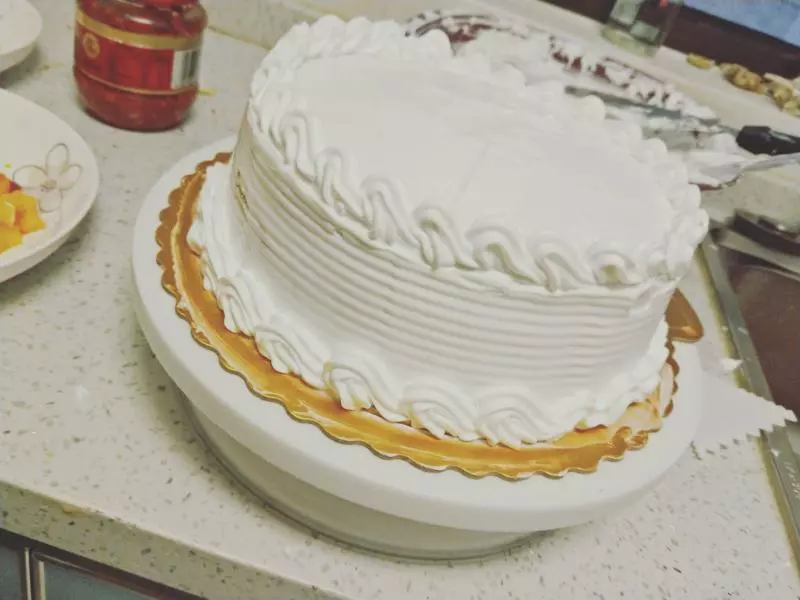
30底部圍邊跟上面也一樣
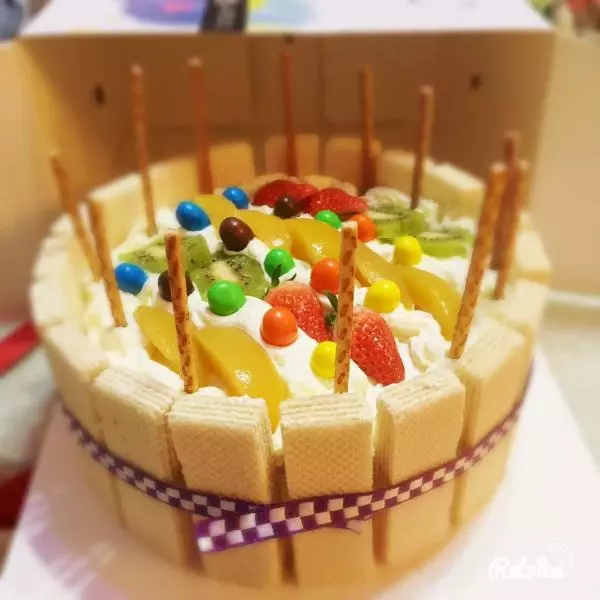
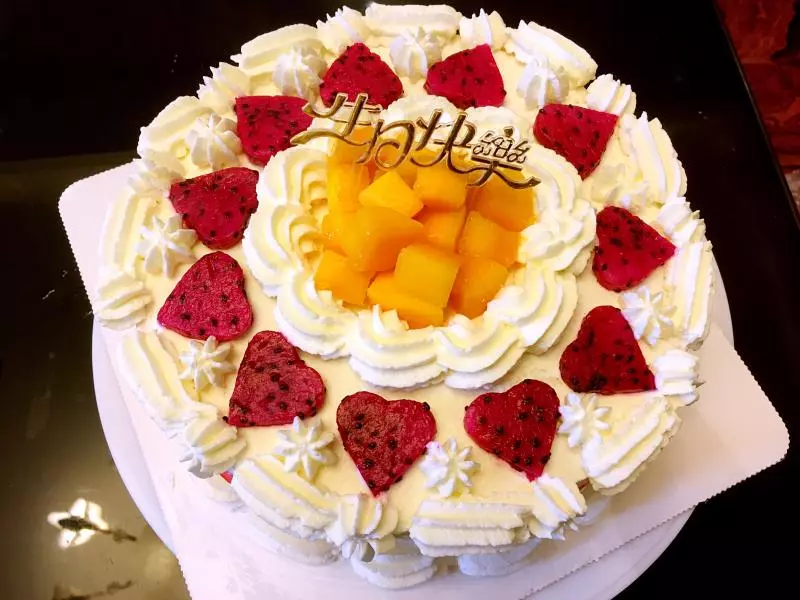
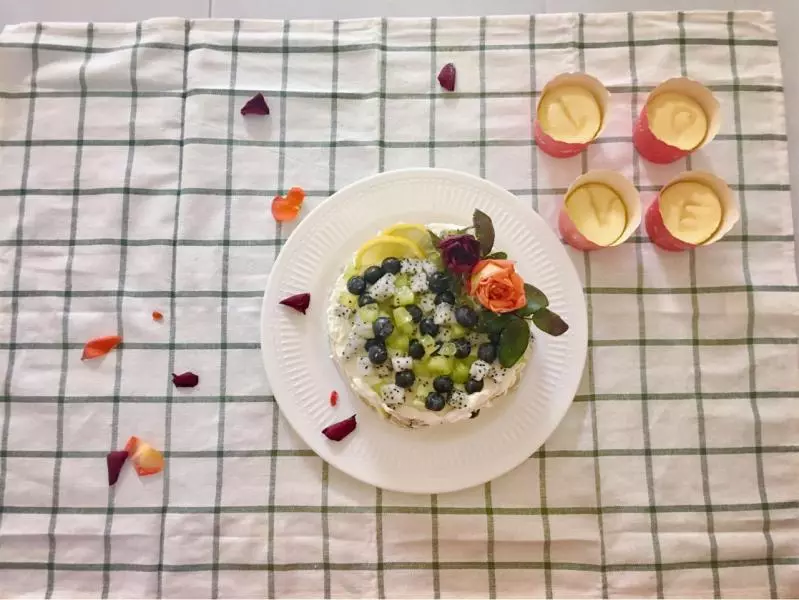
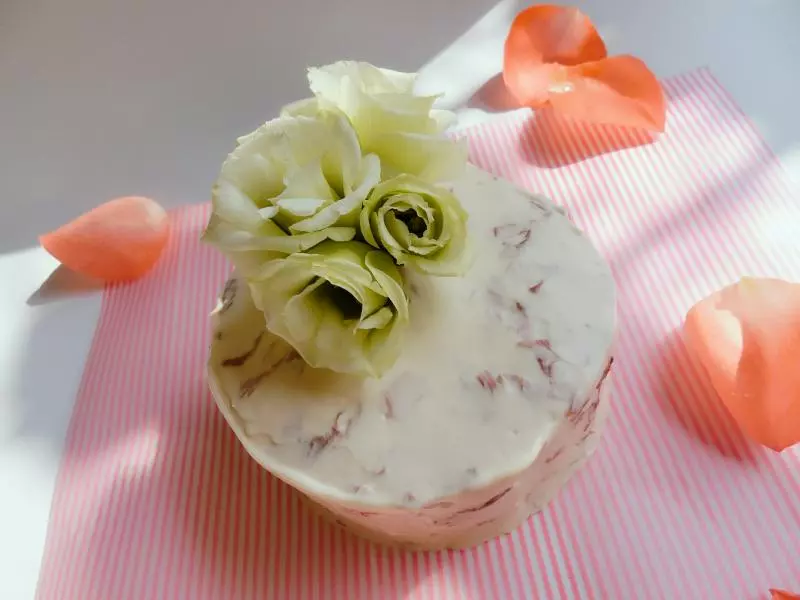
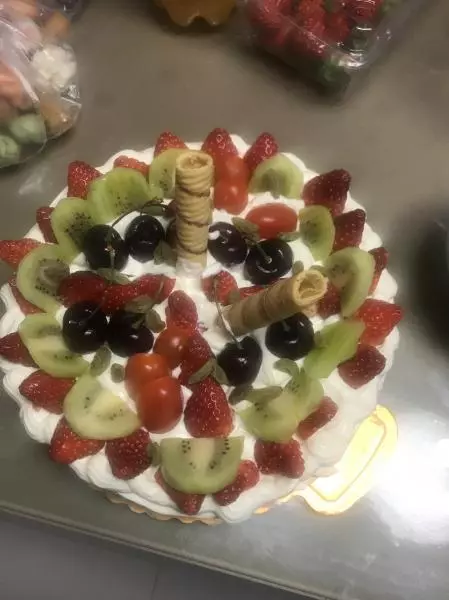
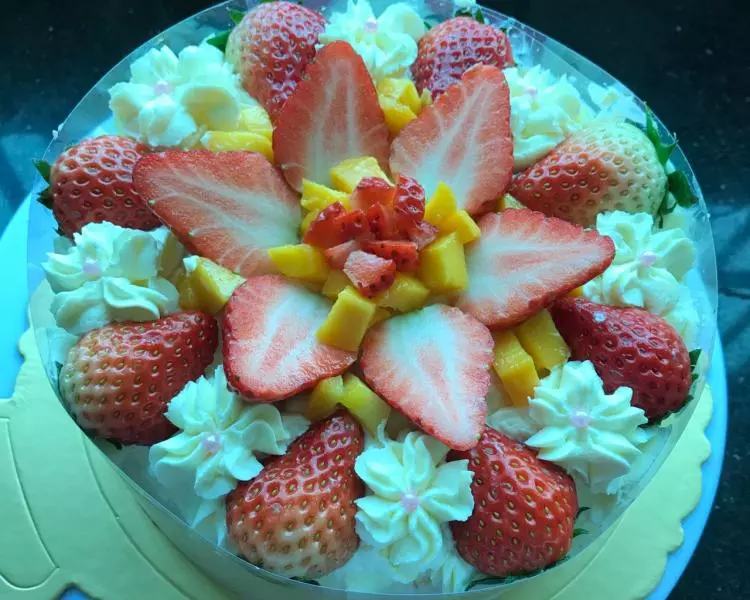
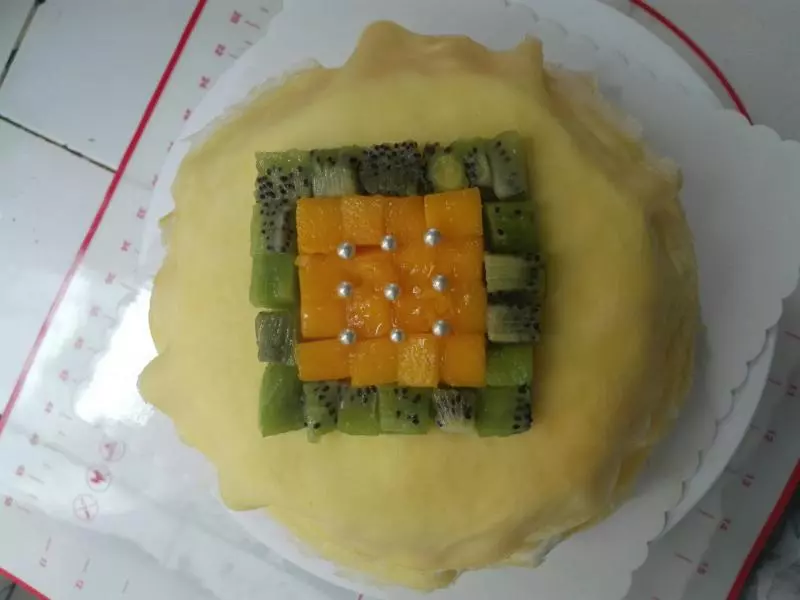
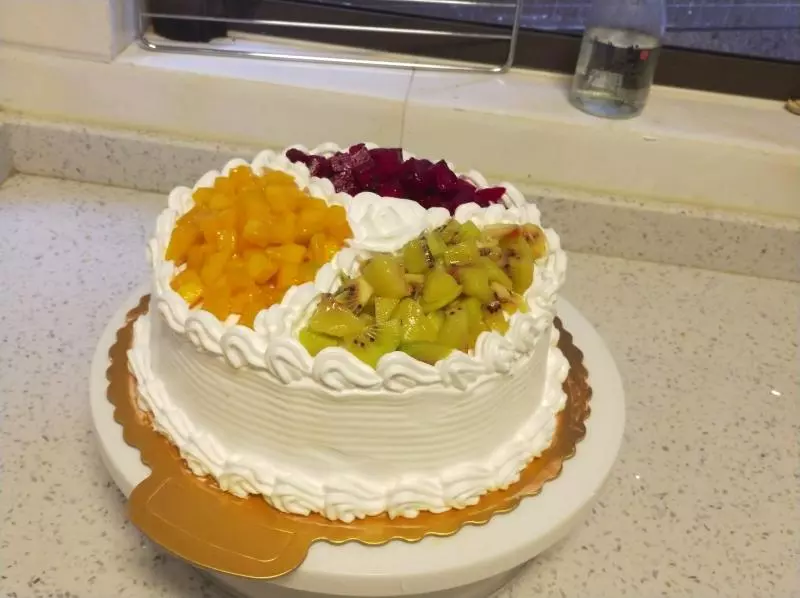
31開始堆放水果了啦,新鮮的芒果很是誘人哦
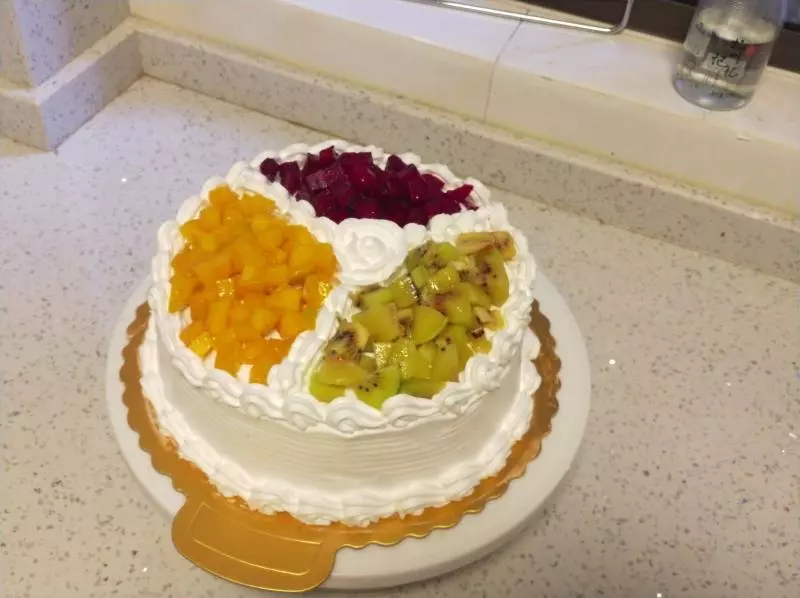
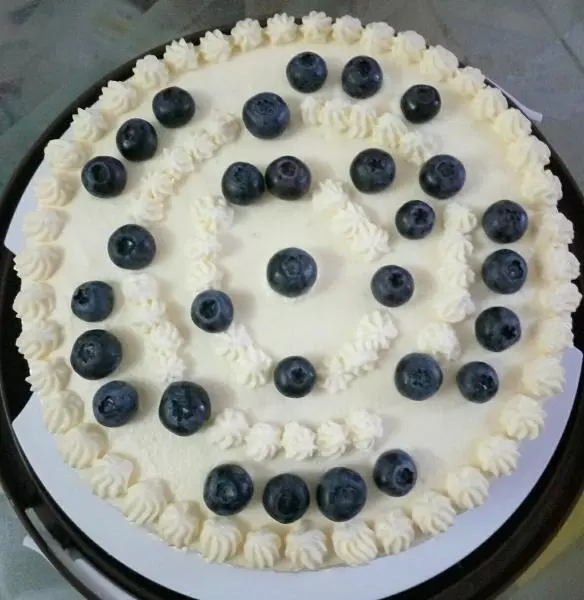
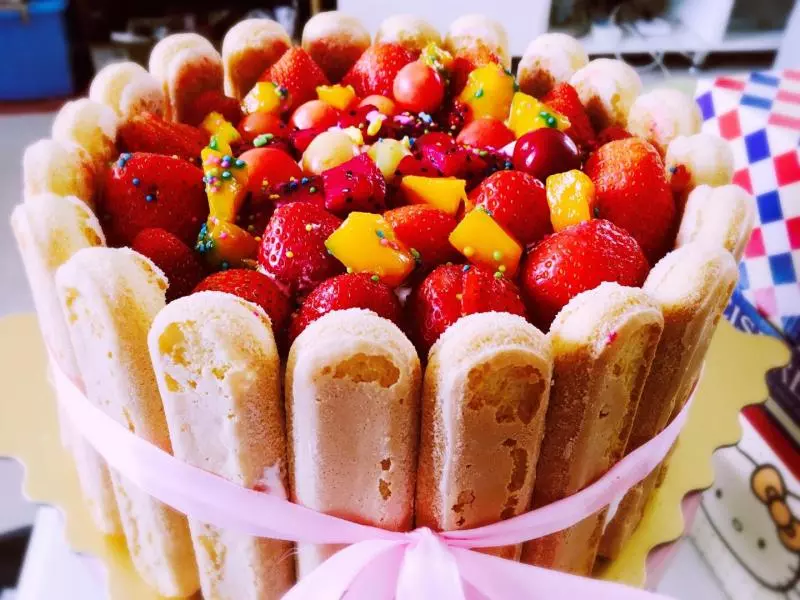
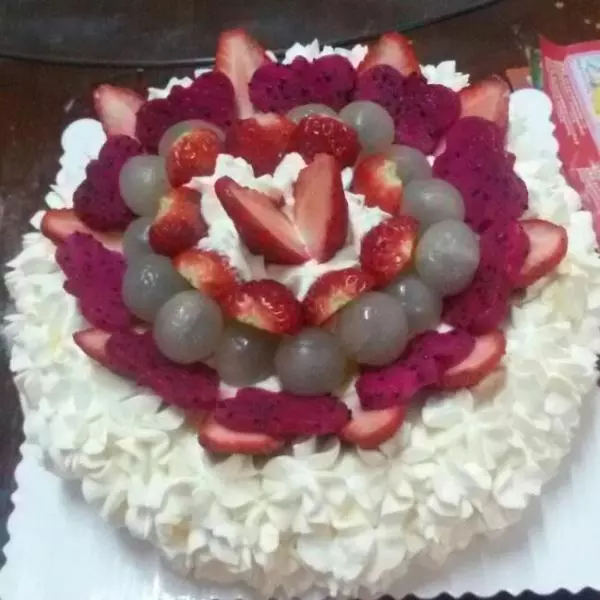
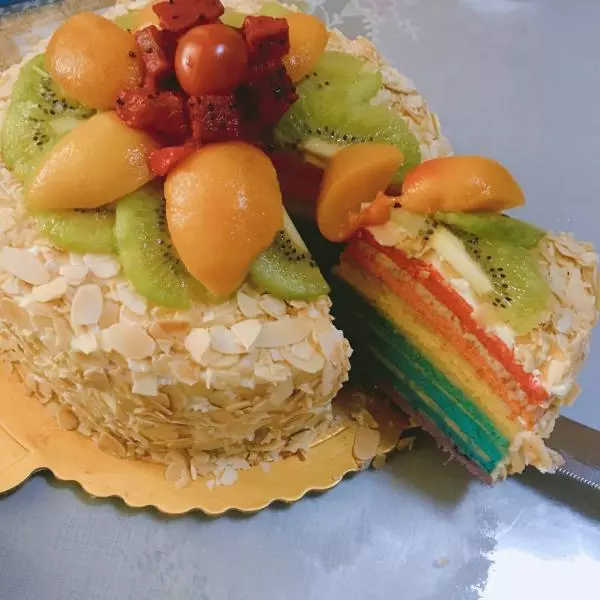
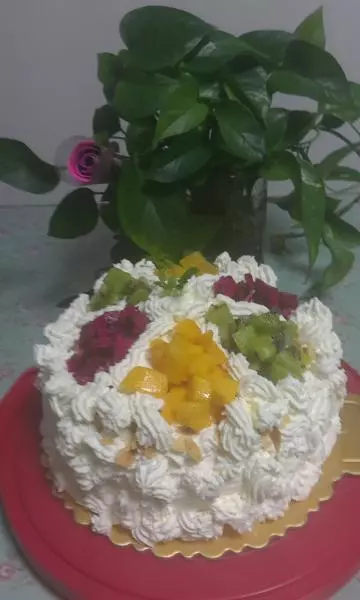
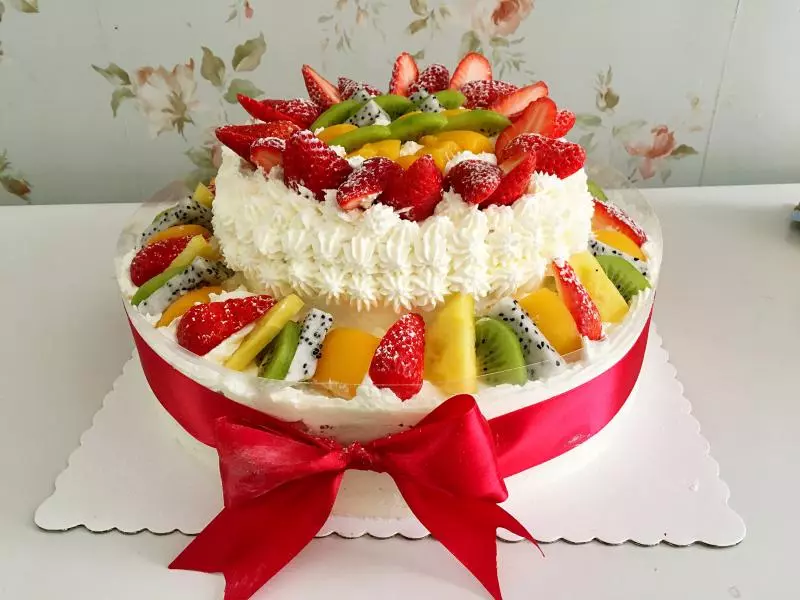
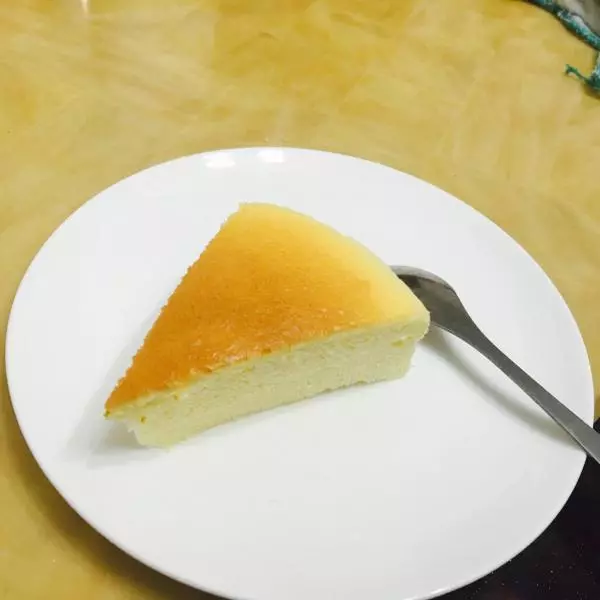
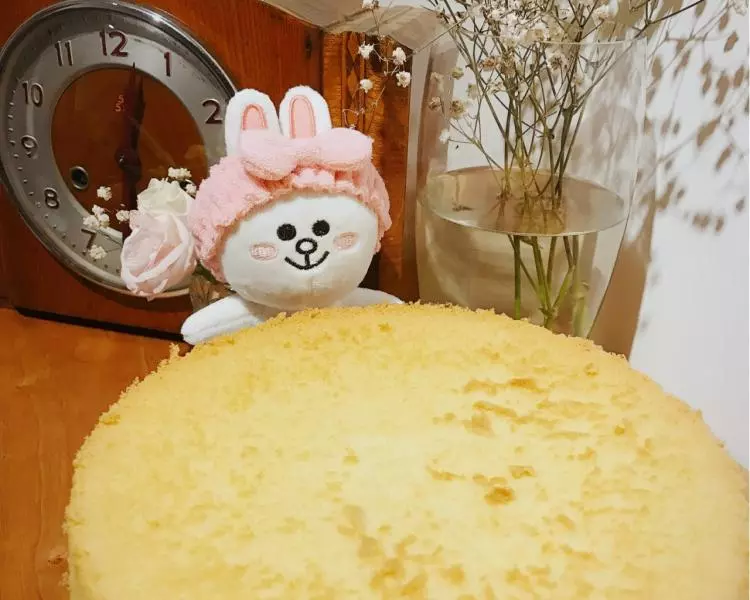
32成品出爐???
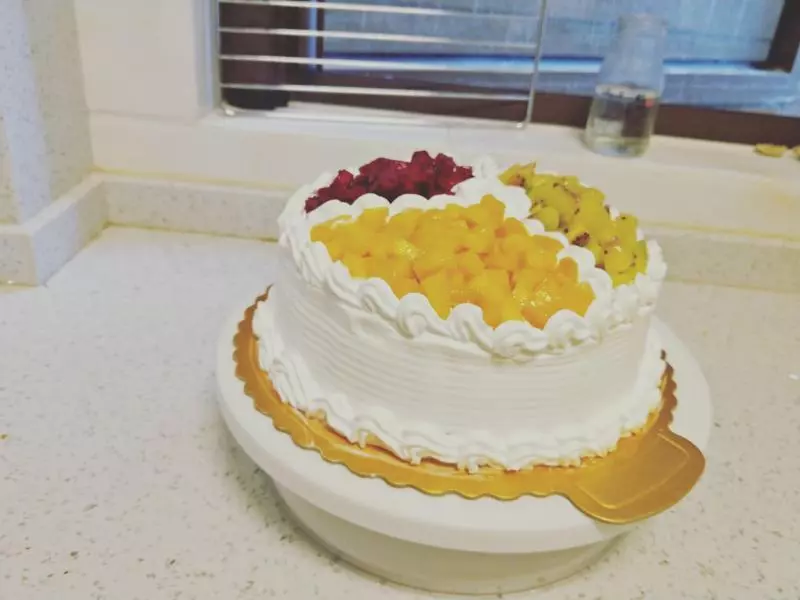
33這個角度也很美!
小技巧
注意:做戚風蛋糕,記得蛋清和蛋黃分好,蛋清盆里不能有任何雜物