原料
雞蛋: 3隻, 糖: 50g+15g, 鮮奶: 50g, 玉米油: 35g, 麵粉: 50g, 淡奶油(35%脂肪含量): 250ml, 芒果: 適量
步驟
1三個雞蛋打開,分開蛋黃和蛋白
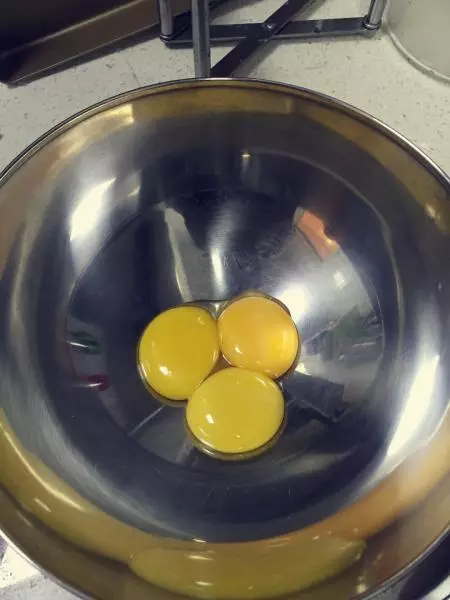
2蛋白的容器一定記得無油無水
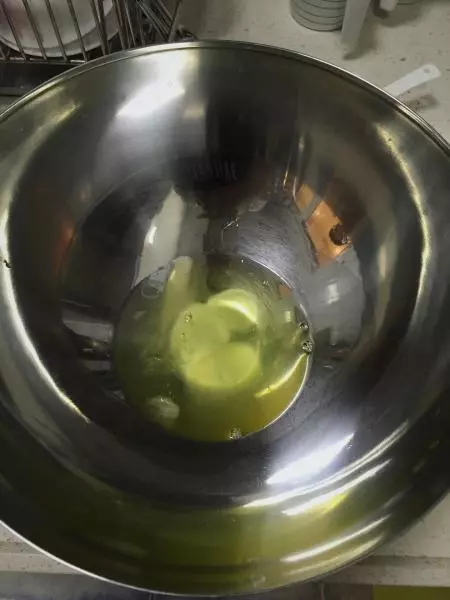
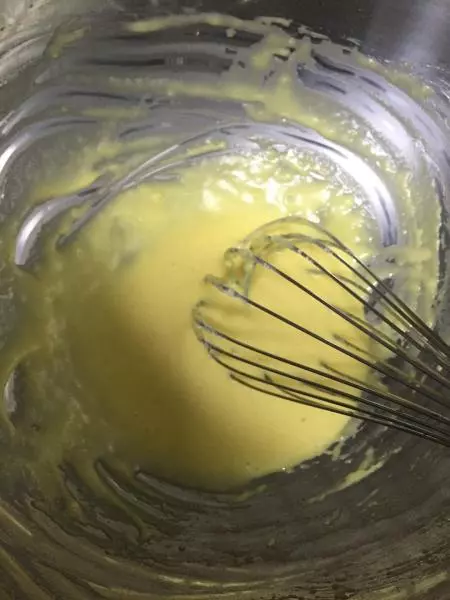
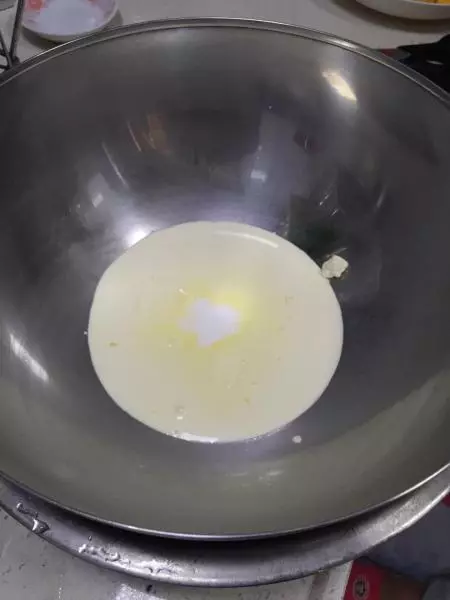
3將油、牛奶倒在第三個容器中,攪勻,燒開水,將容器放進熱水,並將牛奶、油的混合物加熱到70度左右,逐個蛋黃加入,攪勻。然後加入過篩後的麵粉(此時將蛋黃牛奶油的混合物移離開熱水,否則可能會過熱將蛋黃煮熟)。用手動打蛋器將其攪勻。
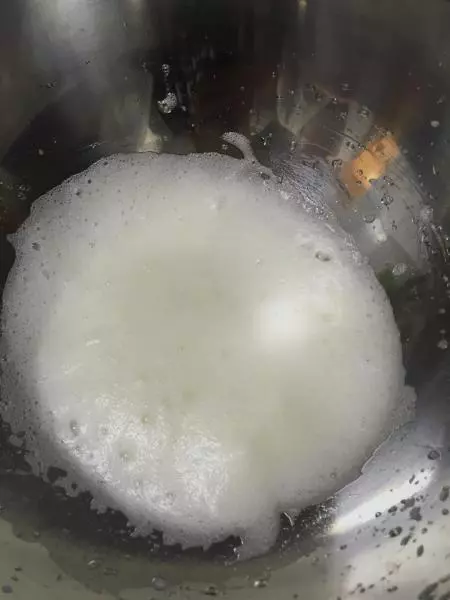
4加幾滴檸檬汁至蛋白中,用電動打蛋器打至粗泡
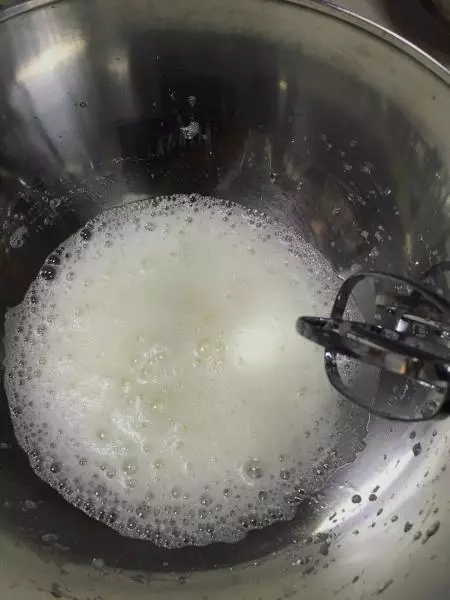
5加1/3糖,將蛋白打至細泡沫
6繼續打蛋白,至更細泡沫,加第二次1/3糖
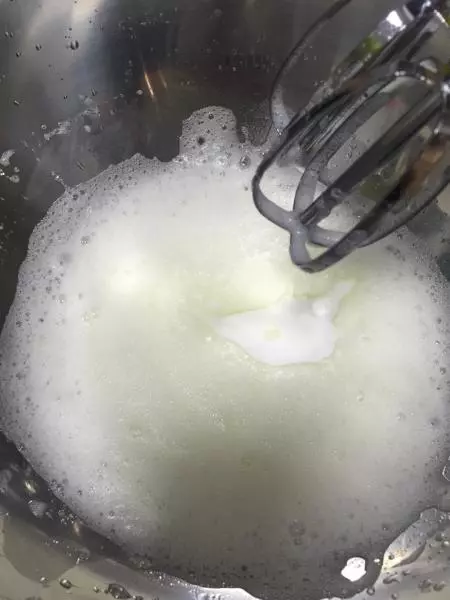
7加第三次糖,繼續打發,這時需要不時看看打發程度,打至濕性質地。
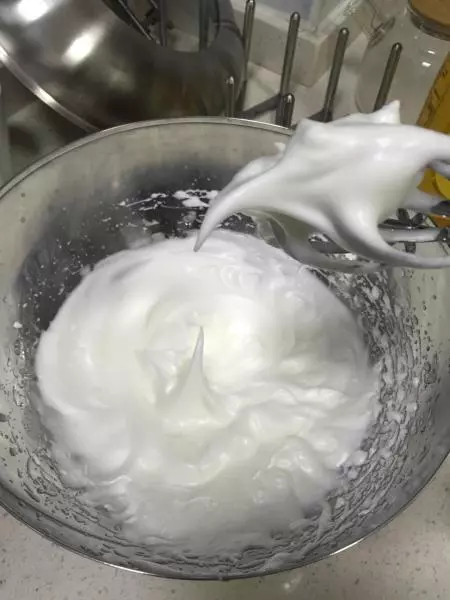
8將1/3蛋白霜放到蛋黃糊,用反切法快速初次拌勻。然後將拌勻後的蛋黃糊倒進餘下的蛋白霜,用反切法或半徑小畫圈拌勻,注意一定要兜底,因為蛋黃糊會沉底。快速全部拌勻後,將混合物倒進蛋糕模。
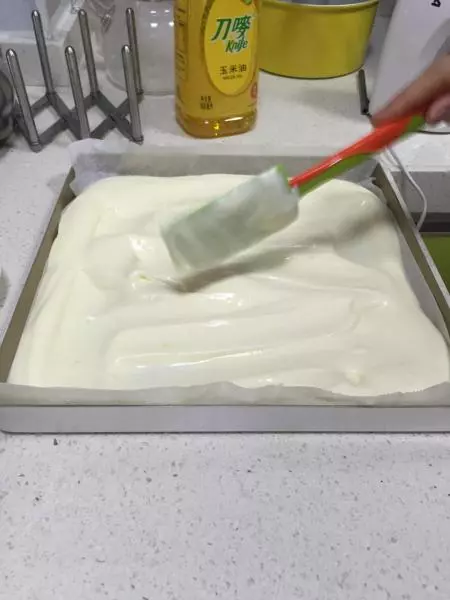
9180度烤15分鐘,然後取出倒扣晾涼
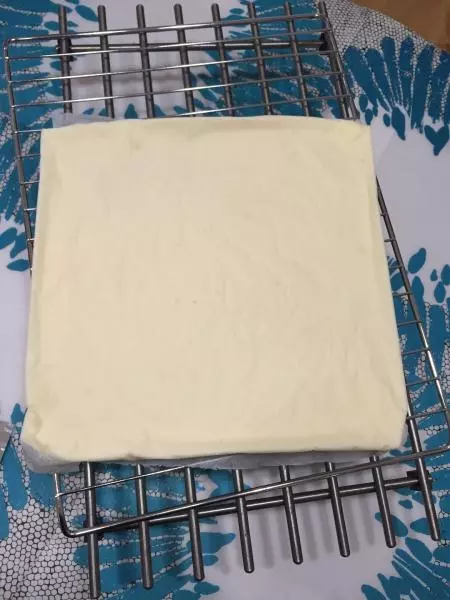
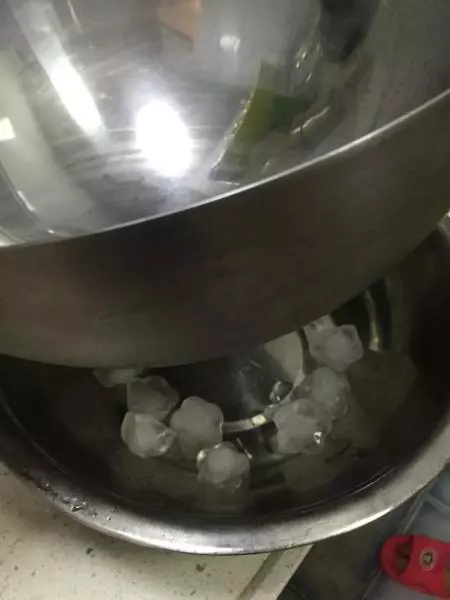
10取一些冰塊墊在容器下面,並將容器放進冰箱冰凍一下後取出,將奶油倒進容器。注意一定要加冰塊並冰凍容器,淡奶油必須保持低溫才能打發。
11加15g糖至淡奶油,電動打蛋器打至粘稠凝固
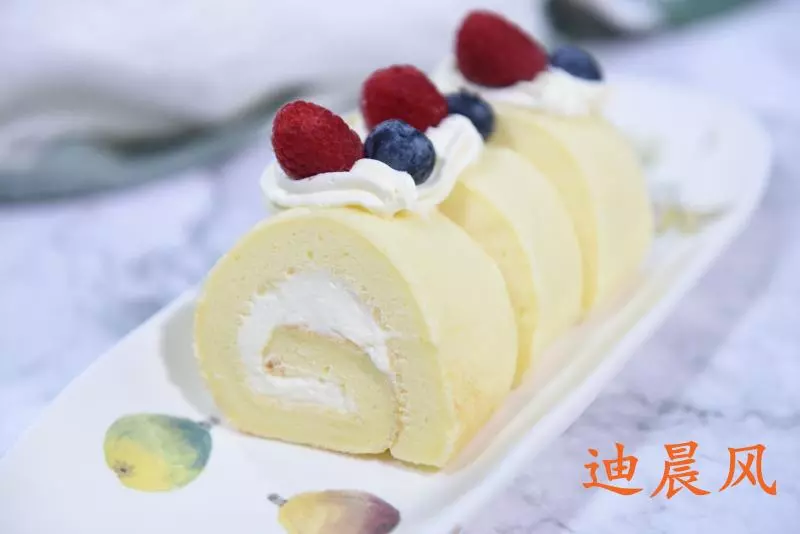
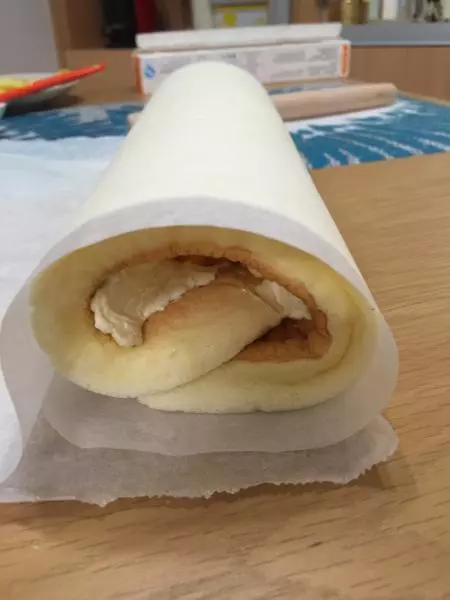
12將烘培紙鋪在桌面,將晾涼的蛋糕放紙上。將打發的奶油塗抹在蛋糕上。

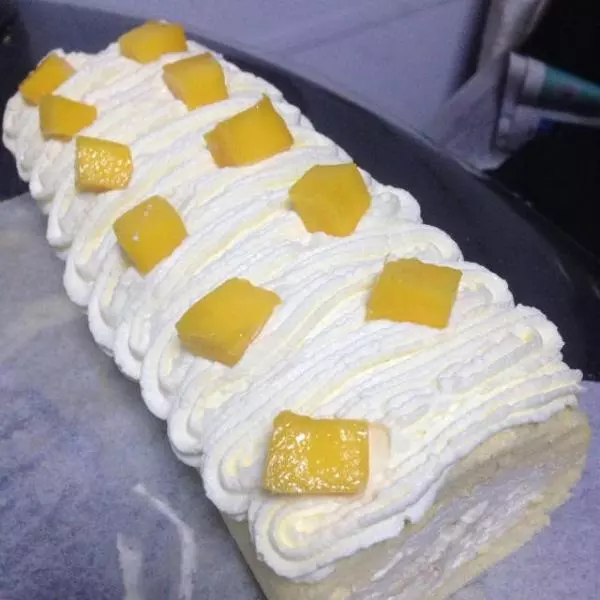
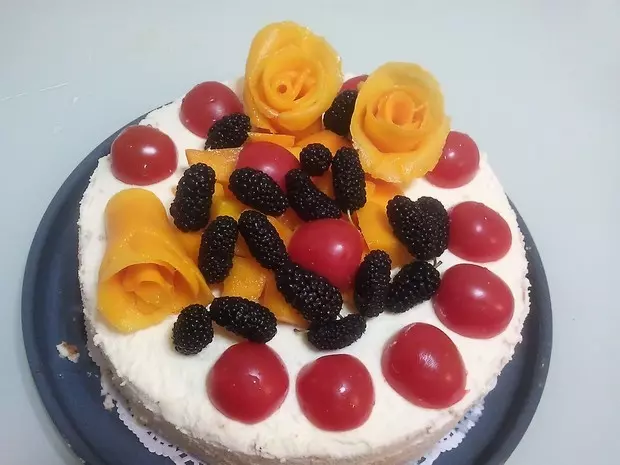
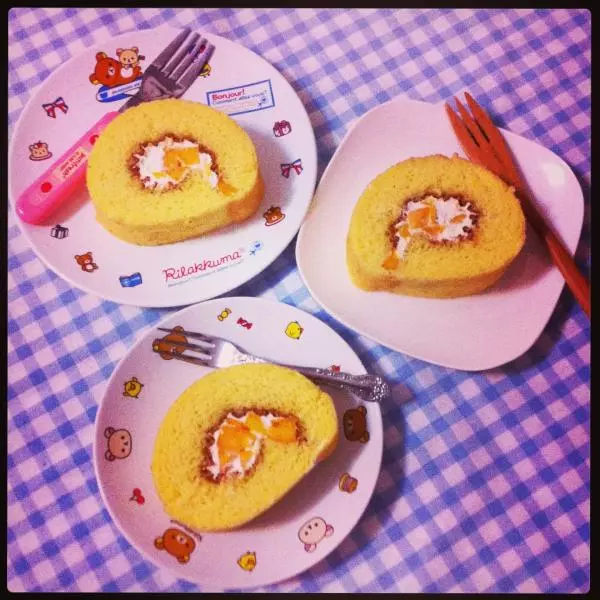
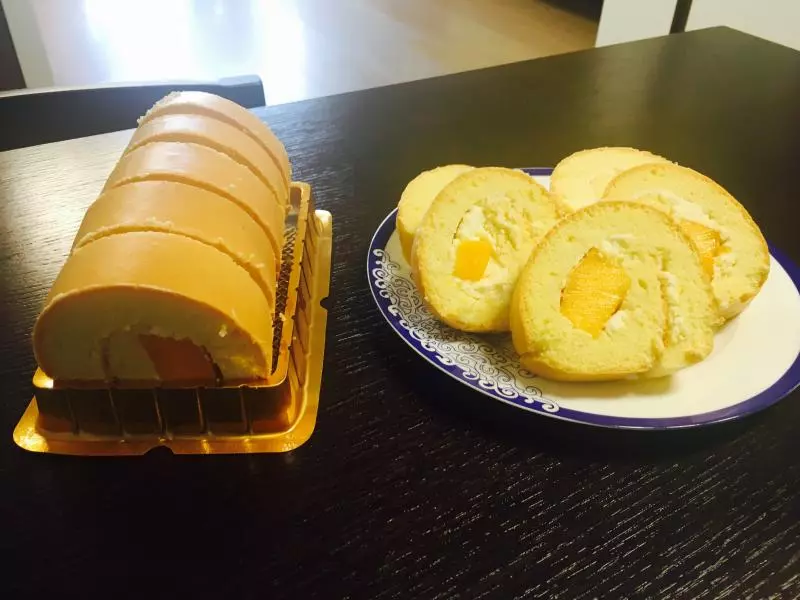
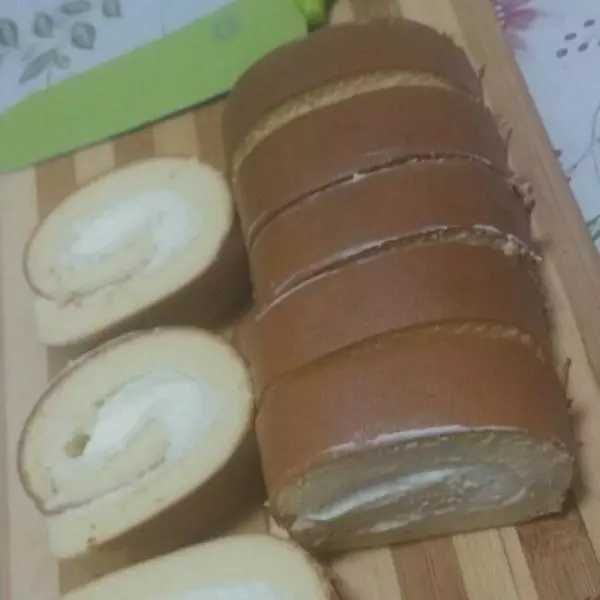
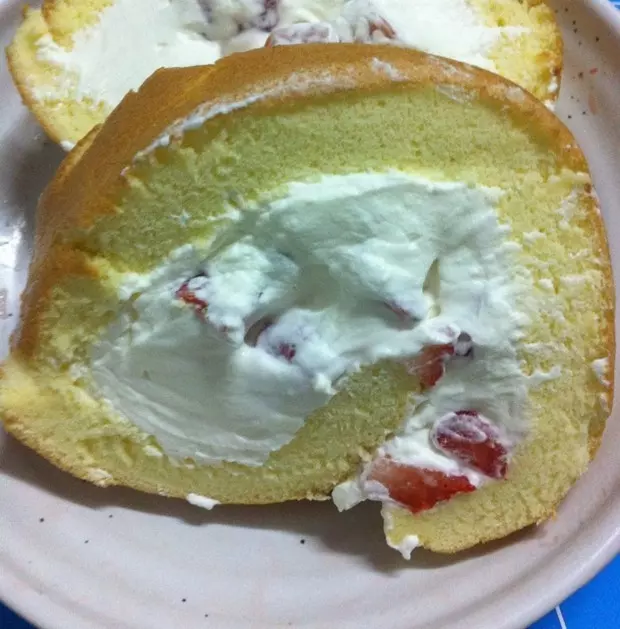
13塗抹均勻奶油後,加入芒果
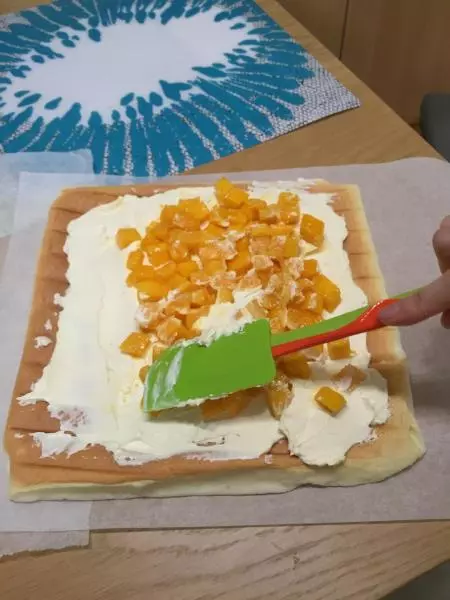
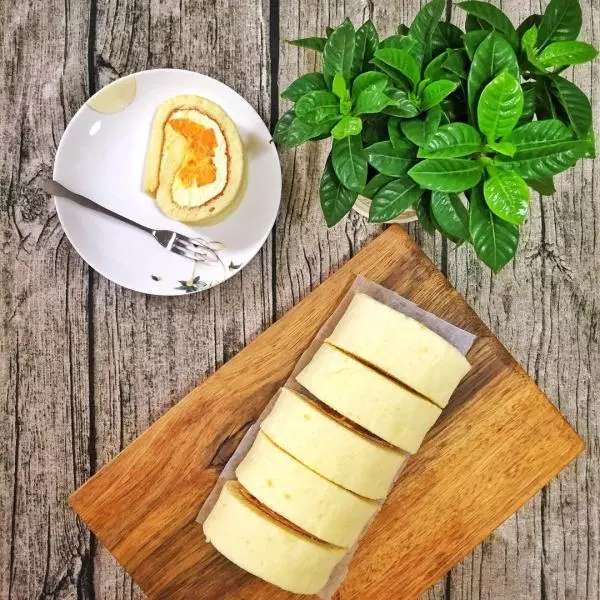
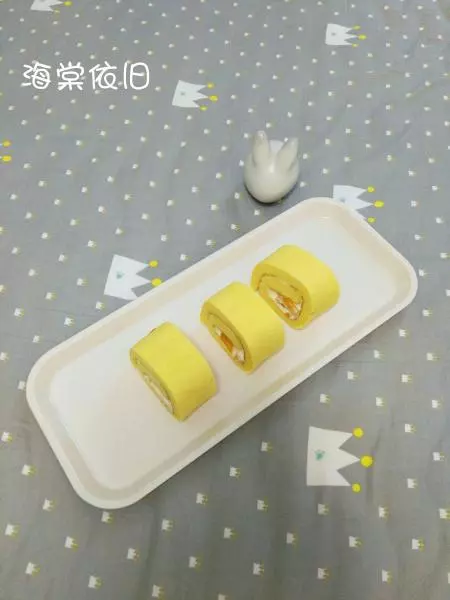
14用擀麵杖帶起烘培紙,捲起蛋糕卷。放冰箱冷藏兩小時
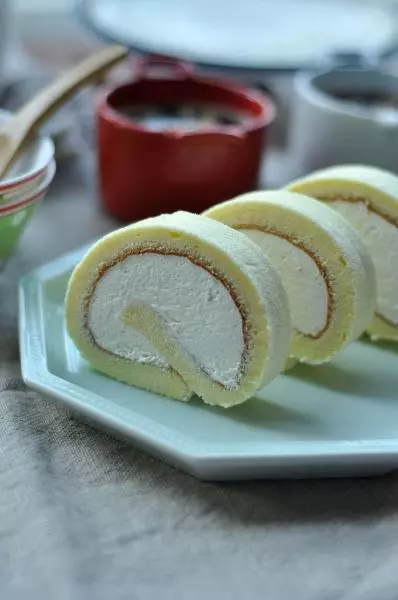
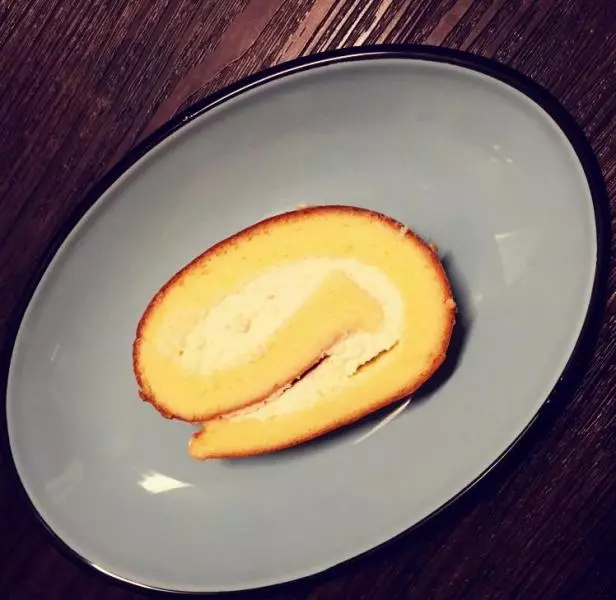
15切開,開吃!