原料
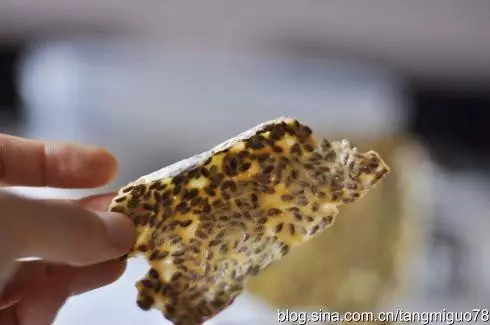
高筋麵粉: 230克, 全麥粉: 30克, 麩皮: 10克, 亞麻籽: 10克, 酵母: 4克, 細砂糖: 30克, 鹽: 2克, 奶粉: 15克, 牛奶: 100克, 黃油: 20克, 淡奶油: 50, 煉乳: 15克, 雞蛋: 45克
步驟
1除黃油和亞麻籽之外所有材料混合揉至表面光滑

2加入亞麻籽和黃油繼續揉出膜

3揉成光滑麵糰

4放入烤箱開啟發酵模式或者放入冰箱冷藏發酵一晚

5發到兩倍大,我是放冰箱冷藏發酵,早上拿出來室溫回暖

6平均分成三份蓋保鮮膜進行中間鬆弛20分鐘

720分鐘後用排氣擀麵杖擀開左右如圖向中間摺疊

8再擀平,如果麵皮軟撒點麵粉防粘

9像這樣從下往上捲起

10捲成這樣放到吐司模具中

11三個捲起方法一樣

12烤箱底部放熱水開啟發酵模式進行二次發酵

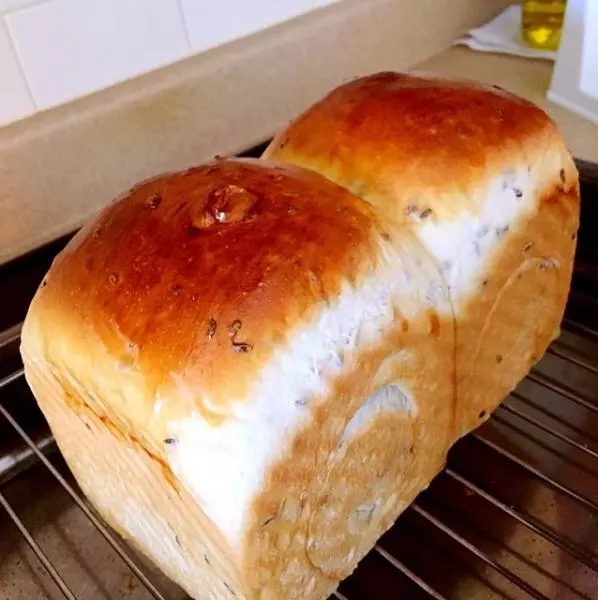
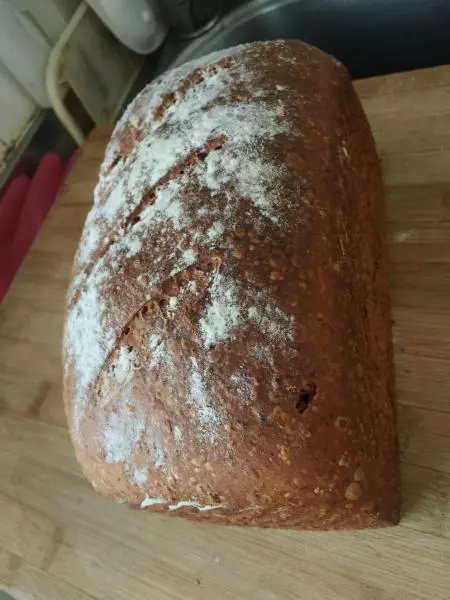
13二發完成,如果喜歡蓋蓋子就發到八九分滿就可以,我喜歡山峰所以發的滿

14烤箱預熱上火180、下火170,這個時候表面刷蛋液

15烤箱一定要充分預熱好,然後放入烤箱下層烤40分鐘。表面上色後一定要加蓋錫紙

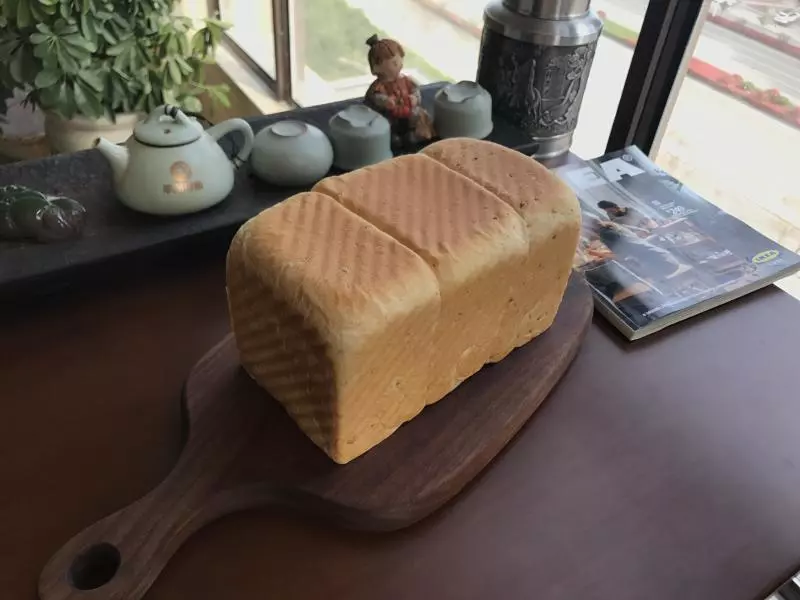
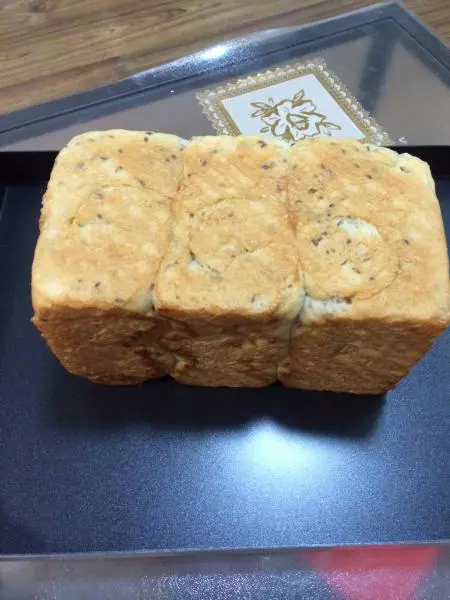
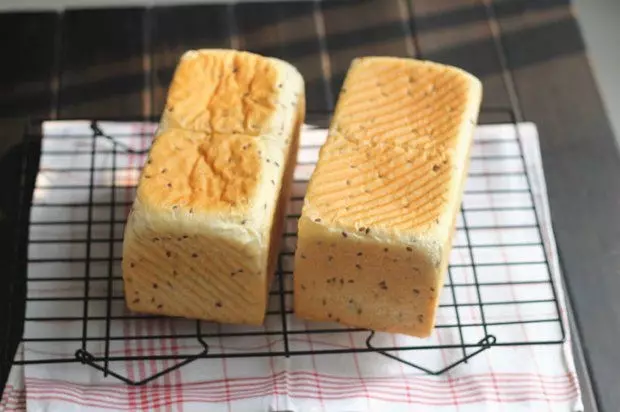
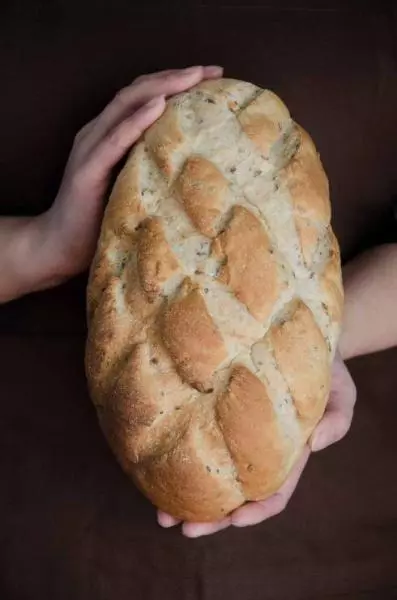
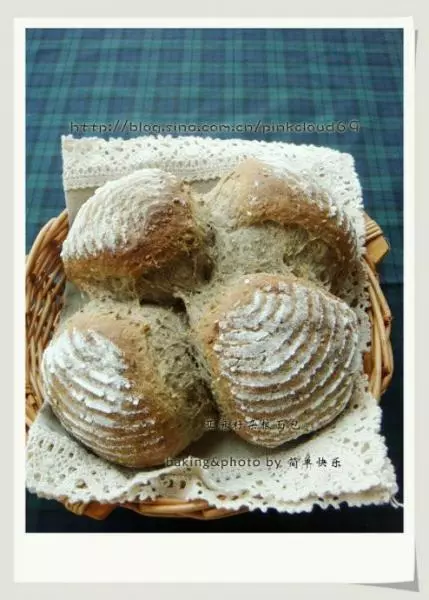
16出爐馬上脫模放到晾網上

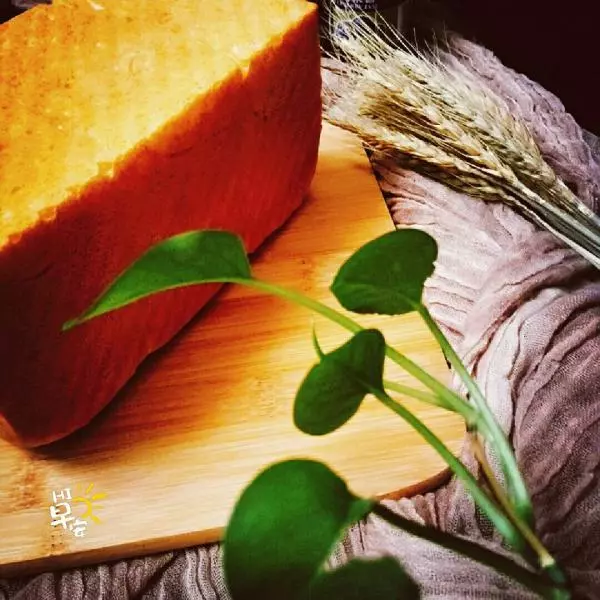
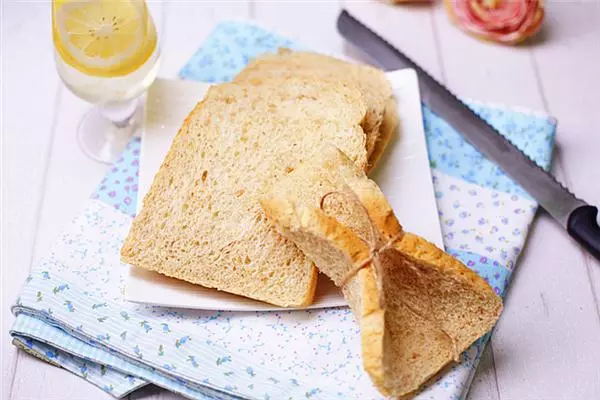
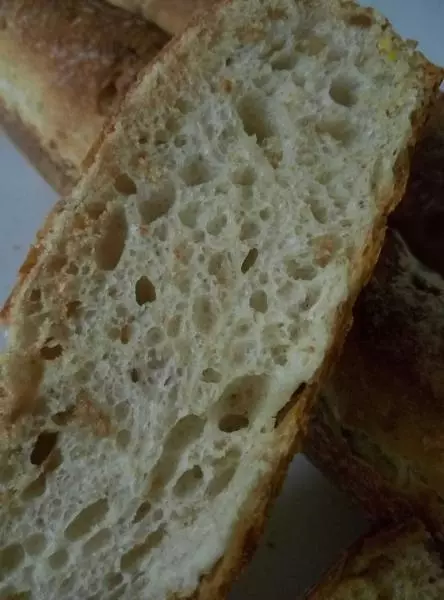
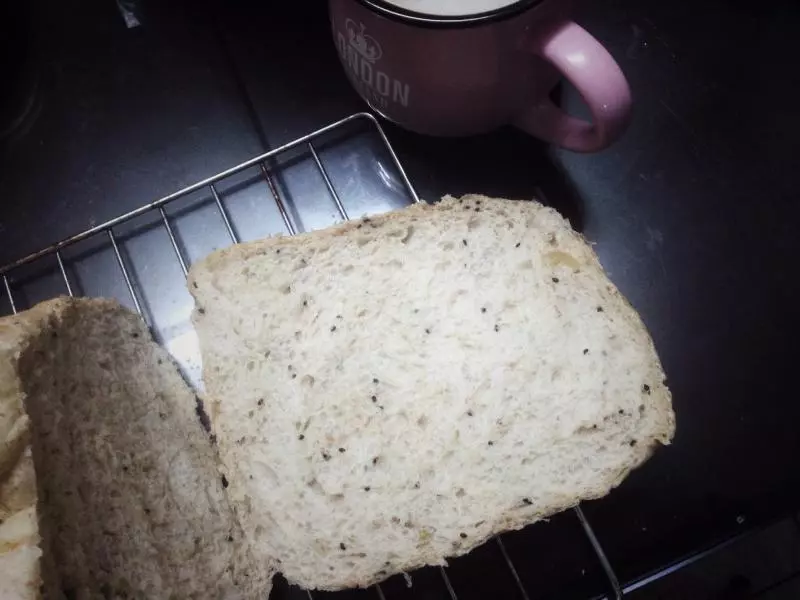
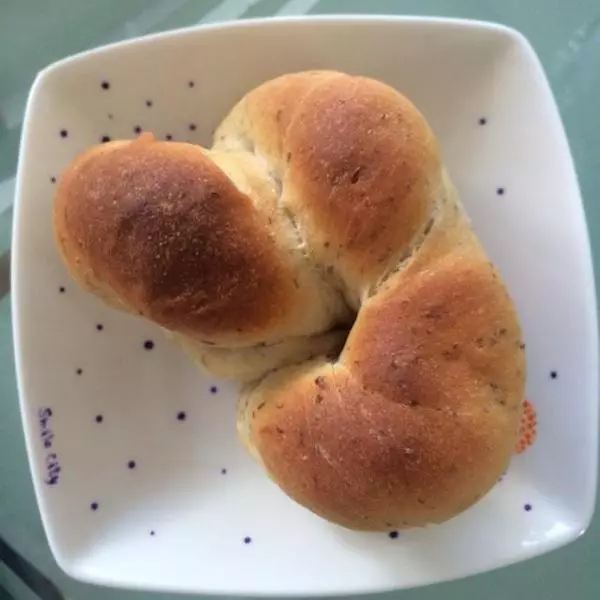
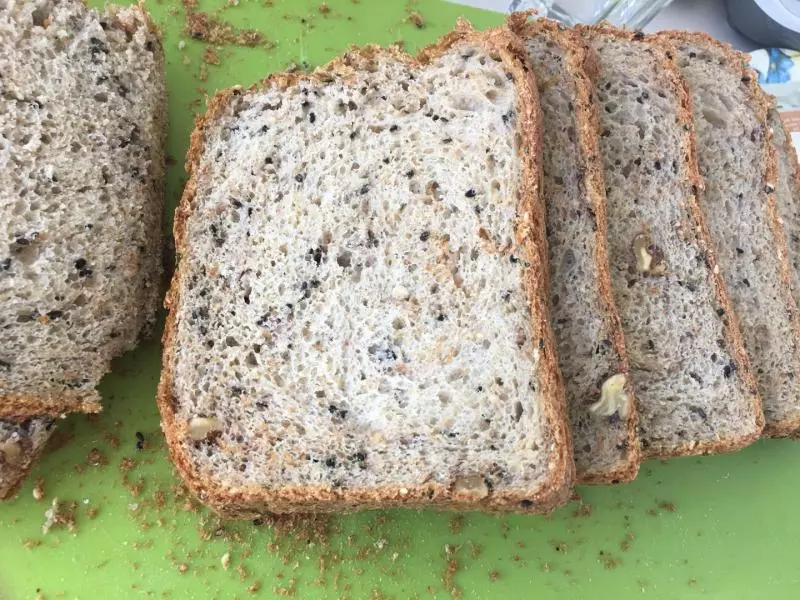
17成品還不錯?無沉底無縮腰無塌陷

18切功不好湊合著看吧……

小技巧
亞麻籽一定要提前一晚用水浸泡(一定要)!煉乳沒有可以不加,我是因為正好剩了點煉乳所以加了進去(捂臉偷笑)第六步中間醒發非常重要不能省!第十二步二發要保持濕度在70到80度左右,熱水要換兩到三次。 我的切功不好請忽略!