原料
豬絞肉: 125g, 蔥白碎: 12g, 宜賓碎米芽菜: 40g, 豬油: 17g, 料酒: 1大匙, 醬油: 1大匙, 胡椒粉: 1g, 糖: 1小匙, 賴湯圓花生味湯圓芯子: 半袋(約170g), 低筋粉: 50g, 鹽: 1/8小匙, 中筋粉: 150g, 豬油: 55g, 水: 60g, 細砂糖: 30g, 豬油: 60, 低筋粉: 120, 食用色素: Wilton Copper+golden yellow
步驟
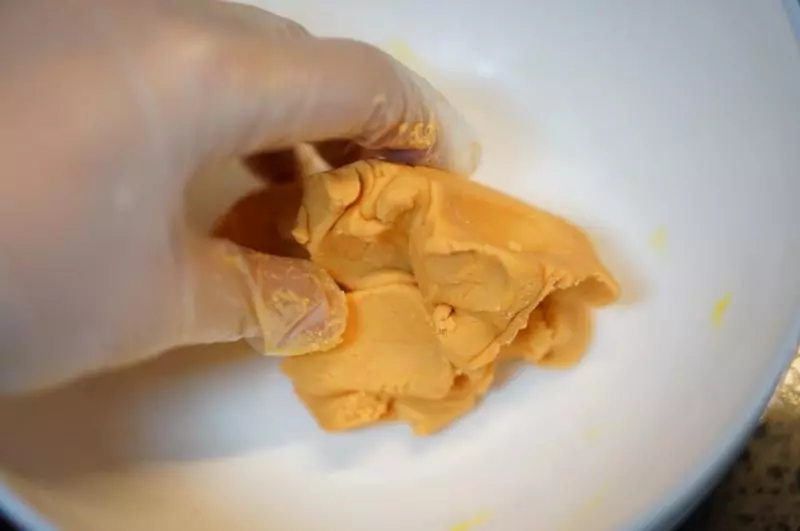
1先來做花生餡兒:湯圓芯子加低筋粉加鹽
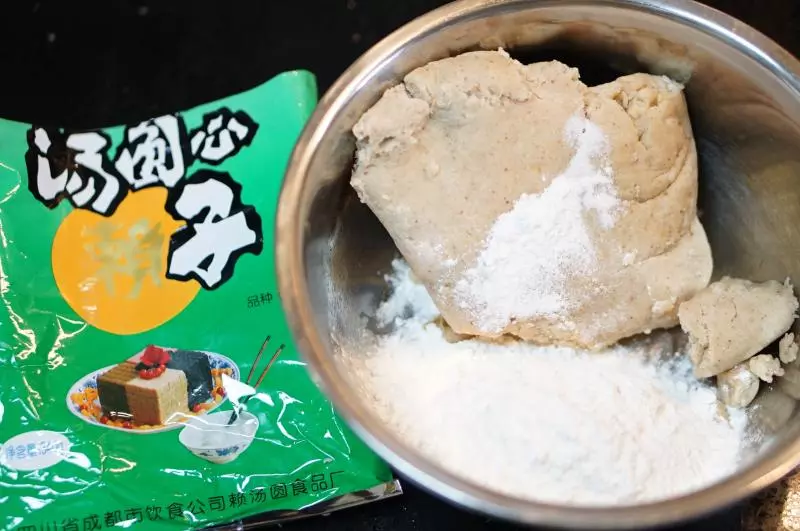
2搓散拌勻
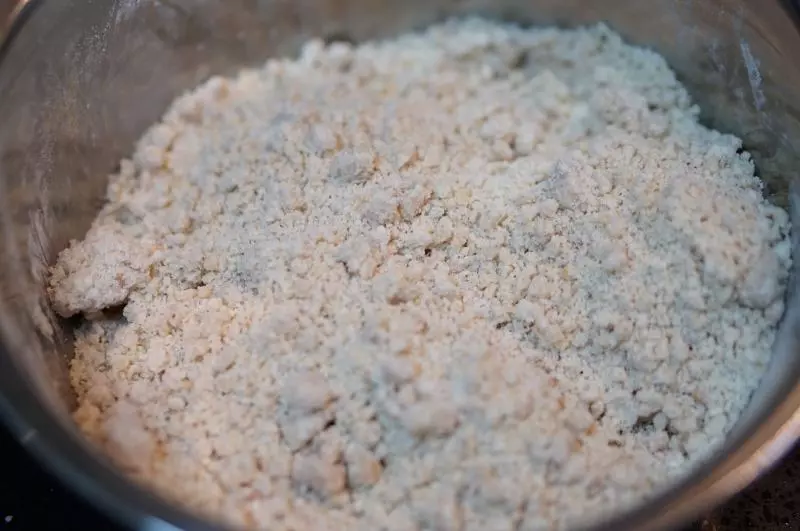
3到可以團成團即可

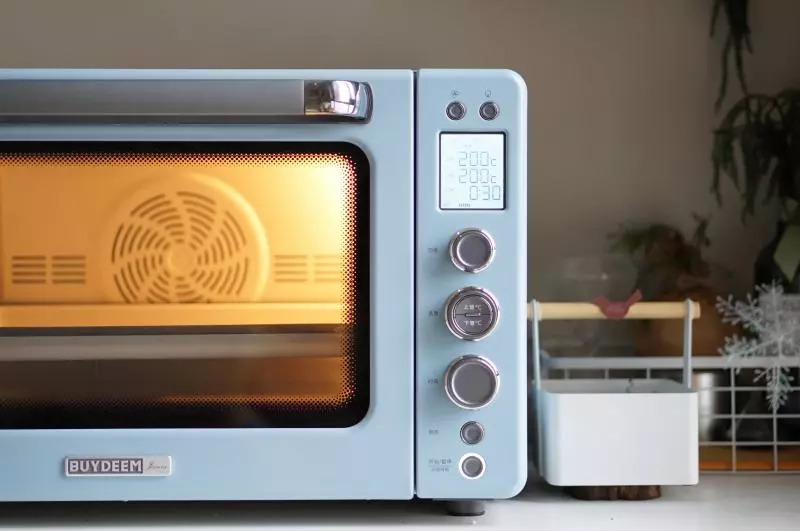
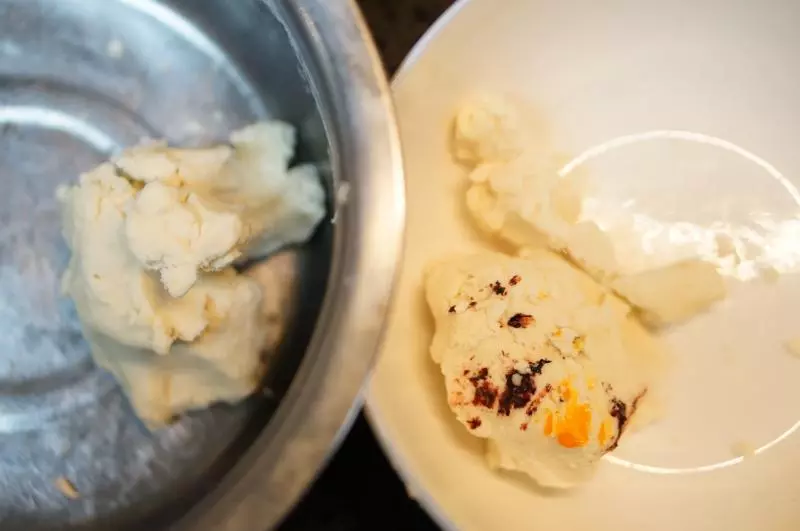
4然後來做肉餡兒:烤箱立體烤模式200度預熱
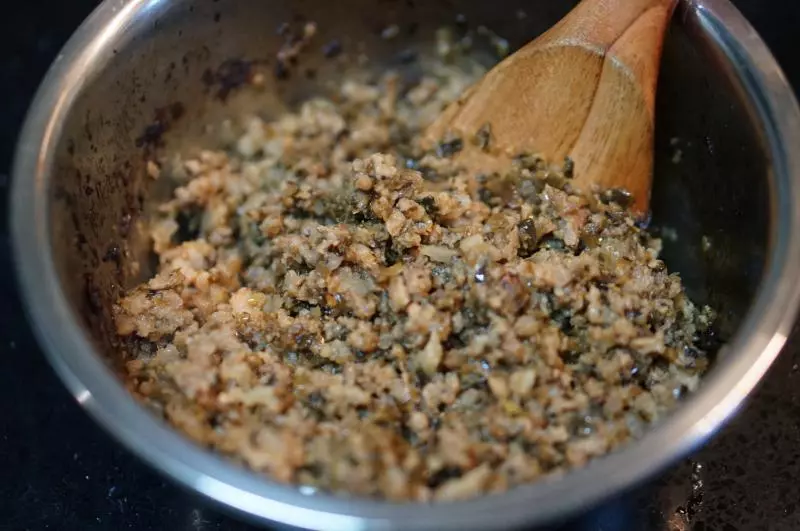
5將肉餡兒的全部食材放在一起
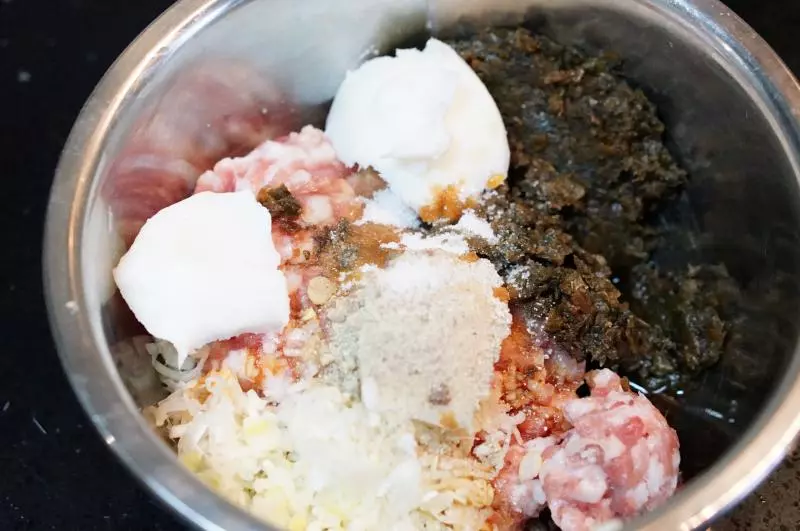
6拌勻
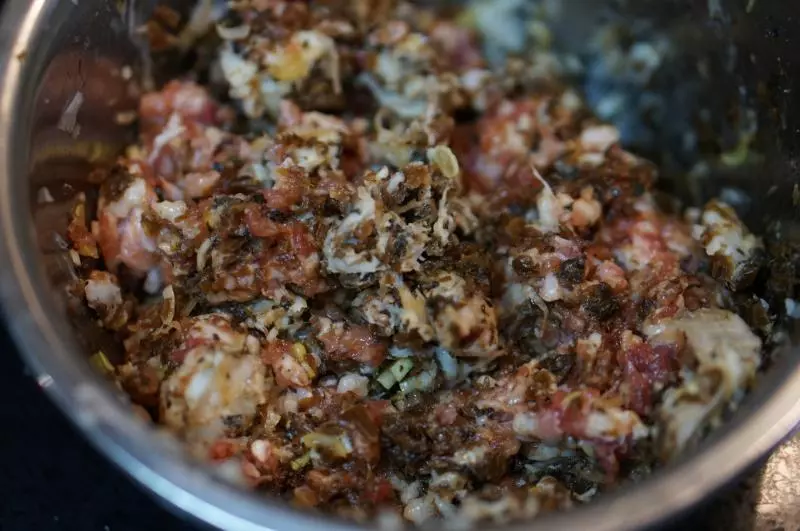
7放入烤箱烤30分鐘左右,期間拿出來拌勻幾次
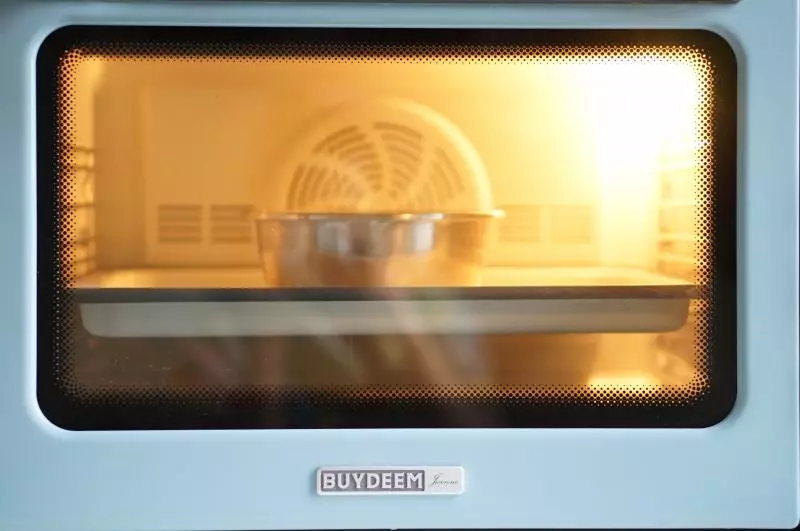
8烤到肉熟,顆粒分開即可
9然後做水油麵:水油麵所有材料放入麵包機,用餃子麵糰菜單和面(沒有麵包機就用手揉)
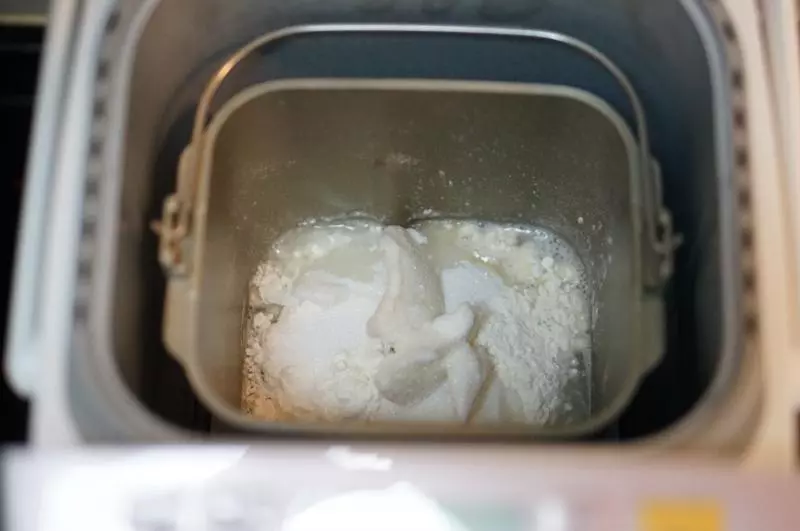
10揉到麵糰光滑,有良好的延展性即可。揉好的麵糰用濕布蓋好防止變干

11然後來做水油麵團:低筋粉和豬油放在一起拌勻捏成團
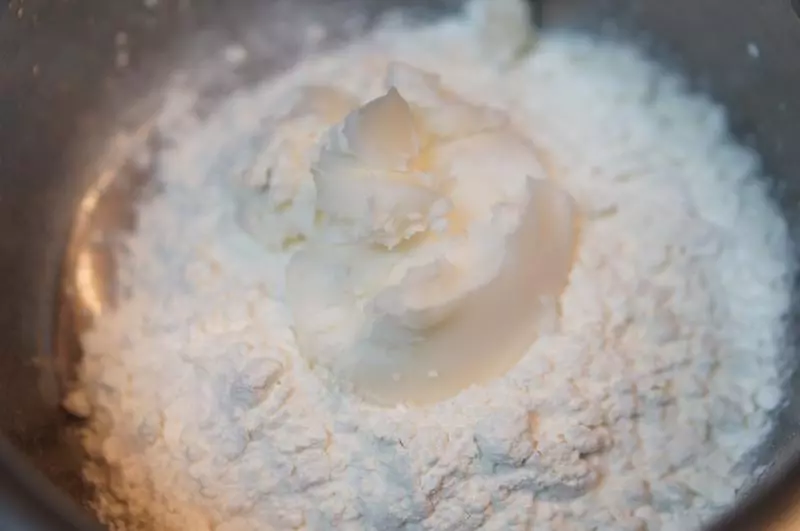
12等分成兩半,其中一半用色素調色,調色的時候少量多次放色素,但最後的顏色可以深一點,烤的時候顏色會變淡
13調色的麵糰揉勻
14將兩種顏色的油酥面分別等分成四份,總共八份,用保鮮膜蓋好保濕
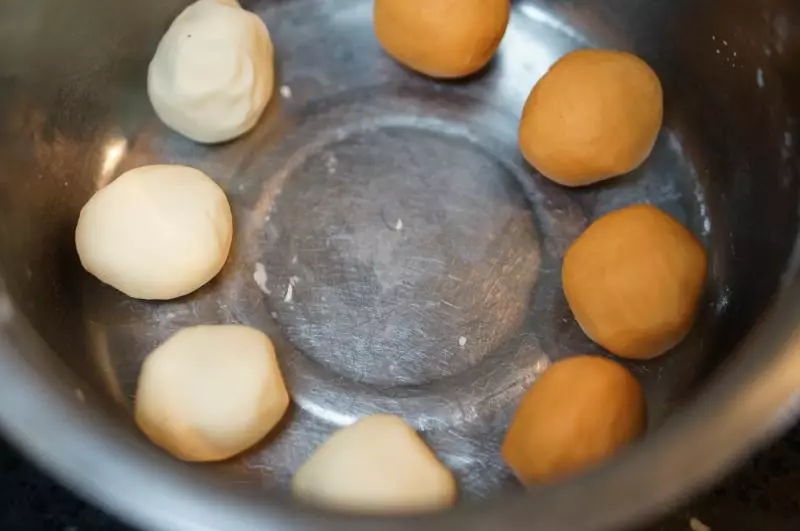
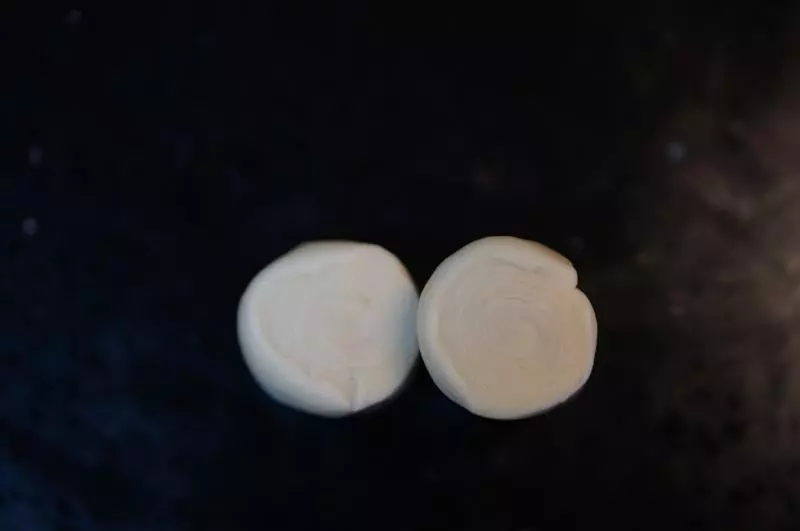
15將水油麵也等分成八份
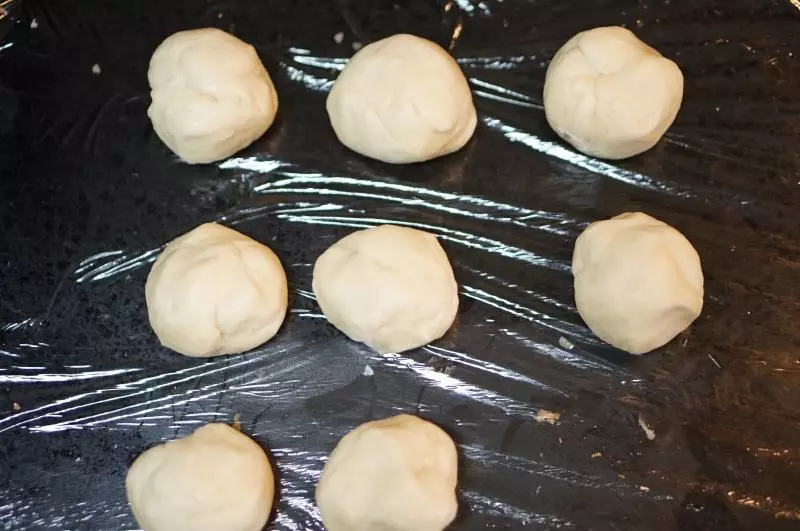
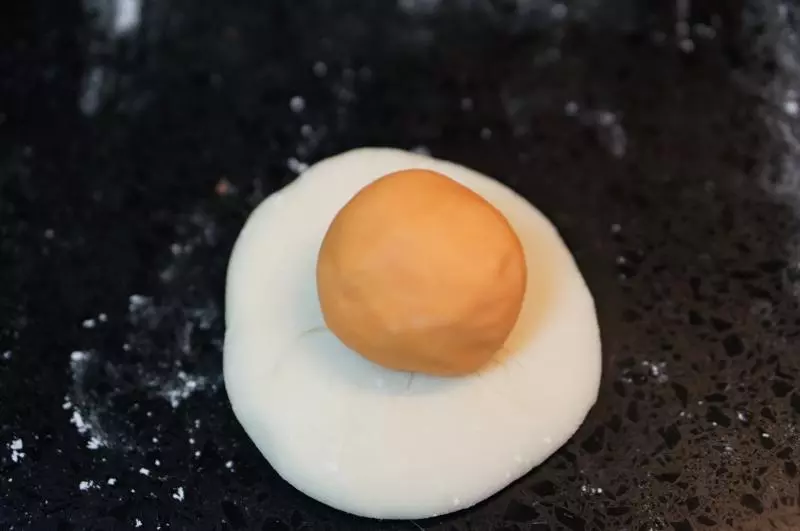
16取一份水油麵團搓圓,壓扁,然後放上一團油酥面
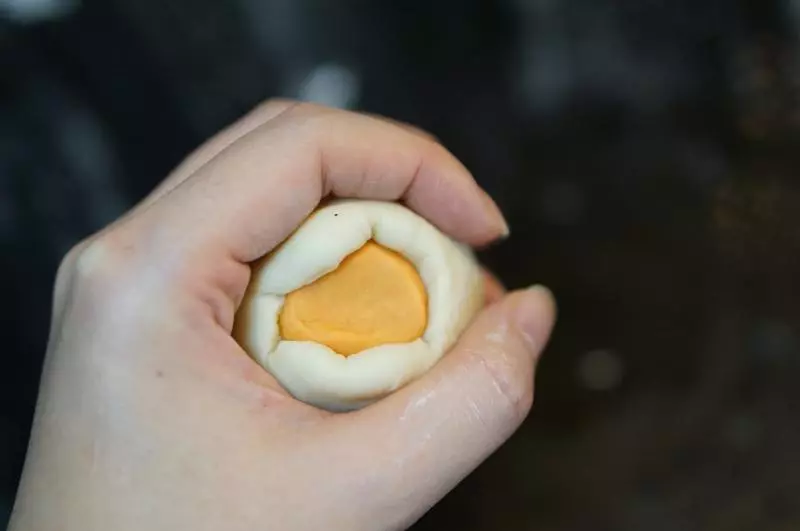
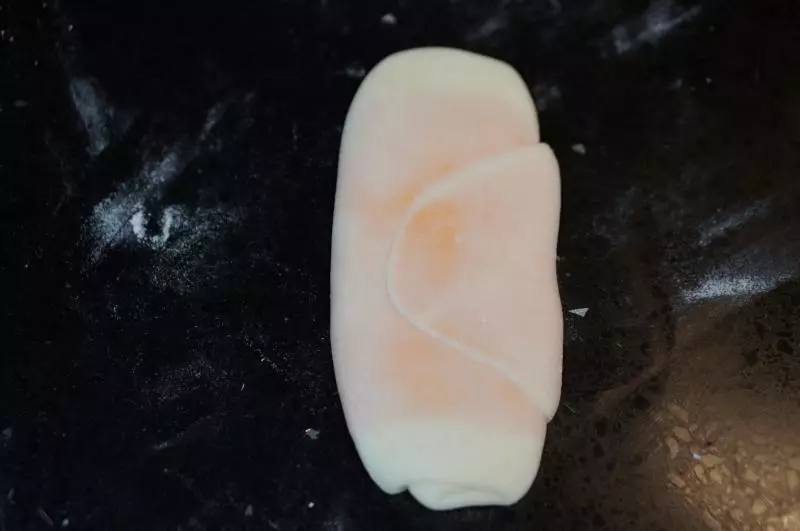
17像捏包子一樣用虎口收口,包起來
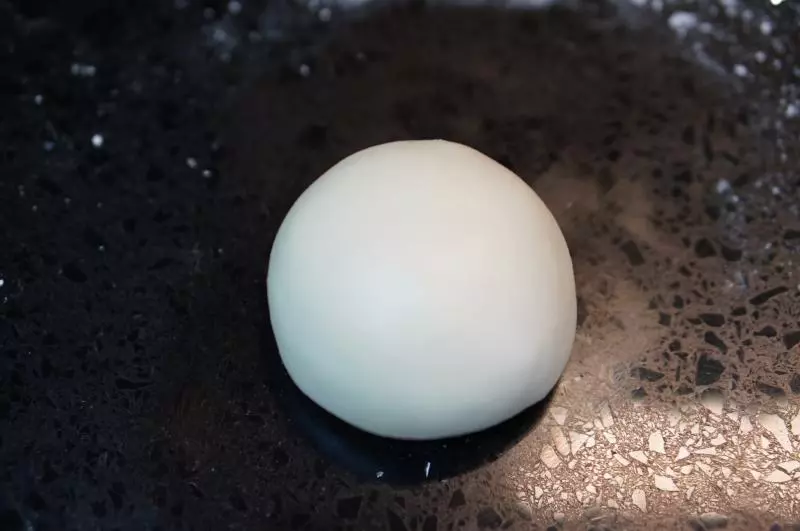
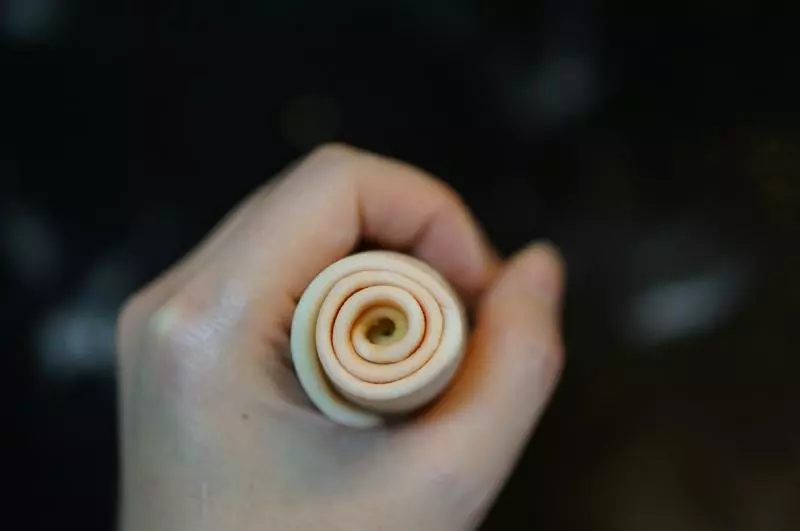
18再次搓圓
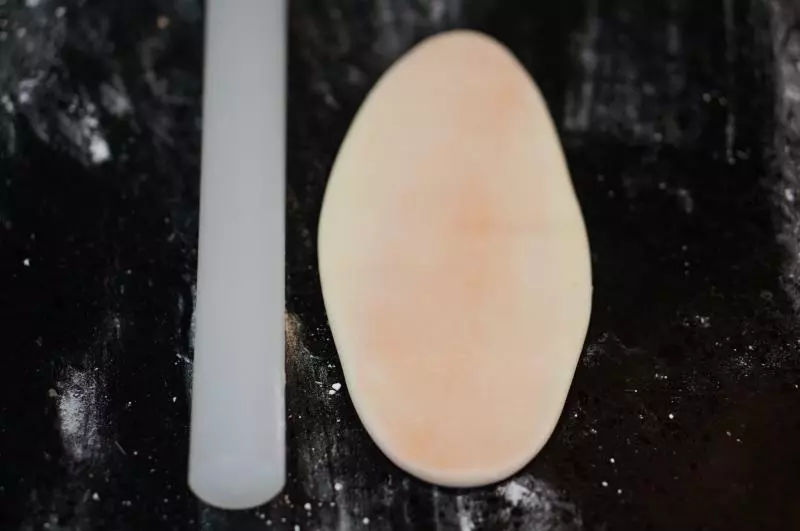
19然後壓扁,擀開成牛舌狀,這一次不用太長,大半根擀麵杖的長度即可
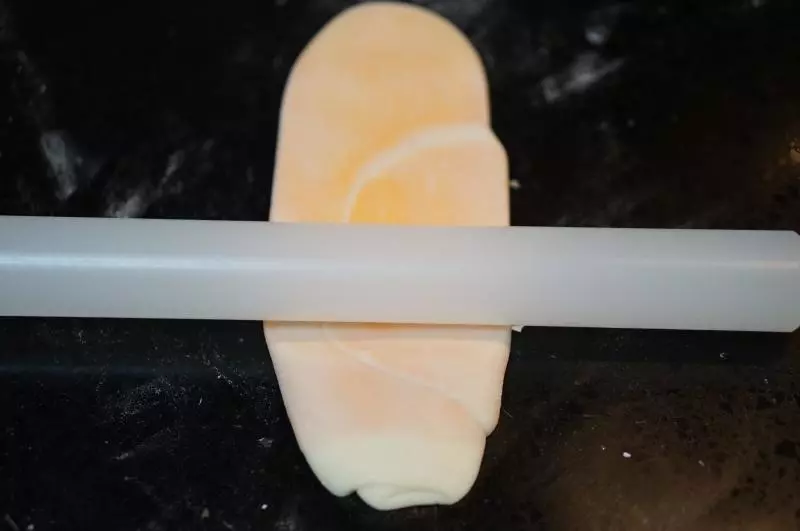
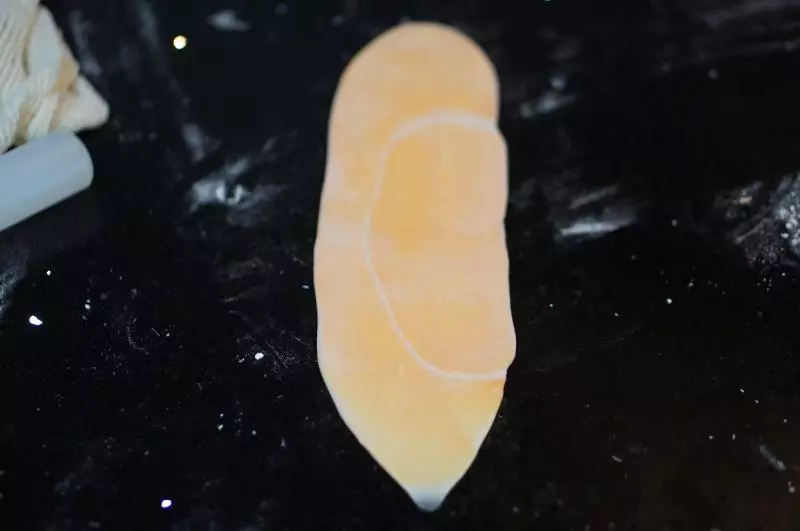
20然後捲起來靜置10分鐘
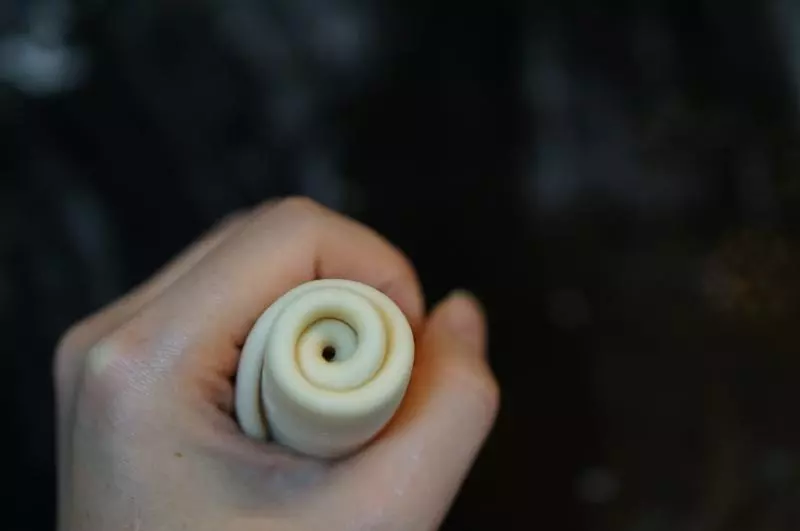
21靜置好的面卷收口向上壓扁
22然後擀開成長條形
23將兩頭擀到非常薄
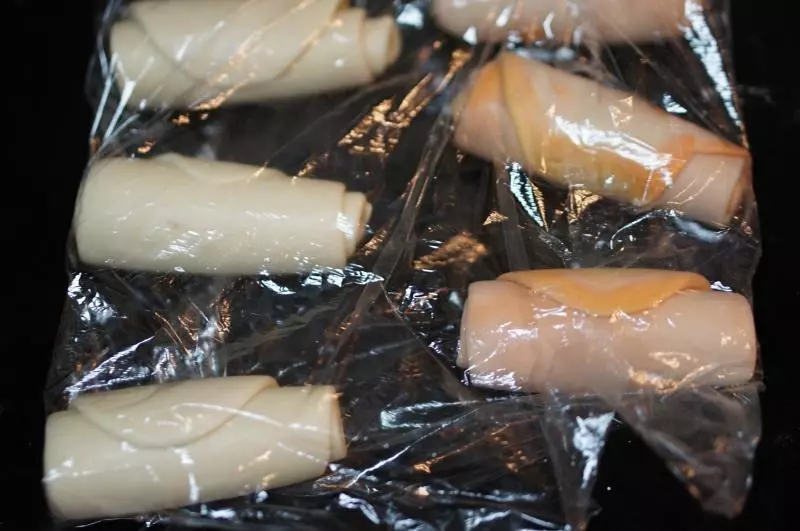
24然後捲起
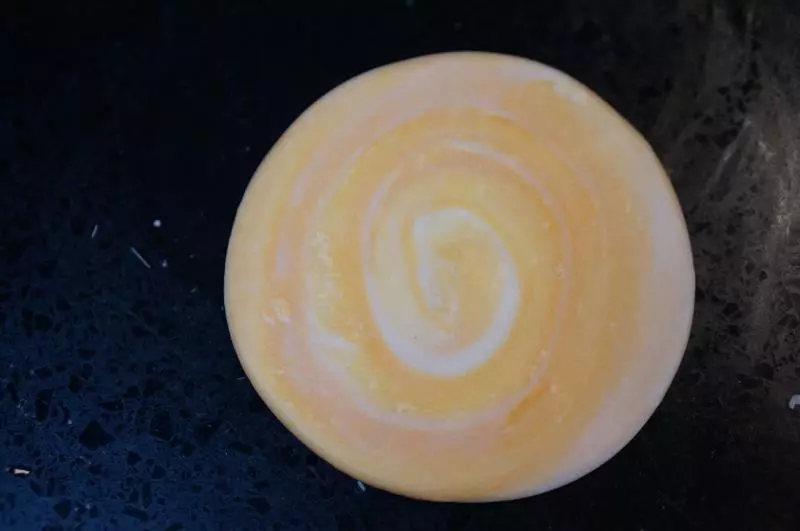
25再靜置五分鐘
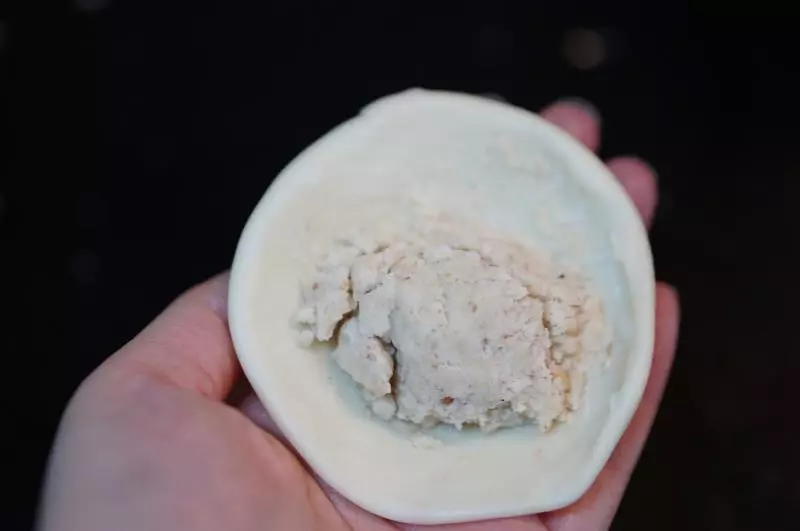
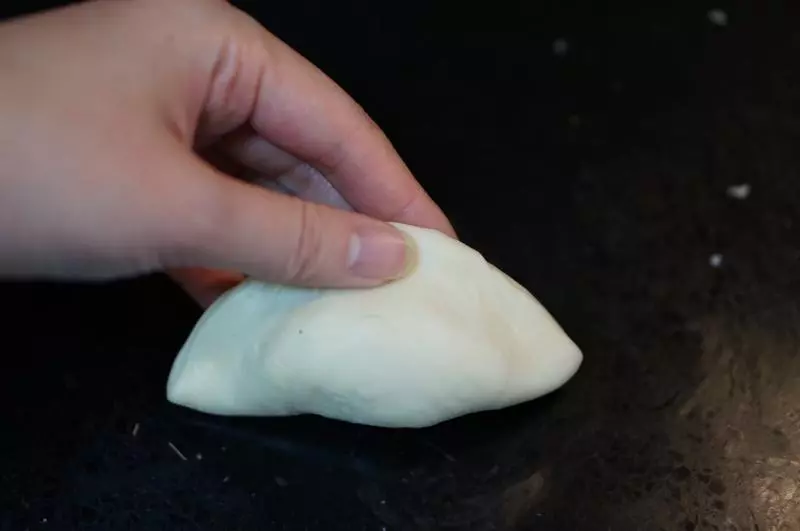
26取一個卷,用鋒利的刀從中間切開
27然後切面向上壓扁,翻面後切口朝下擀圓(不用太薄,餃子皮大小)
28然後切口朝下,麵皮背面放上肉餡兒
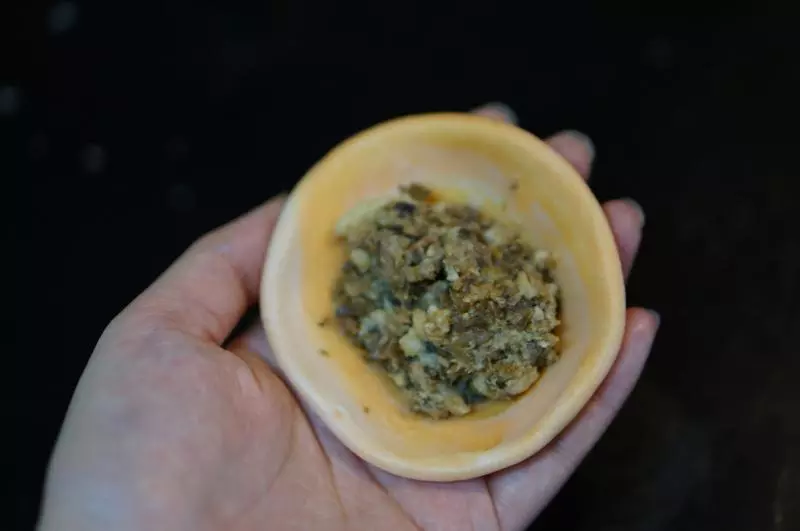
29對摺後捏緊,邊緣要留一些距離出來
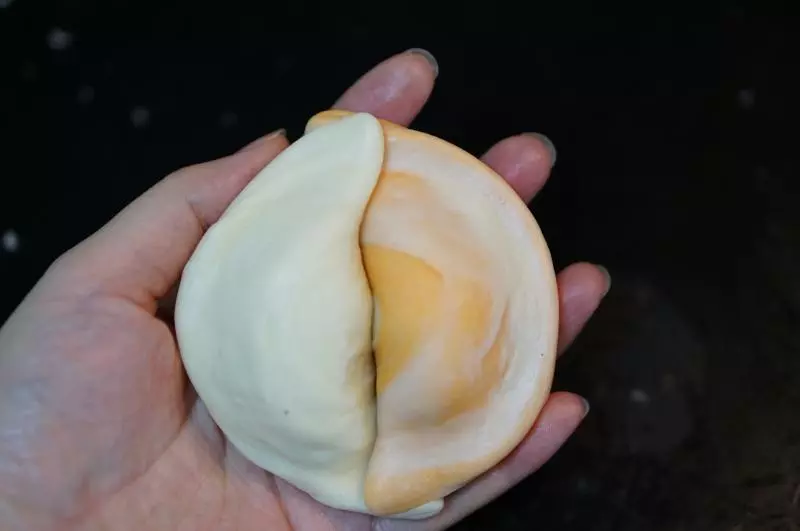
30然後再做一個白色麵皮
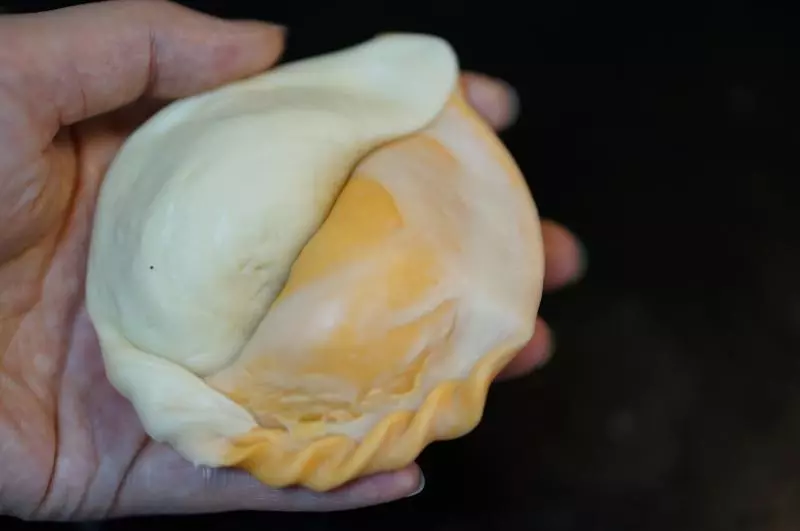
31包上花生餡兒
32同樣對摺
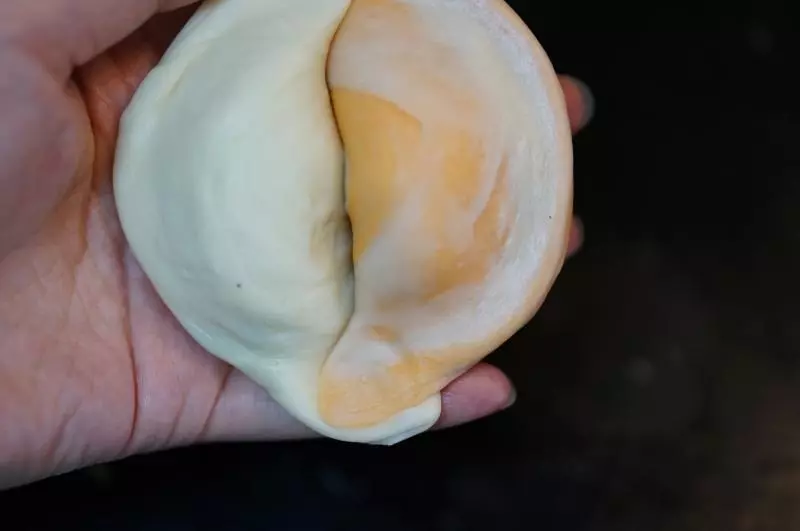
33然後將兩個「餃子」並在一起,兩頭搭在一起捏緊
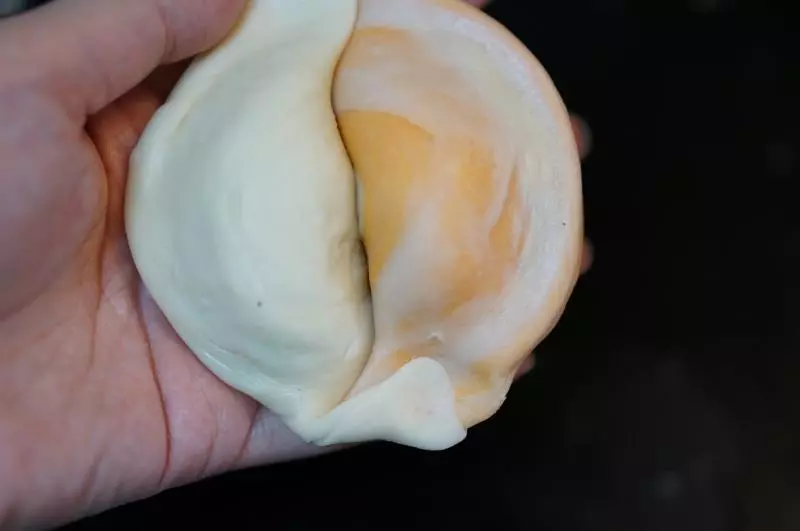
34然後把接頭的面用力捏薄
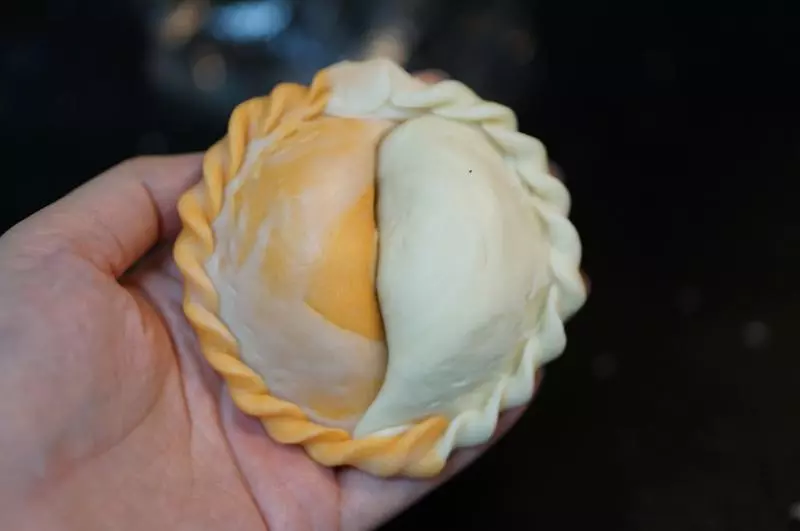
35從捏薄的「耳朵」中央折回去,然後再次把摺痕旁邊的麵皮捏薄捏出耳朵
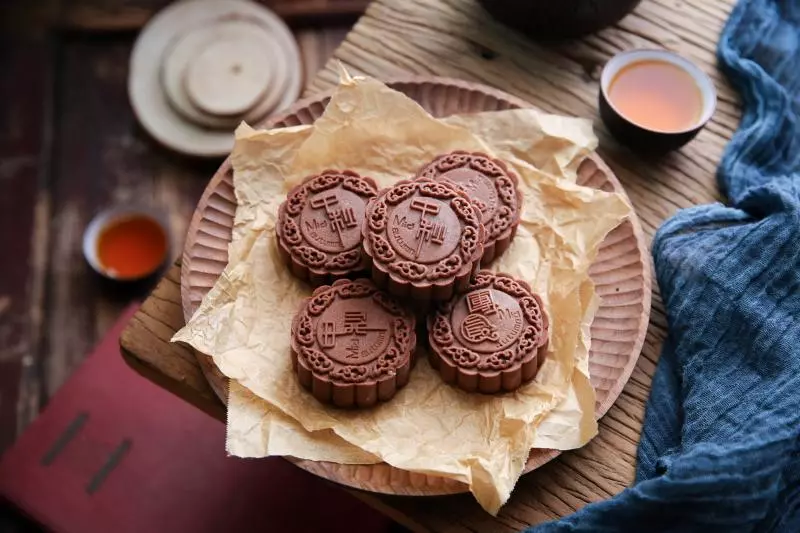
36依次往前捏,就開始出現繩邊啦
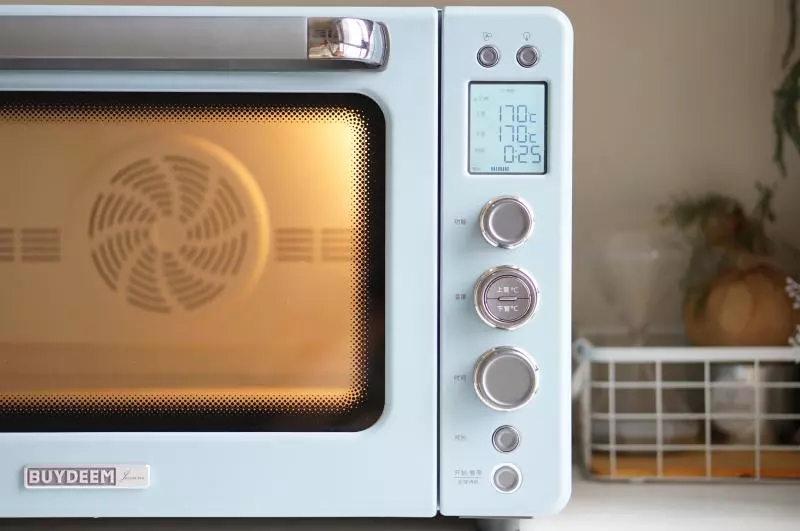
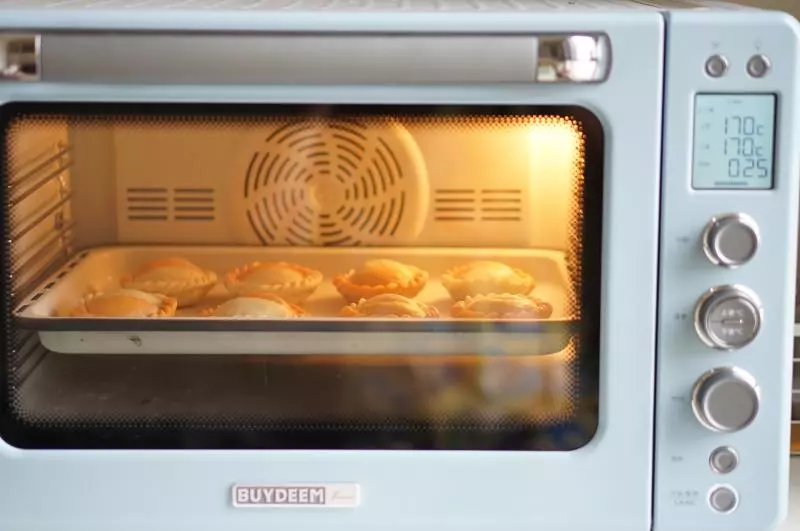
37捏完一圈,整形完畢。
38依次做完八個金銀酥胚
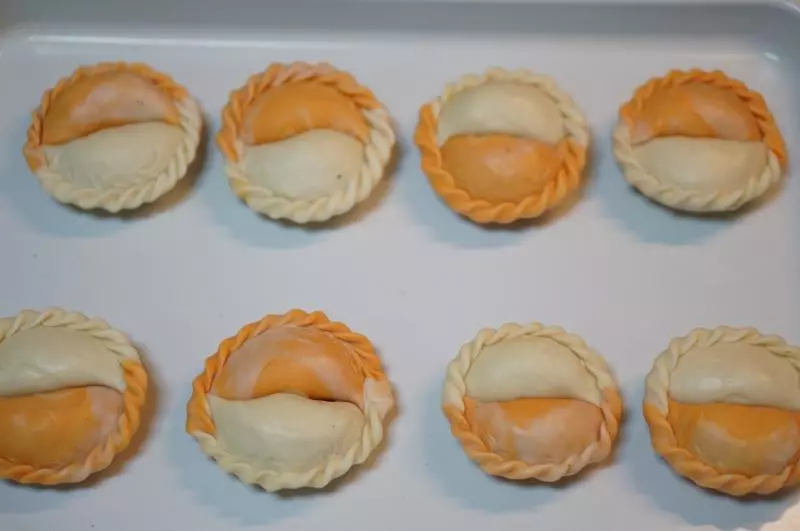
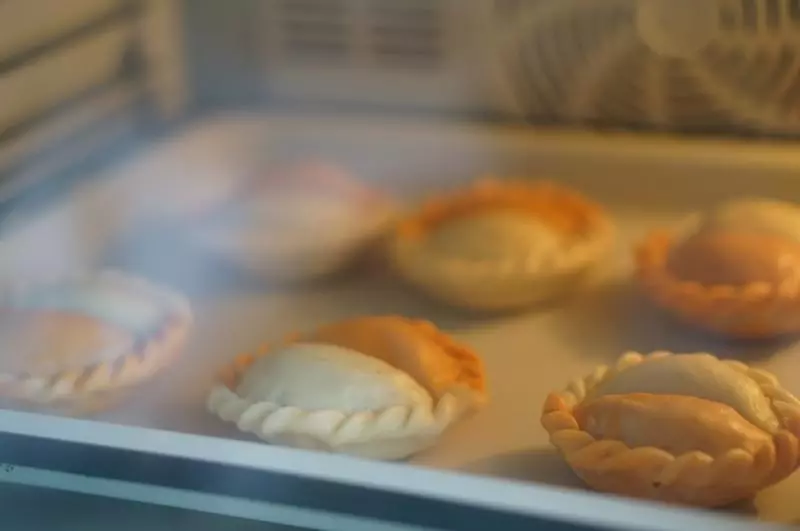
39上下烤模式預熱烤箱至170度
40放入面胚烤25分鐘
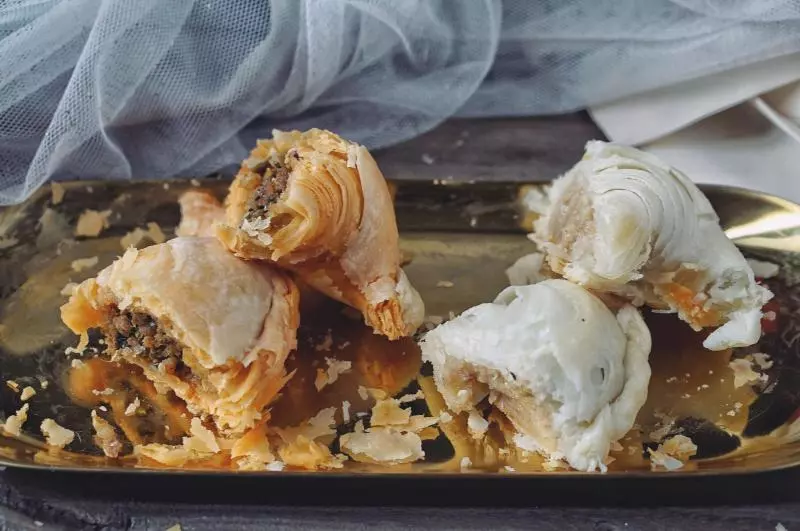
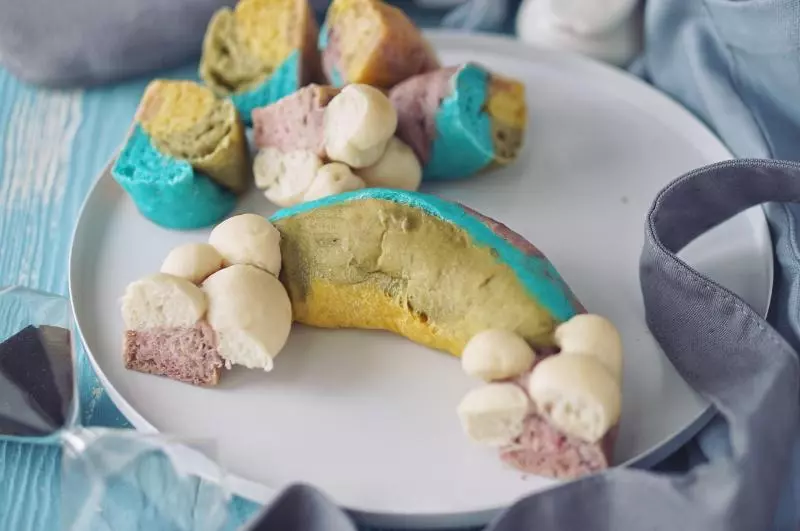
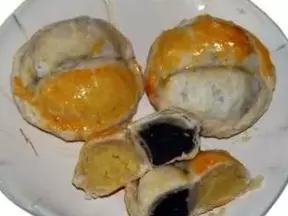
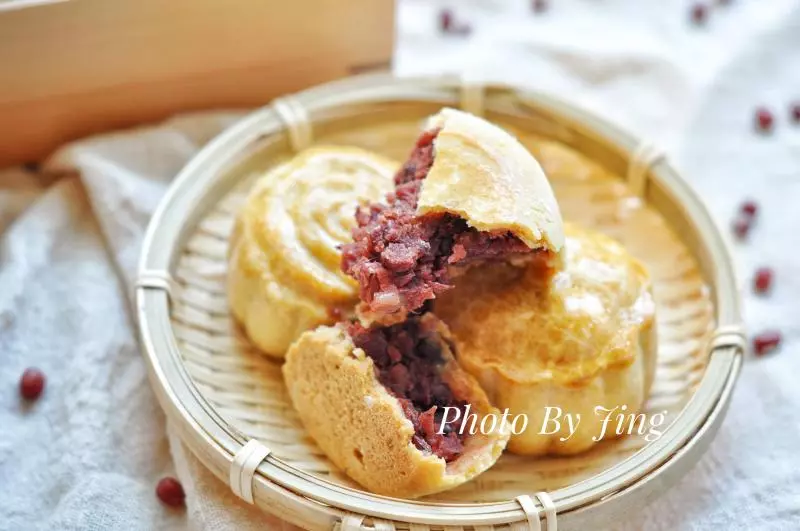
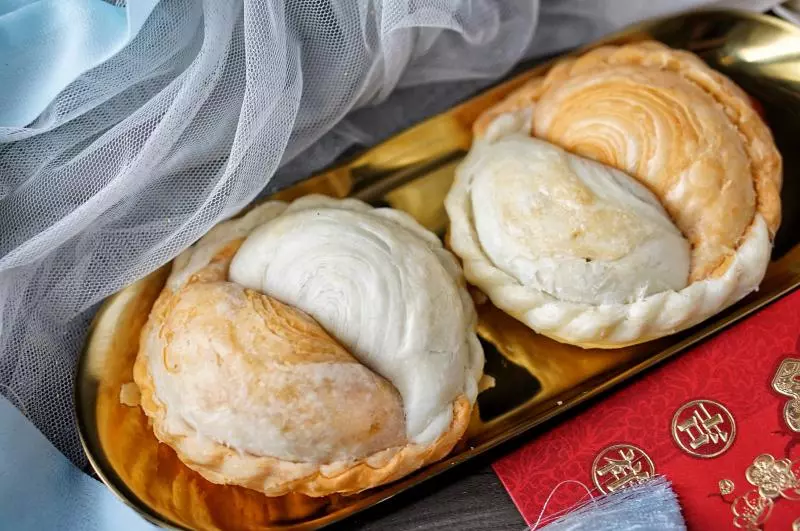
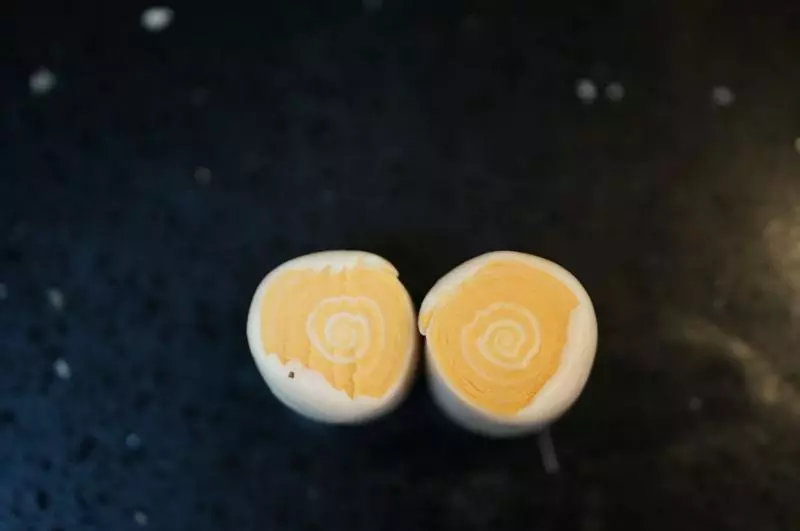
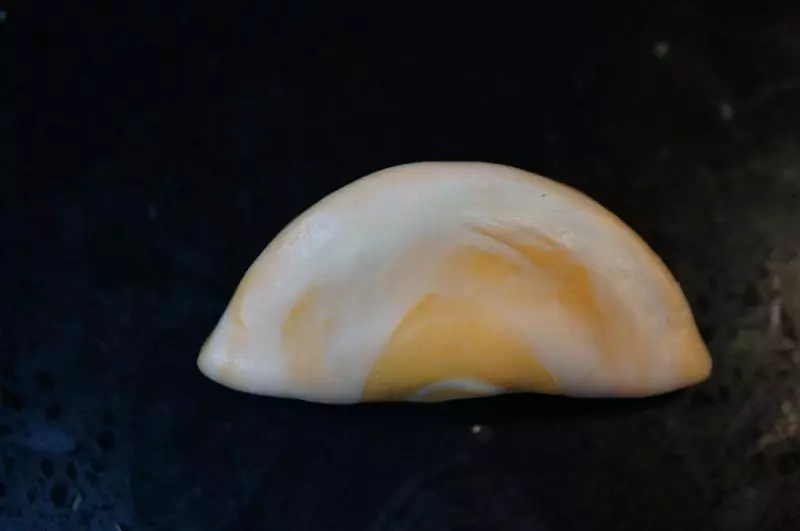
41面胚經過烘烤還會略微變大,所以擺放時要留有空間
42出爐後不用放涼,趁熱吃啊!

43這是切開的樣子。 涼了的金銀酥可以用微波爐或者烤箱再次加熱。