原料
雞蛋: 1個, 牛奶: 115克, 高筋麵粉: 250克, 糖: 35克, 鹽: 4克, 酵母: 5克, 黃油: 35克, 蛋黃沙拉醬: 50克, 肉鬆: 隨意
步驟
1備齊原料

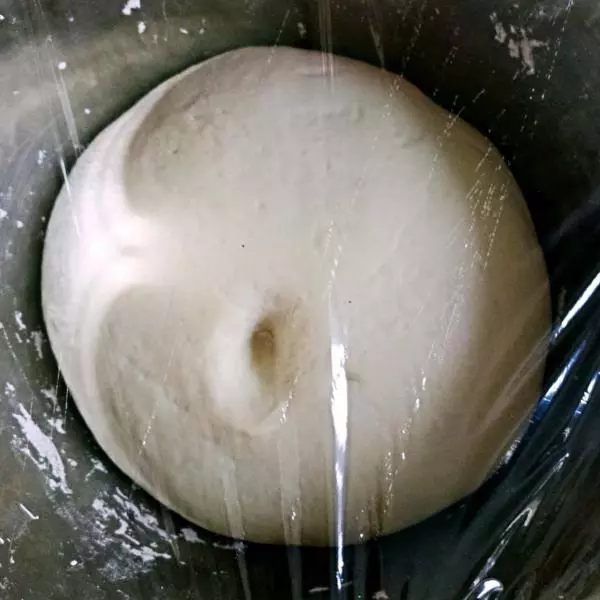
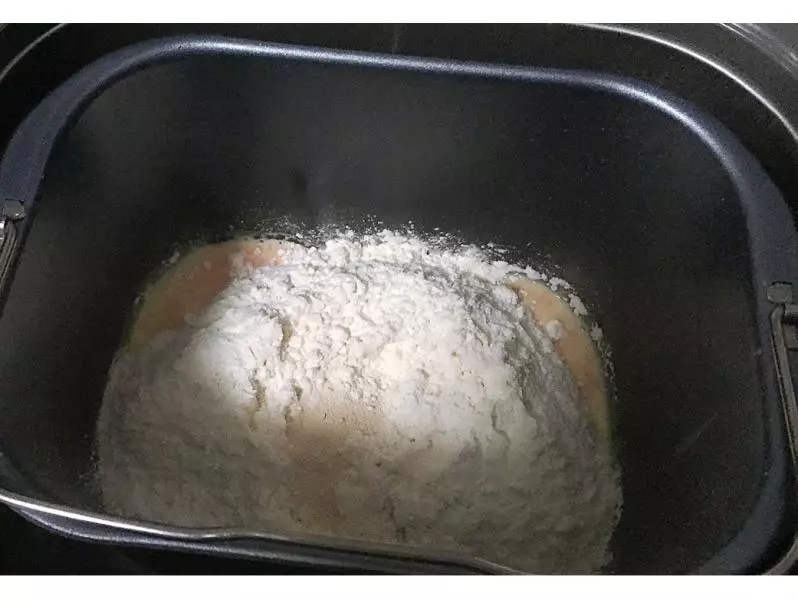
2先液體再固體,麵粉蓋住雞蛋及牛奶液,中間挖個小坑放酵母君?
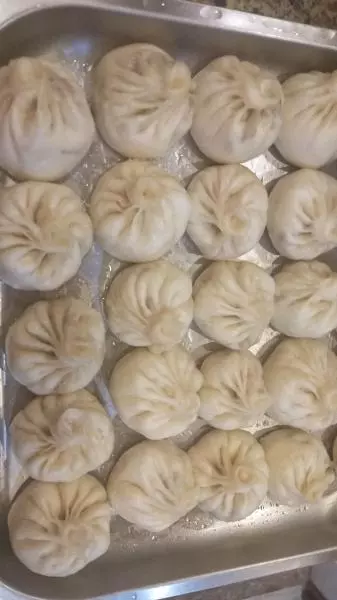
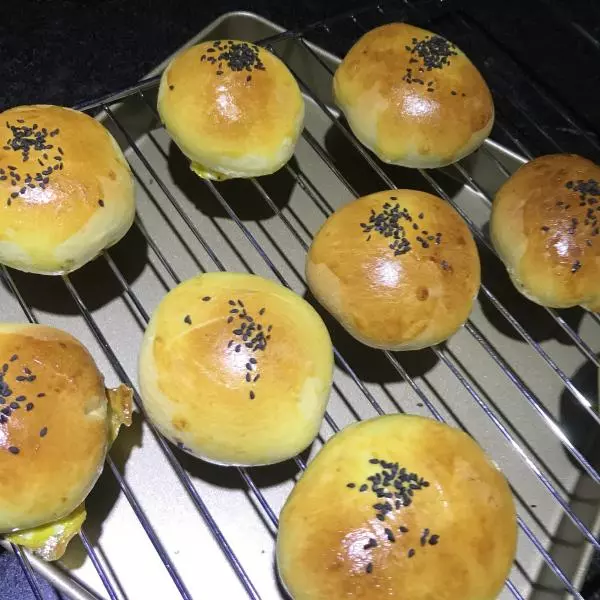
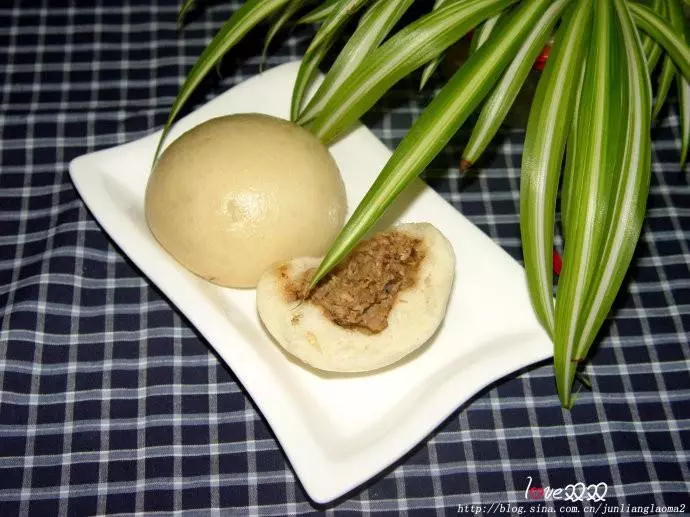
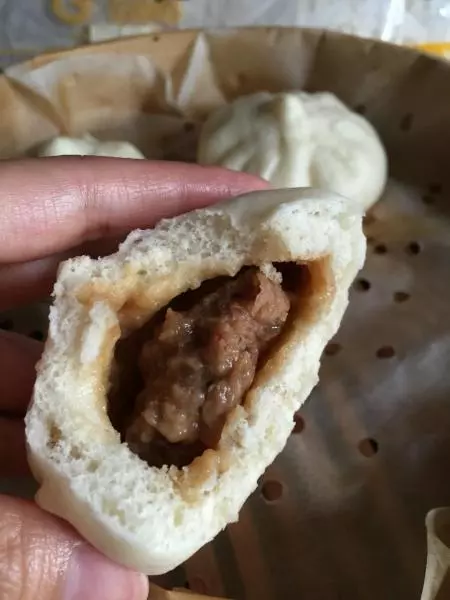
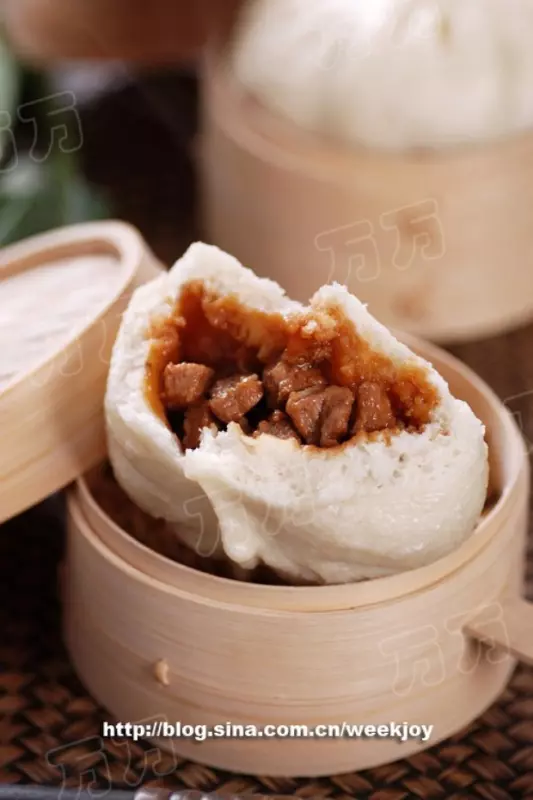
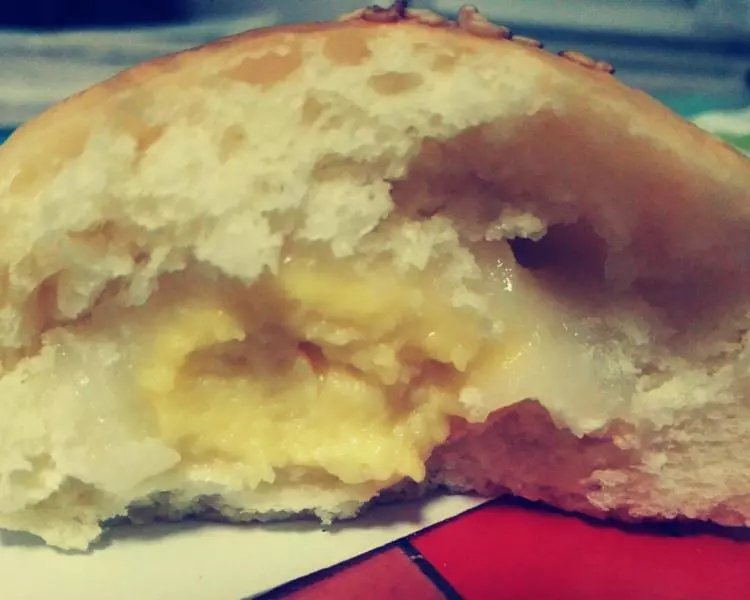
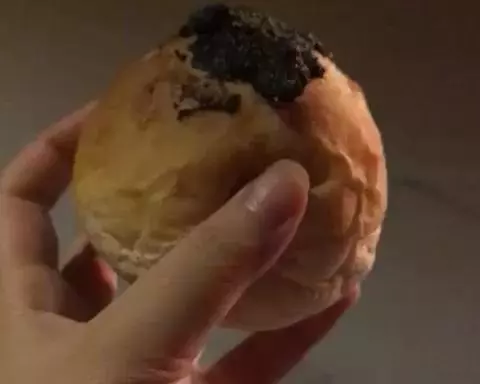
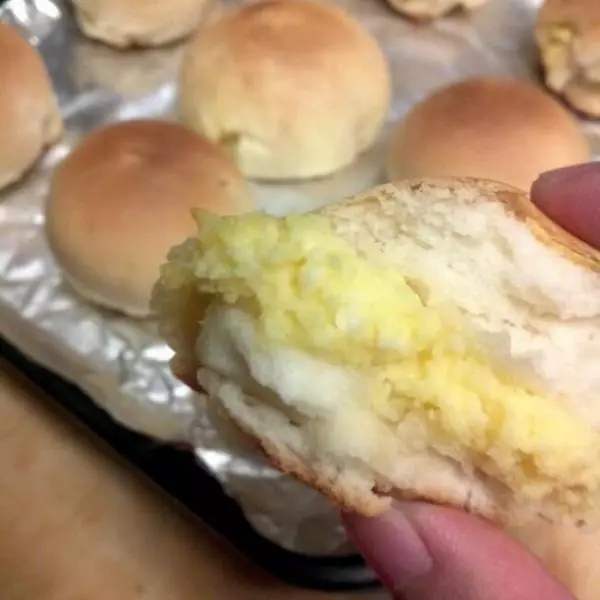
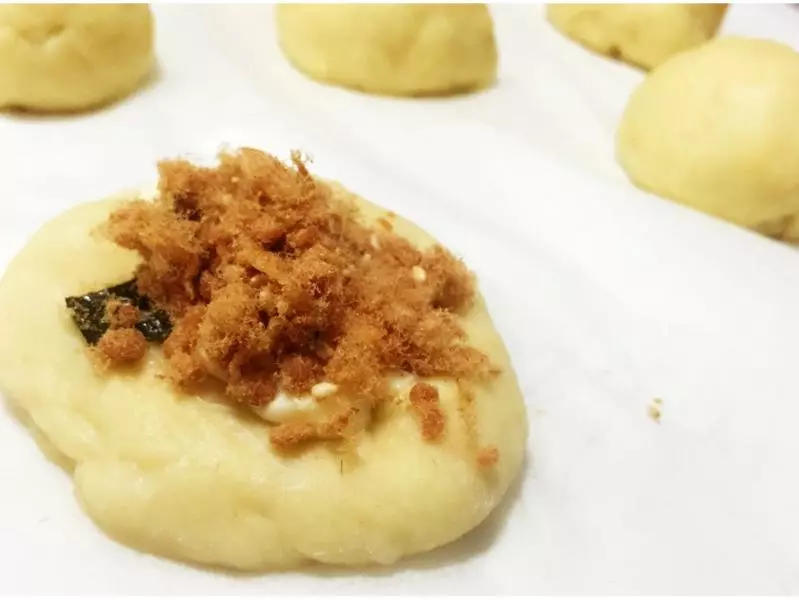
3麵包機揉面發酵醒發排氣略。整型:塗色拉醬放入肉鬆視個人喜歡決定量的多寡。
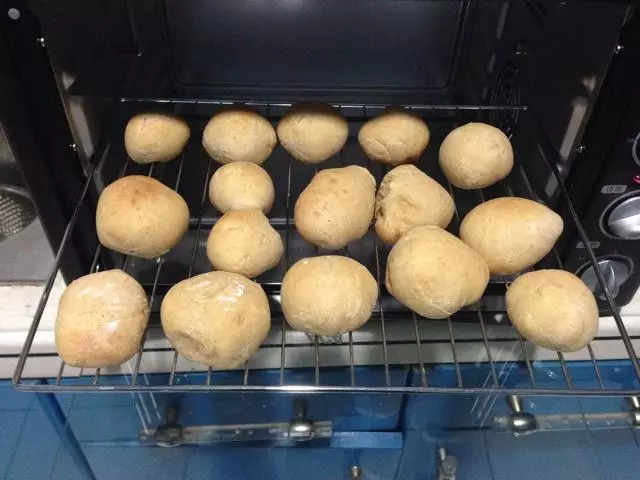
4第二次發酵,烤箱30~40度,半小時~40分鐘。底盤放開水中途可換開水保持水汽。
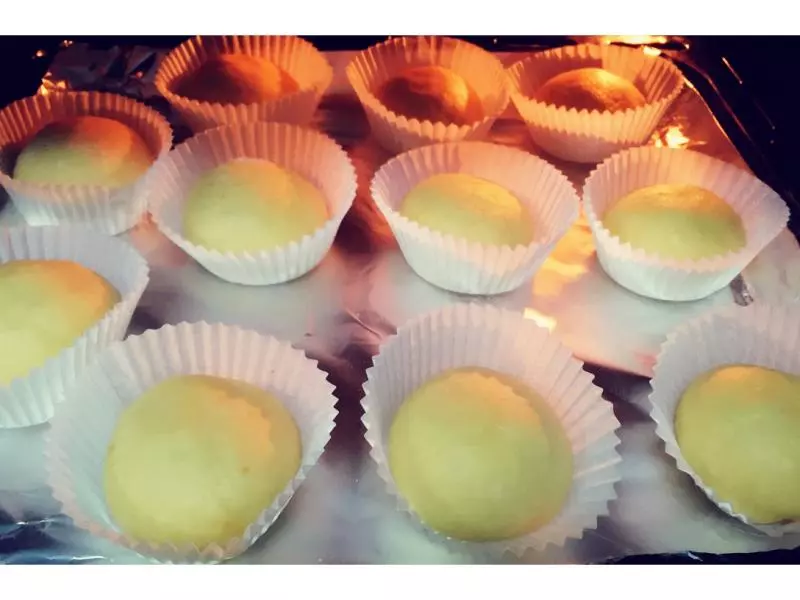
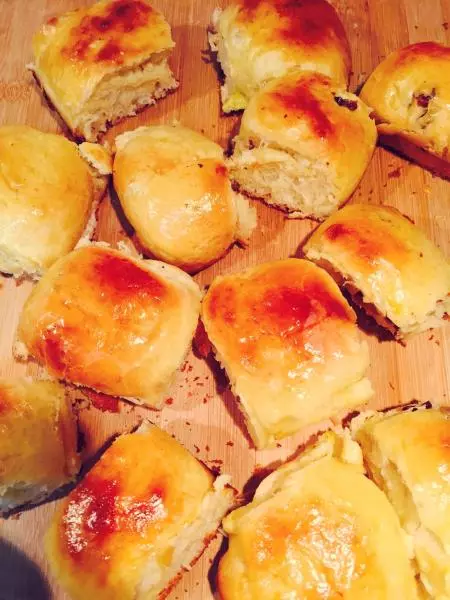
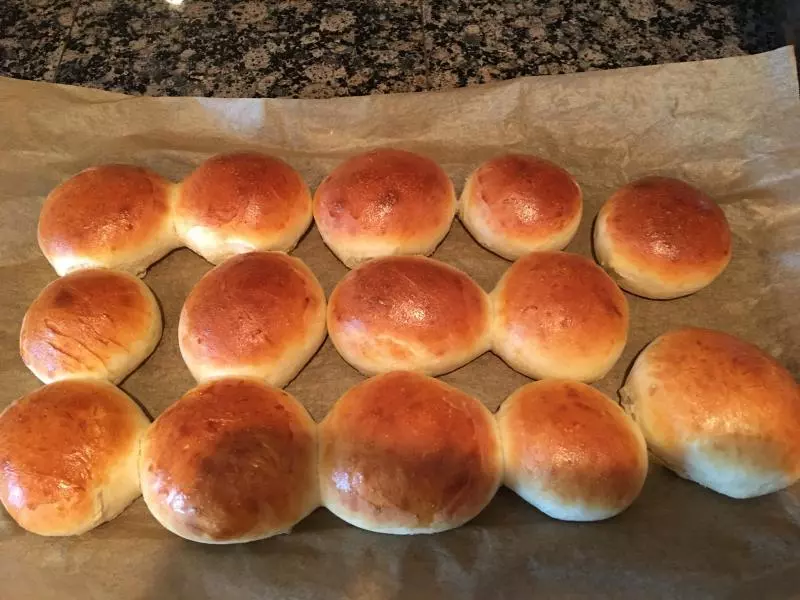
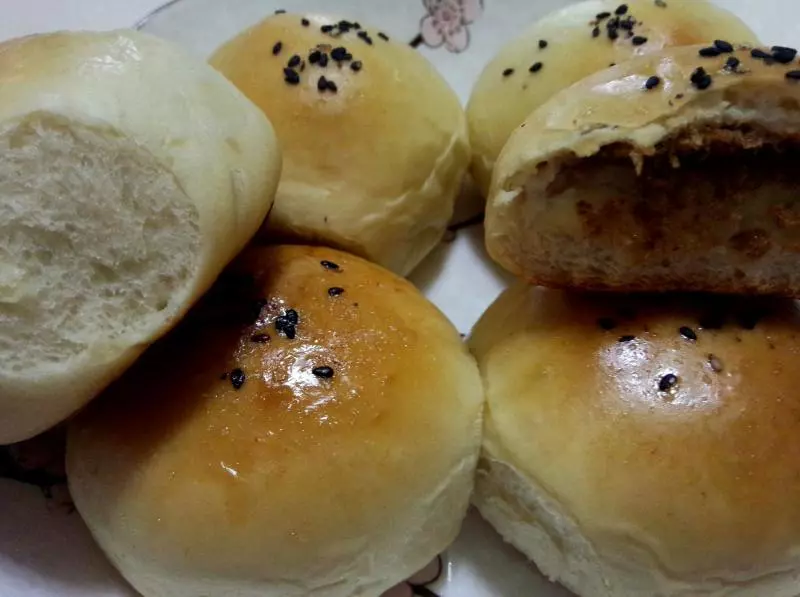
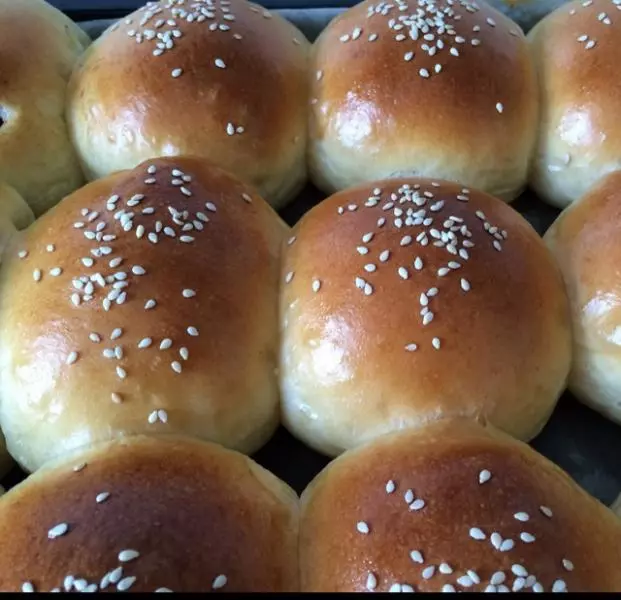
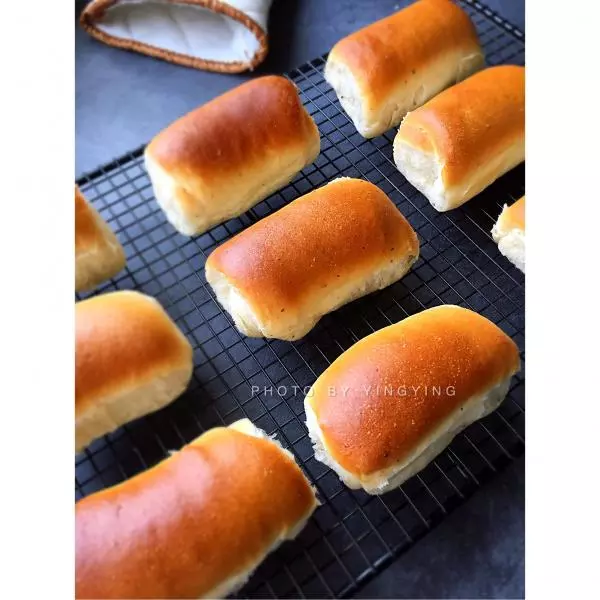
5二次發酵完成後(2倍大小)刷上雞蛋液。160度烤20分鐘。看烤箱個體差異決定溫度和烘焙時間。

6視上色情況中決定是否放錫紙遮蓋。

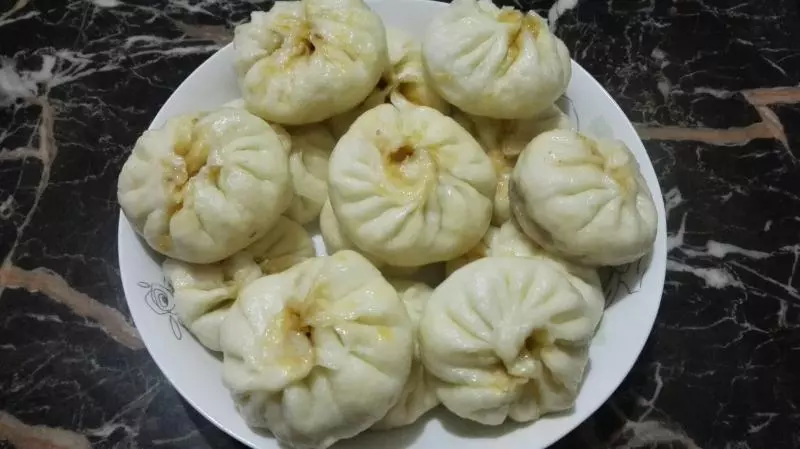
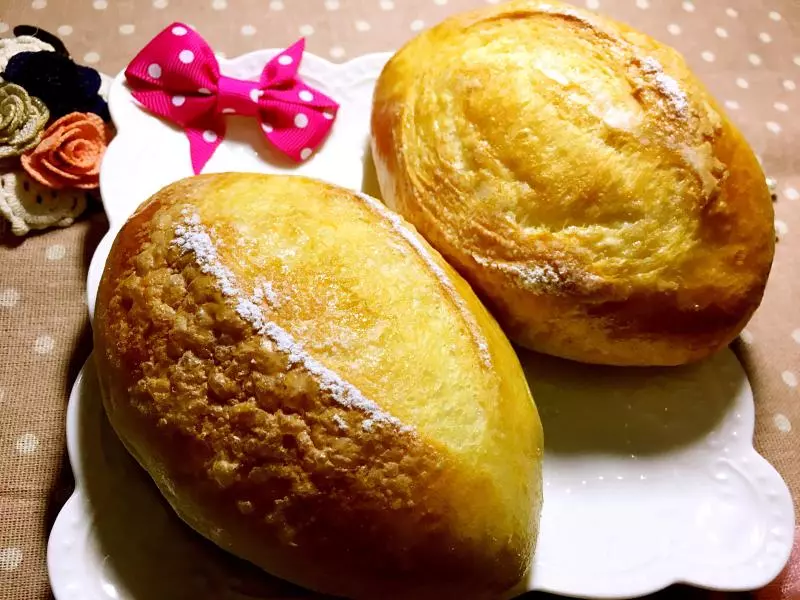
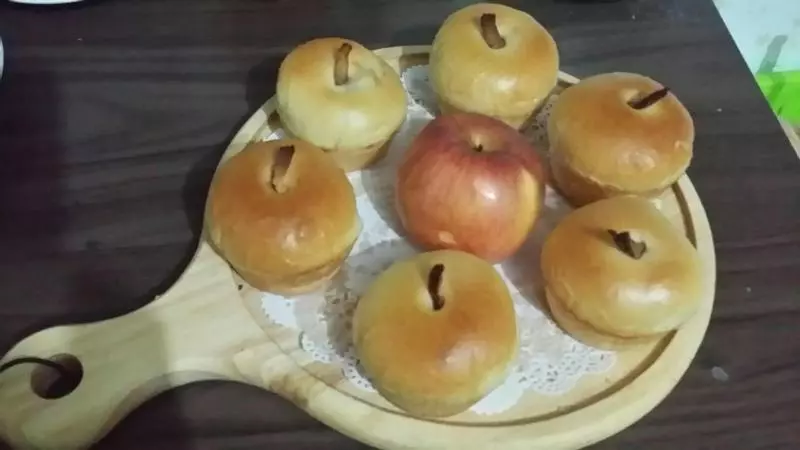
7叮~出籠!再次刷上色拉醬,倒扣向肉鬆盤粘上肉鬆?

8美味~

小技巧
直接法時間約4~5個鐘頭,相對中種法方便快捷,但口感不夠綿軟,拉絲效果也欠缺,但現做現吃已經相當不錯了!