原料
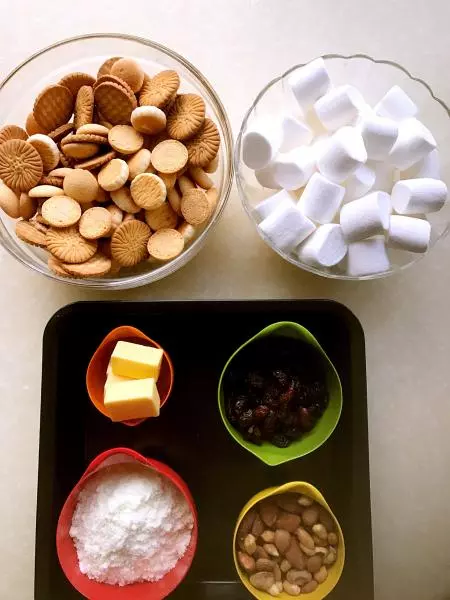
棉花糖: 200克, 黃油: 60克, 全脂奶粉(不甜的): 60克, 餅乾(不易碎的韌性的鹹味餅乾最好): 240克, 蔓越莓/葡萄乾: 80克, 堅果(熟花生/熟杏仁/腰果等): 80克, 方形不沾烤盤: 一隻, 刮刀: 一個, 擀麵杖: 一根, 一次性手套: 一副
步驟
1所有的食材準備好,因為後面每個步驟都非常緊張,沒有時間去準備,所以所有的東西必須都放在手邊,方便隨時使用。棉花糖可以剪成更小塊,方便融化。
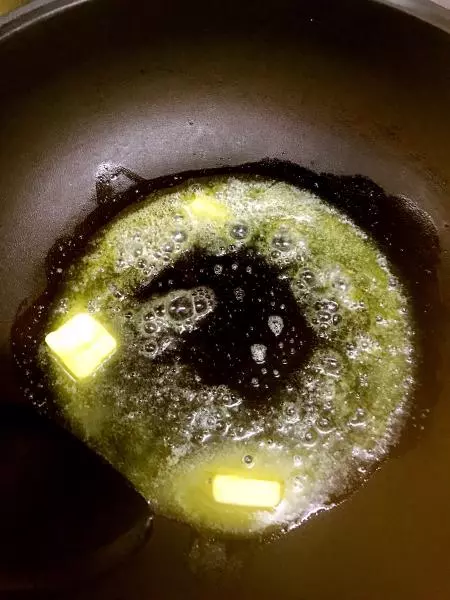
2黃油放不粘鍋(一定要用不鍋),小火慢慢融化
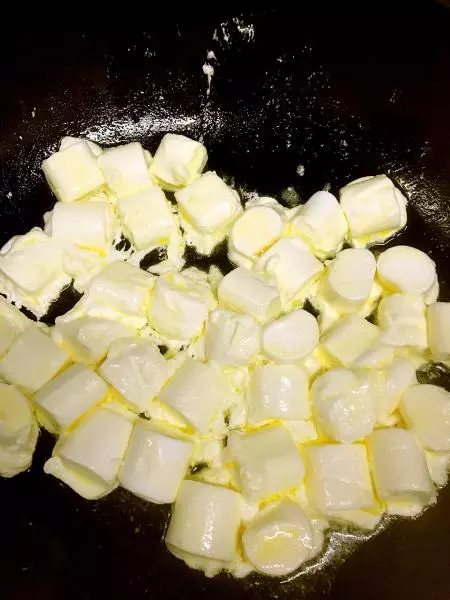
3把棉花糖放進融化的黃油里,不斷攪拌。
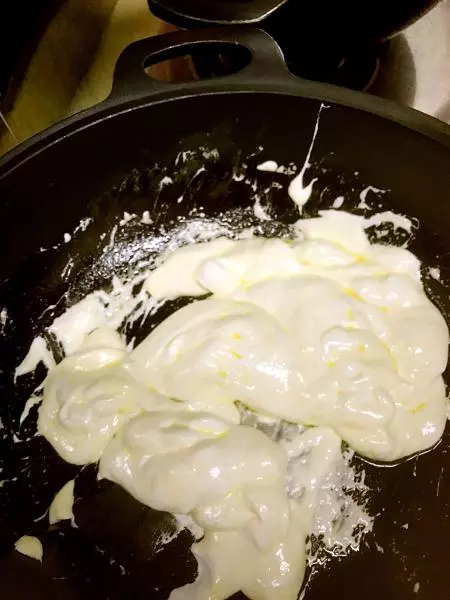
4攪拌過程
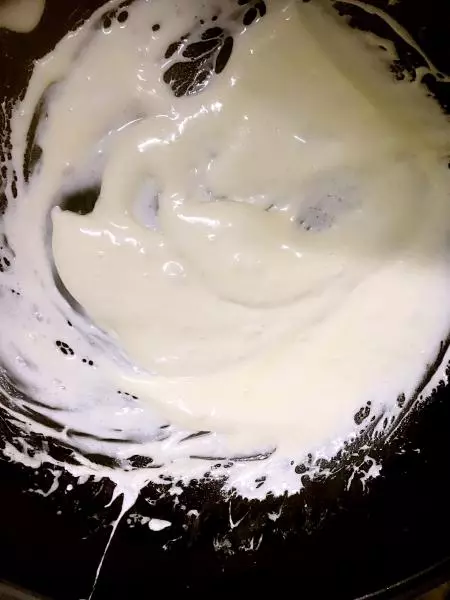
5攪拌到如圖狀態,完全融化後再攪拌十秒左右,不可時間太長,會糊。
6把奶粉加到攪拌均勻的棉花糖中,快速攪勻,關火。(時間太緊,忘記拍照,你就該知道每個步驟要多緊湊)
7快速的把提前混合均勻的堅果/蔓越莓等倒入攪拌均勻的奶粉中,使之均勻的裹上。此步驟很痛苦,不好攪拌,如果使用酥性太強的餅乾,在這個過程中會被揉碎。

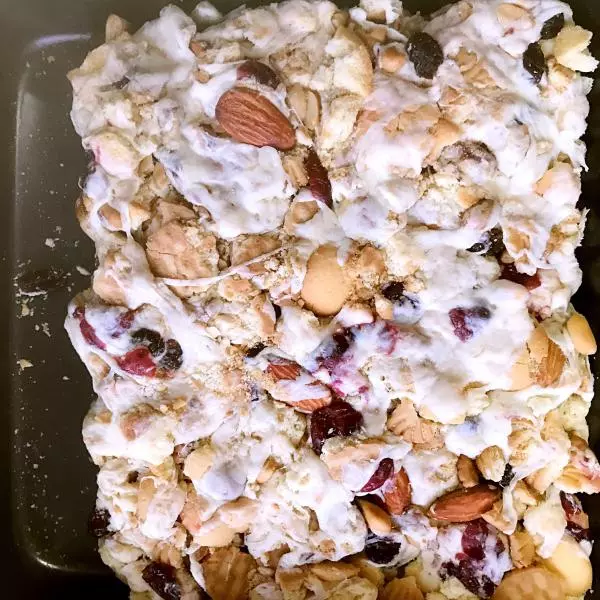
8把混合物放到提前準備好的方形不沾烤盤,帶手套用擀麵杖和刮刀整形成2厘米厚的餅。
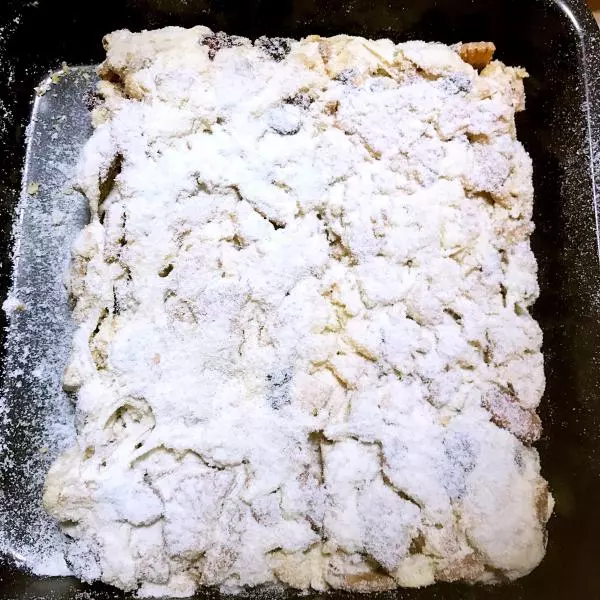
9篩上奶粉,換另一面同樣篩粉
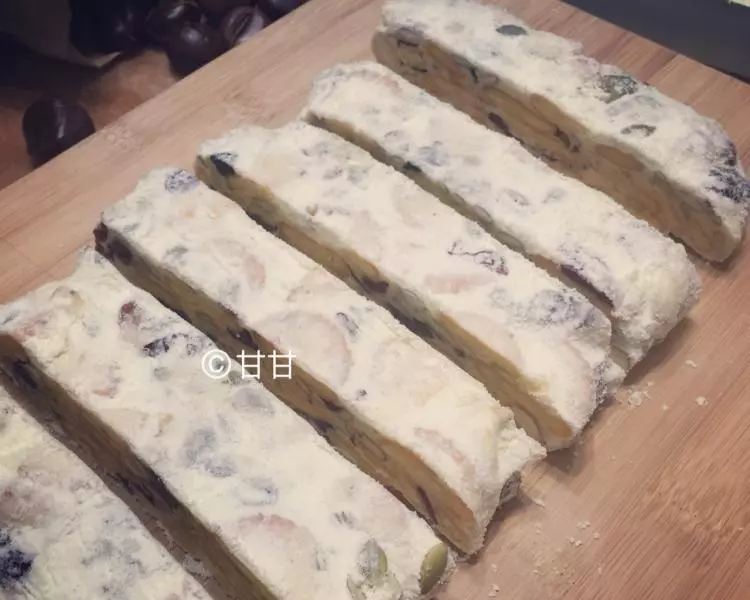
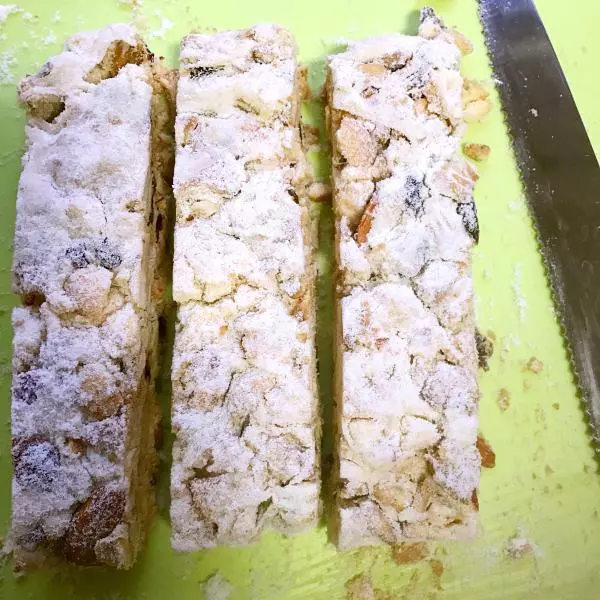
10切成一條條的,每個面粘上奶粉
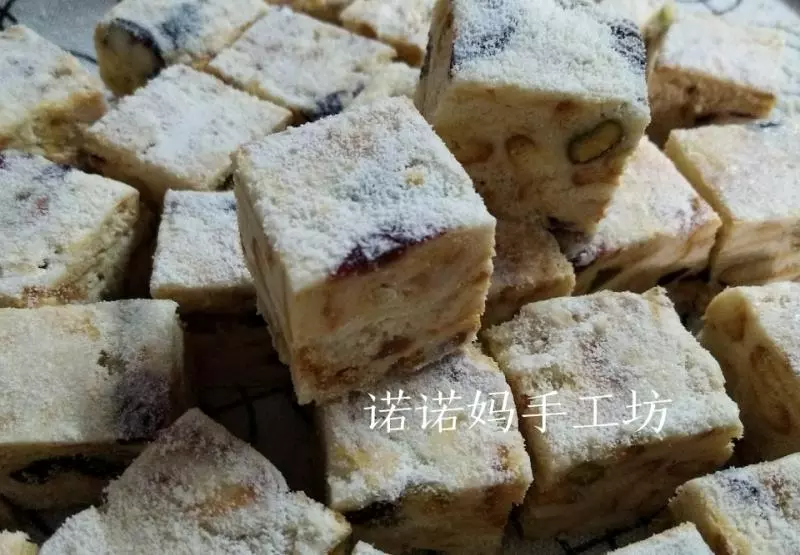
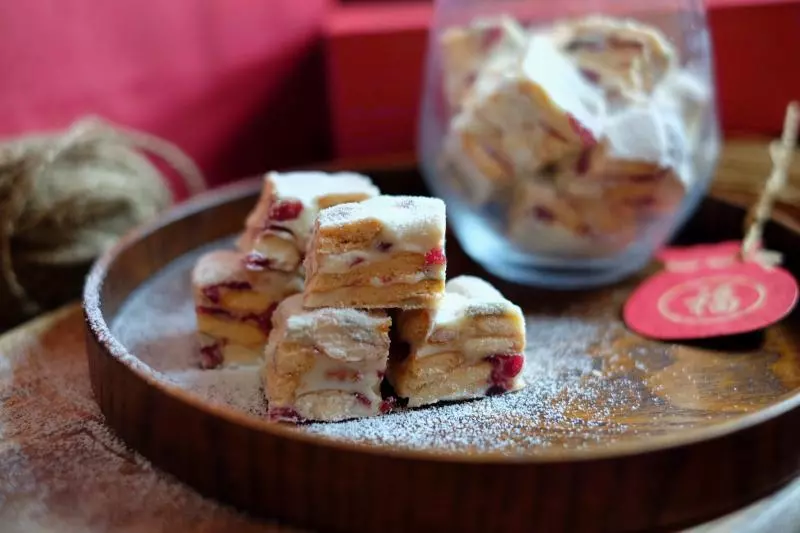
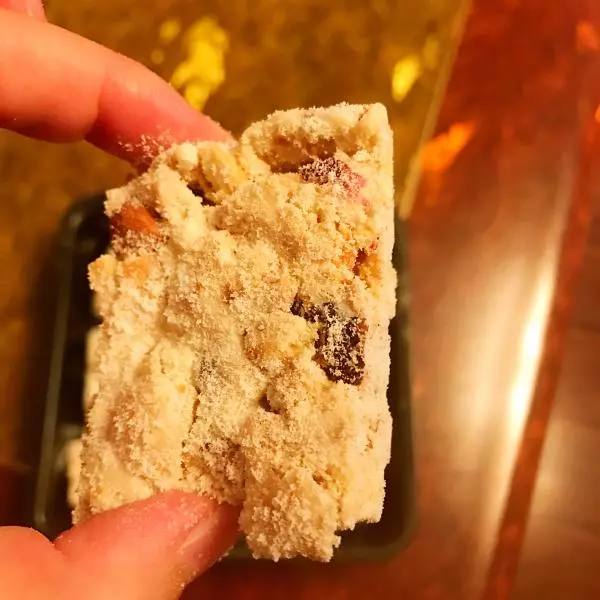
11再切成一塊塊,沾上奶粉即可,
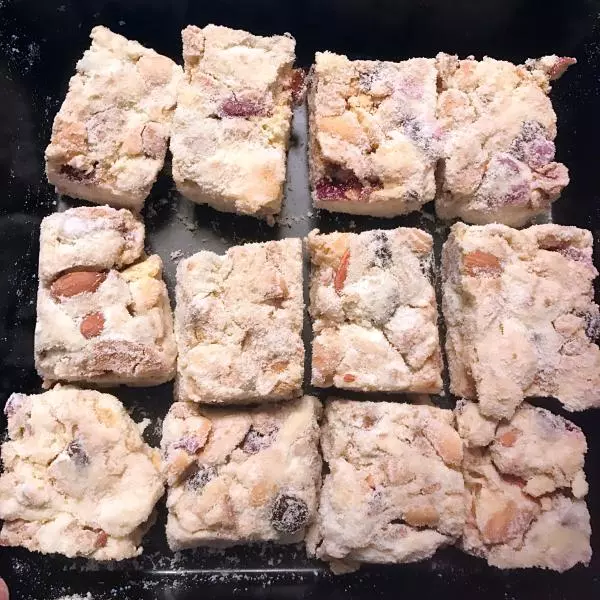
12大功告成,好像有點丑,但味道不是一般的好吃啊。

小技巧
1、所有食材,用具提前準備妥當,每個步驟銜接很緊, 2、用硬一點的鹹味餅乾,不容易揉碎 3、奶粉用不甜的,因為棉花糖已經很甜 4、一定用不粘鍋,太粘了。