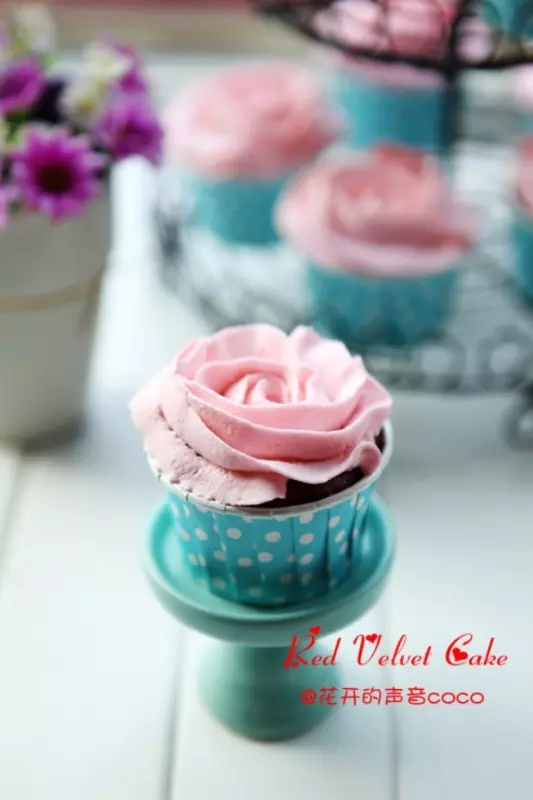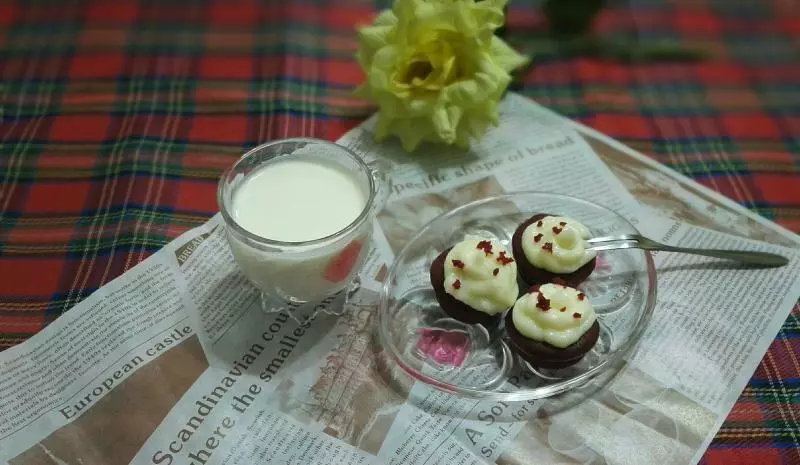
简介
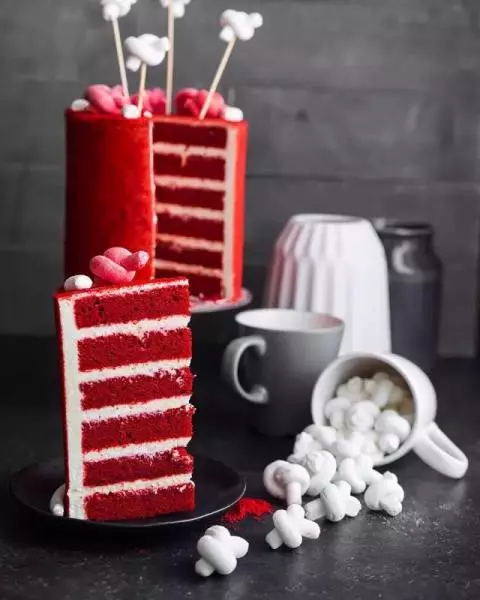
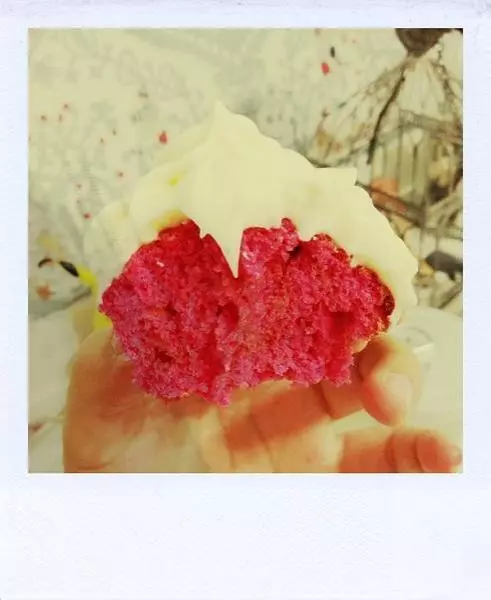
该版本的红丝绒用料考究,香味特别,口感绵密,Q 弹而柔软,比那个植物油版本的香气浓郁许多,很适合东方人的口味。 该版本的材料请不要随便换。否则没有那种香味了呦! 1tsp=5ml 蛋糕步骤:一起称量各种粉类→打发黄油,混合各种液体→混合粉类与液体→入模烘烤 分量:5厘米纸杯约6个。即一个六连模的分量。
原料
蛋糕体, 低筋粉 62克, 无糖可可粉(法芙娜) 9克, 盐 0.5tsp, 小苏打 0.5tsp, 软化黄油(最好用发酵黄油) 45克, 中等大小鸡蛋55g左右 一只, 细砂糖 70克, 酸奶油 46克, 牛奶 60毫升-70ML, 香草精 0.5tsp, 红丝绒蛋糕调色液 1tsp, 白醋 1tsp, topping, 奶油奶酪 78克, 软化黄油 17克, 酸奶油 9克, 糖粉 25克
步骤
1放到一个大碗中称量各种粉类,先称面粉,再可可粉,再盐和小苏打,过筛。 预热烤箱到180℃。
2将软化的黄油(用手指能轻松滴戳出一个洞)放入盆中,打顺滑,加糖,搅打。
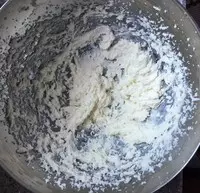
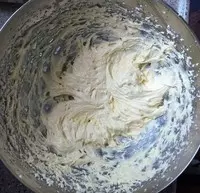
3分2到3次加入打散的鸡蛋液,打发至羽毛状。
4打好的是这样的。
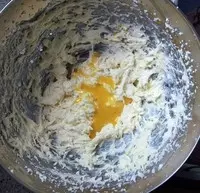
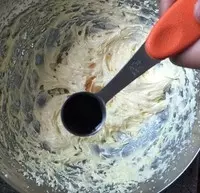
5加入香草精,红丝绒蛋糕调色剂,白醋,再搅打均匀。
6加入酸奶油,再打均匀。如果水油分离了请看下一步。
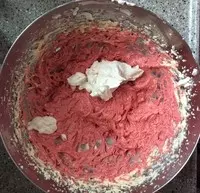
7加入牛奶,低速打匀。这时的混合物可以流动。如果出现了水油分离,不用着急,筛入1/3的粉类,用手动打蛋器使劲搅拌,直到混合均匀,不用怕起筋。

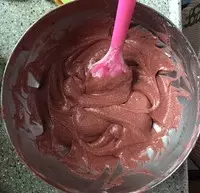
8筛入剩下的粉类,切拌均匀,如图。
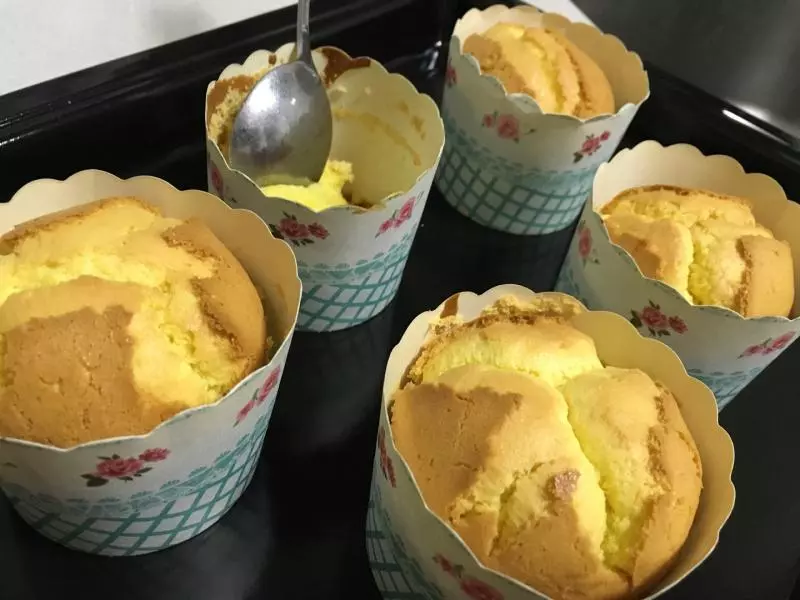
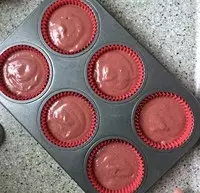
9将蛋糕糊装入模具,用勺子裱花袋均可。
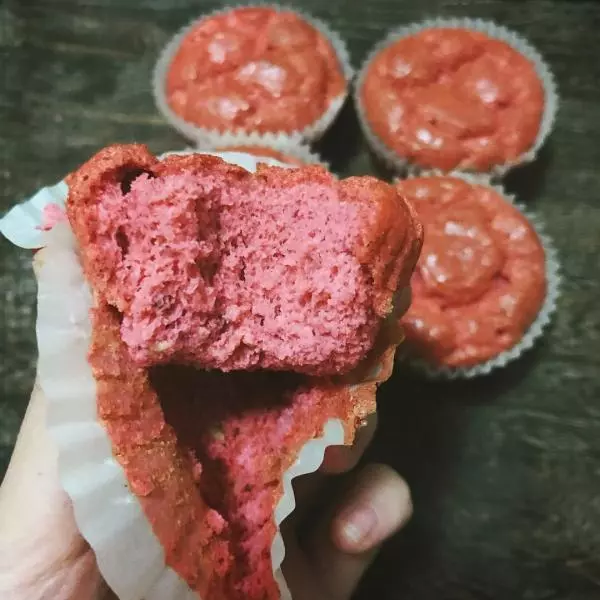
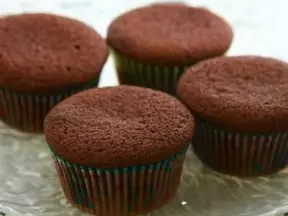
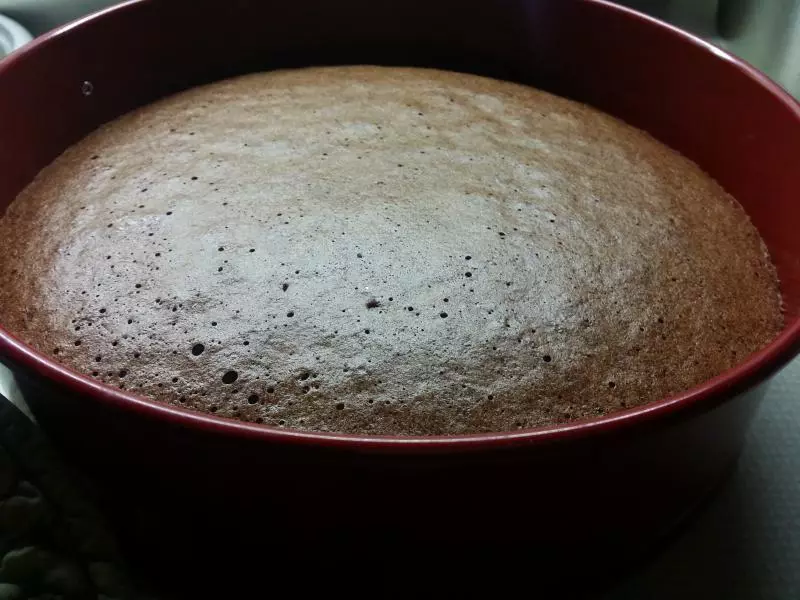
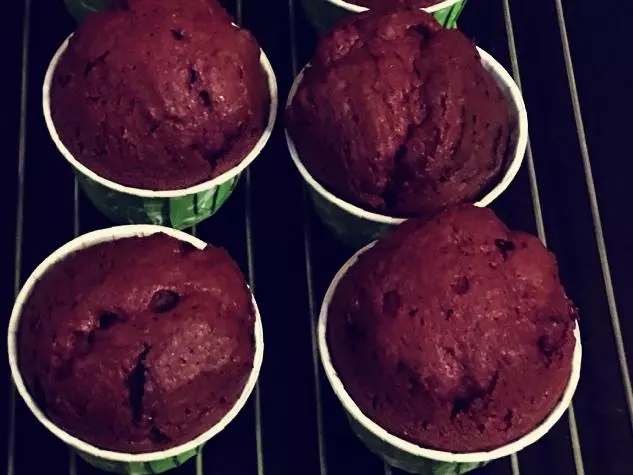
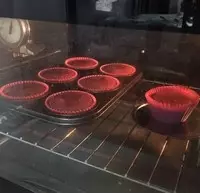
10180摄氏度,20-25分钟。直到插入牙签没有蛋糕糊带出来即可。
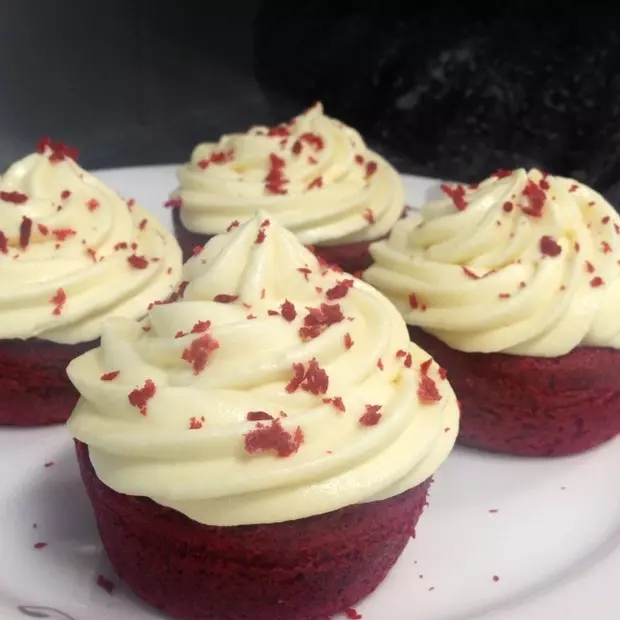
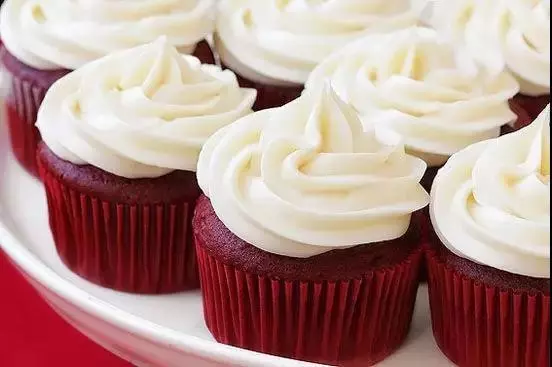
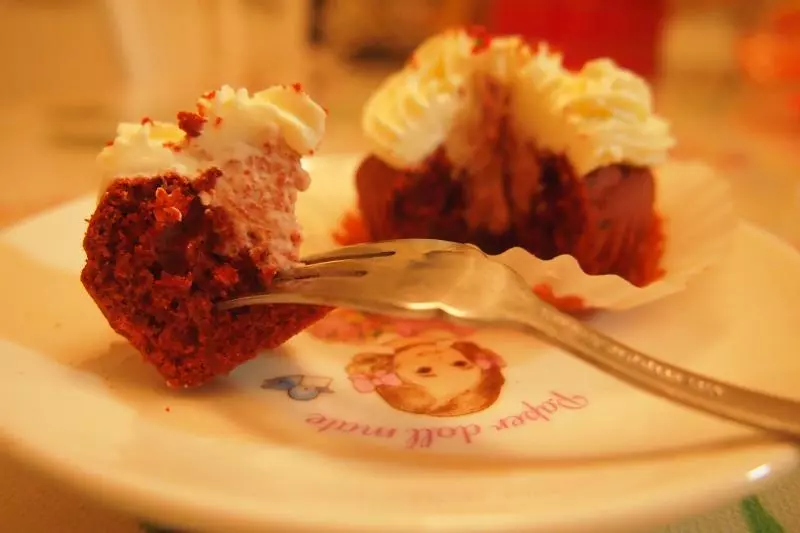
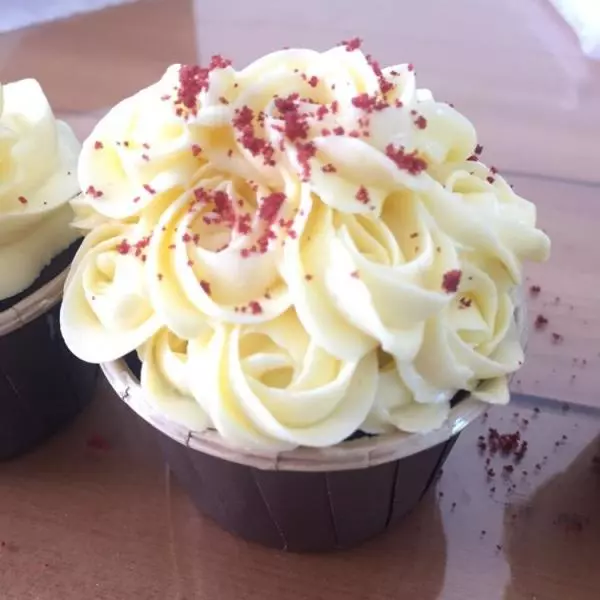
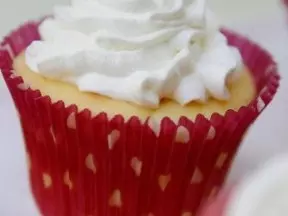
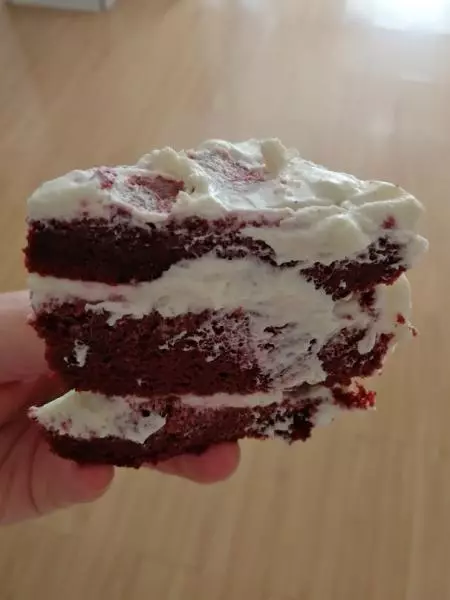
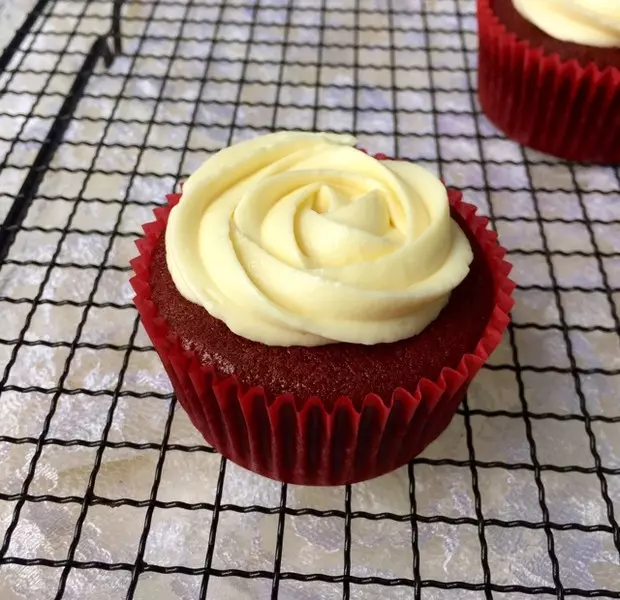
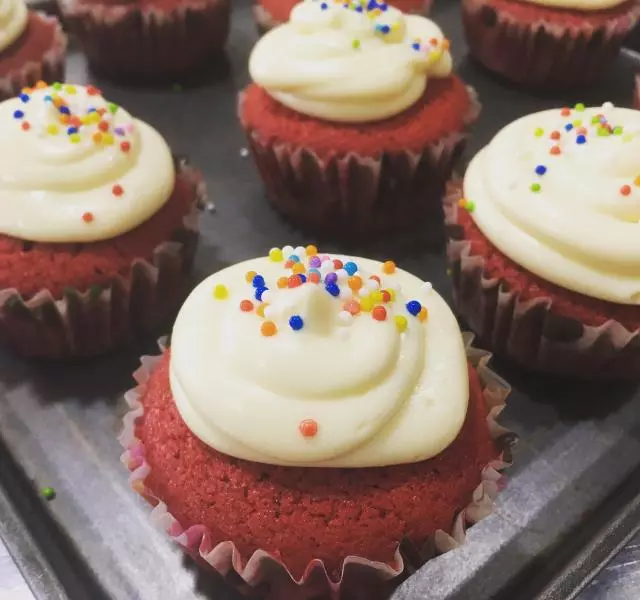
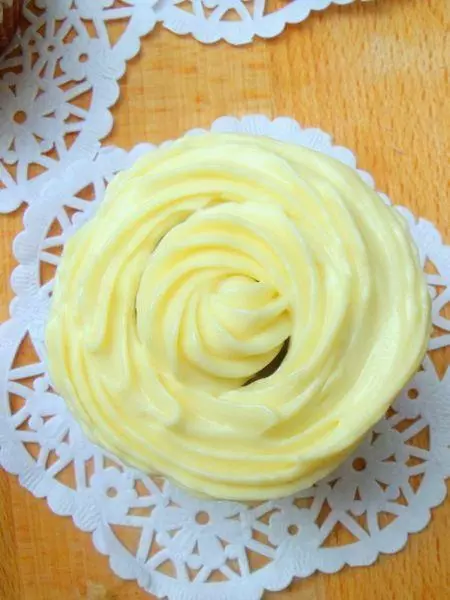
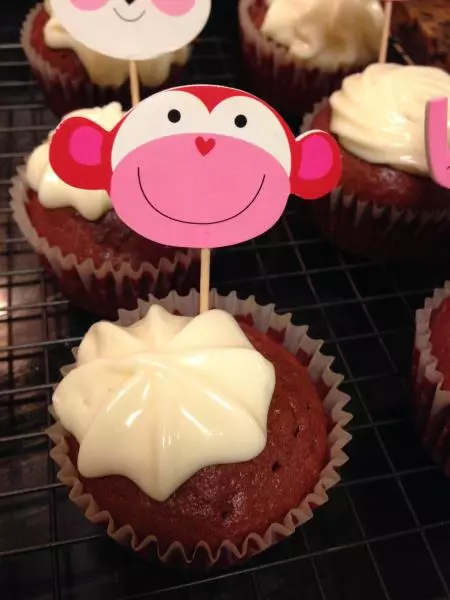
11将软化的奶酪,黄油,酸奶油加糖打顺滑,裱上蛋糕顶,即可!

小技巧
1.没有着色剂的可以用红色素代替。具体自己把握。 2.酸奶油可以用自制酸奶得到,具体见@lulututu 的方子。也可以买现成的,更好吃。 3.奶油裱花无无气孔小技巧:将打发好的奶油用刮刀向盆壁抹去,进行大气泡的消泡,抹到奶油中无明显气泡为止。

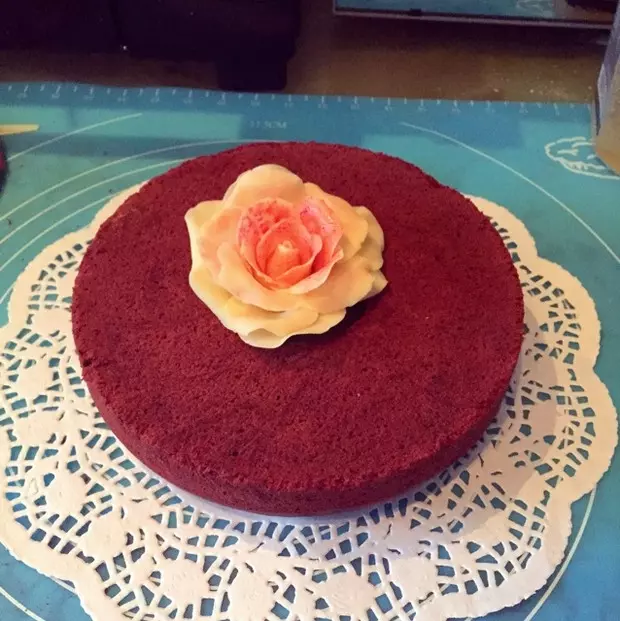
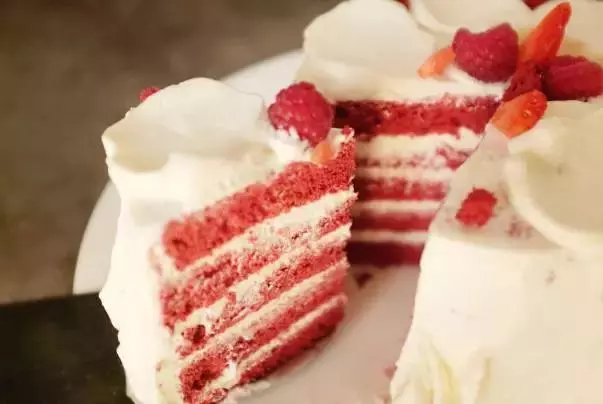
![[Red Velvet]红丝绒蛋糕|6寸](/images/node/25/258251.webp?1638105659)