简介
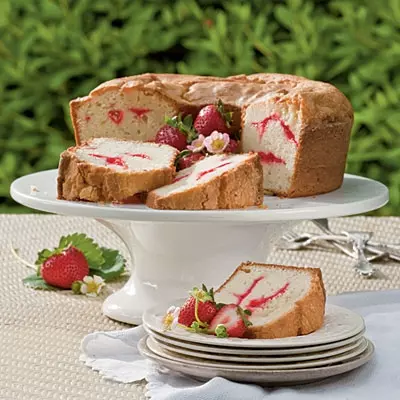
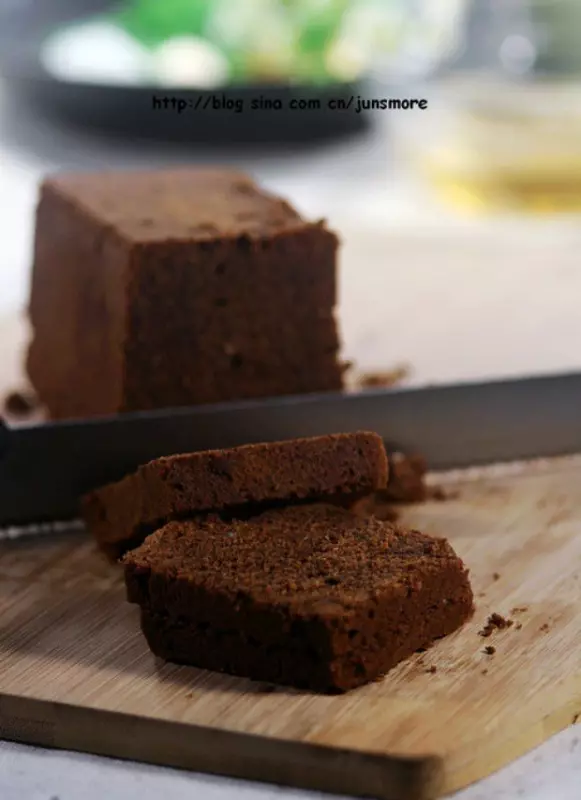
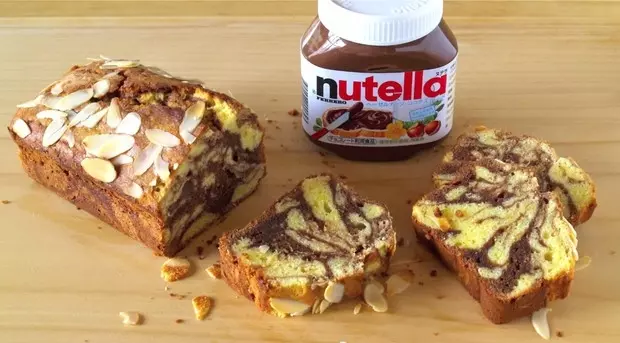
Nutella奶油奶酪漩涡磅蛋糕 听起来就味道浓郁
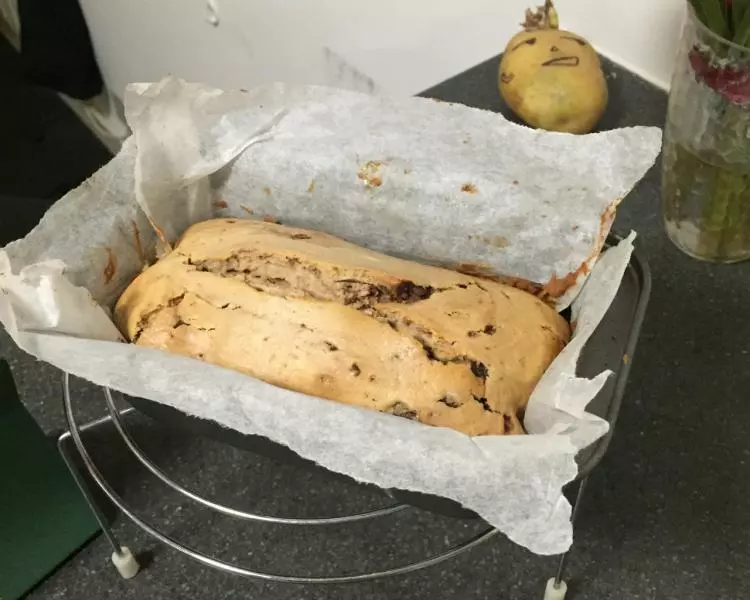
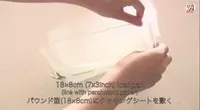
18 X 8cm 的 长条形蛋糕模
原作者Ochikeron 是Youtube上可爱的料理日本女孩
图片、菜谱翻译自: https://www.youtube.com/channel/UC5xAkS4828lDivq8cKFGSyw
原料
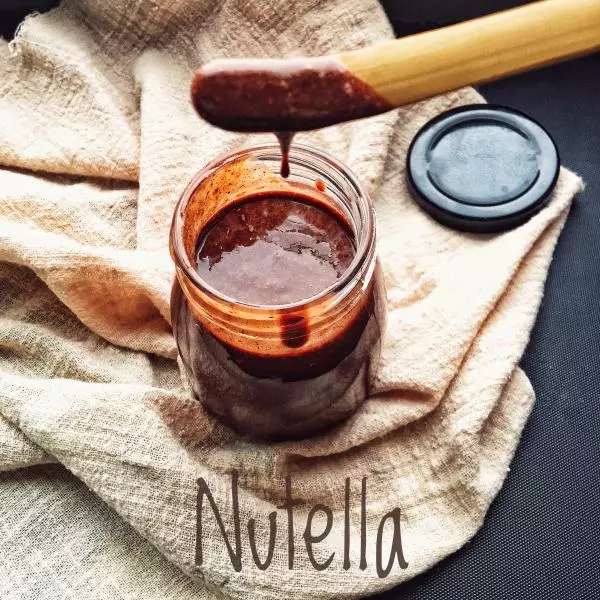
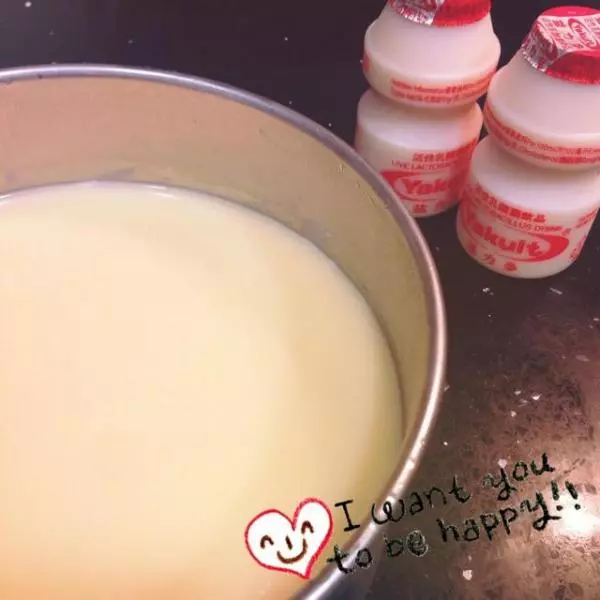
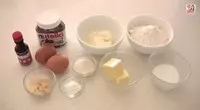
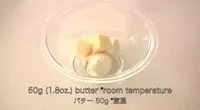
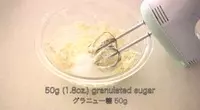
奶油奶酪 100g, 黄油 50g, 白砂糖 50g, 鸡蛋 2个, 蛋糕粉 120g, 泡打粉 1/2 tsp, 香草精 几滴, Nutella能多益 50g, 牛奶 1 tbsp, 杏仁薄片 适量
步骤
1准备好原料
2将油纸剪成合适的形状放进模子里,方便脱模
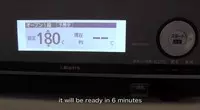
3将烤箱预热到180度
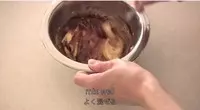
4加入奶油奶酪和黄油
5用搅拌机打至均匀

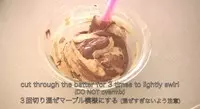
6加入糖 再用搅拌机打约三分钟 知道奶酪糊变轻盈
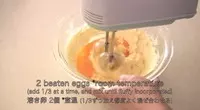
7将两个室温鸡蛋打成蛋液 分三次加入奶酪糊中混合搅拌
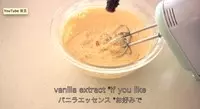
8加入几滴香草精 搅拌均匀
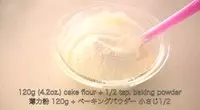
9筛入面粉和泡打粉 用刮刀搅拌均匀
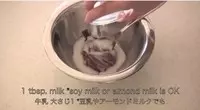
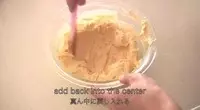
10在另一个盆里放入Nutella和牛奶 用勺子搅拌均匀
11加入1/4的奶酪糊 搅拌均匀
12用刮刀在原味奶酪糊中间留出一块空隙
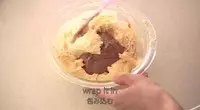
13开始制作漩涡图案:把Nutella奶酪糊放在中间 从四周向中间拨奶酪糊 让Nutella奶酪糊包在中间
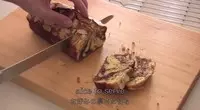
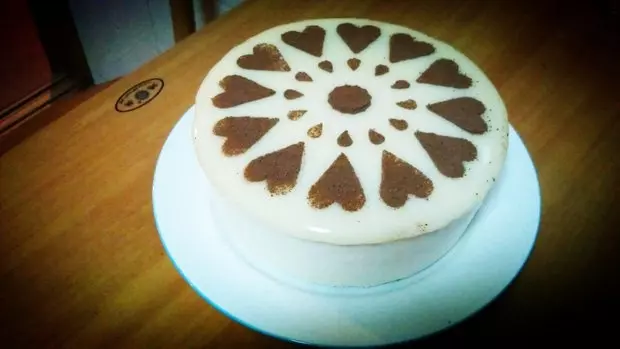
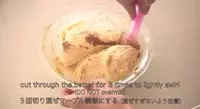
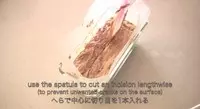
14将包好的面糊从不同方向横切一刀沿盆璧划半圈 将底部的奶酪糊翻到上面一部分 形成稍微的漩涡
15搅拌成品
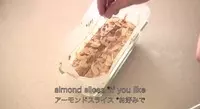
16将奶酪糊倒入模具 抹平表面 震荡几下 再用刮刀从中间在表面划一刀
17撒上杏仁片
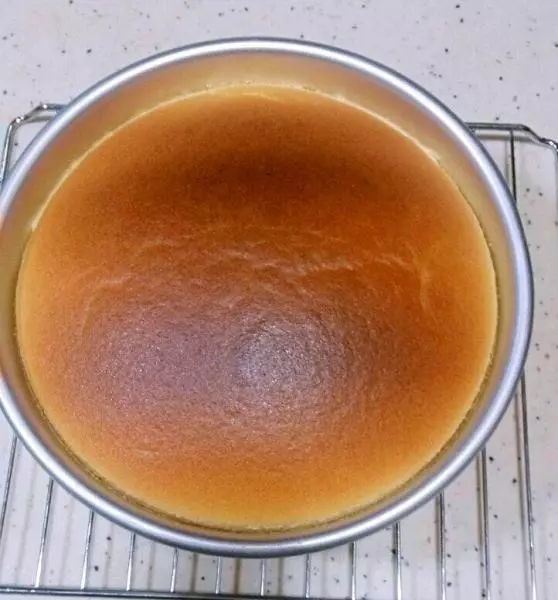
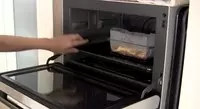
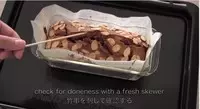
18将蛋糕放入预热好的烤箱 烤45分钟 如果颜色变太深 可以覆盖上铝箔纸
19拿一根牙签插入蛋糕 拿出没有残留就说明烤熟了
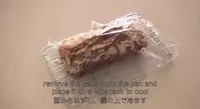
20把油纸取下 在蛋糕上覆盖一层保鲜膜保持湿润 放在烤架上晾凉
21切开可以看到漂亮的花纹