原料
蛋黄糊: , 蛋黄: 4个(60-70g), 细砂糖: 30g, 开水(一定是开水): 70g, 可可粉: 20g, 低粉: 60g, 玉米油: 60g, 蛋白糊: , 蛋白: 4个, 细砂糖: 50g, 鲜柠檬?汁: 3ml, 奶油抹面: , 淡奶油: 250g, 鲜柠檬?汁: 5ml, 草莓?: 随意
步骤
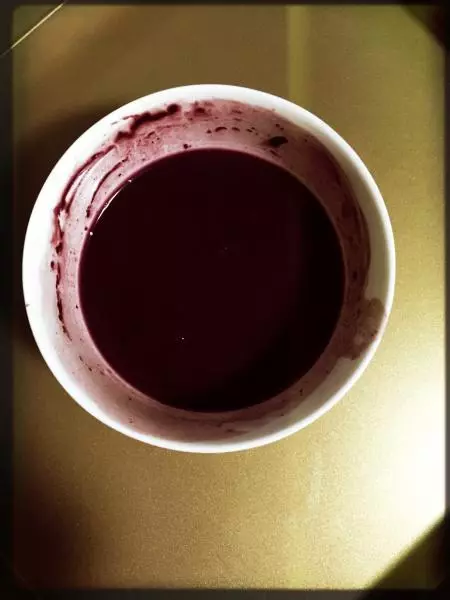
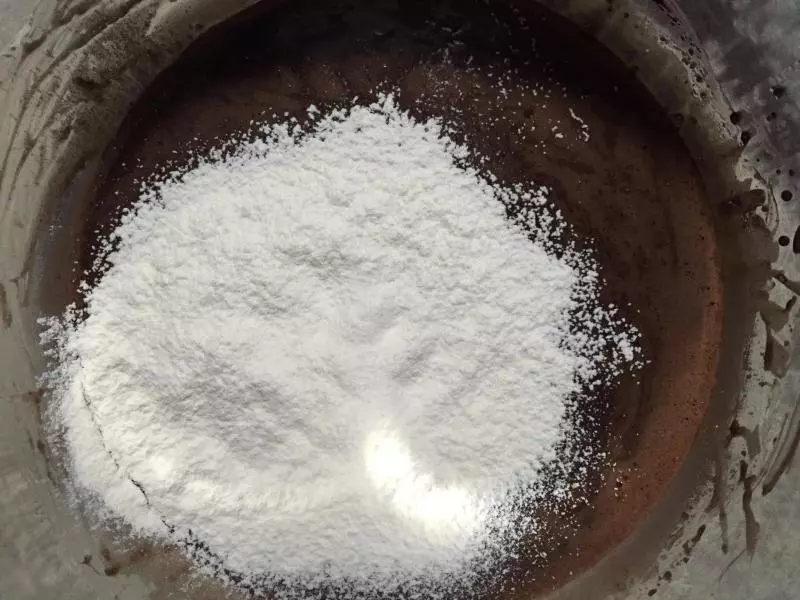
1可可粉用开水冲开,搅拌至融化
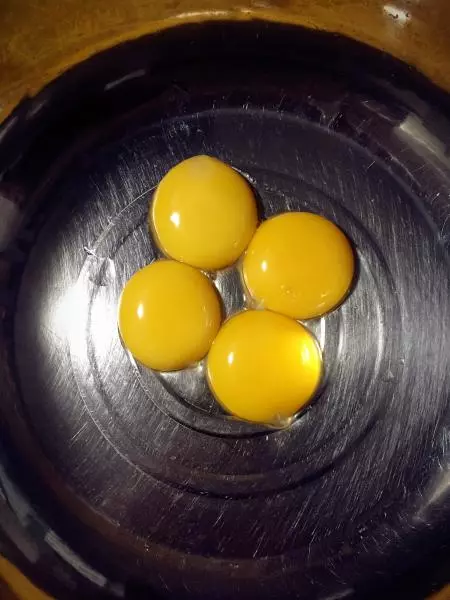
2蛋黄加细砂糖,用手动打蛋器搅拌,至糖融化
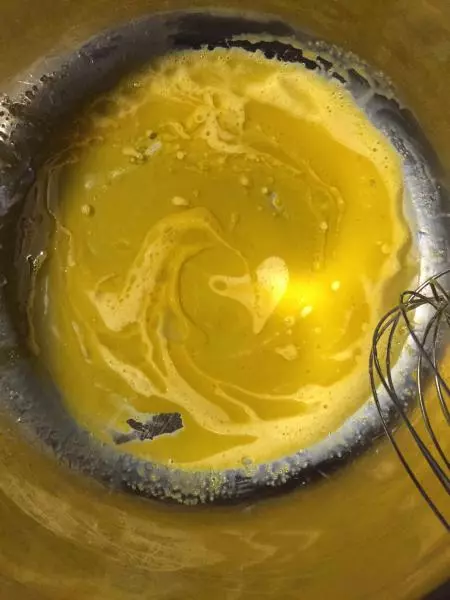
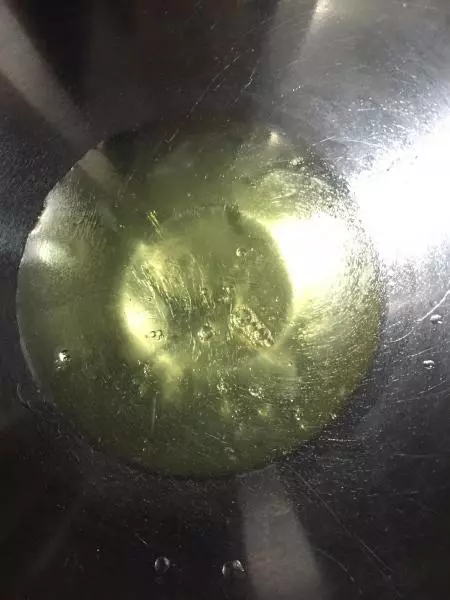
3加玉米油,搅拌融合
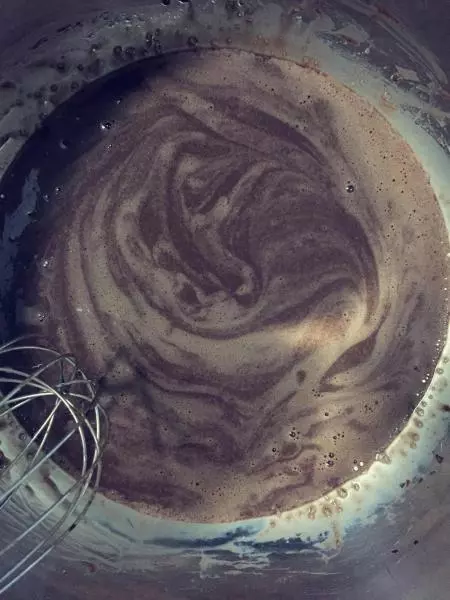
4可可液到进搅好的蛋黄糊。继续搅拌至融合。
5低粉过筛,加入蛋黄糊。搅拌至看不见面粉。可以继续用手动打蛋器。
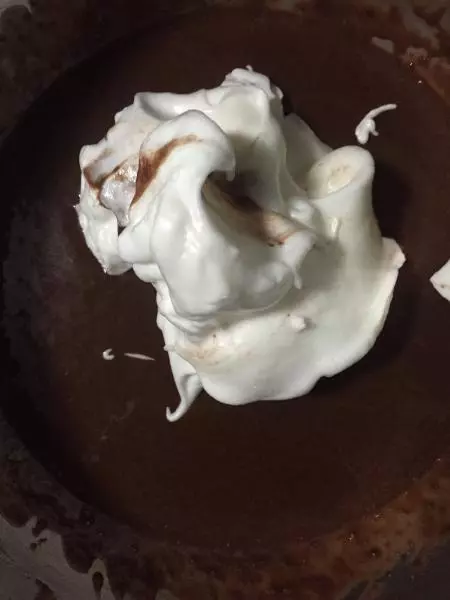
6蛋白要打去无油无水的盆里,高速打发
7打出大鱼眼泡,加三分之一白砂糖。再打,再加,分三次加入。最后加入柠檬汁,打发至提起有软软弯√的状态。
8分两次搅拌进蛋黄糊,搅拌均匀。
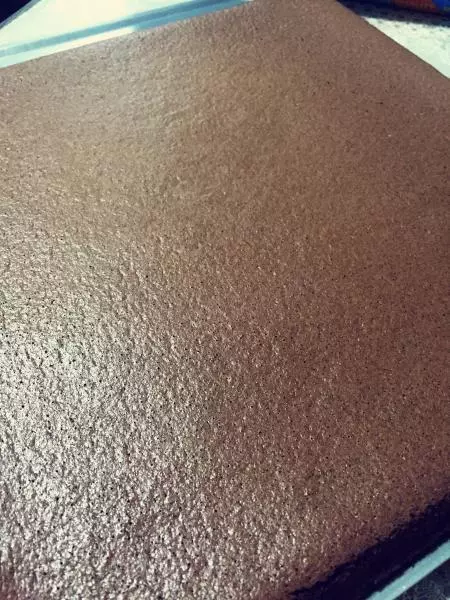
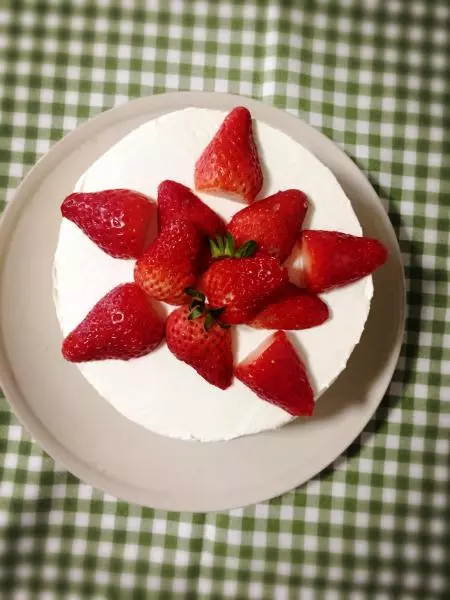
9烤箱预热180度。把搅拌好的蛋糕液从高处慢慢倒入烤盘,我这个是28*28尺寸。预热好后,送入烤箱,温度调到170度。25分钟。各自的烤箱不同,总之要表面形成硬壳,就差不多好了。
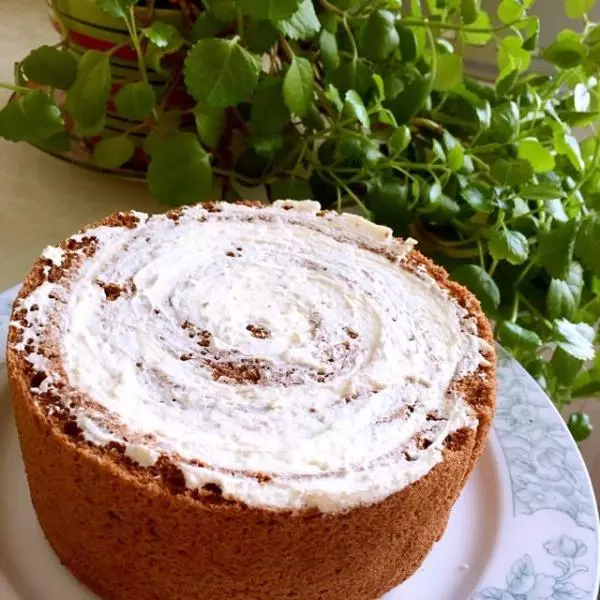
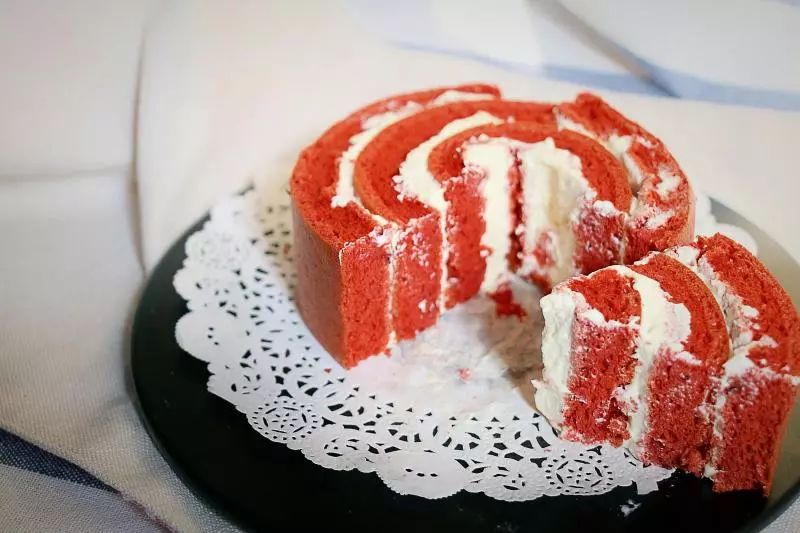
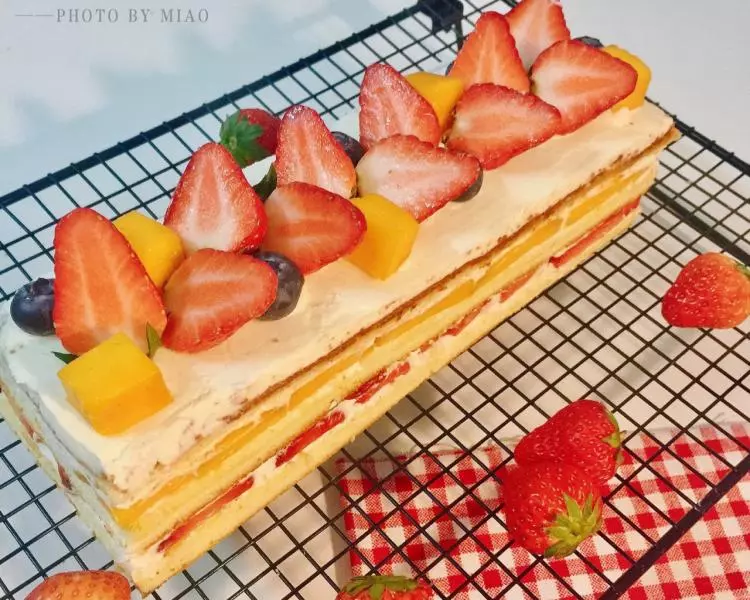
10蛋糕体烤好后,抹上打发好的淡奶油,稍微厚一点,最后切开会比较好看。淡奶油抹均匀,分四等分,切成四个等宽的长条,依次卷起。一圈围着一圈。
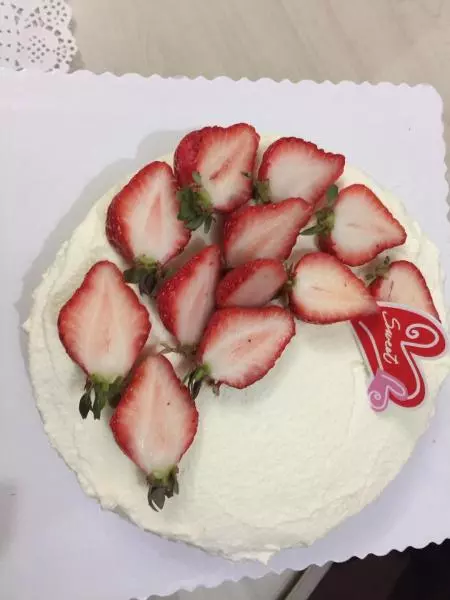
11抹面,上水果!
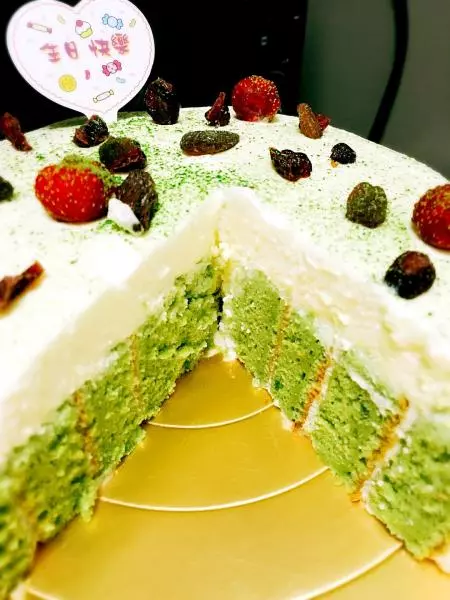
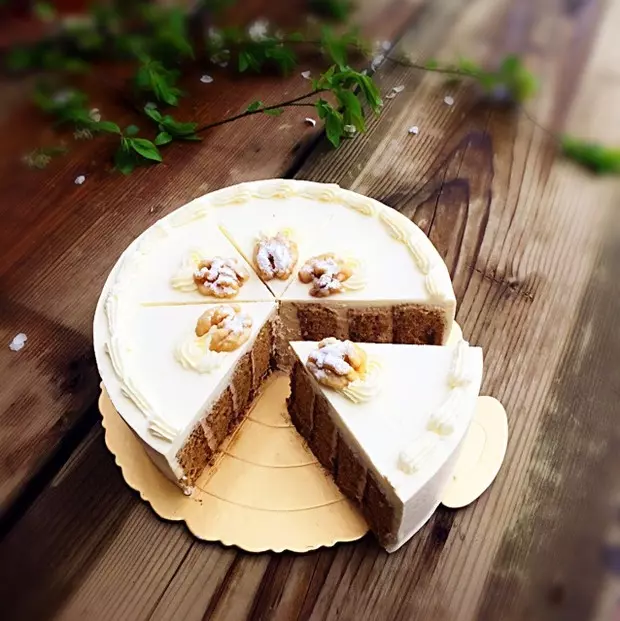
12切开更美!

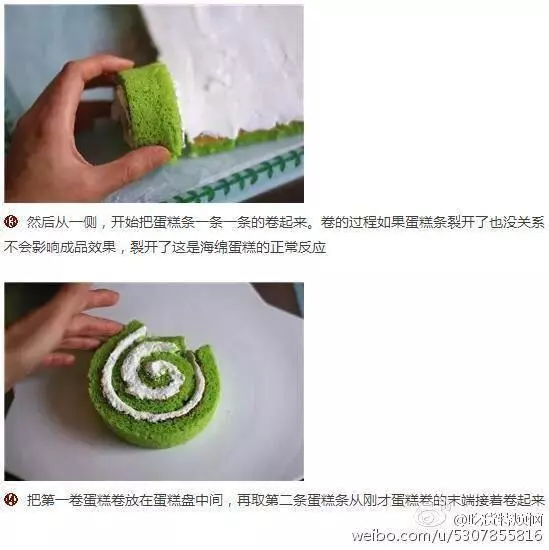
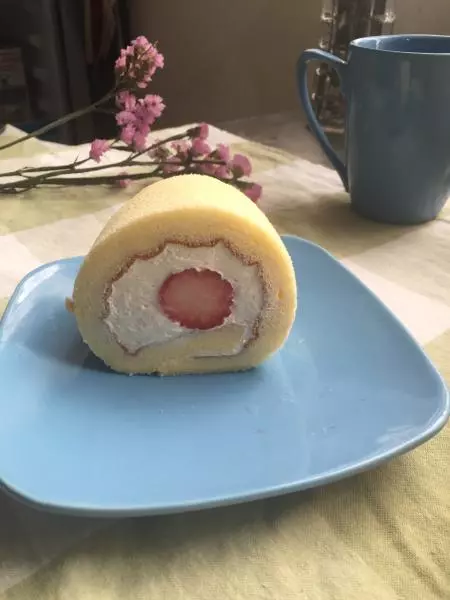
13卷蛋糕那一步忘记拍,网上借用一张给大家参考。