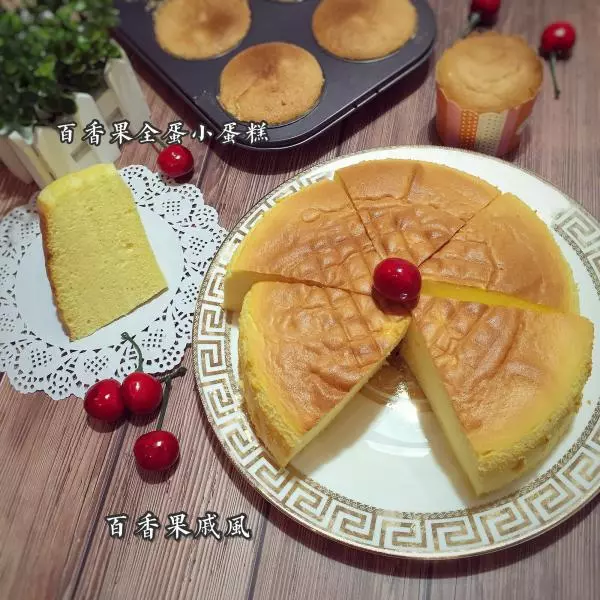
简介
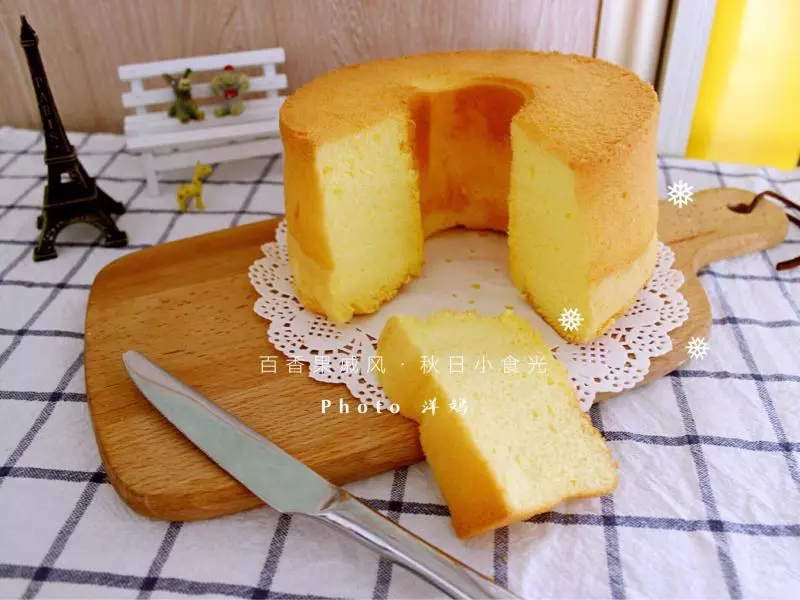
想做百香果戚风,看了几个方子觉得百香果含量比较多,这货比较酸,多了就不好吃,自己混乱弄了个配方。但是我觉得我觉得组织、口感外形都不错。 我比较懒,白糖全部一次性的加入蛋白中,事实证明也没多大影响,本身我就比较不严谨,虽然喜欢做吃的,但是不爱精益求精。 这样做我觉得不容易消泡。组织不错,口感轻盈,虽然如此不严谨,但是口感真的好。
原料
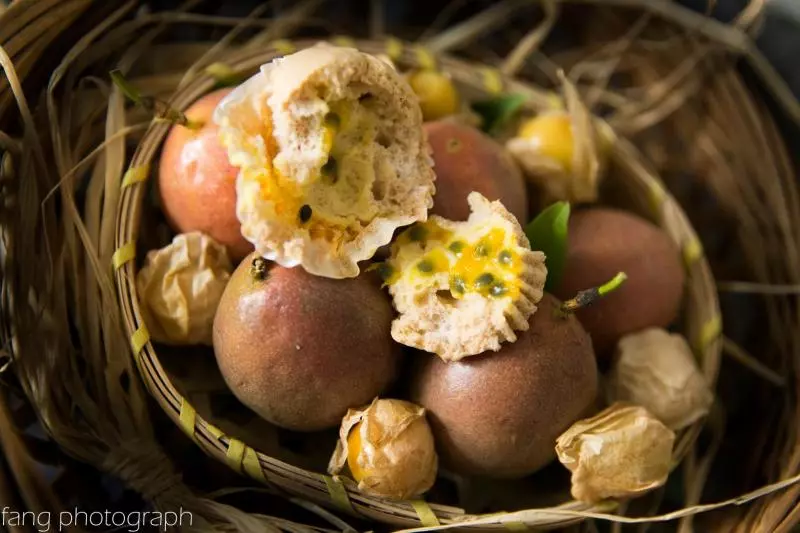
蛋黄煳, 蛋黄 2个, 百香果 1个(我称了大多百香果的果汁,大多在35g到45g之间), 玉米油 20g, 低粉 33g, 蛋白霜, 蛋白 2个, 白糖 45g
步骤
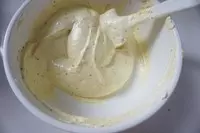
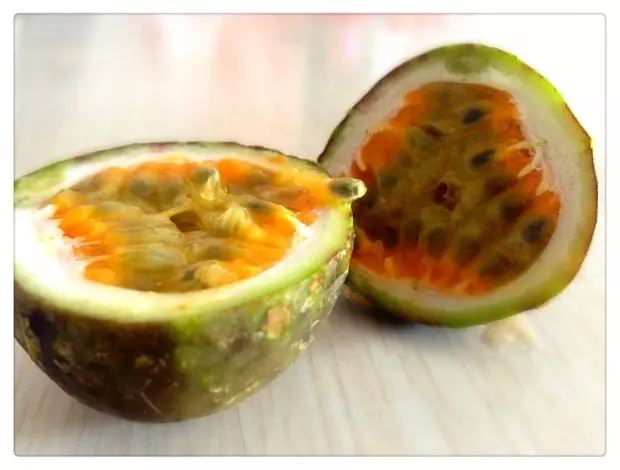
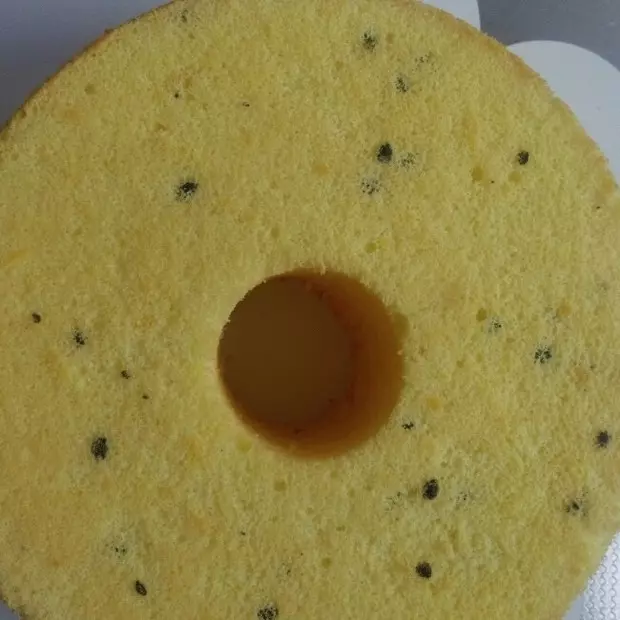
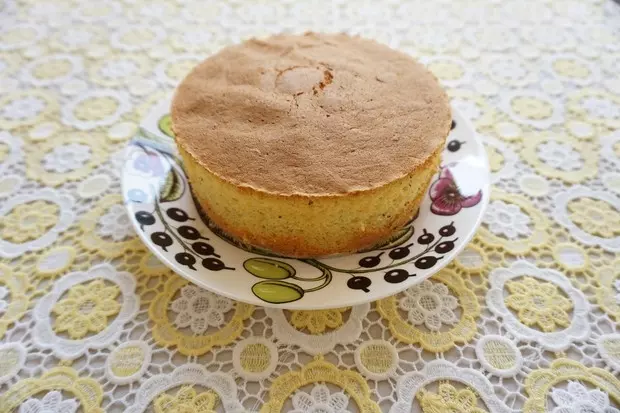
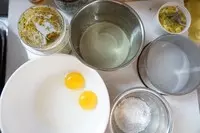
1材料准备好,百香果取果汁料理机打成泥。(个人觉得打成泥的百香果汁更容易和蛋糕融合)
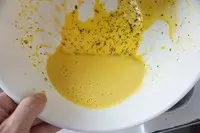
2蛋黄加入玉米油,百香果泥搅打到浓稠状态。(一定到浓稠状态,我用电动打蛋器打的,分分钟搞定)
3加入过筛的低粉,如图面糊看起来有点干干的。

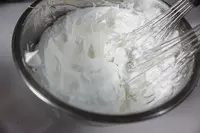
4蛋白一次性加入白糖,打到能拉出完整的尖角。
5取1/3的蛋白和蛋黄糊拌均匀,在加入剩下的蛋白切拌均匀。切拌好的蛋糕糊如图细腻有浓稠。然后倒入模具,从10cm高摔几个震出气泡。 我是个心急的主,我的温度是175度,30分钟。也可以160度,50分钟。(温度和时间只是参考)