简介
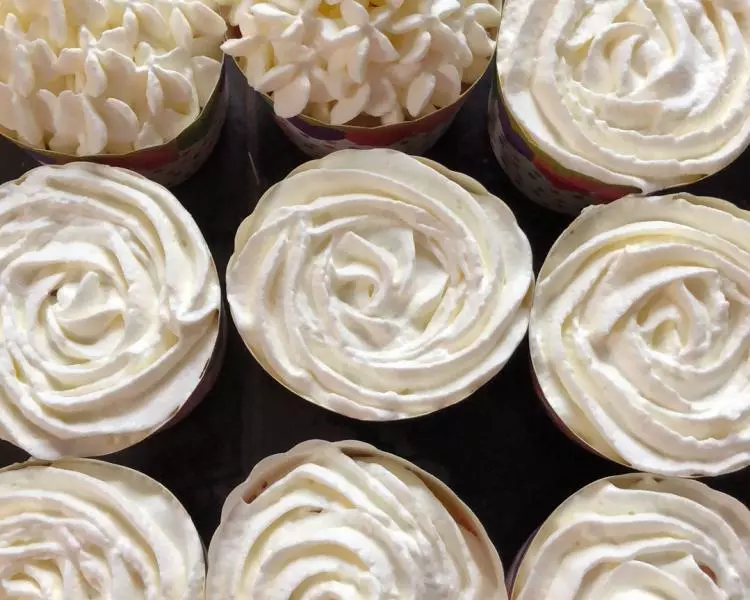
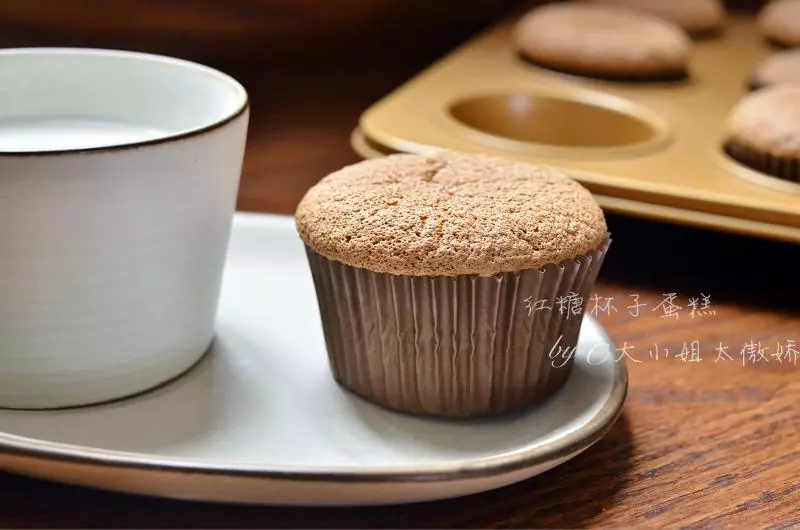
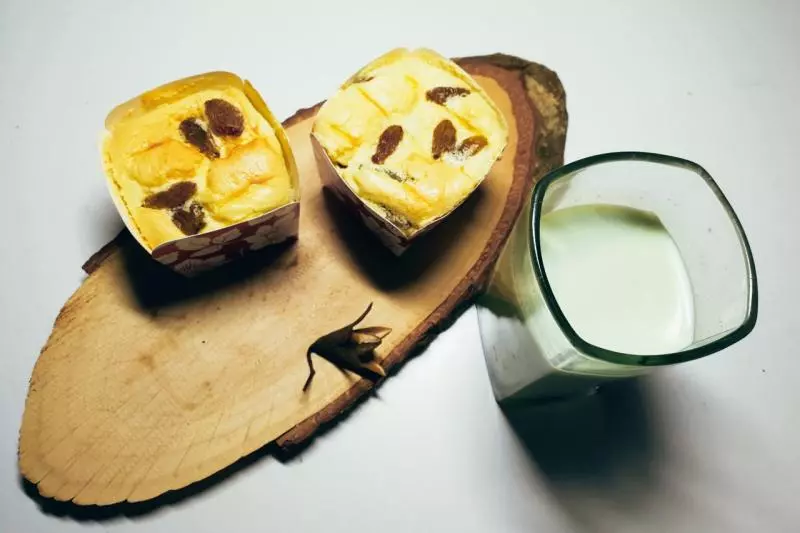
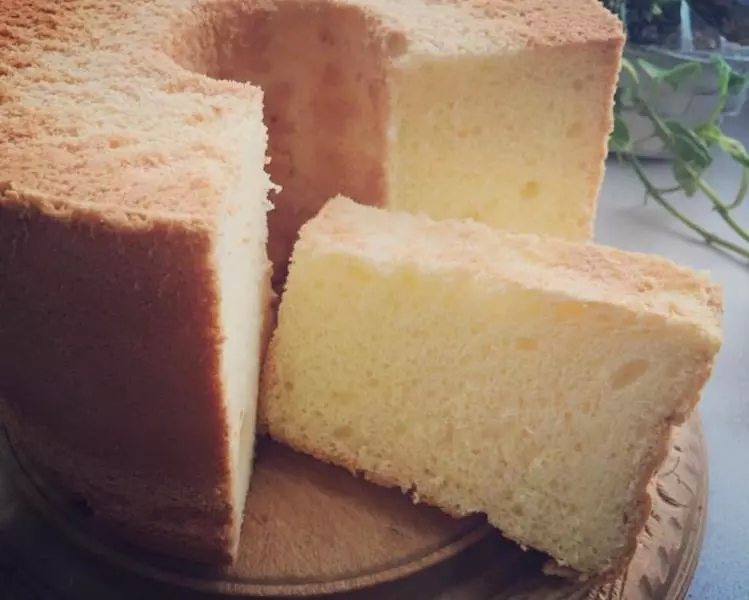
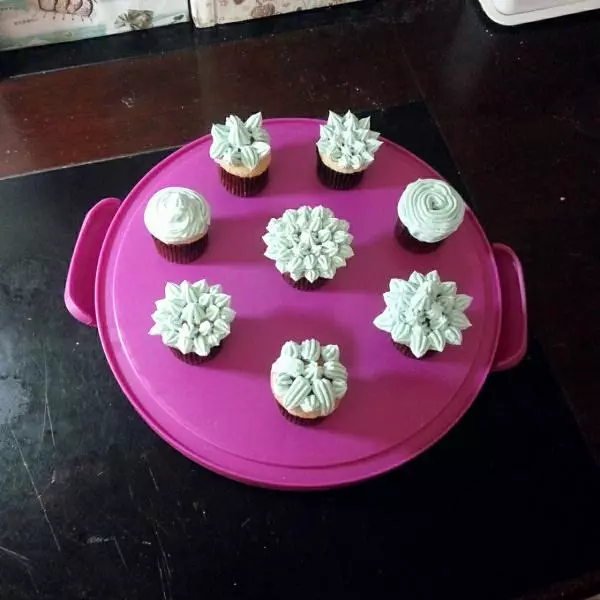
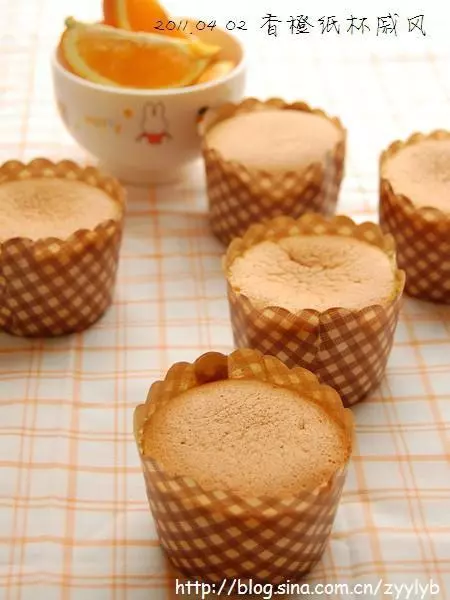
本来我想做个8寸戚风蛋糕的,后来想想不如做成纸杯蛋糕吧,想食的时候就可以随手拿走,方便懒的我。
原料
低筋面粉 80, 玉米油 45克, 牛奶 45克, 蛋清(细砂糖:60) 5份, 蛋黄(细砂糖:25) 5个, 细砂糖(按照个口味) 85克
步骤
1准备:材料和工具

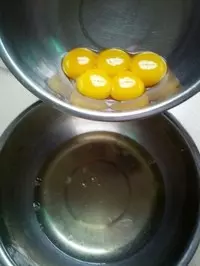
2蛋黄和蛋清分离(蛋清放在干净无油无水的容器中)
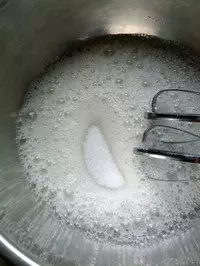
3用电动打蛋器打发蛋白霜的过程中速度应该遵循(低、中、高、低)这样的速度,不能一直用同一个速度来打发蛋白
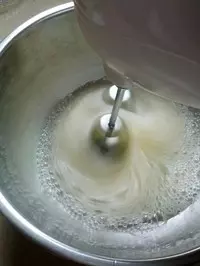
4第一步用低速打至粗泡加入1/3细砂糖打发至全部溶解
5第二步用中速打成细腻泡沫时加入1/2细砂糖继续打发至全部溶解
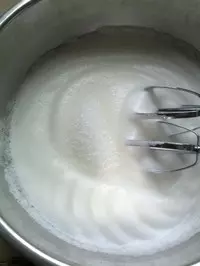
6第三步用高速打至出现纹路时加入剩余的细砂糖继续打发至全部溶解
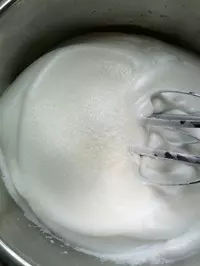
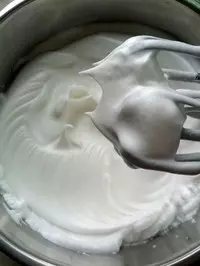
7直到打成湿性发泡,出现小弯钩 烤箱预热,上下火160度
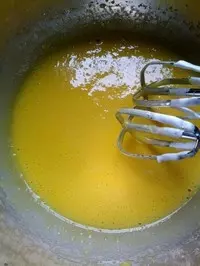
8蛋黄加入25克细砂糖,用电动打蛋器搅拌浓稠即可
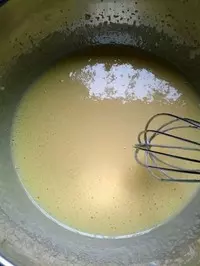
9一起加入牛奶:45克、玉米油:45克

10用打蛋器混合均匀
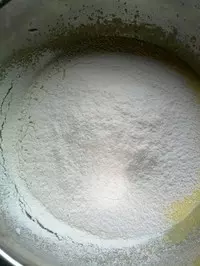
11面粉过筛一次性倒入(可分三次加入)
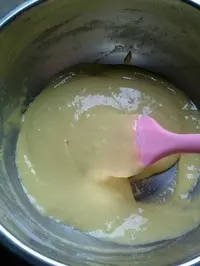
12用橡皮刮刀翻拌手法拌匀。(为了避免消泡,不能用画圈圈)
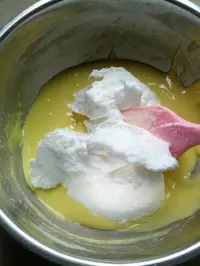
13取三分之一蛋白霜加入蛋黄糊中,用翻拌手法拌匀
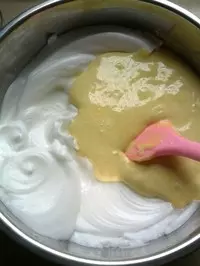
14将蛋糕糊倒入三分之二蛋白霜中
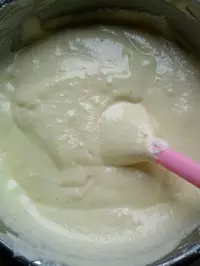
15再次搅拌均匀顺滑看不见蛋白霜即可(不用再搅拌,过度搅拌会消泡)
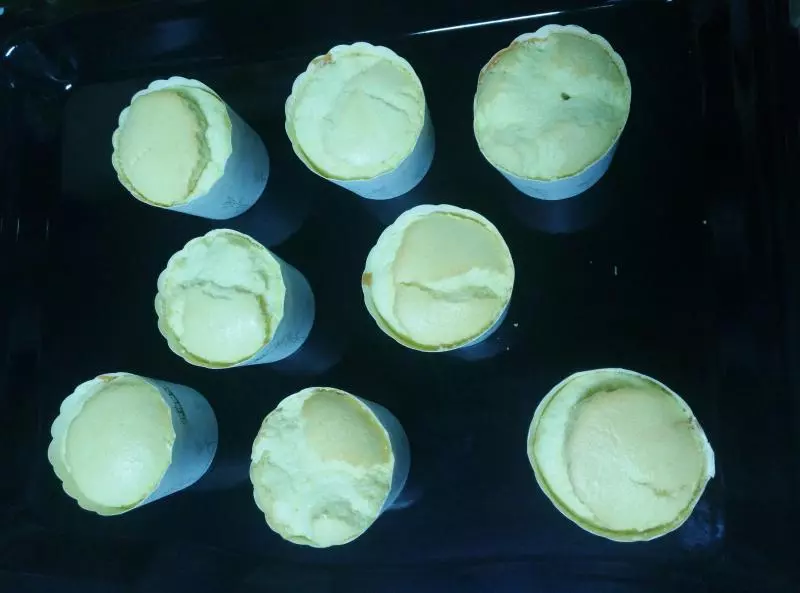
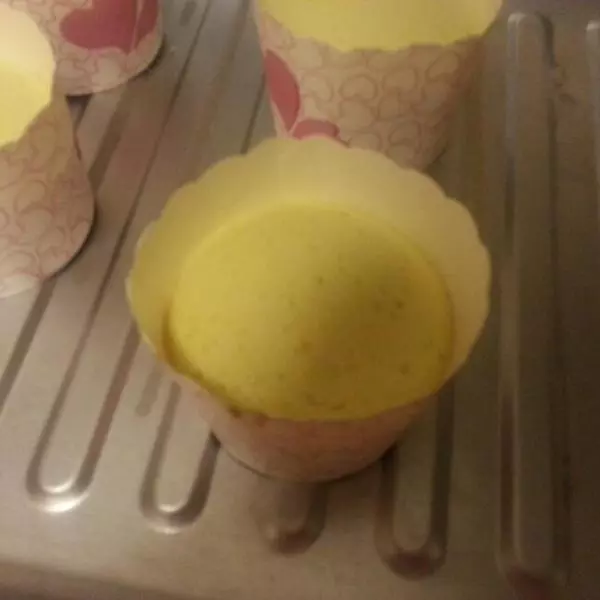
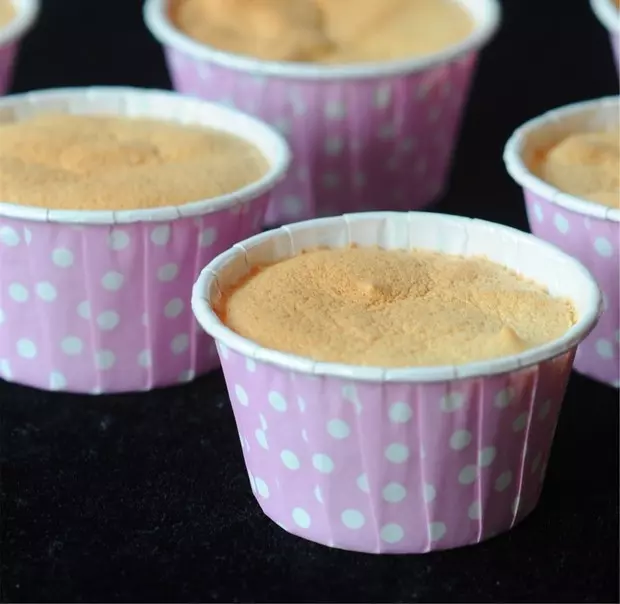
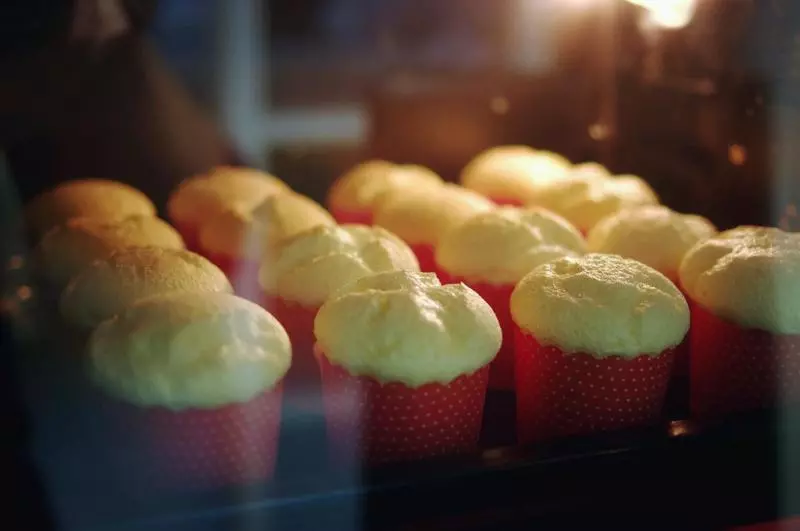
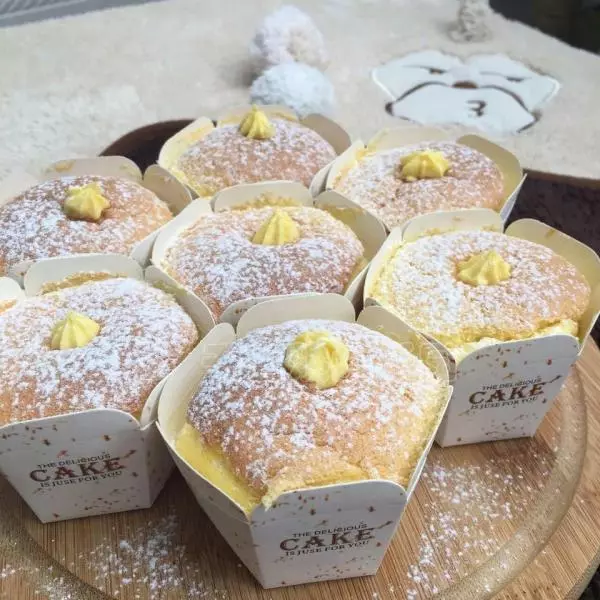
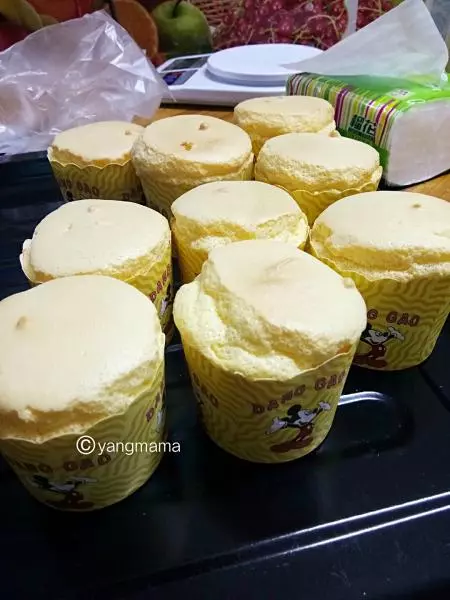
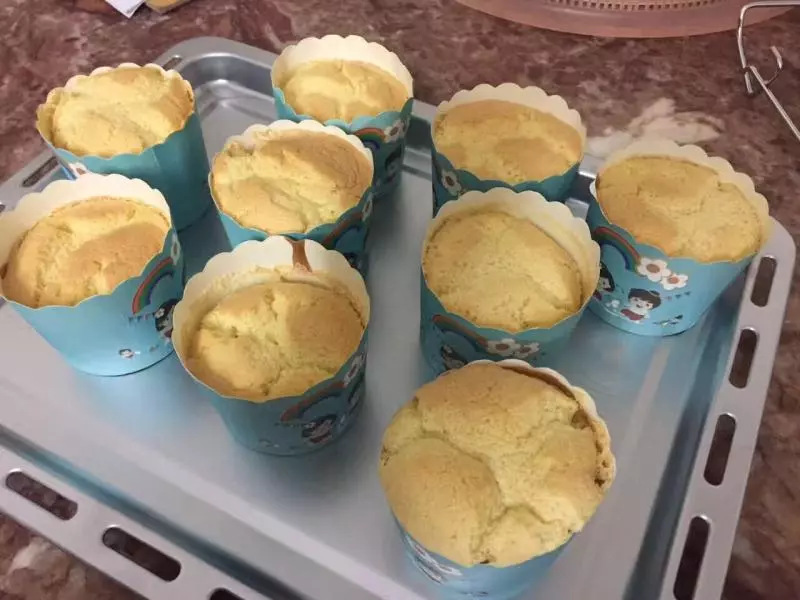
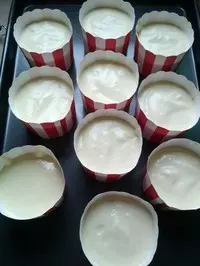
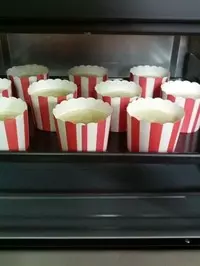
16面糊倒入纸杯中,7-8分满即可, 轻轻震几下,震出面糊里的气泡
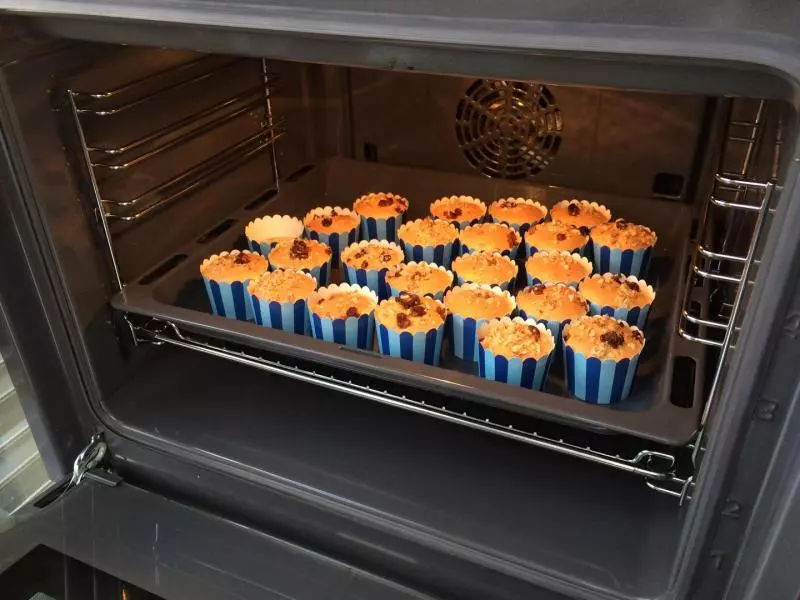
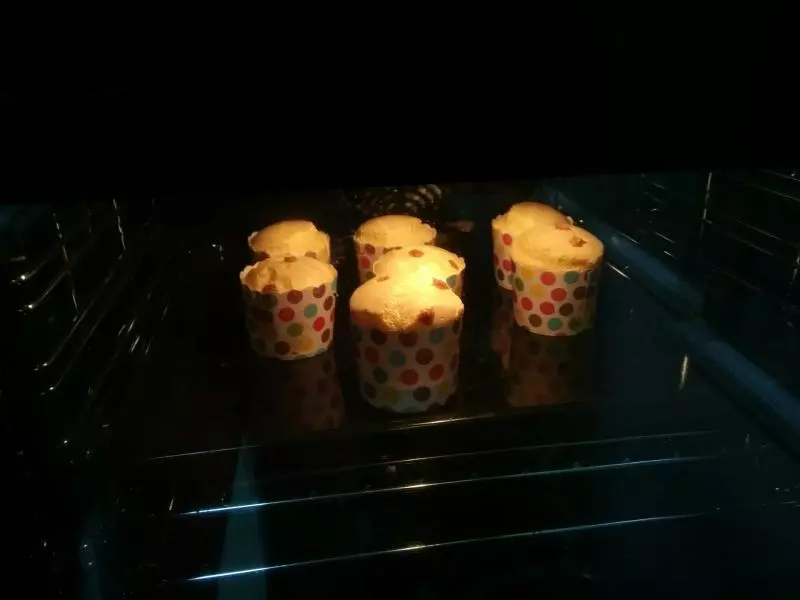
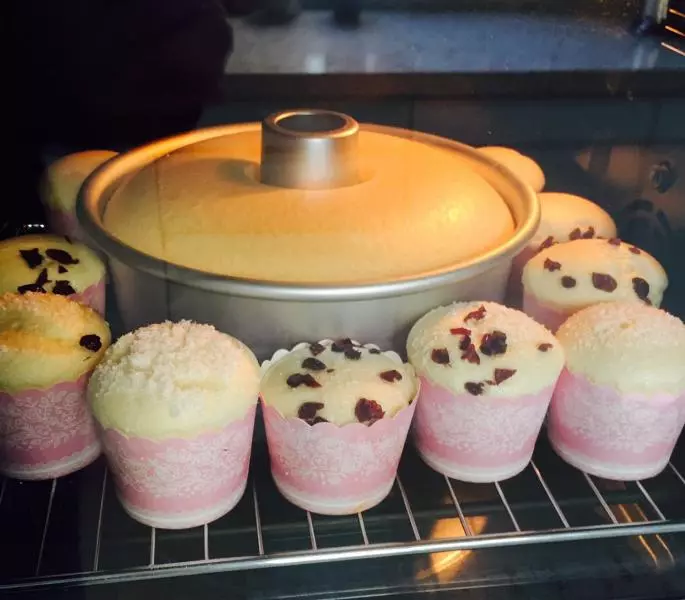
17放入预热好的烤箱,烤160度20-30分钟 倒入8寸模具中并轻震几下,放入预热好的烤箱,烤160度45分钟。
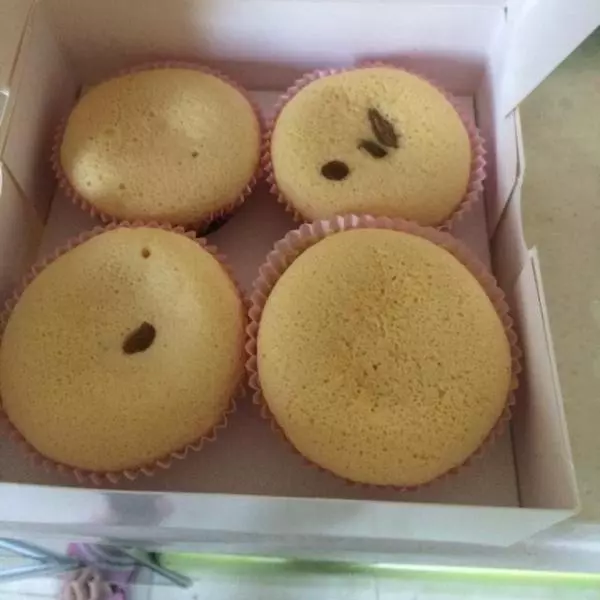
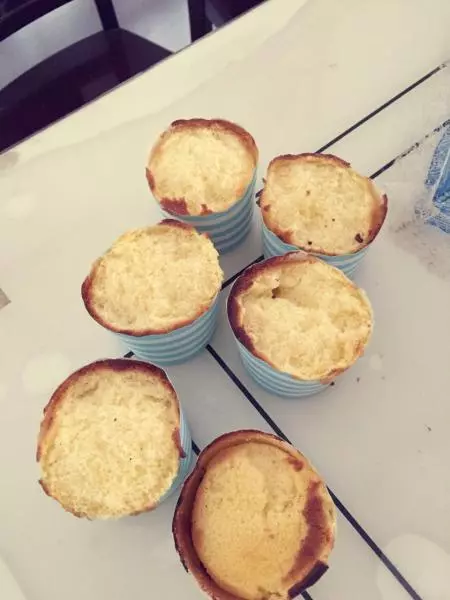
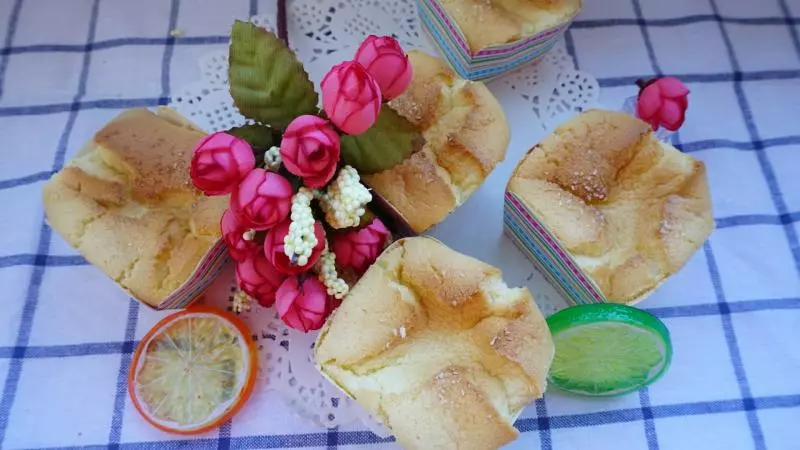
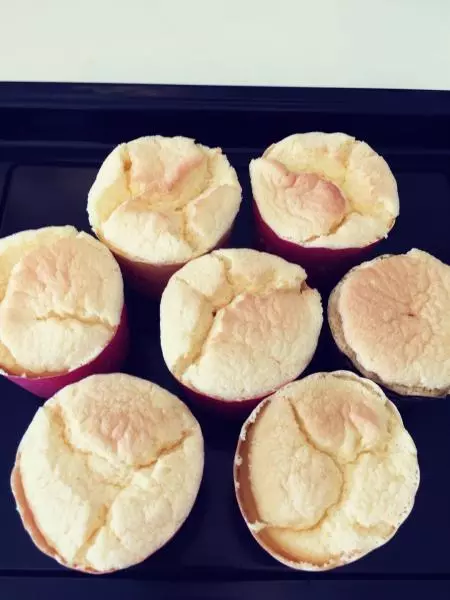
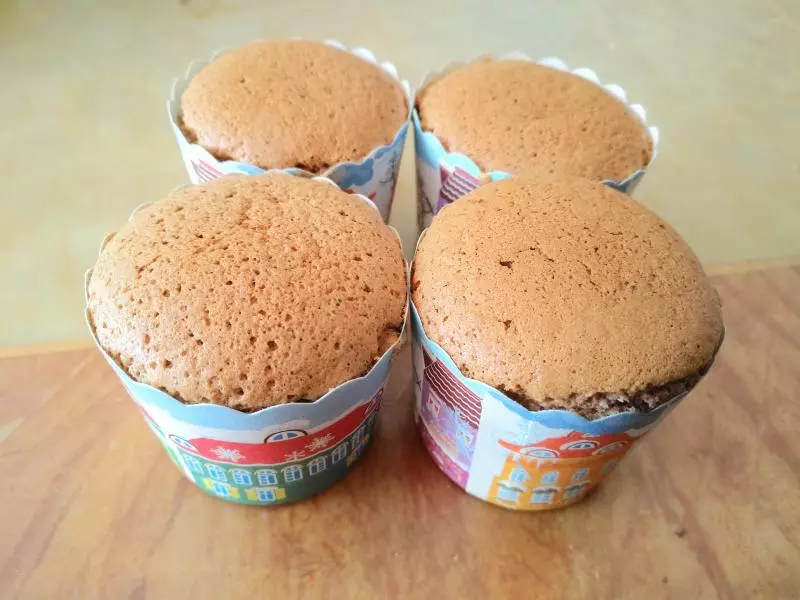
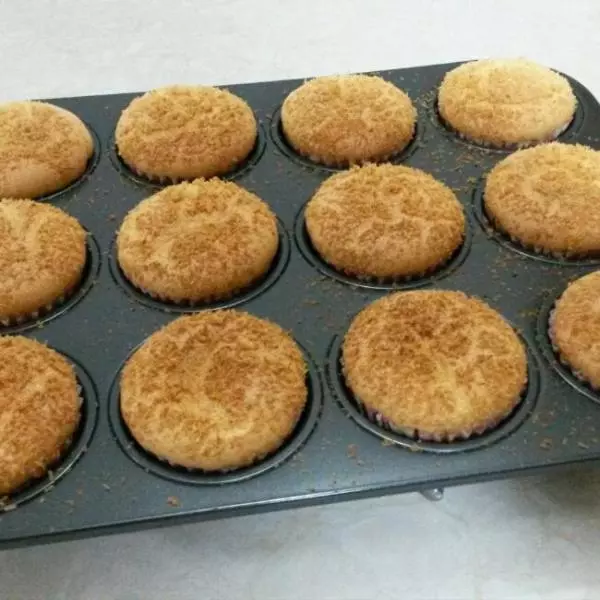
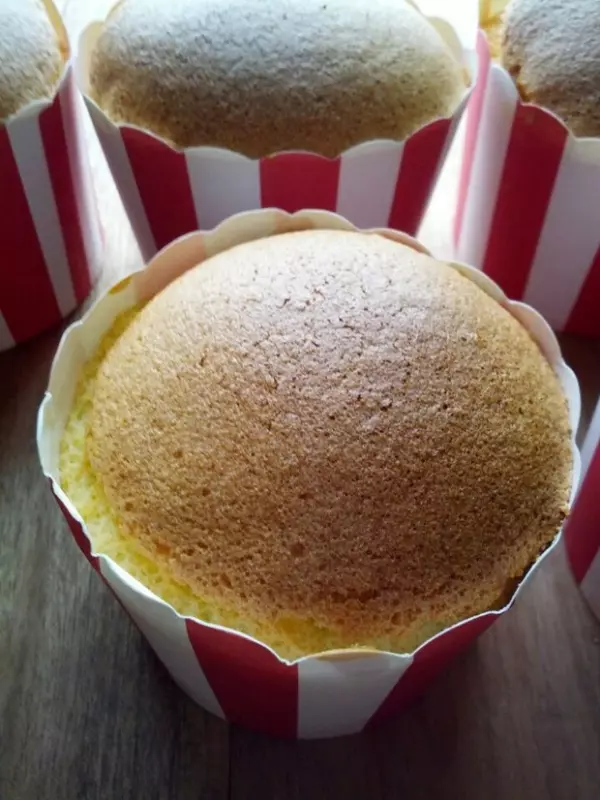
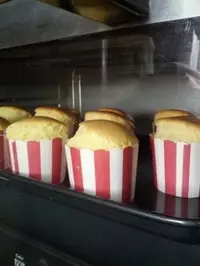
18图片中的蛋糕温度编高了,蛋糕会开口笑的
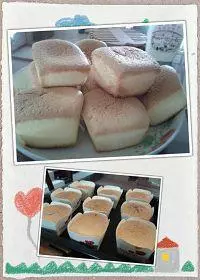
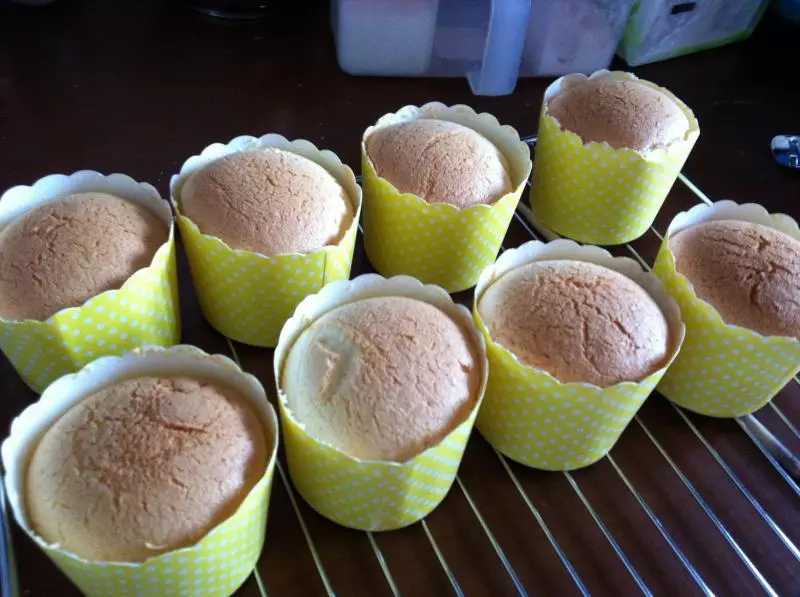
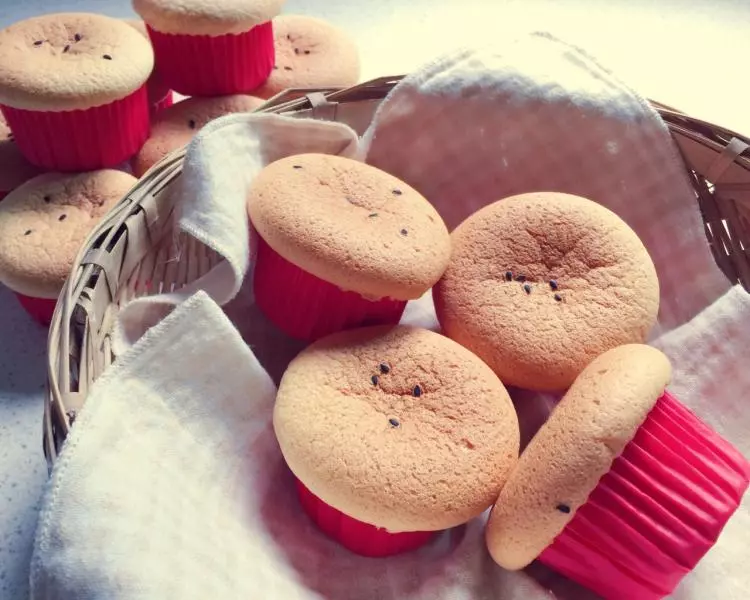
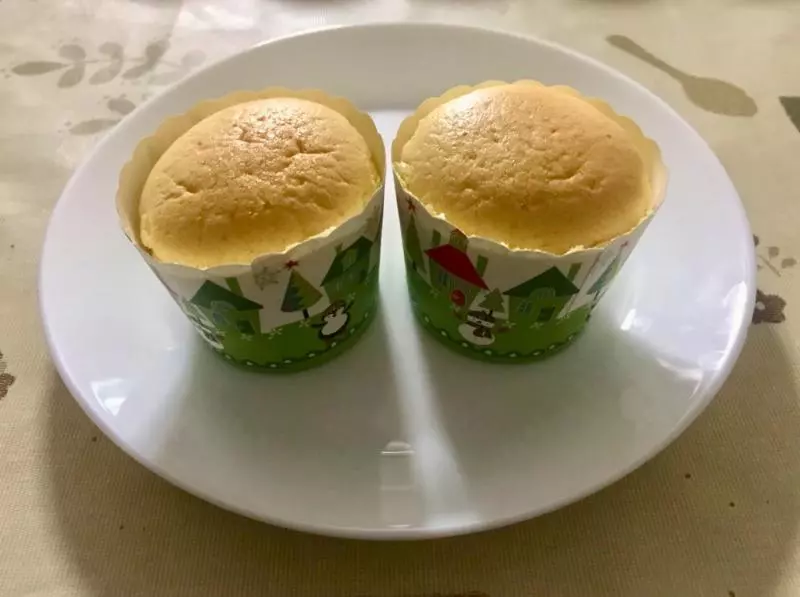
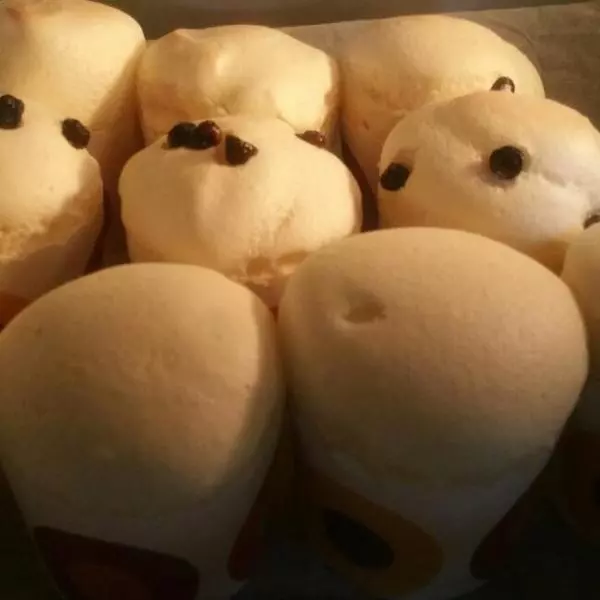
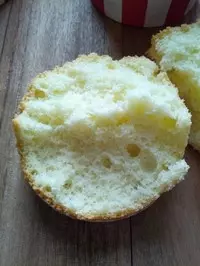
19成功的蛋糕用手压到底

20会慢慢反弹的
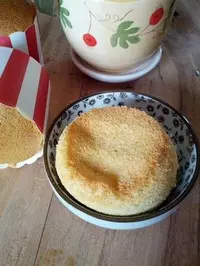
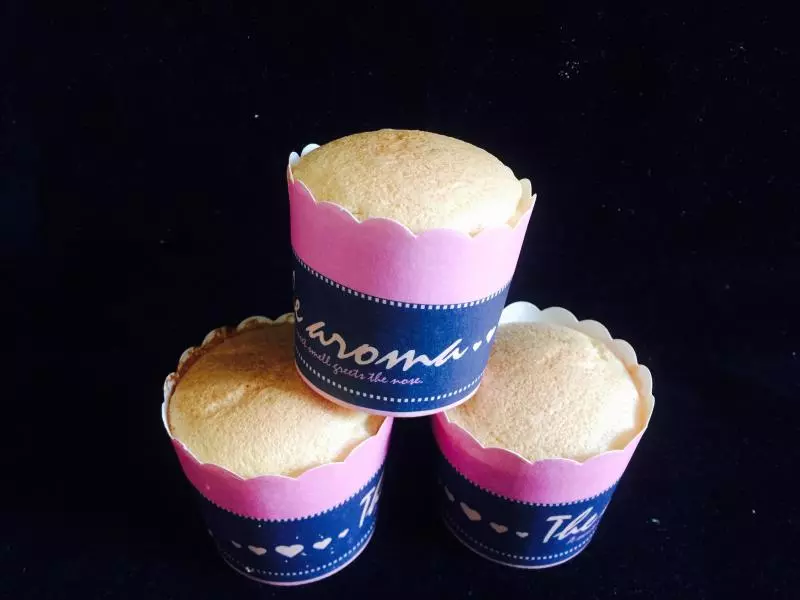
21如图片的蛋糕一样
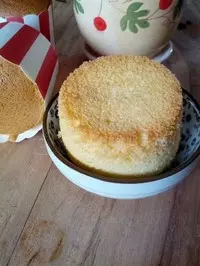
22呵呵~你会了吗
小技巧
一般纸杯装多了面糊,温度调底5-10度,时间长10-15分钟,根据自家烤箱来调整。