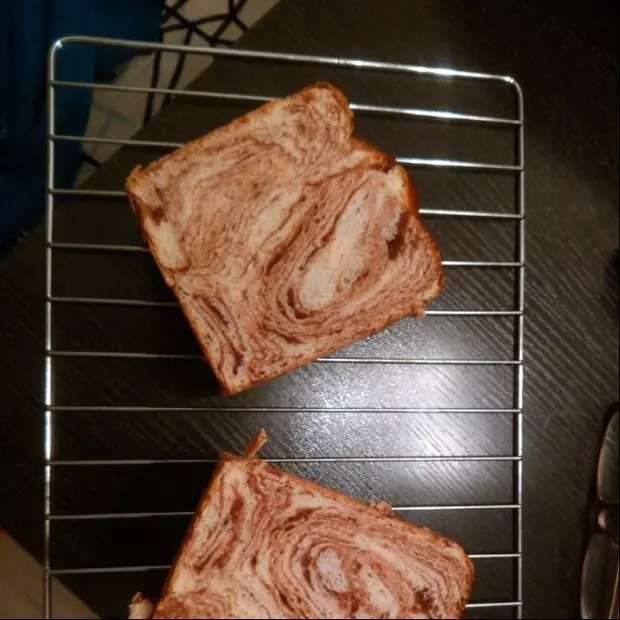
简介
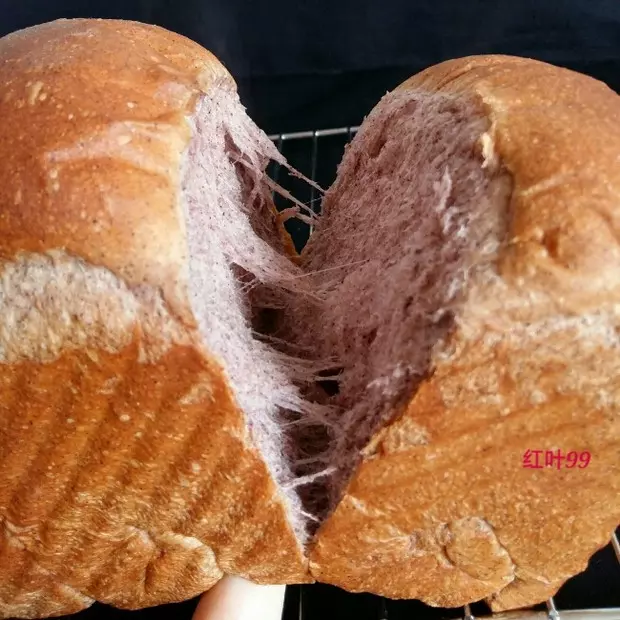
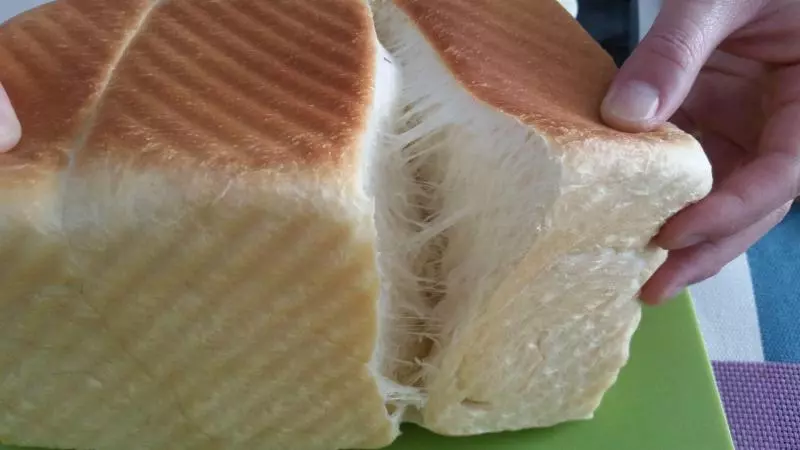
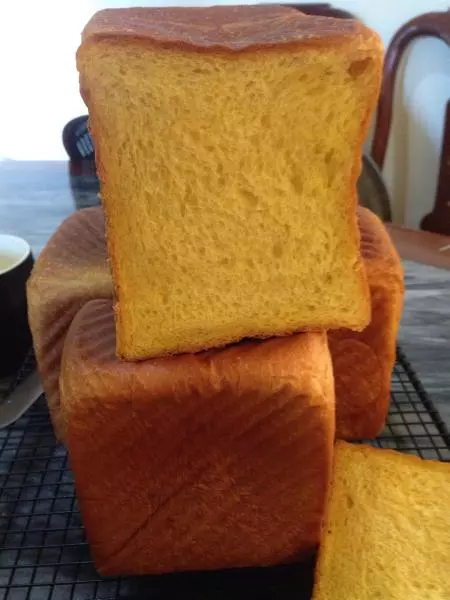
最近做泡芙,蛋黄用掉后,留下很多的蛋白液,倒掉又可惜。所以这款吐司就此诞生…… 吐司,如果你也跟我一样喜欢手撕的,这个方子绝对合适你; 口感真的很嫩,又有嚼劲;加上又是奶香的味道,会让你在整个烤制的过程很享受。 这里我使用的是100%中种(冷藏法)制作
原料
100%中种面团, 高筋面粉 280g, 水 85g, 蛋白液 80g, 细砂糖 10g, 黄油 10g, 酵母 2g, 主面团, 奶粉 20g, 细砂糖 30g, 黄油 20g, 蛋白液 10g, 盐 2g, 酵母 1g, 刷面材料, 蛋黄 1个
步骤
1启动厨师机的低速,搅拌成稍有点光滑的面团,然后倒入10g黄油(要切碎,软化)
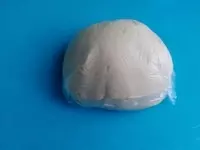
2启动厨师机的中速,搅拌5分钟左右直到黄油完全混合到面团里,取出面团,用保鲜袋装好,放入冰箱冷藏0-5℃的温度中发酵17个小时左右
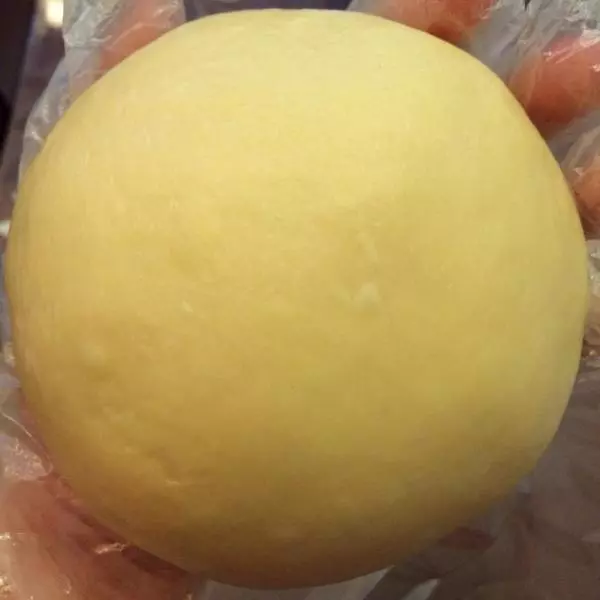
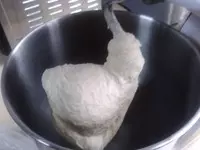
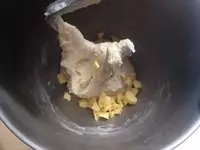
3开动厨师机中速搅拌10分钟左右,这个时候可能那个面团会有点黏,不用担心,如果能拉出如图的大块膜,就停下厨师机(如果太黏的话就加一点高筋面粉,因为每个地区的面粉吸水量不一样)

4倒入20g黄油,开动厨师机中速搅拌,继续10-15分钟
5直至完全扩展,能拉出薄薄的膜

6放入烤箱,里盛一杯温水,烤箱调至发酵功能,温度调0,时间30分钟左右(我用的是长帝TRTF32电烤箱)

7发酵到大概有两倍大

8取出用手掌压开排气,静置10分钟左右

9分成均匀的3份小面团

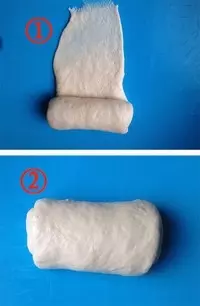
10取一份,擀成长条

11从一端卷至另一端,留大概有2CM的长度,然后用擀面杖擀薄,卷好 别外两份面团都重复这样的操作
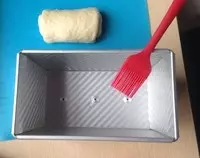
12吐司盒内壁刷一层油(这个油是另取的),目的是烤好后脱模
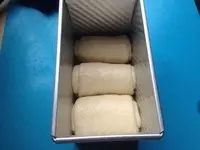
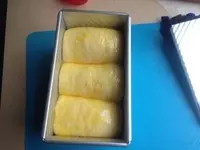
13面团开口处朝下,放入卷好的面团
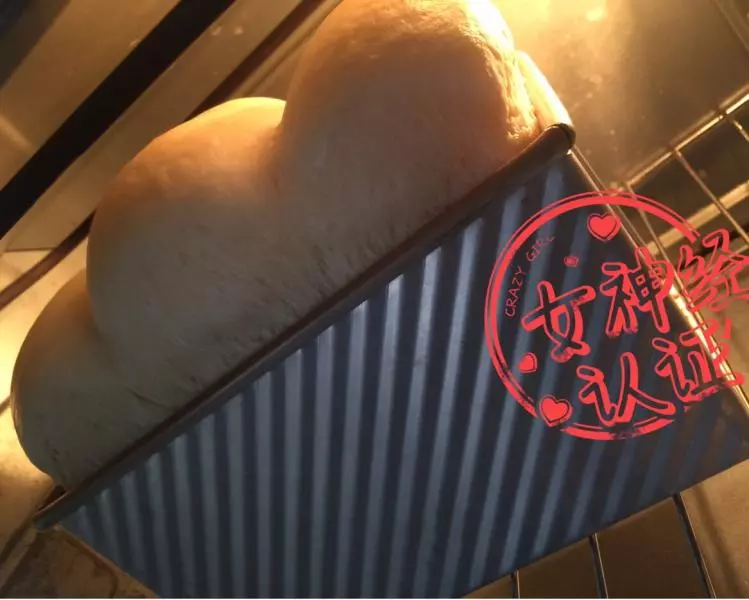
14用保鲜膜,包好;放入烤箱,里面盛一杯温水,烤箱调至发酵功能,温度调0,时间30分钟左右

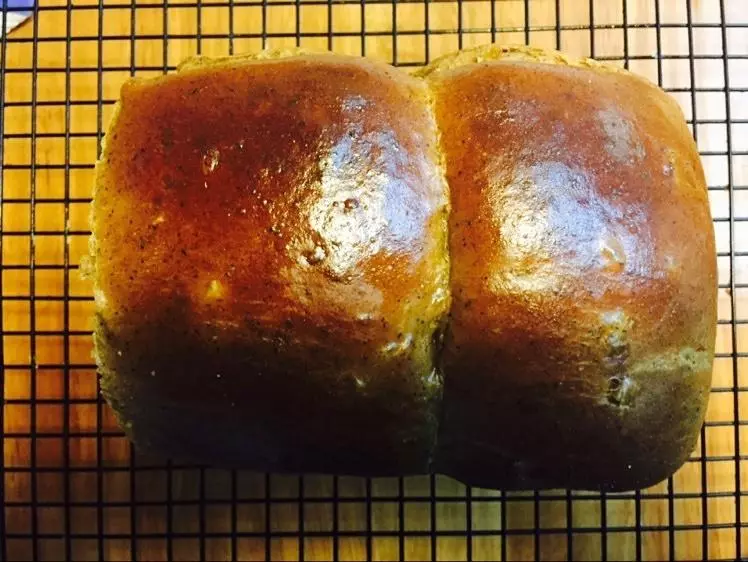
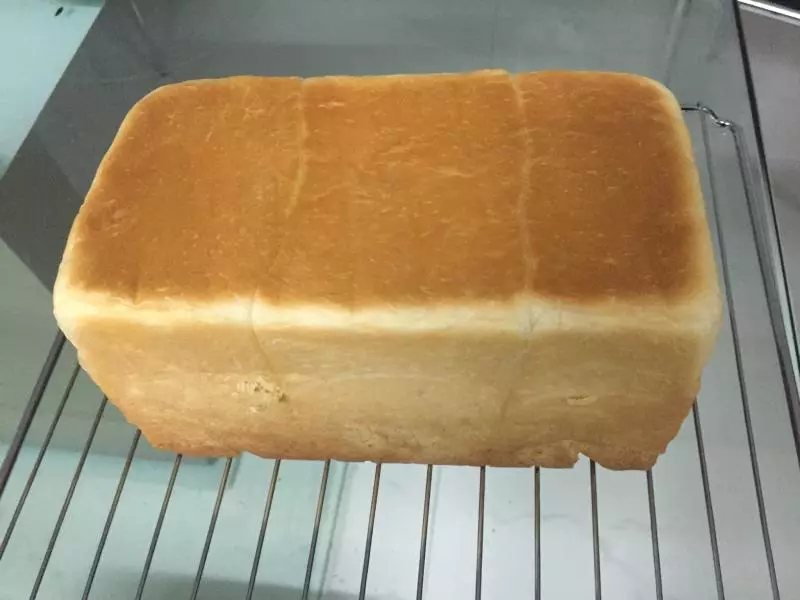
15发酵有7分满模后,从烤箱取出; 预热烤箱,调温度上管160度,下管170度,上下烤

16把刷面用的一个蛋黄打散,刷在表面
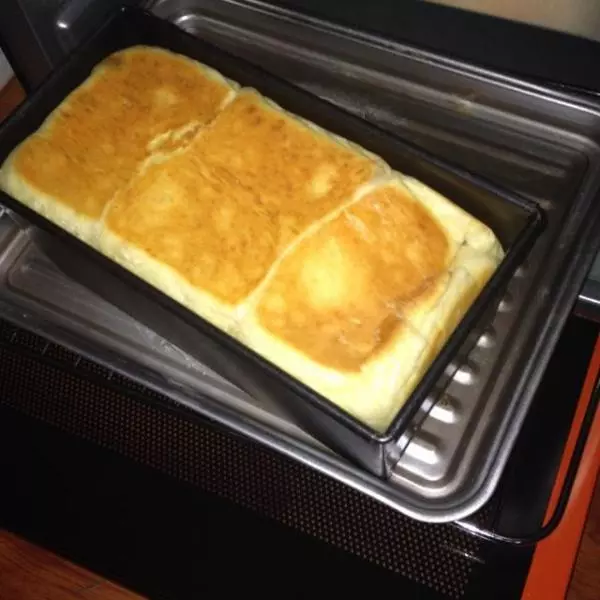
17刷好后,放入预热好的烤箱,调温度上管160度,下管170度,上下烤,时间25分钟左右

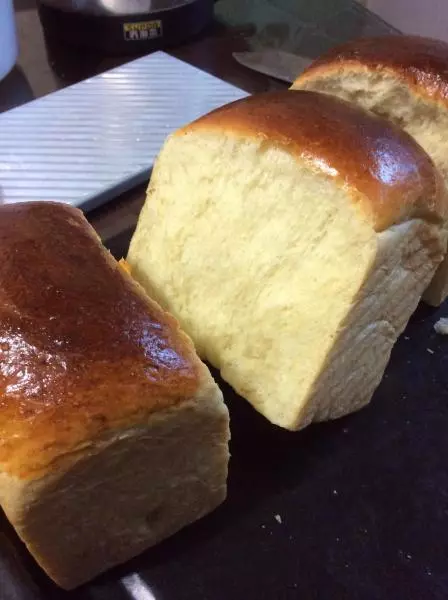
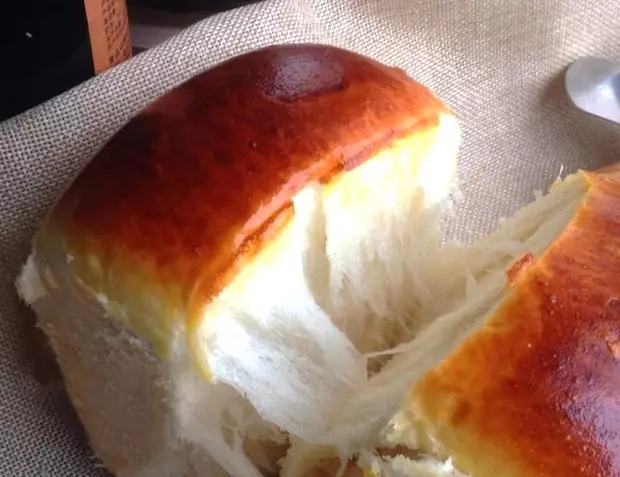
18表面烤得温度有点深色后即可取出 (烤箱都有温差,如果25分钟不能满足,就适当延长时间)

19欢迎加入烘焙扣扣群473667999,或用手机扫一下右边的二维码即可 →

20或加微信群,用手机扫一下右边的二维码即可 →

小技巧
1、如果不喜欢蛋黄的味道,表面可以不刷蛋黄 2、每个地区的面粉吸水量不一样,过挰中太黏手,可以适当加点粉