原料
饼底:: , 消化饼干: 40g, 黄油: 15g, 蛋糕体:: , 奶油奶酪: 240g, 淡奶油: 45g, 糖粉: 40g, 鸡蛋: 1只, 玉米粉: 1.5大勺, 柠檬汁: 1小勺, 朗姆酒: 1小勺
步骤
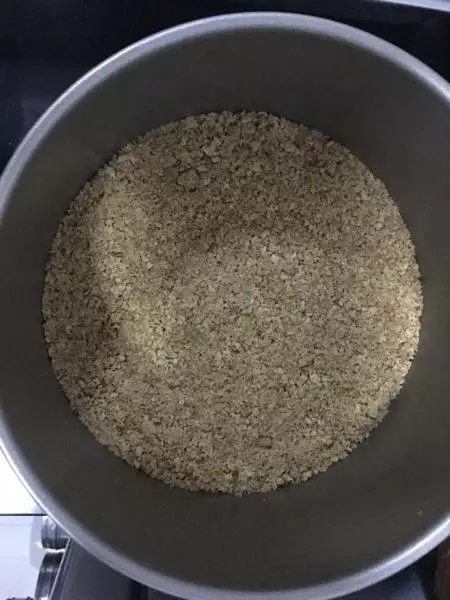
1消化饼干搞碎,譬如料理机,譬如保鲜袋里用擀面杖,黄油融化后搅匀,铺在模具底部压实,冰箱冷藏
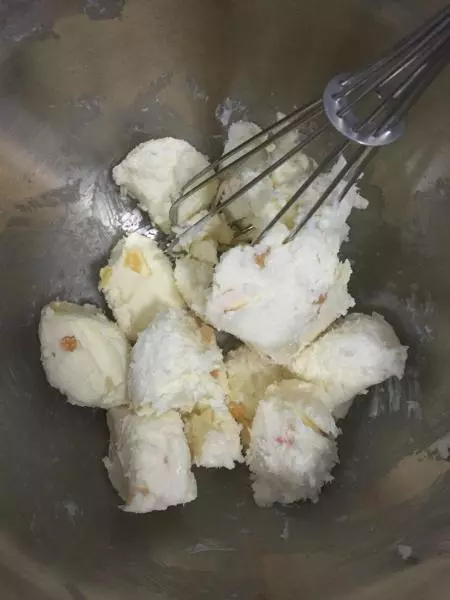
2奶油奶酪软化,可以隔水加热以加速软化
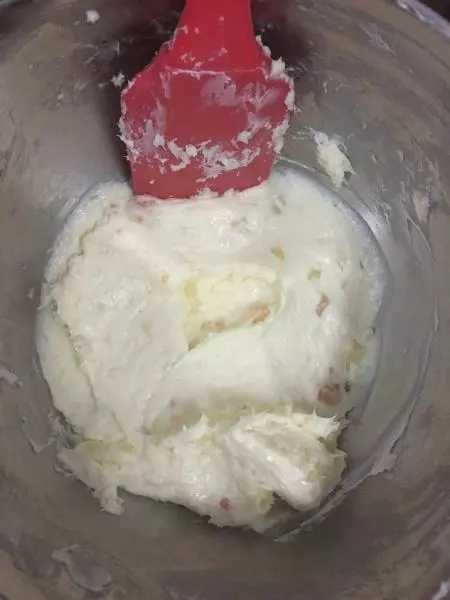
3拌顺滑
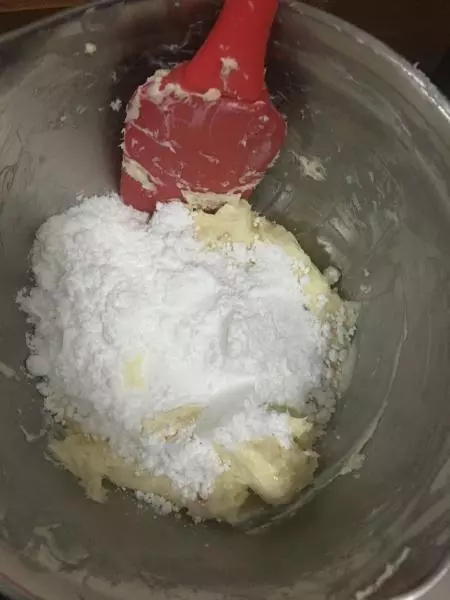
4加入糖粉,搅匀
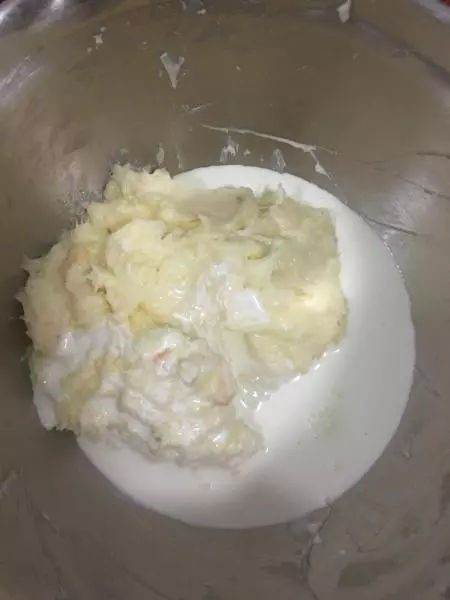
5加入淡奶油,搅匀
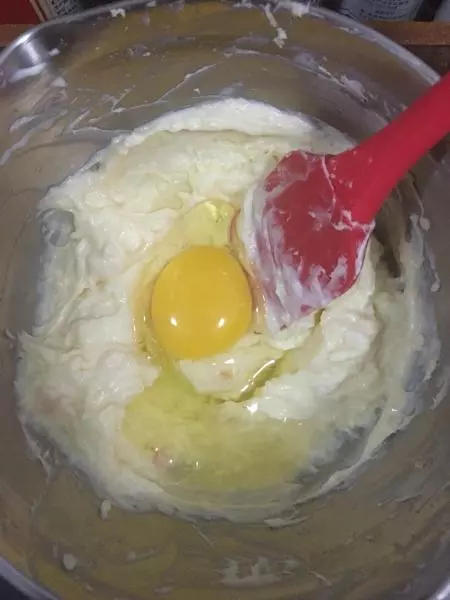
6加入一只鸡蛋,搅匀
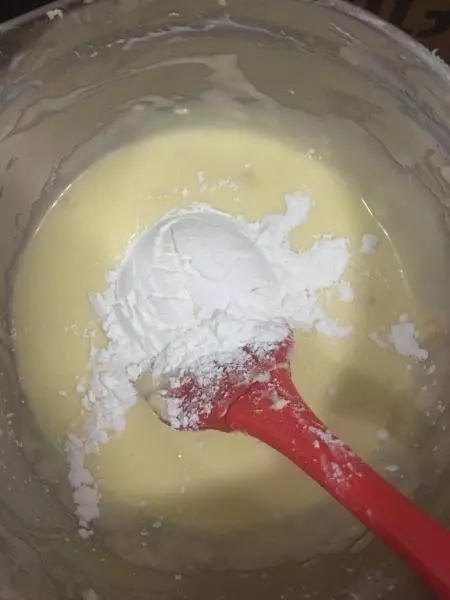
7再加入玉米淀粉,依旧搅匀
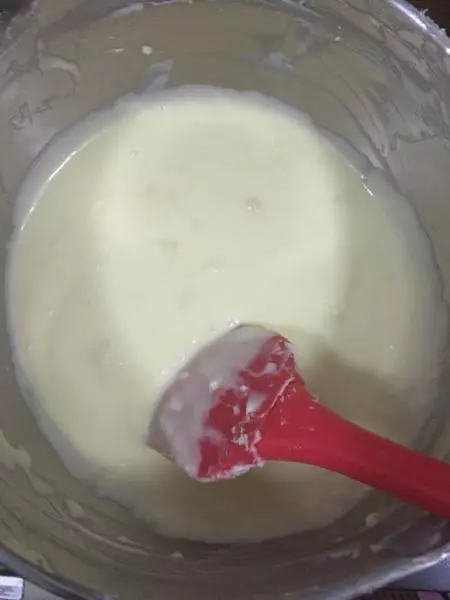
8最后加入柠檬汁和朗姆酒,搅匀,这两个是增加些风味而已,没有可不加
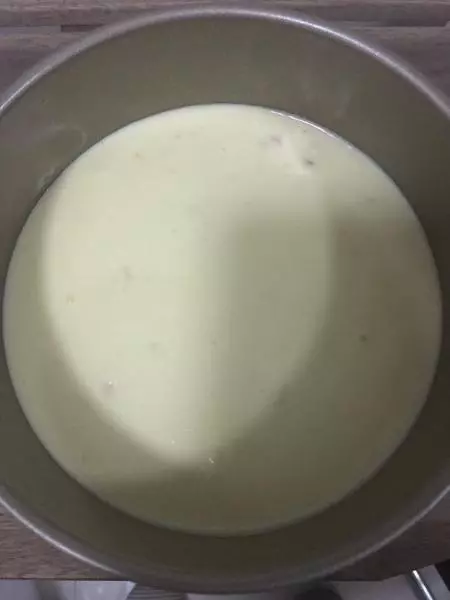
9倒入已冷藏的模具中
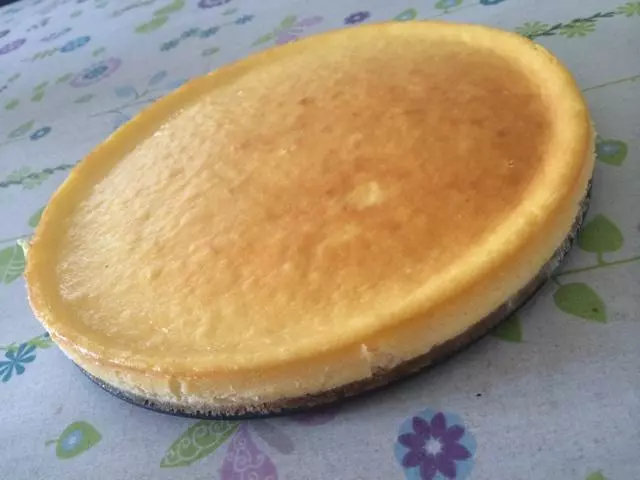
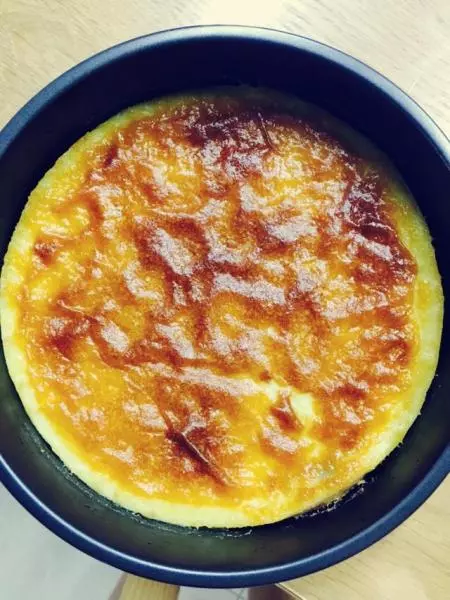
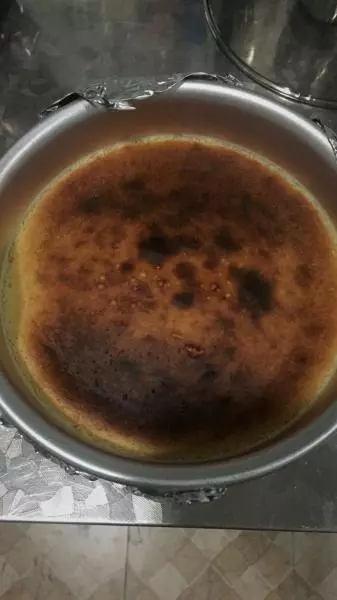
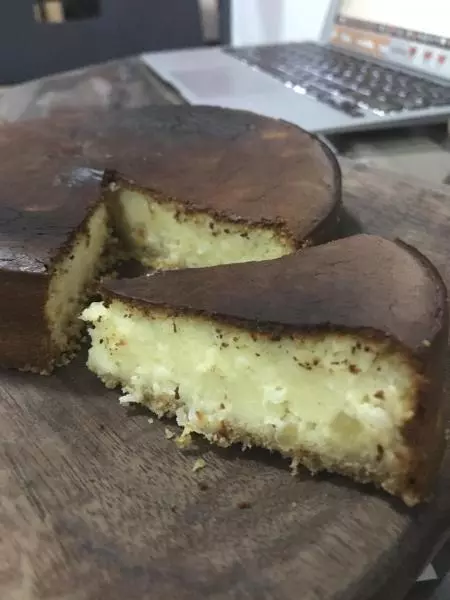
10140度预热,50分钟,再190度上火10分钟用于上色,最后放凉脱模
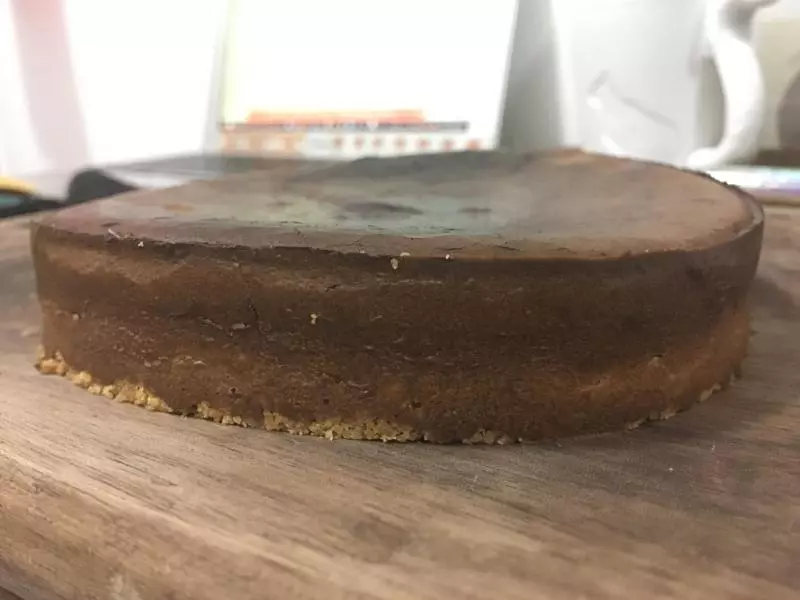
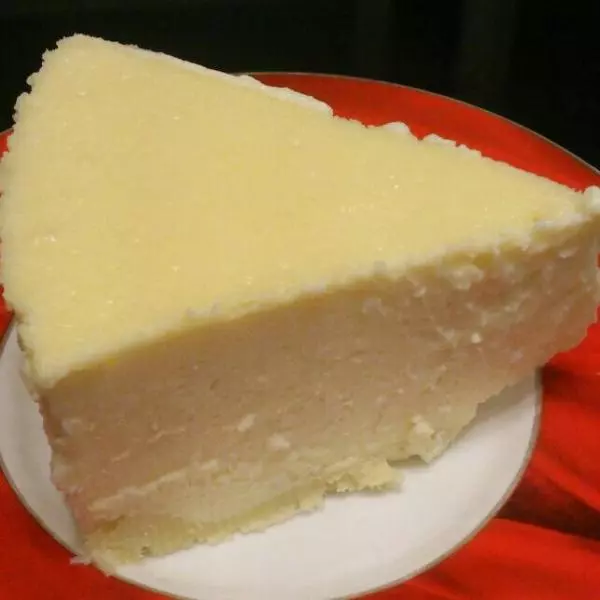
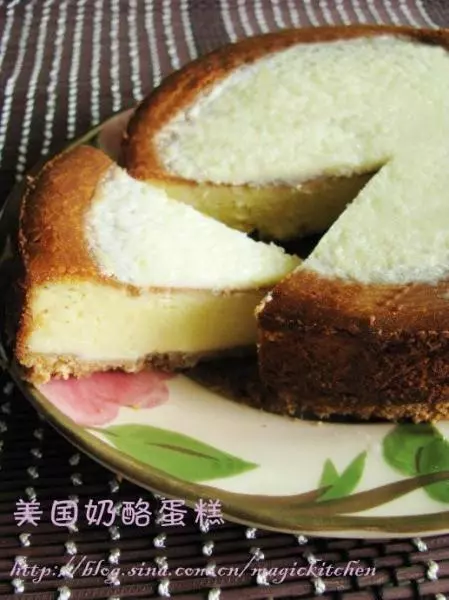
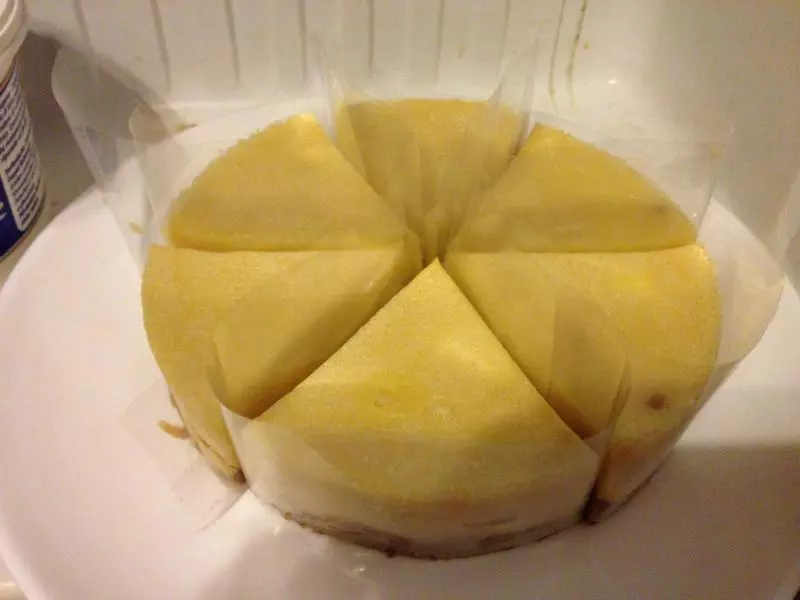
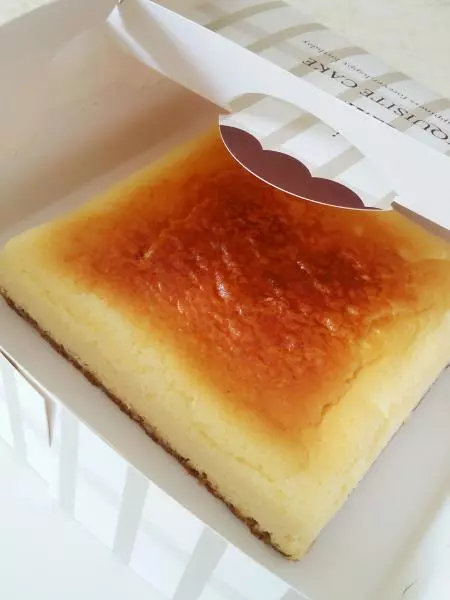
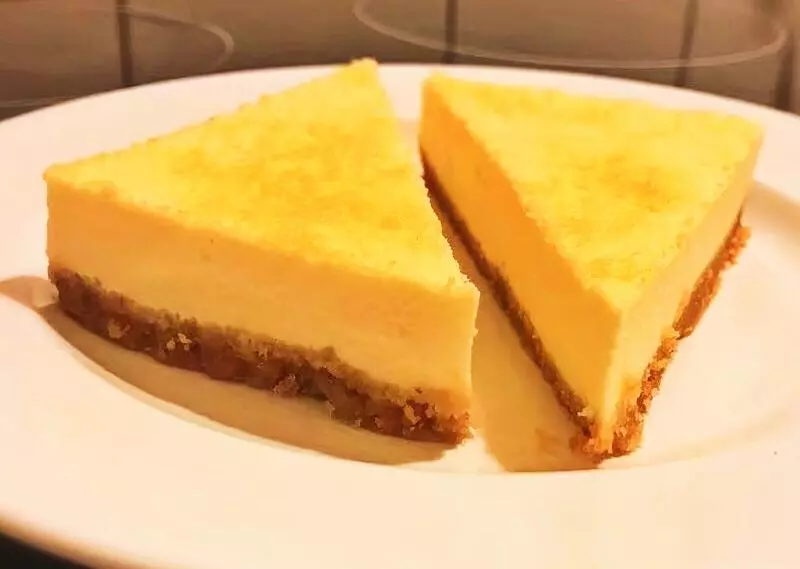
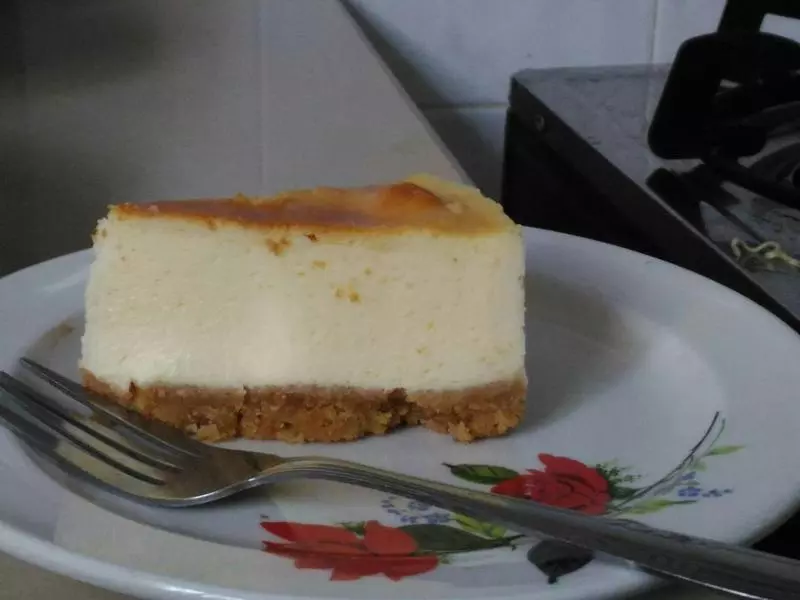
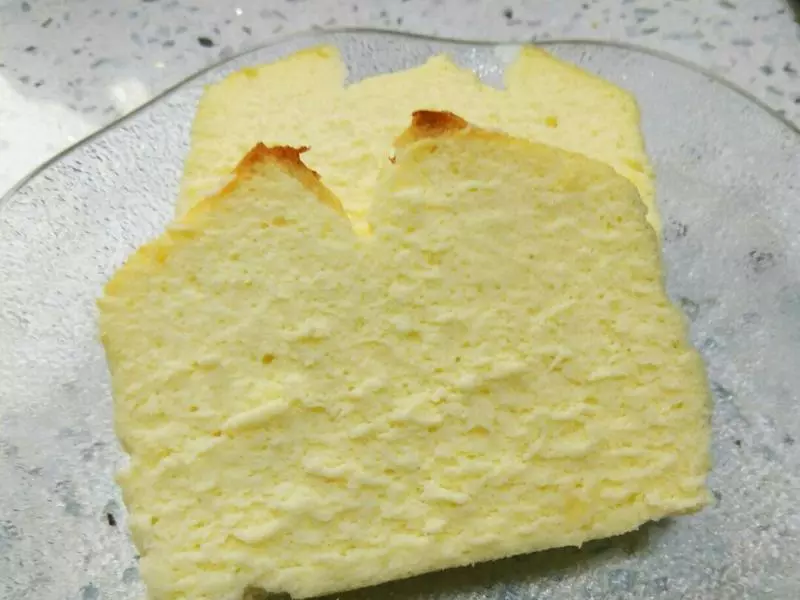
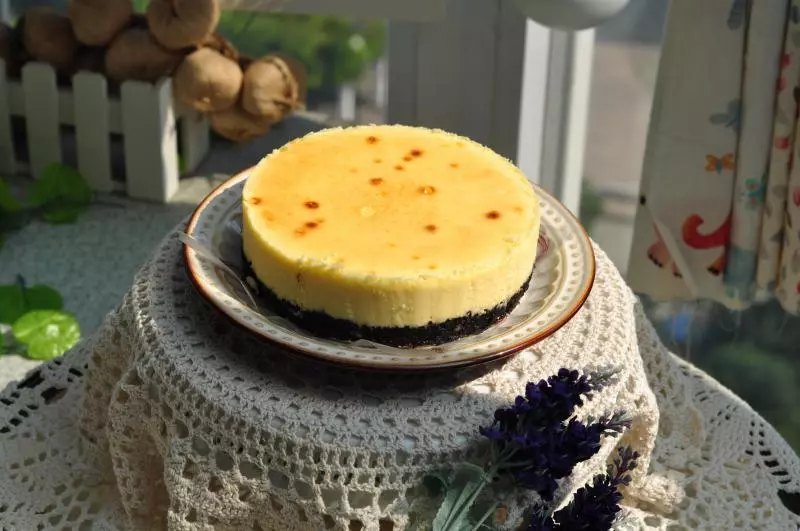
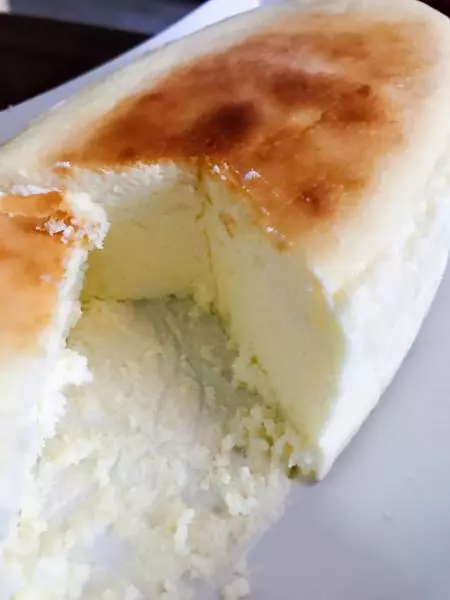
11切面!还行,用普通刀切的,味道如我一开始所述,和面包新语的同等感觉,但其实不是我喜欢的,下次再尝试其他方子,争取作出像食之秘这种creamy口感的

小技巧
还是一点:各家烤箱脾气不同,人家方子里的温度和时间只能是参考!像我这只,最后上色偏深了,当然深浅其实我都无所谓,关键的还有口感,只能靠多试验几个方子才能摸到适合自己口味的了