原料
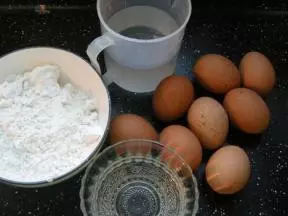
低筋面粉: 120克, 牛奶: 250毫升(刚好一盒), 黄油: 80克, 鸡蛋: 3个, 糖: 15克, 盐: 2.5克
步骤
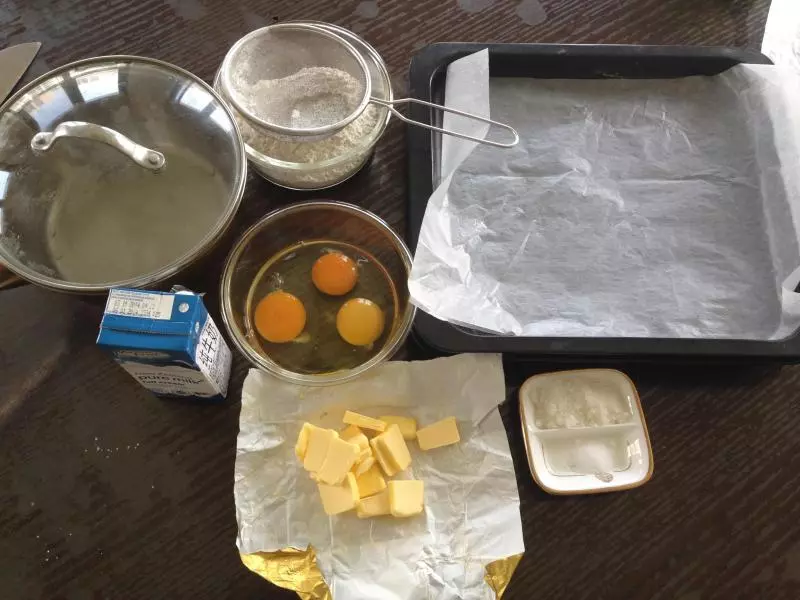
1准备材料:低粉 牛奶 黄油 鸡蛋 糖和盐 准备工具: 烤盘 奶锅
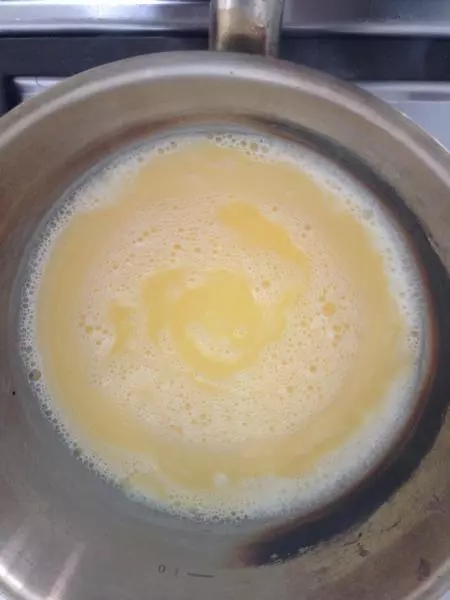
2将牛奶 黄油 糖还有盐一起倒入奶锅,中火不停搅拌。等混合均匀,液体沸腾后,关火。
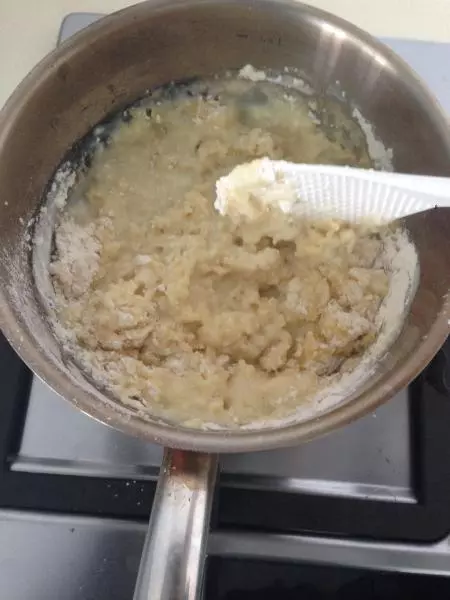
3奶锅离火,筛入低粉。了停的搅拌,直到没有颗粒。
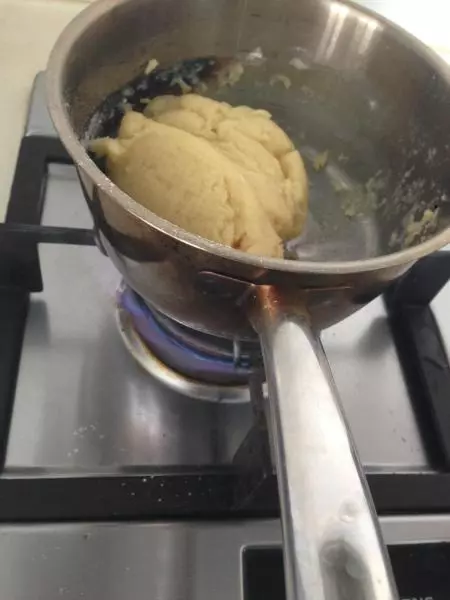
4再入中火搅拌至锅底有面粉结现象出现,关火。
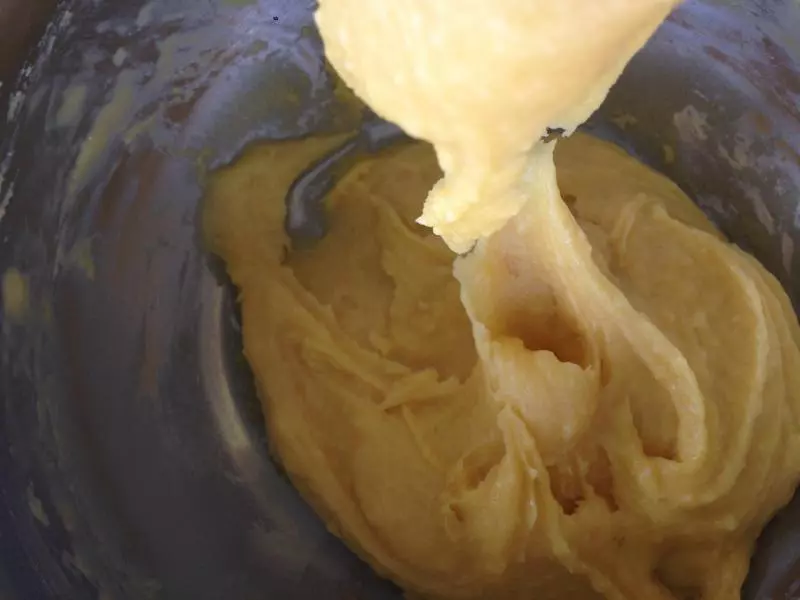
5将离火的面团分三到四次倒入打散的蛋液,每次都要混合均匀后再加下一次。直到变成细腻的面糊。
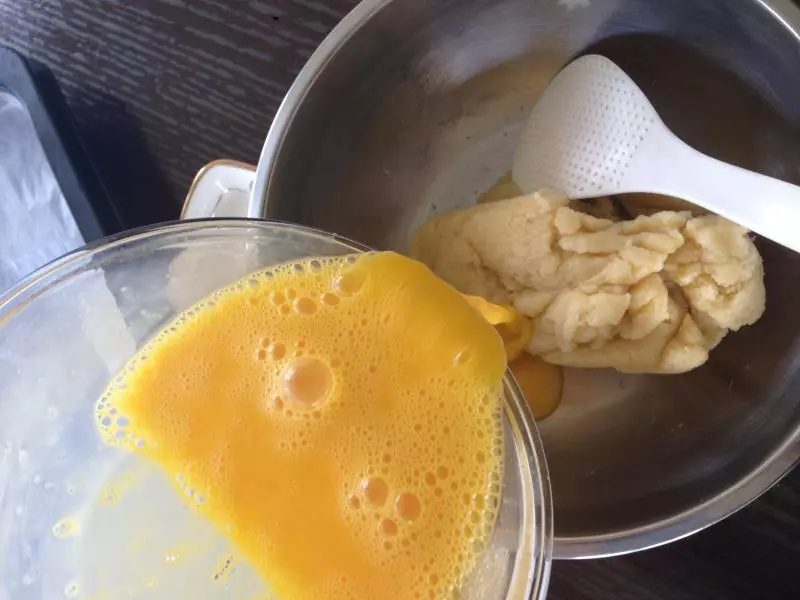
6搅拌后的面糊成这个样子
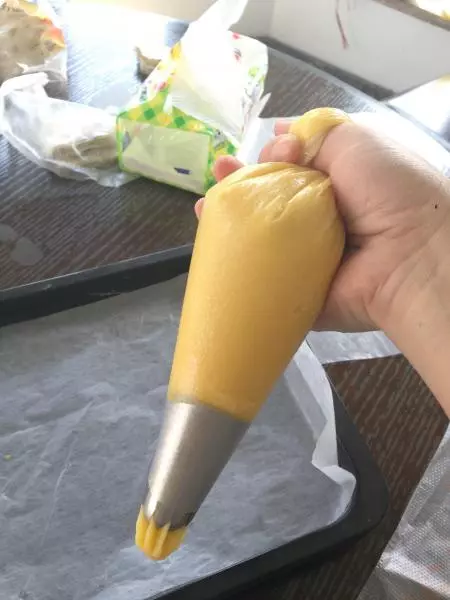
7将面糊装入裱花带。
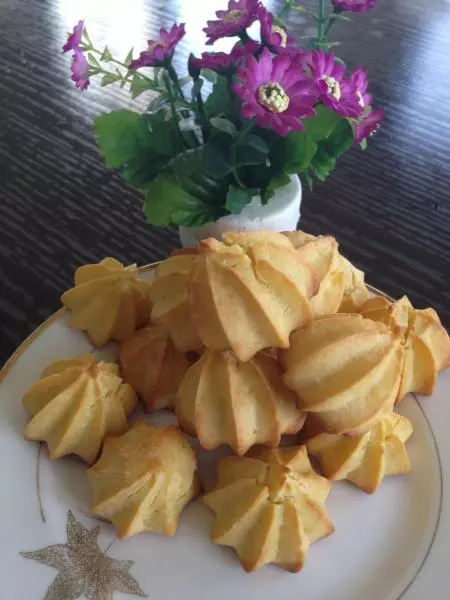
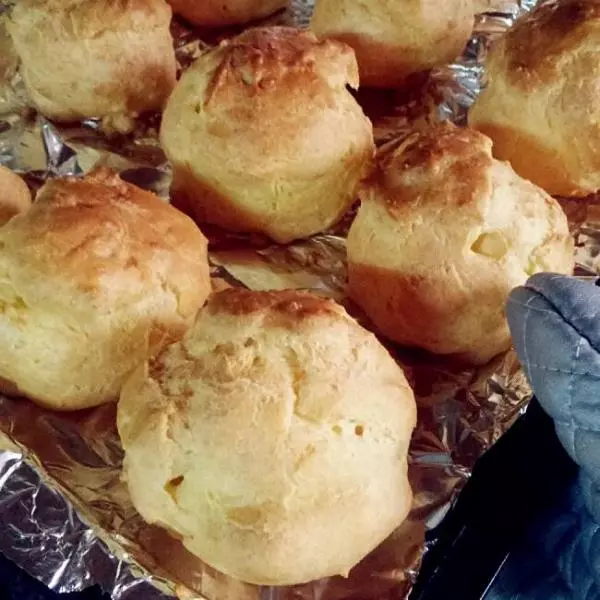
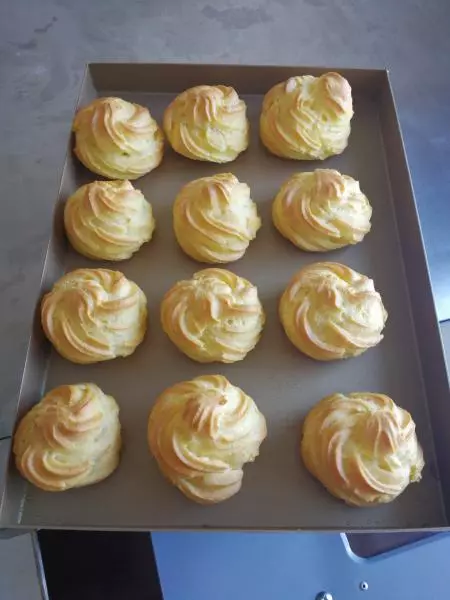
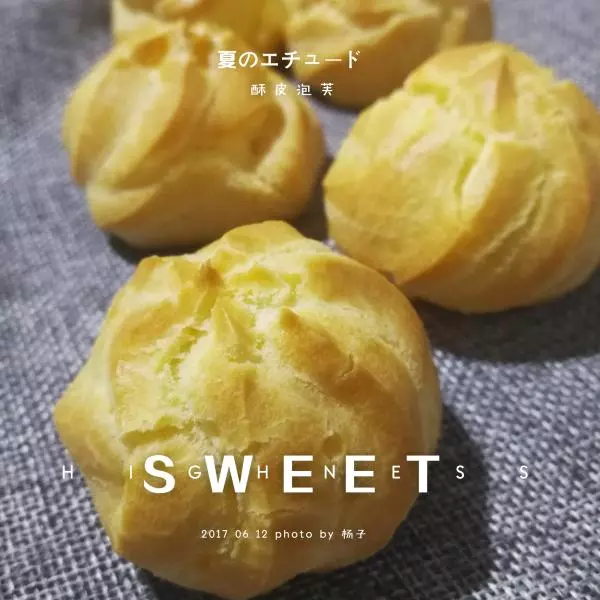
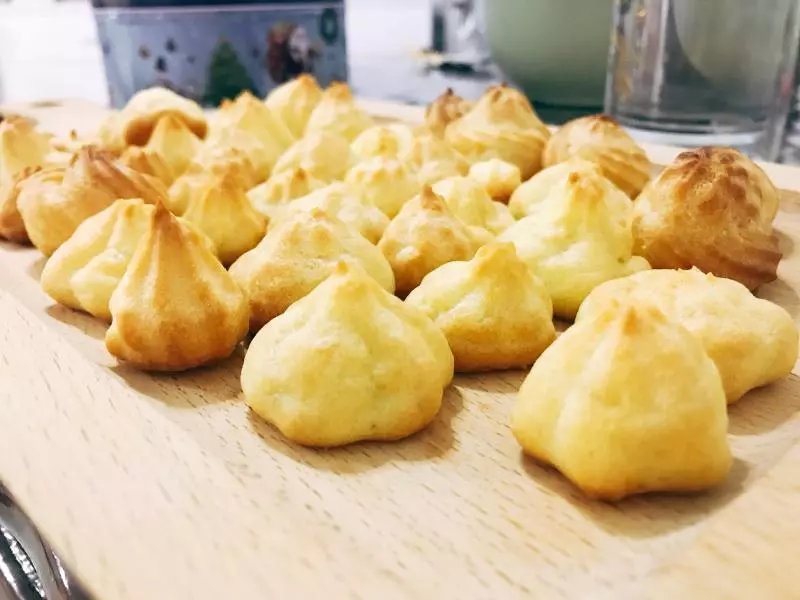
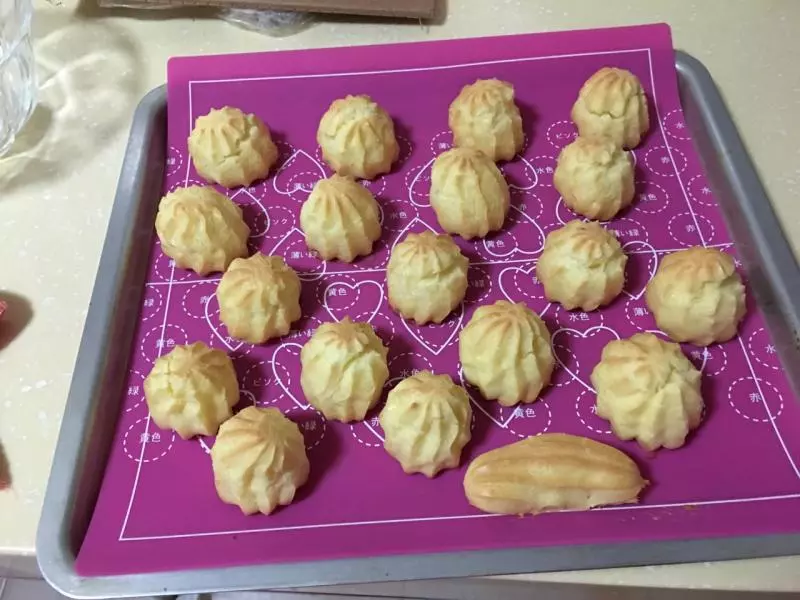
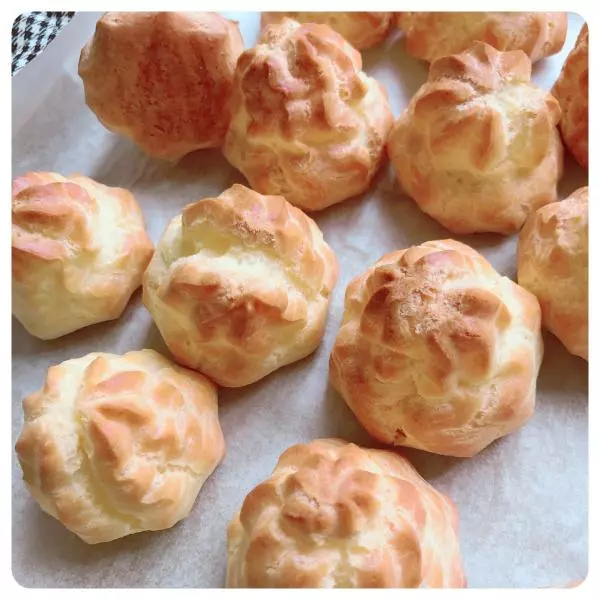
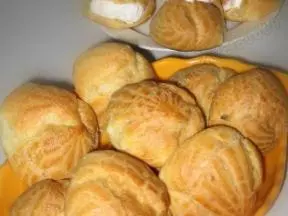
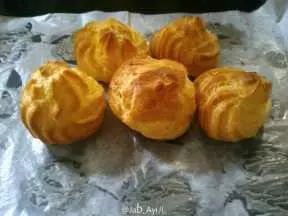
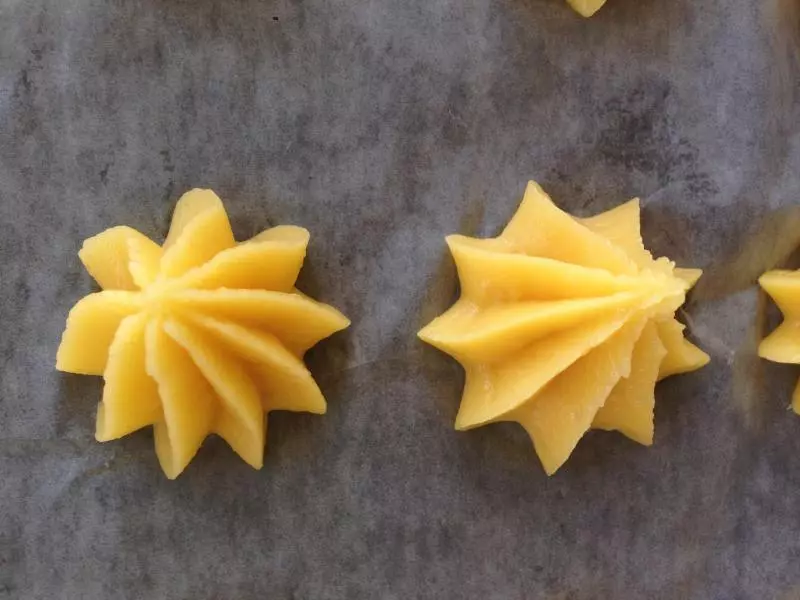
8在垫着油纸的烤盘上挤出面糊,每个之间要有一定的空间留出。因为,之后的烘烤过程中,它会慢慢膨胀,变的非常的诱人哦。
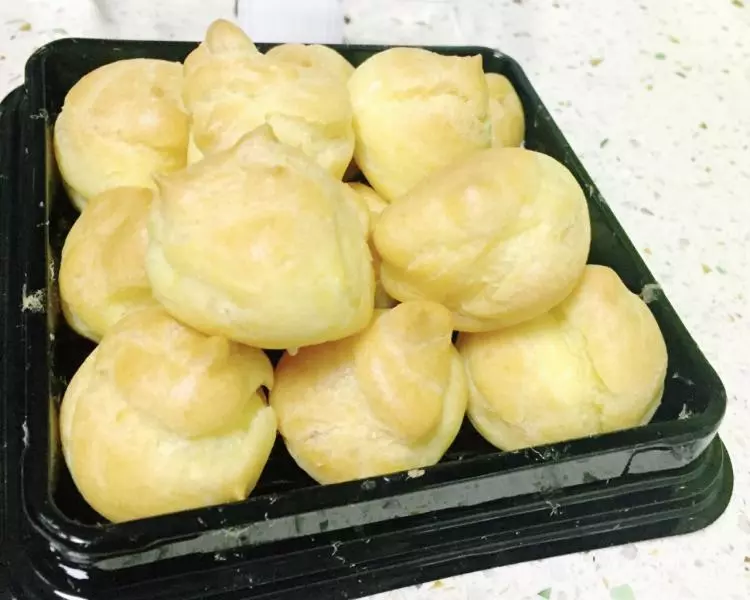
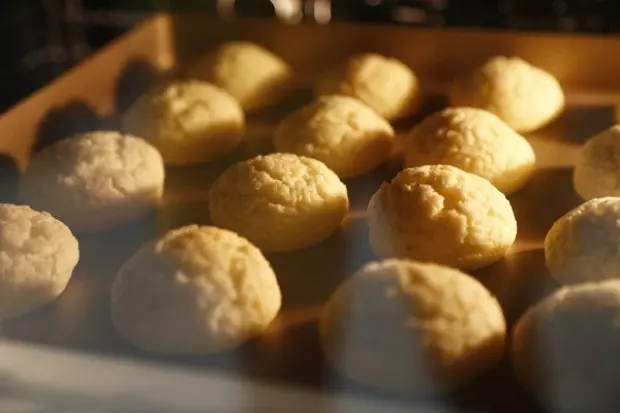
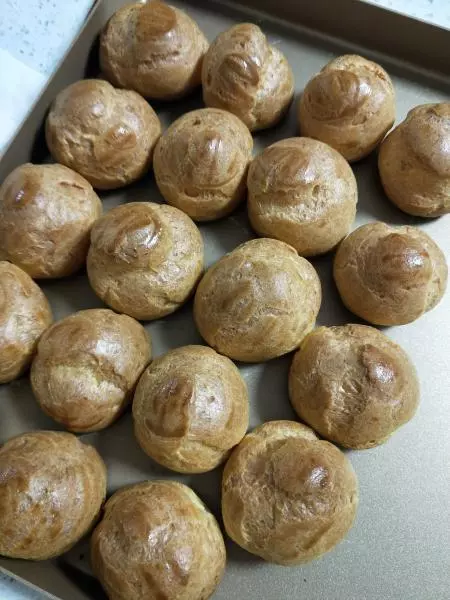
9200度入烤箱,定型后,再转180度烤三十分钟左右。注:因为,每家烤箱习性不一,温度最后还是以自家烤箱为准哦。
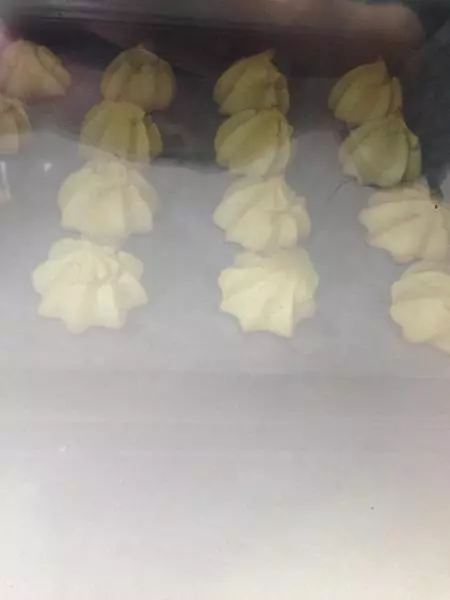
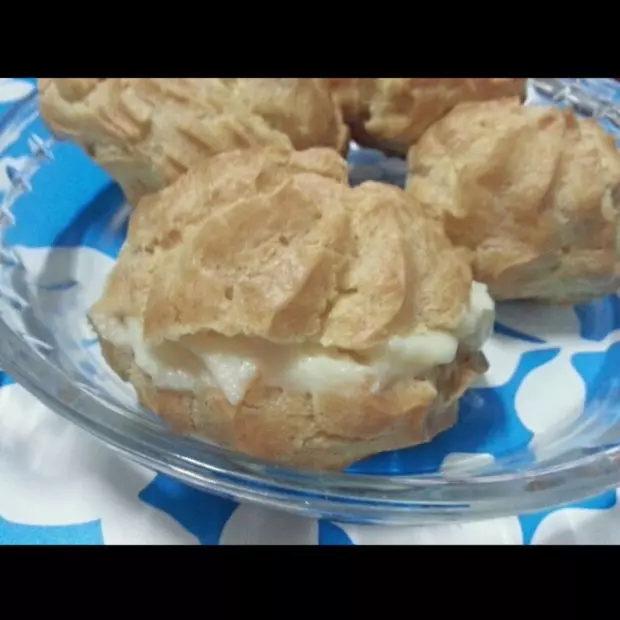
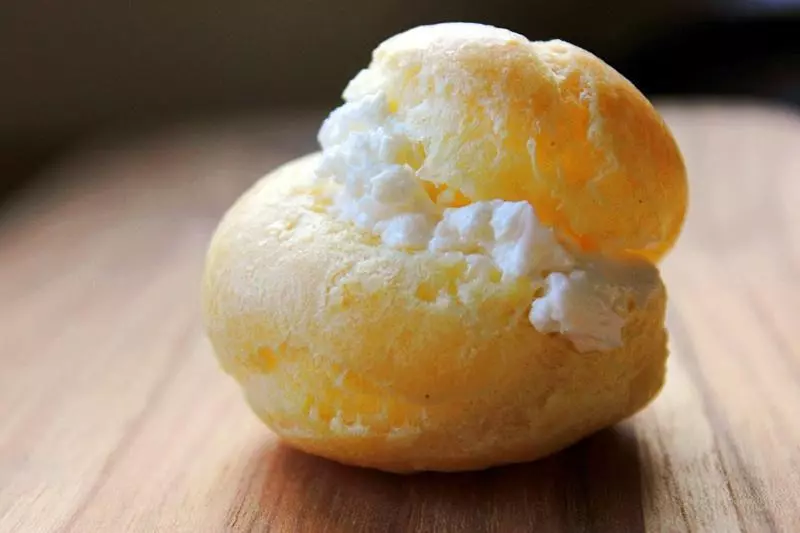
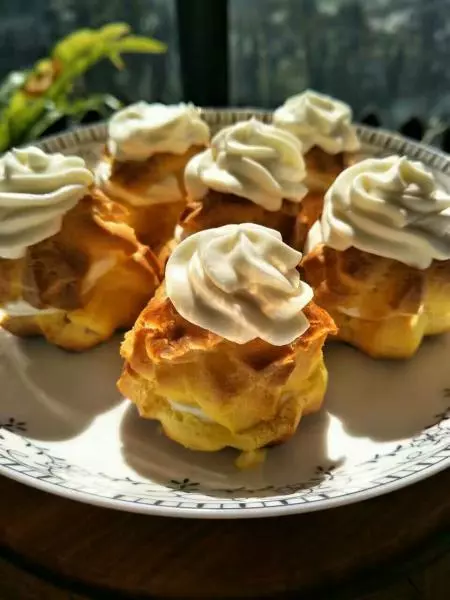
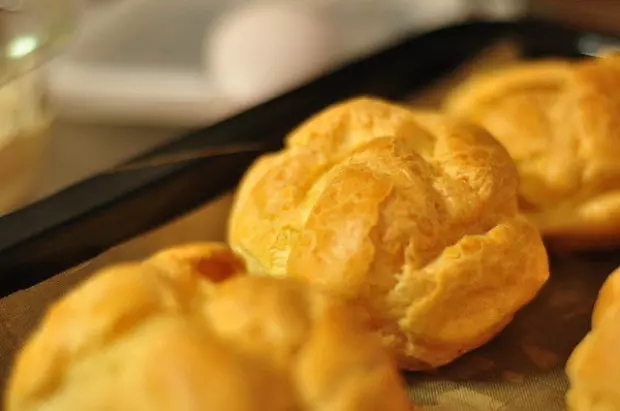
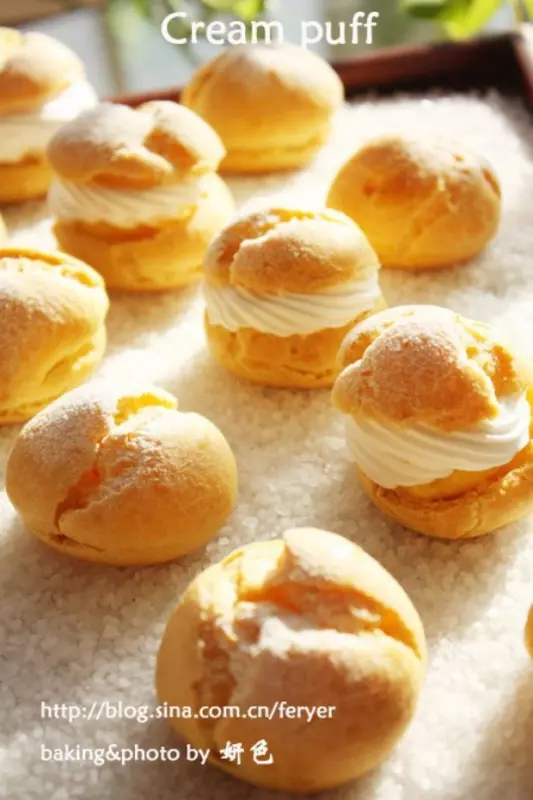
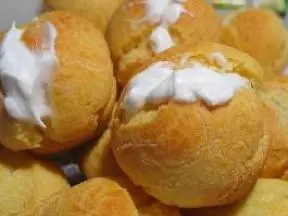
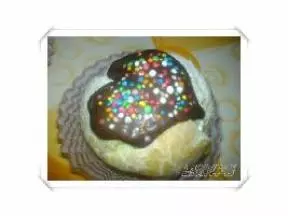
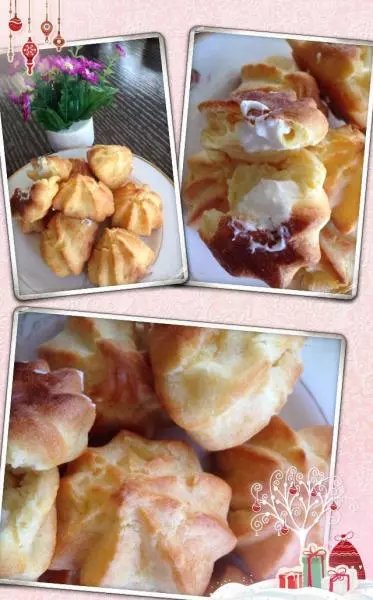
10烤完后,在烤箱里等五分钟再拿出来。接着是等完全凉透后再注入奶油哦。