原料
低筋面粉: 50克, 细砂糖: 60克, 鸡蛋: 4个, 玉米油: 40克, 牛奶: 46克, 柠檬汁: 6克, 奶粉: 10克, 盐: 1克, 沙拉酱: , 蛋黄: 1个, 糖粉: 25g, 玉米油: 150g, 柠檬汁: 25g, 海苔肉松: 200g
步骤
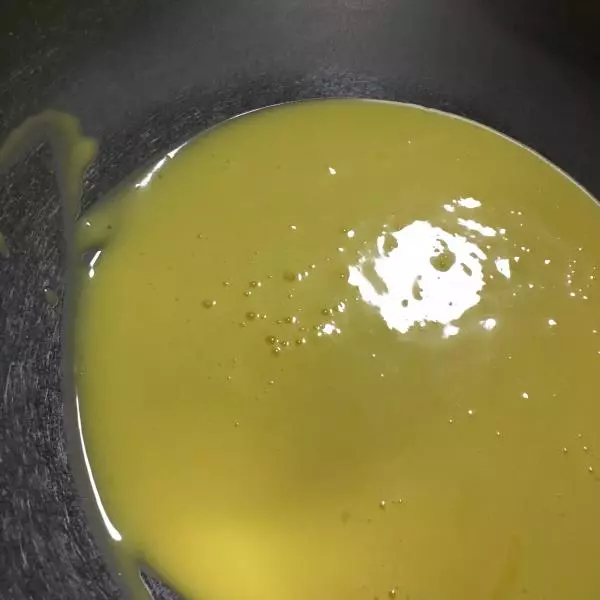
1细砂糖15g、牛奶、玉米油、盐、蛋黄称量好之后用手持打蛋器搅打均匀,低粉和奶粉过筛后加入蛋黄部分,继续拌匀至无面粉颗粒,如上图状
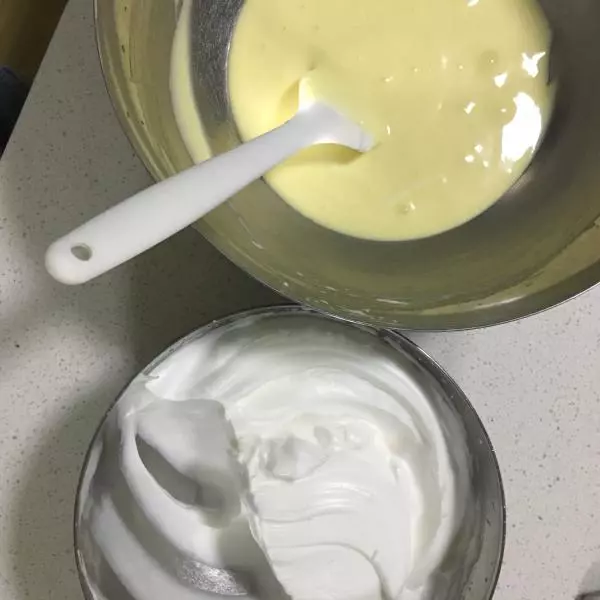
2蛋白中加45g砂糖和柠檬汁用电动打蛋器搅打
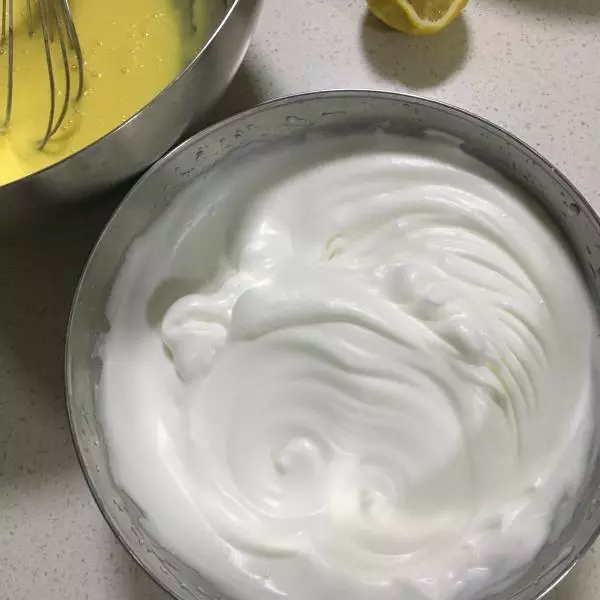
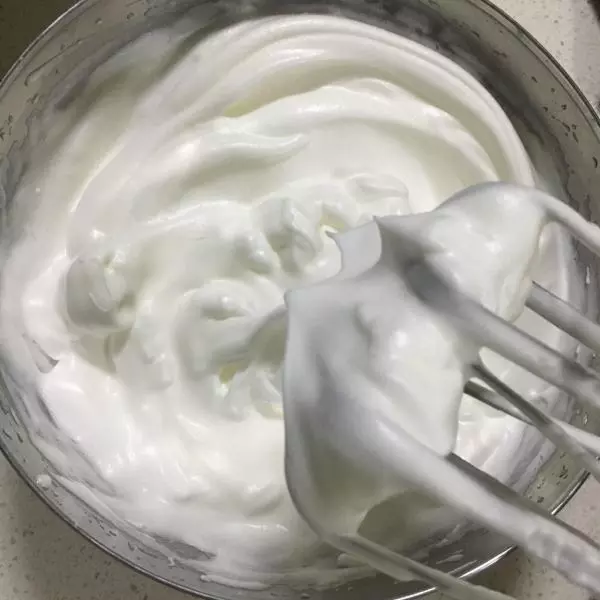
3如图打至8分发
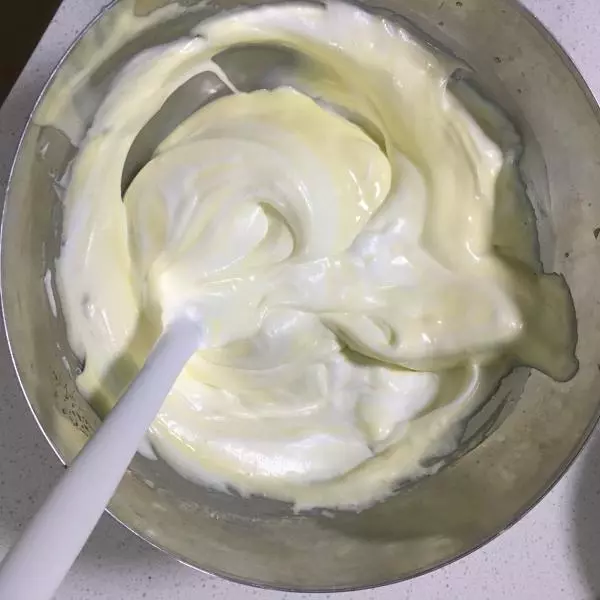
41/3蛋白部分与面糊混合
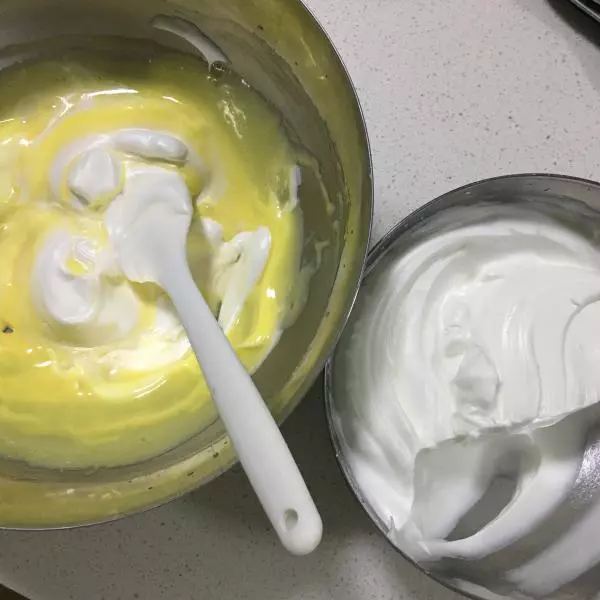
5混合至上图状态继续话题剩下的蛋白,用翻拌手法使两者充分融合
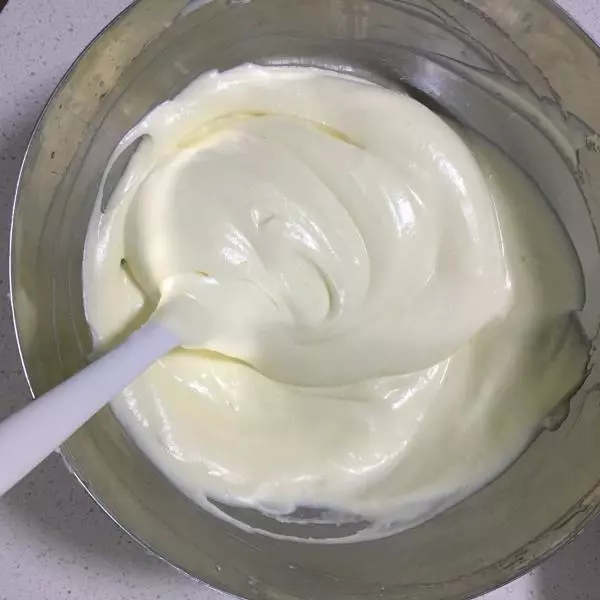
6继续
7蛋糕面糊完全细腻
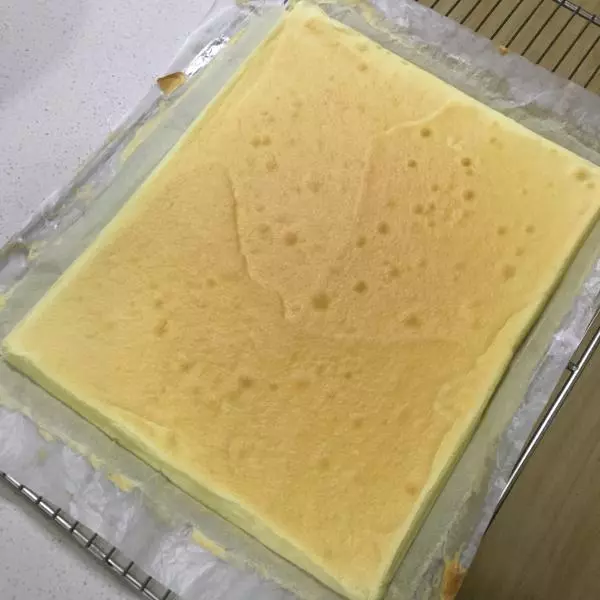
820x30cm烤盘铺油纸,面糊倒入四个角
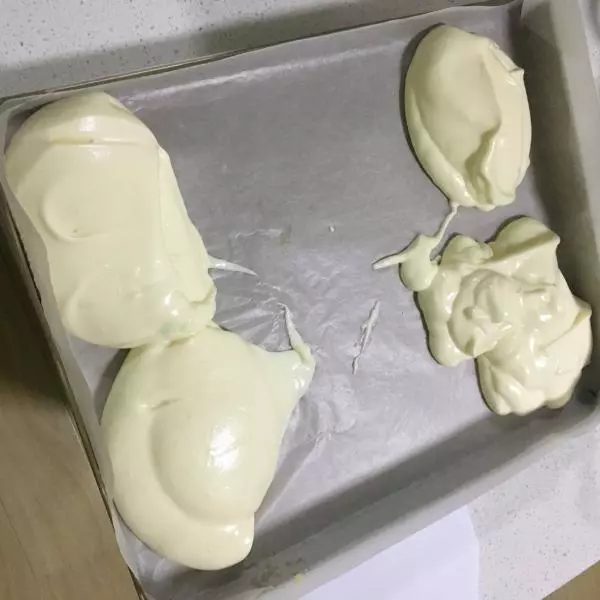
9用刮板刮平,入预热好的烤箱烘烤,160度,25分钟

10烤好之后放在晾网架上放凉
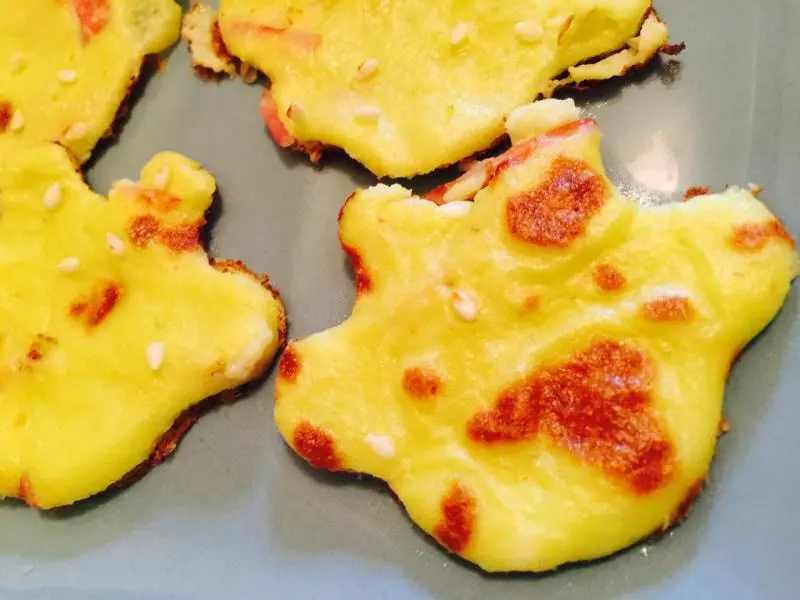
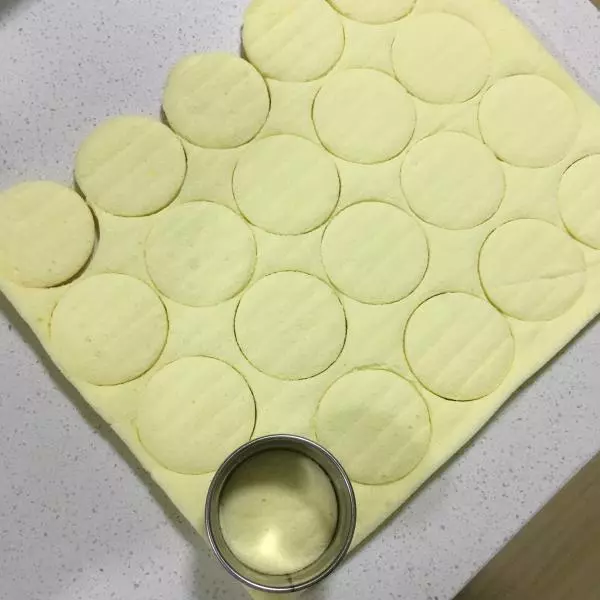
11饼干切模扣出合适大小
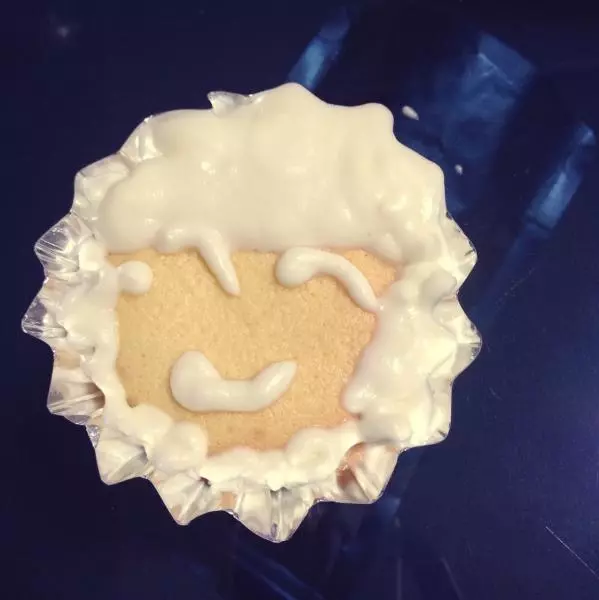
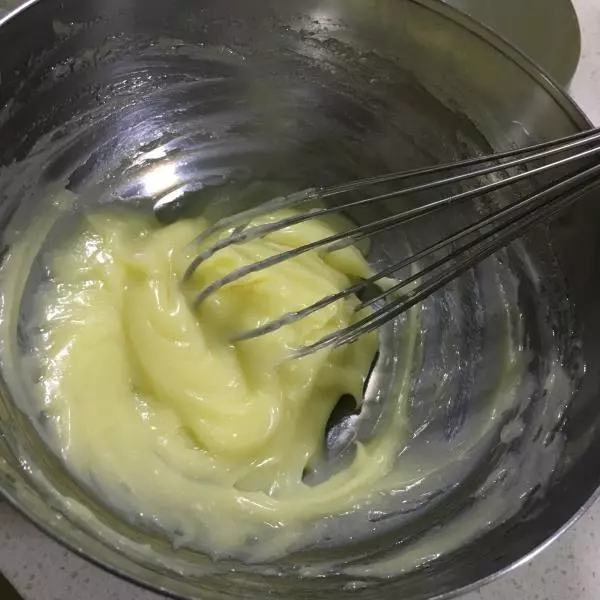
12蛋黄和糖粉搅打至发白粘稠状分次一点点加入玉米油,每次加入后都充分融合,至淡黄非常粘稠时加入1/3柠檬汁,蛋黄开始变白变稀,继续加入玉米油搅打
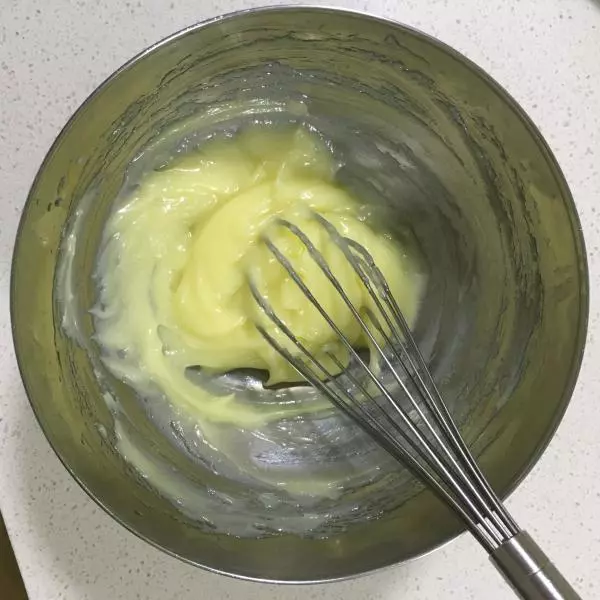
13重复上步骤两次之后,一直到加完玉米油,沙拉酱就做好了
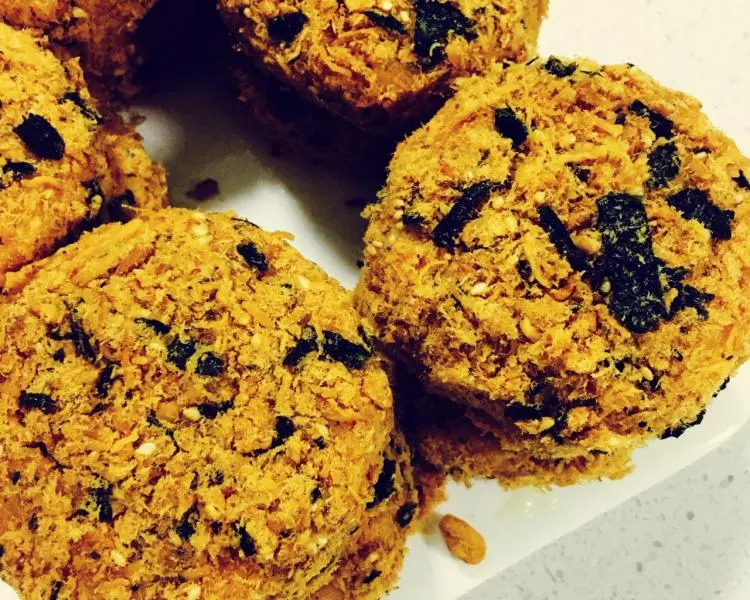
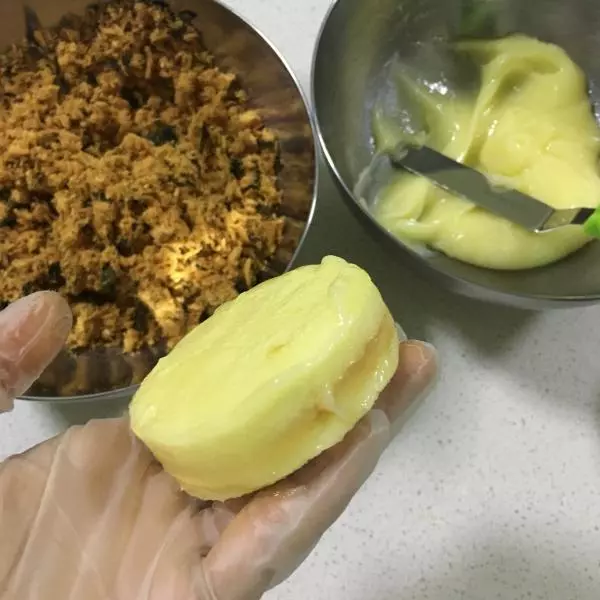
14两片蛋糕中间和四周都涂上沙拉酱,把蛋糕放入肉松中,使肉松均匀覆盖住蛋糕体
15美味的肉松蛋糕完成!
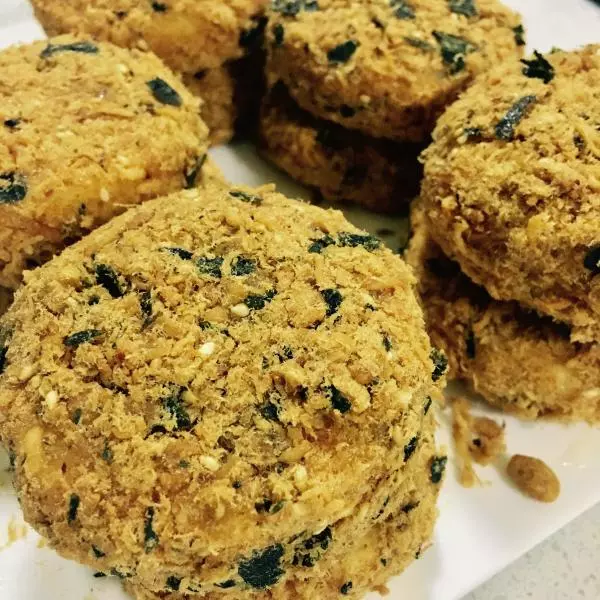
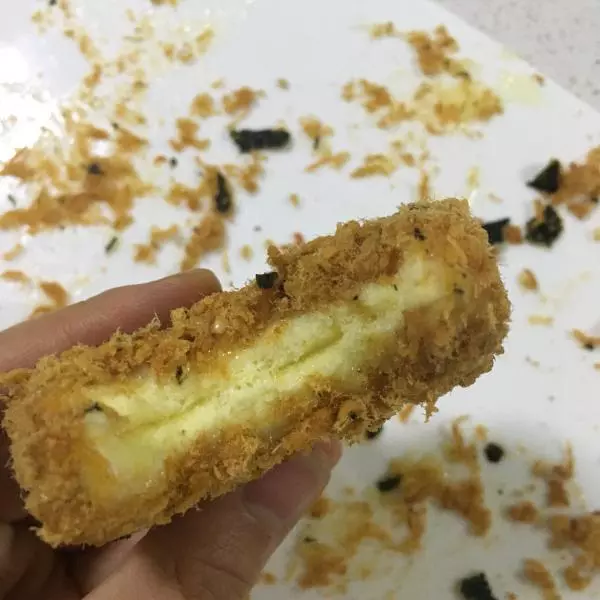
16咬一口!幸福满满哦
小技巧
蛋糕口感是否达到最好,需要蛋白打发刚好,翻拌时候不要过度,避免消泡 沙拉酱在制作过程中一点点加油,不能着急,每次到非常粘稠的时候加入柠檬汁,可以起到增白,去腥杀菌的作用 两片蛋糕外侧可以多涂抹一些沙拉酱,有利于肉松的粘合