原料
牛奶: 125毫升, 砂糖: 20克, 鸡蛋: 1个, 蛋挞皮: 6个
步骤
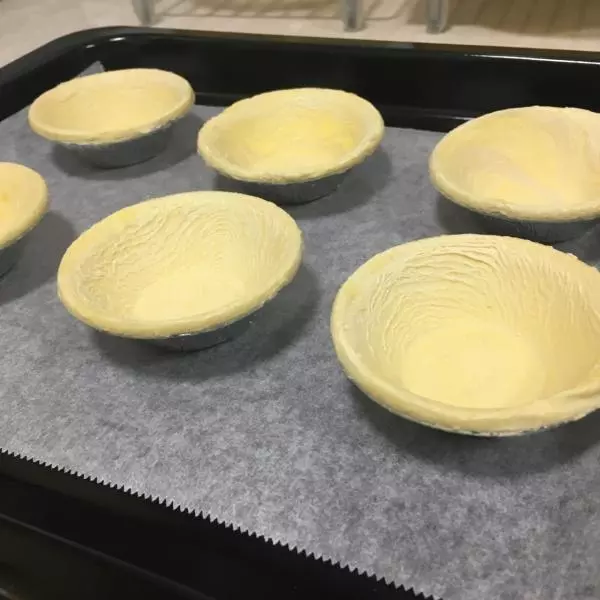
1现成挞皮都是冷冻食品。挞皮包装袋上一般会写需要常温解冻。在准备食材时,你可以先在烤盘上铺好烘焙纸,将挞皮放在烘焙纸上。我大概过了20分钟左右才开始其他步骤的准备。
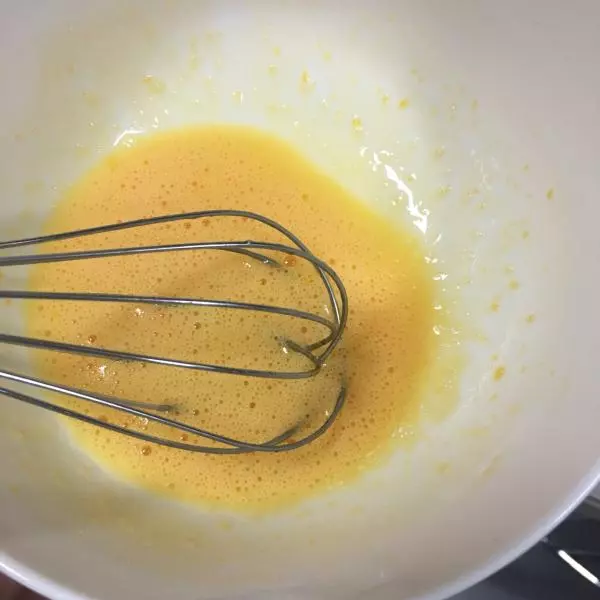
2你现在看的是全蛋版本哈。将蛋黄蛋白与砂糖一起打匀,直到打出均匀的小气泡。
3然后倒入牛奶一起打匀。我家用的是没什么甜味的朝日唯品牛奶,最后成品确实也不甜。

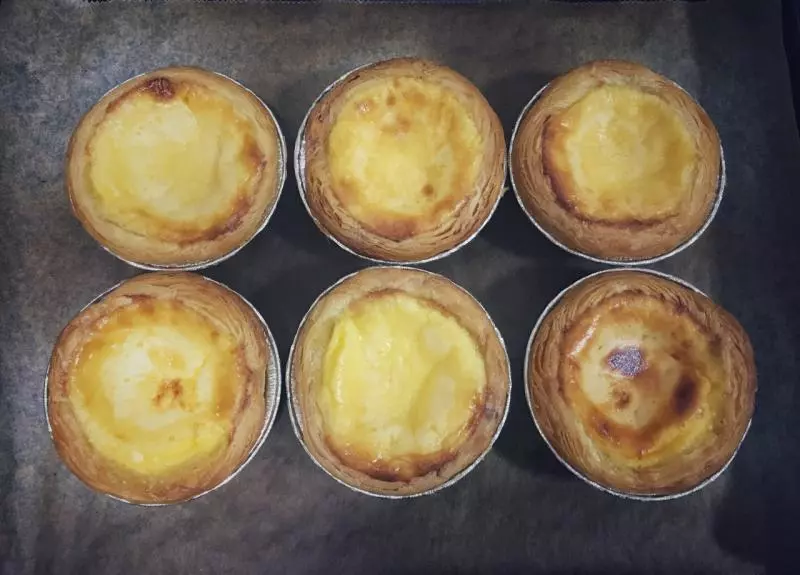
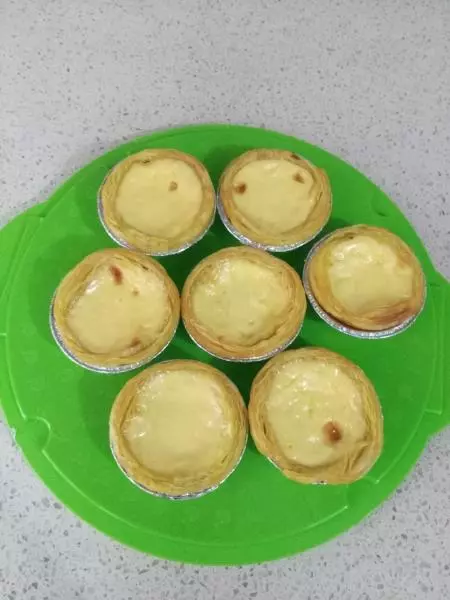
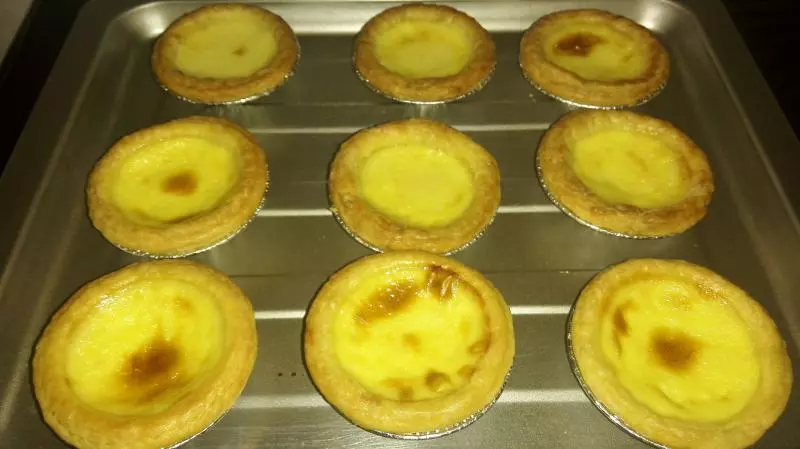
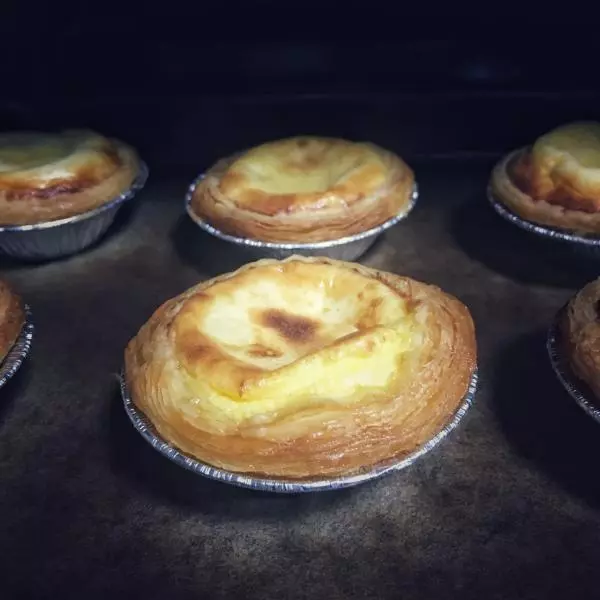
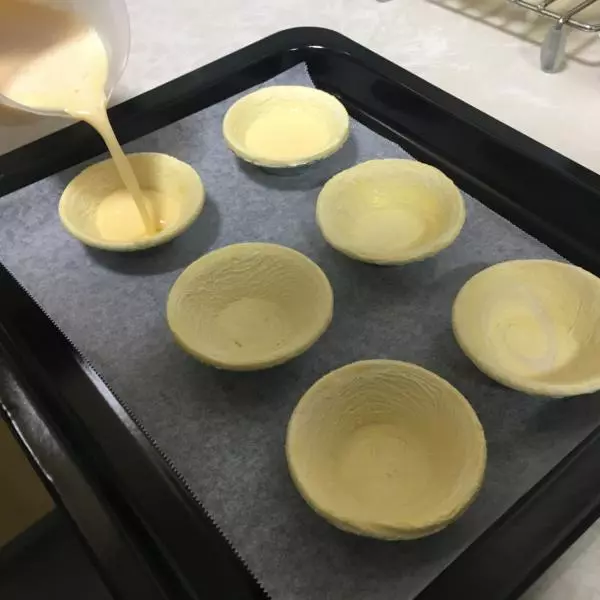
4将蛋挞液均匀倒入挞皮内,我倒了九成满。
5将烤箱上下温度调成200度。预热后,小心放入蛋挞,烤20至25分钟。
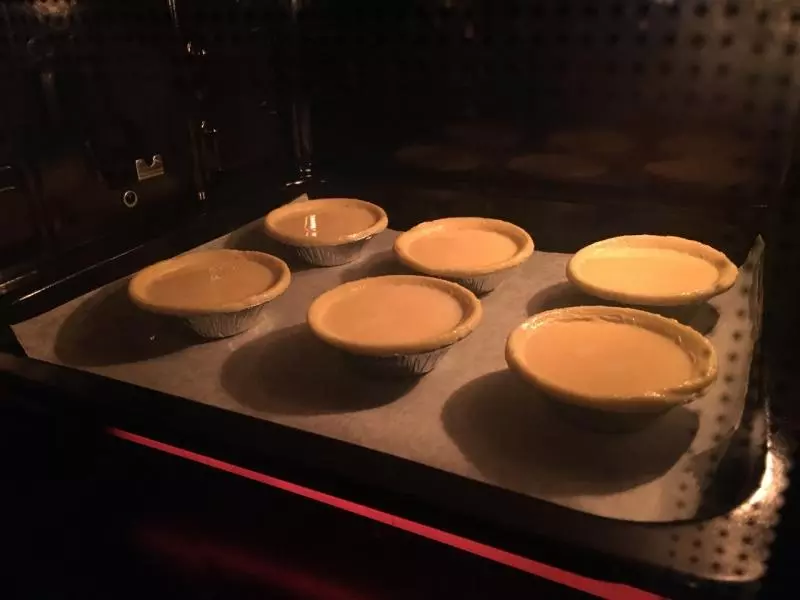
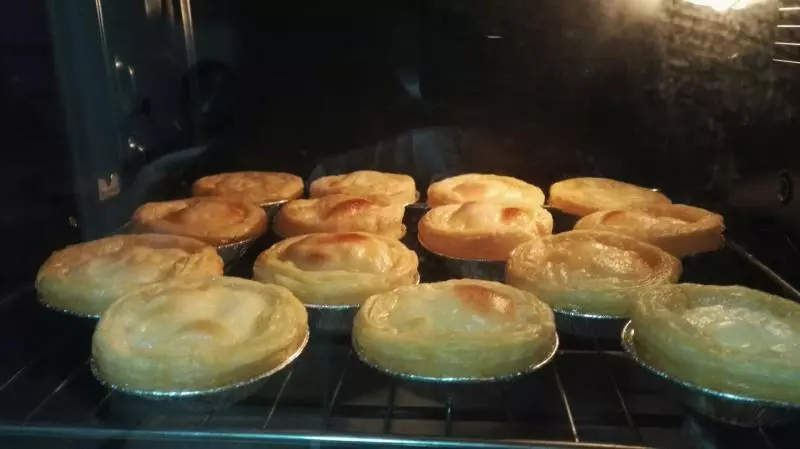
6你会发现蛋挞在烤箱中慢慢发生了变化,像蛋糕一样膨胀起来。别着急,到了最后五到十分钟,要勤快点多看几眼,有焦焦的颜色出来就说明离胜利不远了。
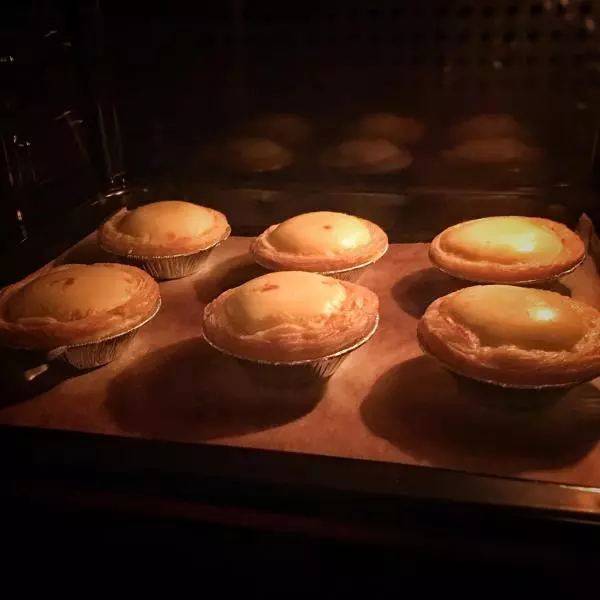
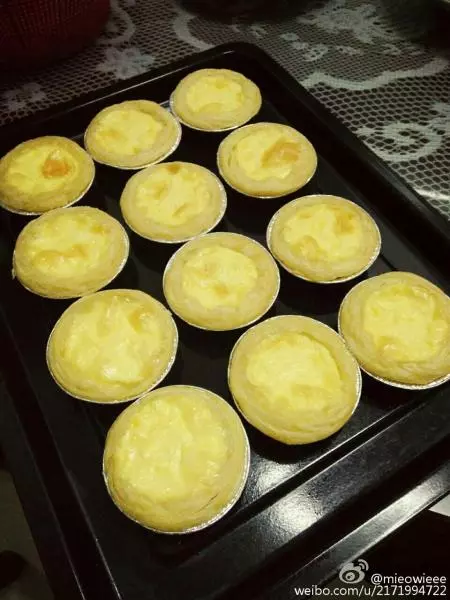
7叮声后,打开烤箱门,原先膨胀的中间部分就会塌下来,恢复我们常看到的模样咯。