原料
低筋面粉: 60克, 鸡蛋: 三个, 核桃油: 10克, 细砂糖: 30克, 纯牛奶: 50克, 柠檬汁: 数滴
步骤
1....!
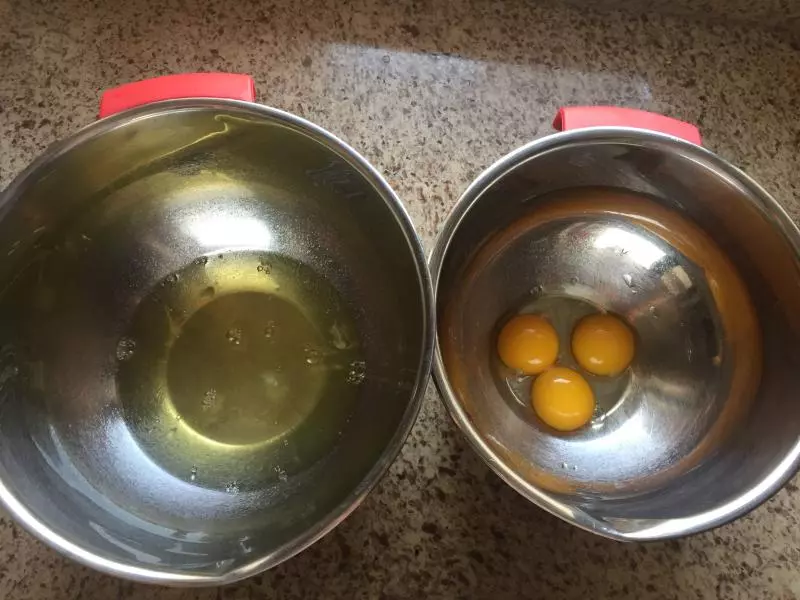
2蛋清蛋黄分离至无水无油无蛋黄的容器里备用、 (切记蛋清里面不可以有一点蛋黄 必须无水无油 否则会影响打发效果!)
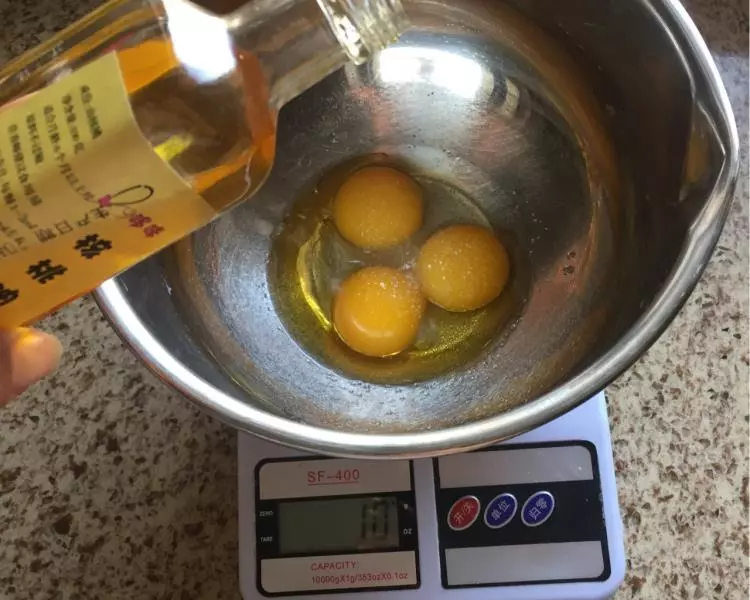
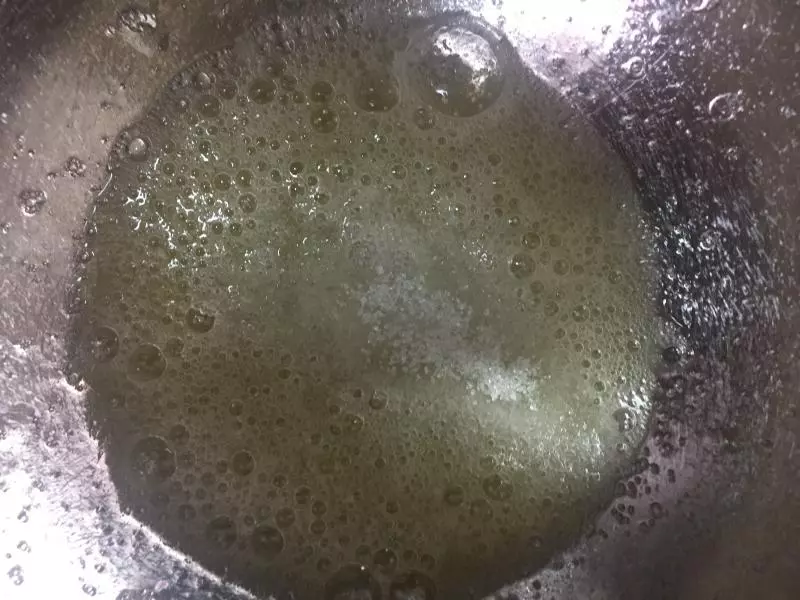
3蛋黄内加入?克核桃油、(也可以用 玉米油 橄榄油 山茶籽油都可以 但是切记不要用大豆油 花生油 葵花籽油、等味道比较重的油)
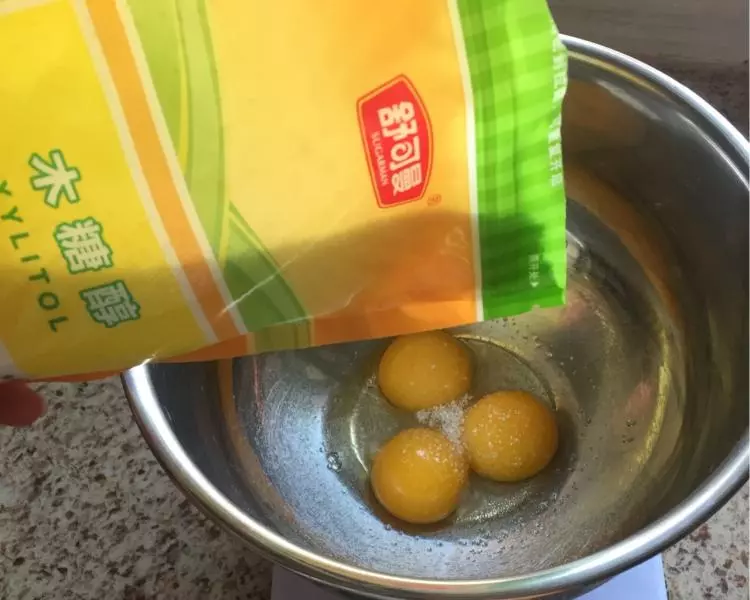
4加入?克 细砂糖(我用的是木糖醇 宝宝吃的)用手动打蛋器搅拌均匀!
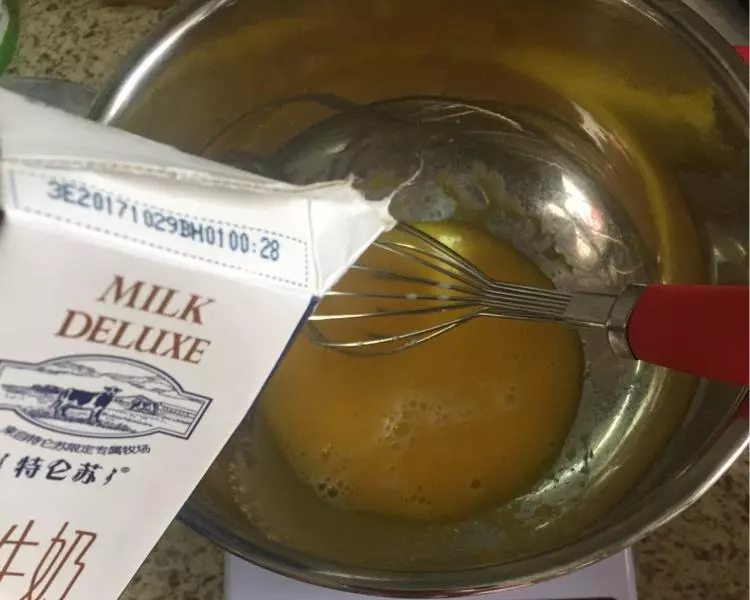
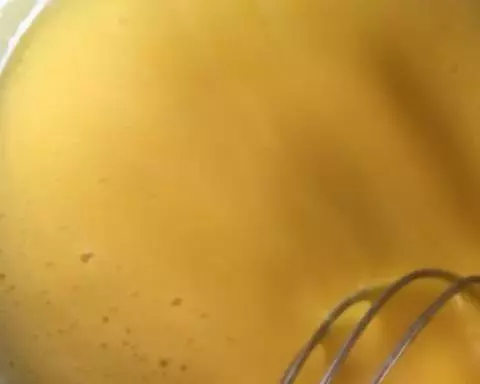
5加入50克纯牛奶 搅拌!
6z字形搅拌手法 防止起沫!
7筛入低筋面粉!
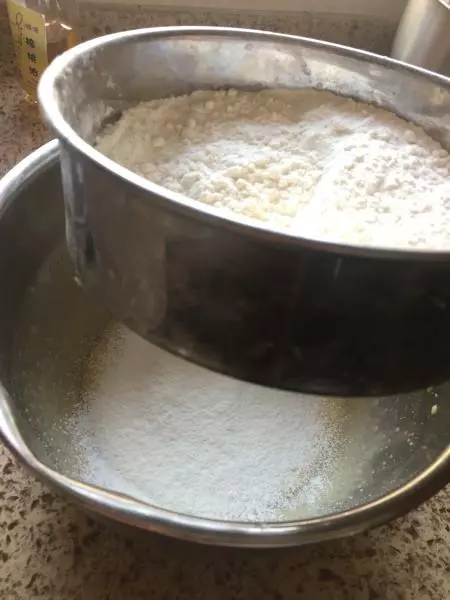
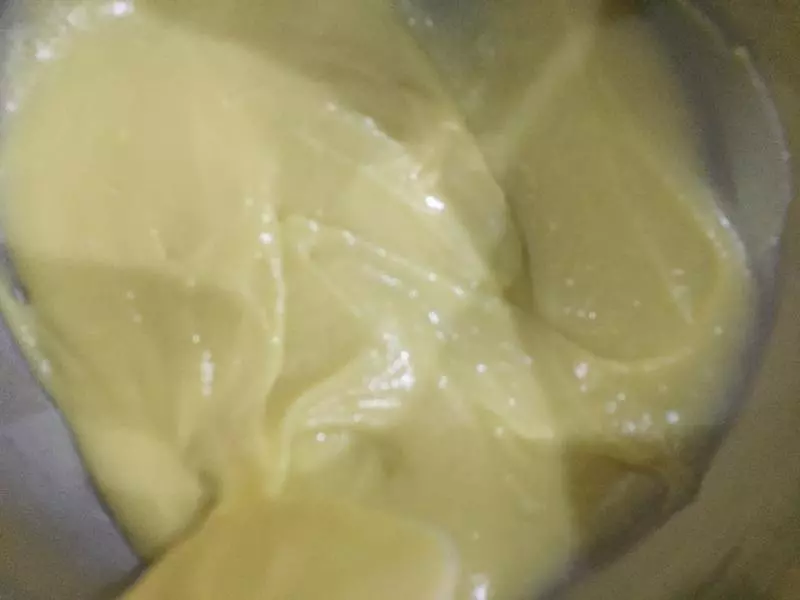
8用刮刀翻拌至无干粉状的面糊!
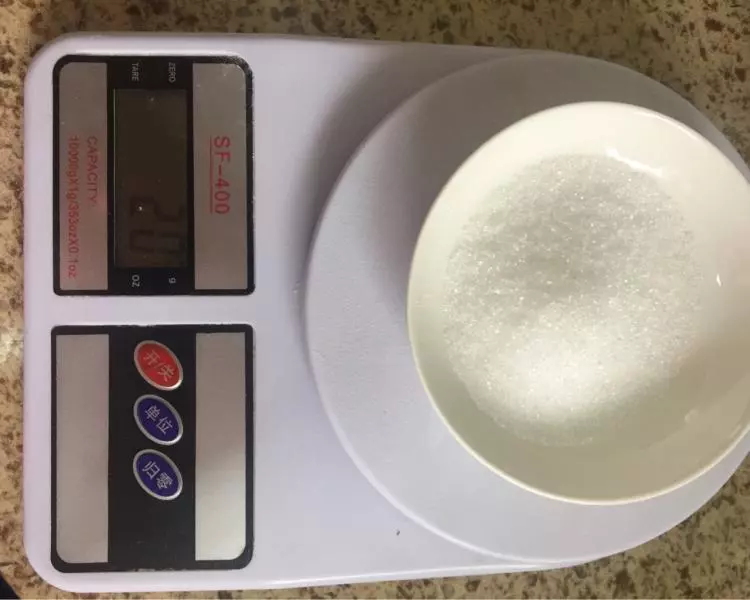
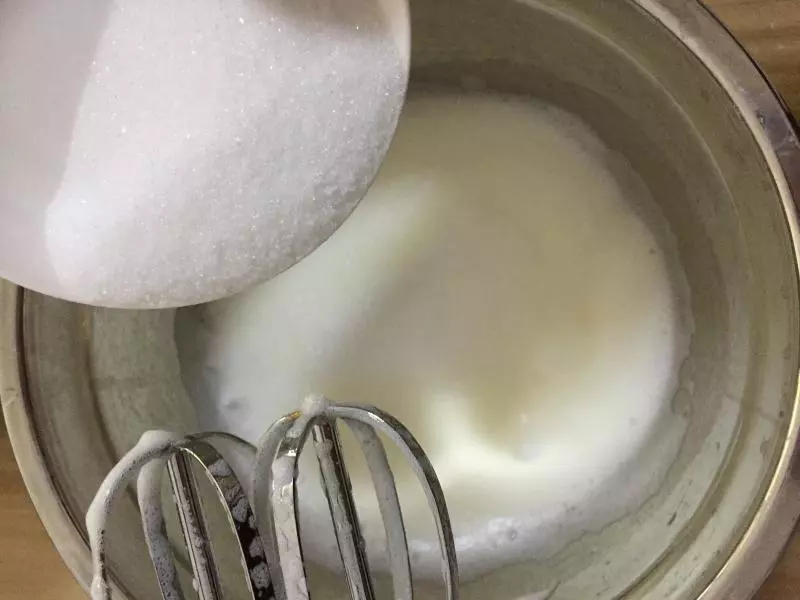
9称好20克细砂糖 (打发蛋白用)
10蛋白中需放两滴柠檬汁去腥 糖分三次倒入蛋清!

11手持电动打蛋器全程匀速打至大泡鱼眼状放其中1/3的白糖!
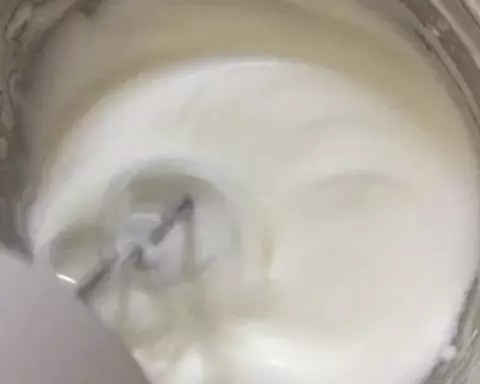
12打至细微小泡泡 放其中1/3白糖!
13打至蛋白有纹路且很快消失放最后1/3的白糖!
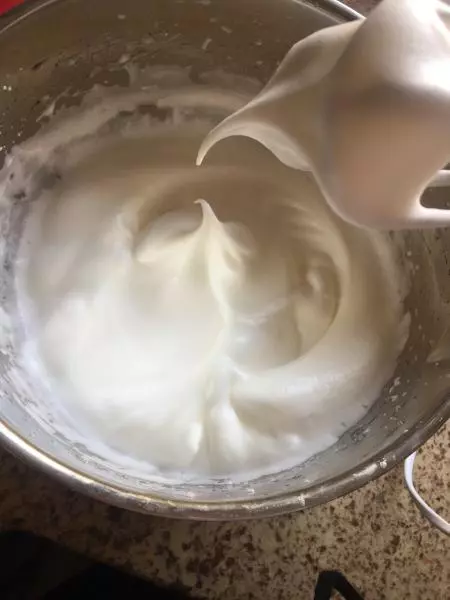
14打至蛋白提起成小弯钩状即可!(倒置 蛋白盆 蛋白不滑动)
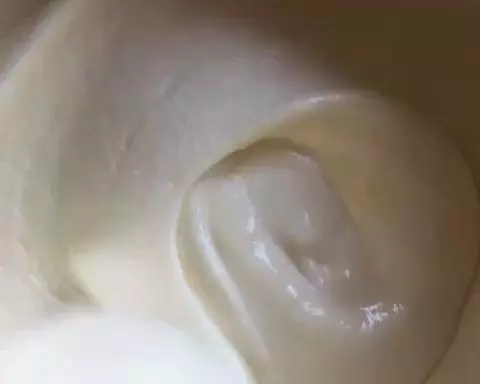
15分次将蛋白霜倒入蛋黄面糊中、第一步取1/3蛋白倒入蛋黄面糊里轻轻翻拌 防止消泡 第二步再取1/3蛋白继续翻拌!第三步最后把拌好的蛋黄面糊倒入剩下的蛋白盆里翻拌均匀顺滑(不要随意翻拌、要轻轻用D字型手法才不易消泡)

16翻拌过程要轻 D字型手法翻拌!防止消泡!
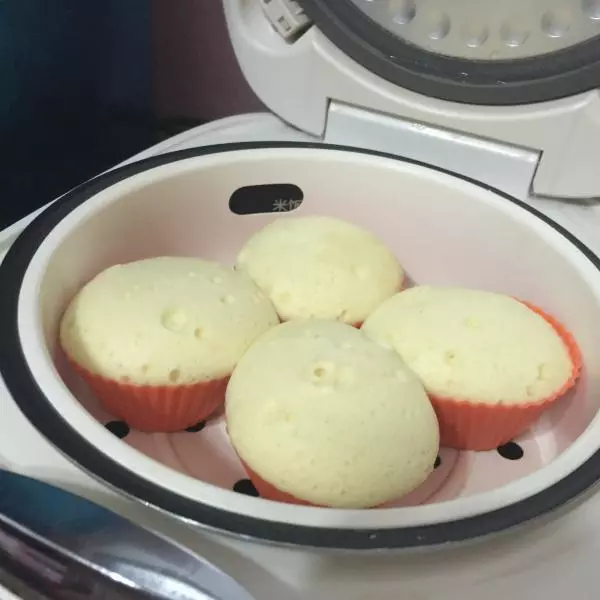
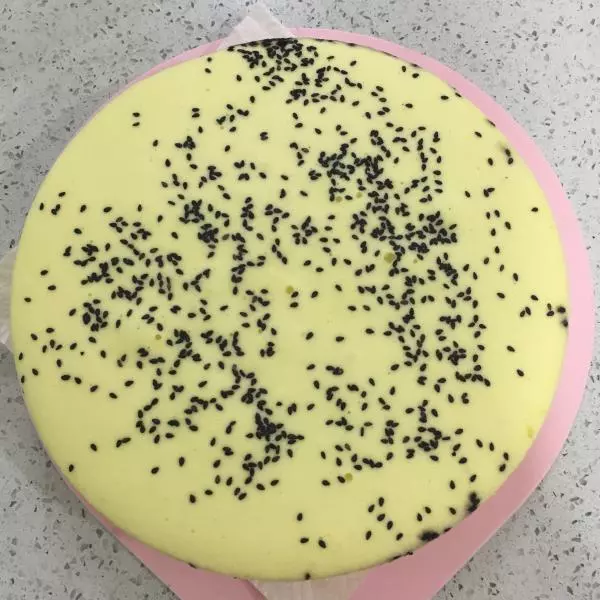
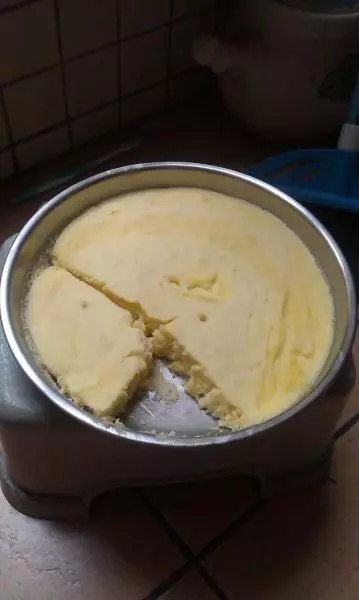
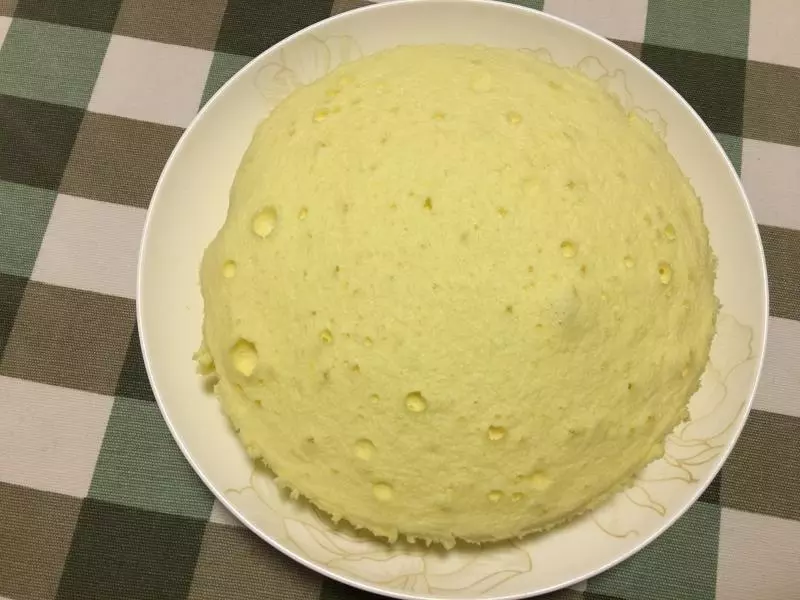
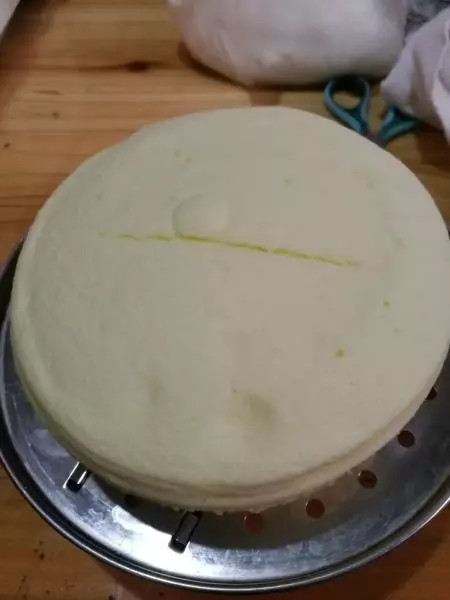
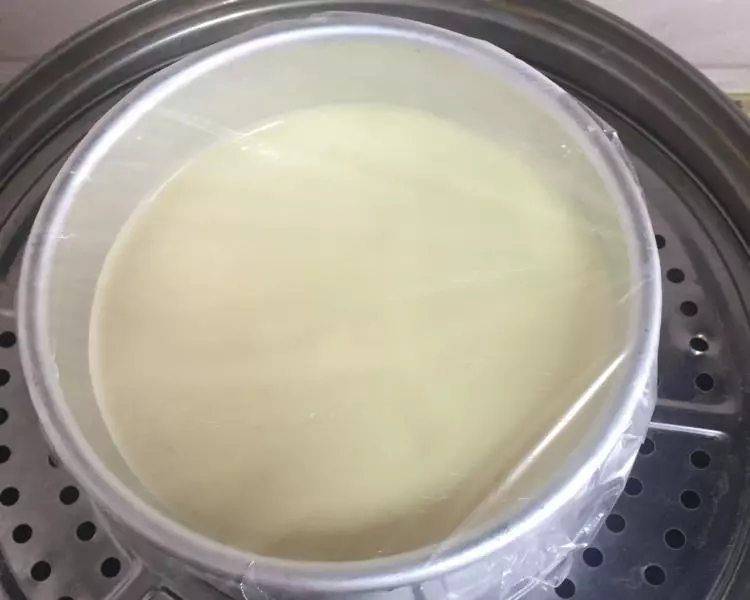
17把拌好蛋糕糊倒入六寸活底模具里!
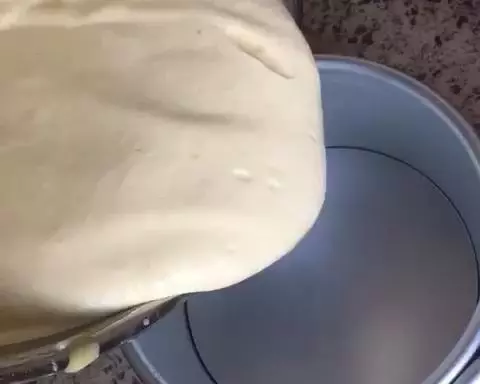
18轻镇模具 镇出气泡!
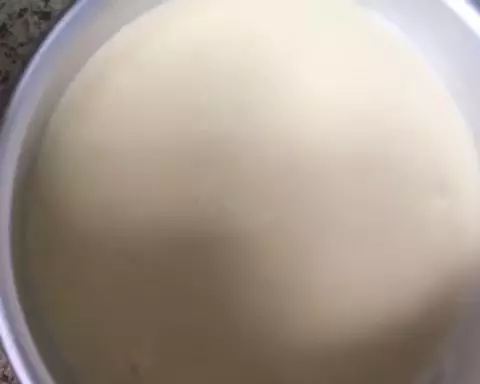
19盖上保鲜膜包好、(底部不用包哦)
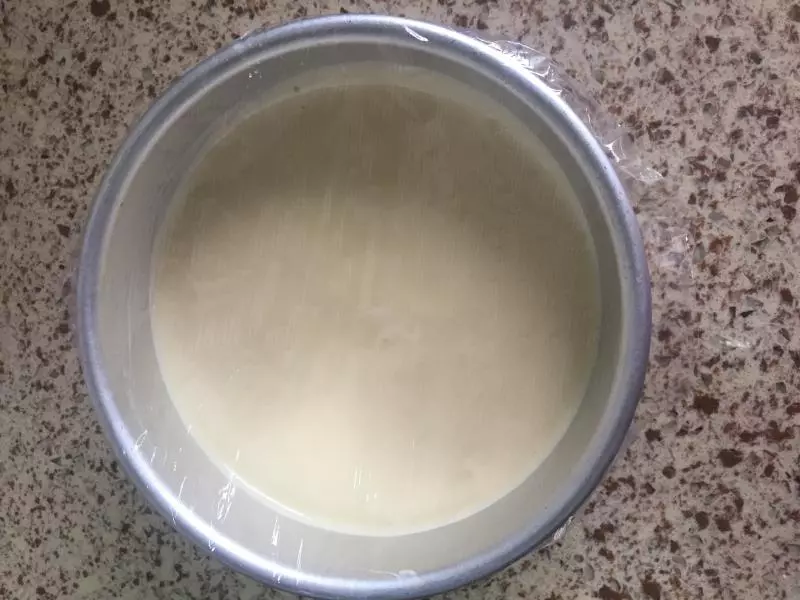
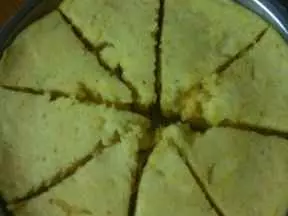
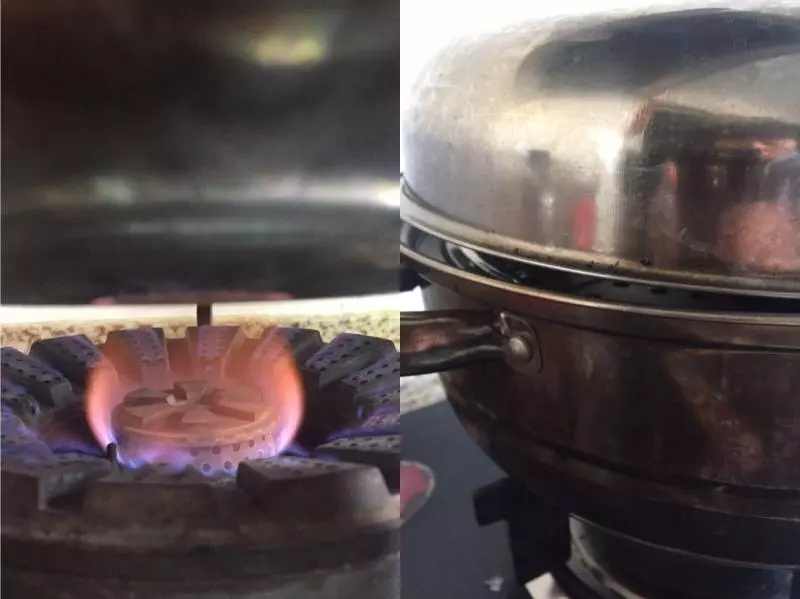
20蒸锅中倒入适量的水大火烧开 烧开后放入模具盖上盖子 转中小火蒸35分钟左右!
21大火烧开后一定要转中小火、 蒸好的蛋糕会把锅盖顶起来!
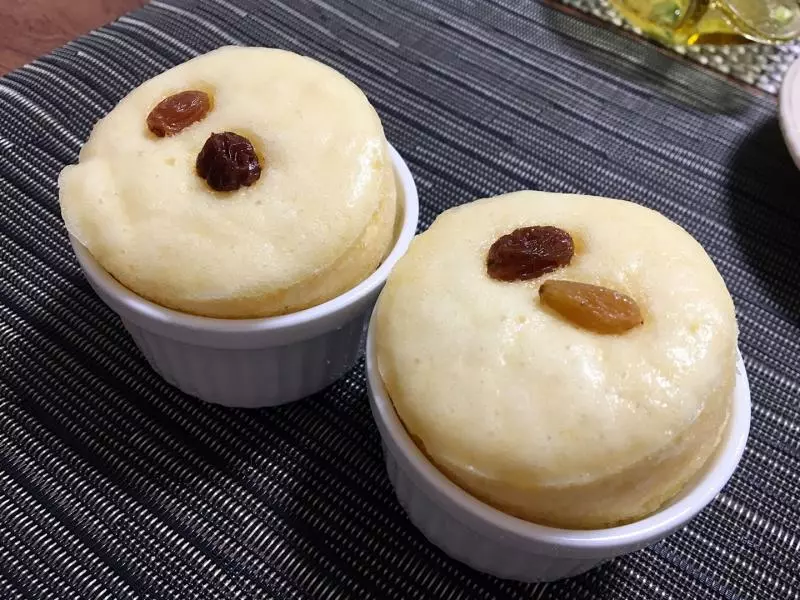
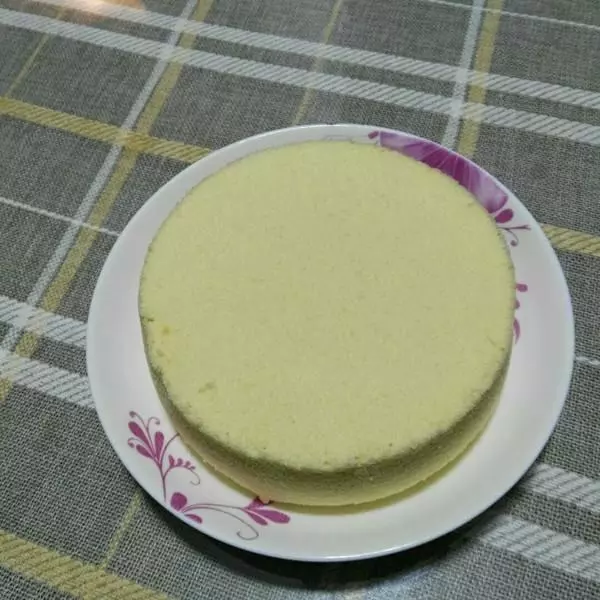
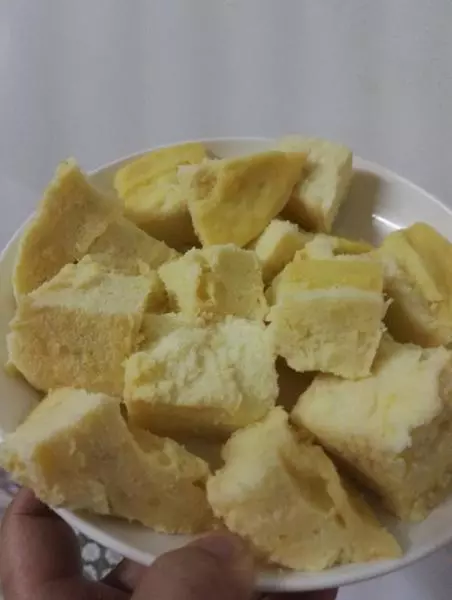
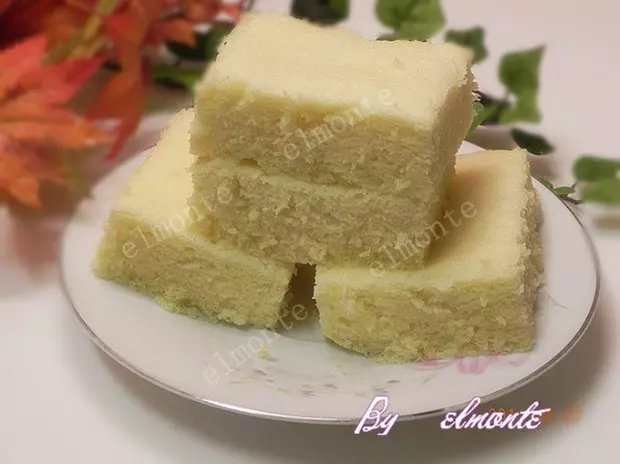
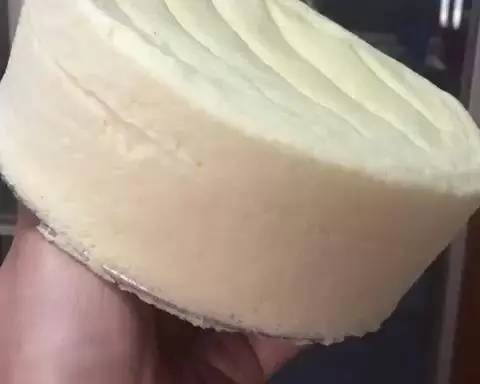
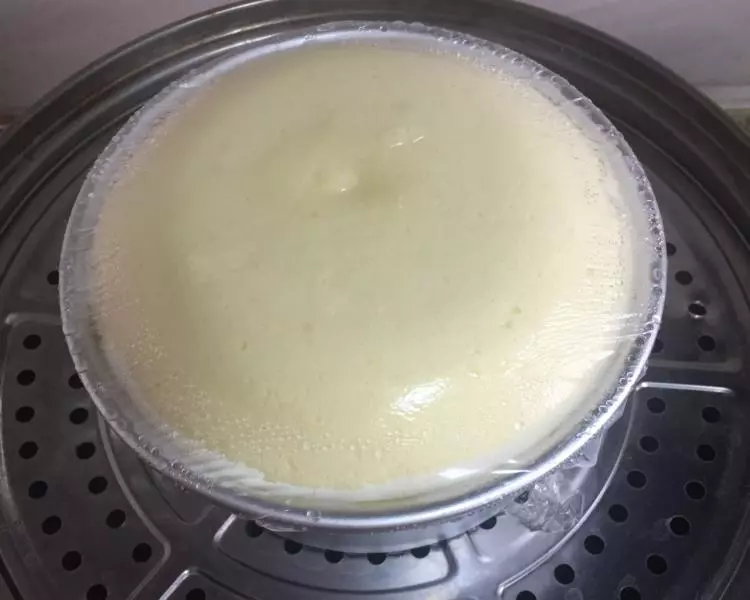
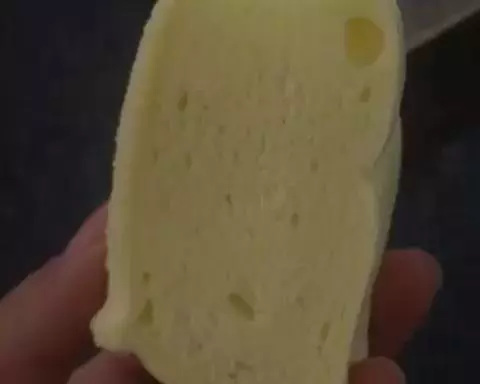
22蒸好的蛋糕!
23出锅撕掉保鲜膜、倒扣至凉网上、放凉脱模!防止地步热气凝结影响口感!
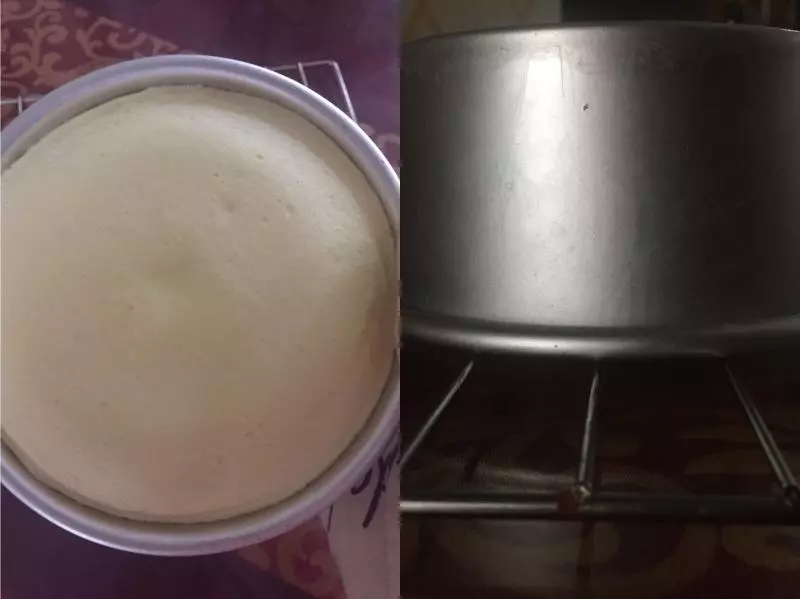
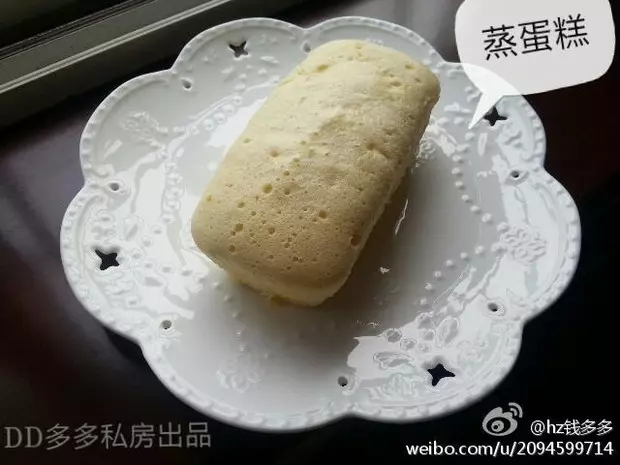
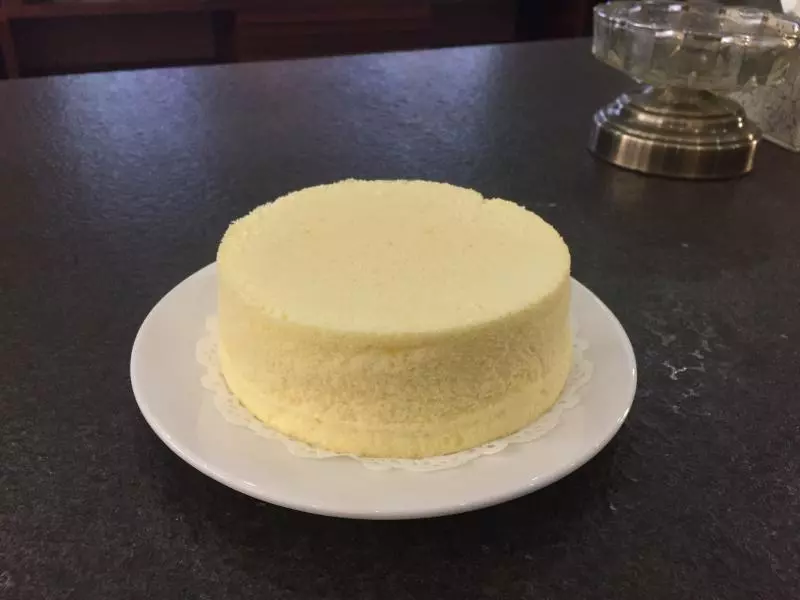
24脱模后的蒸蛋糕!

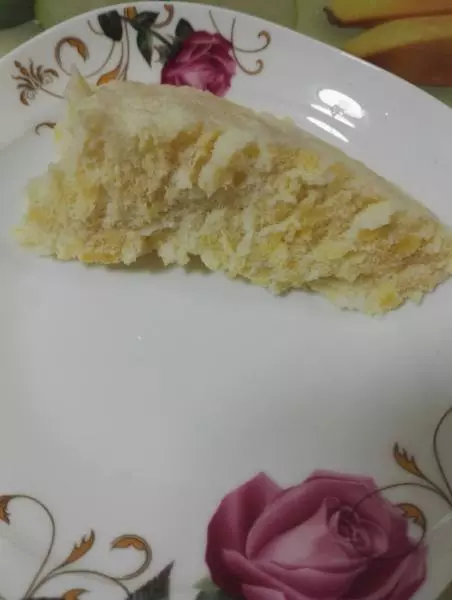
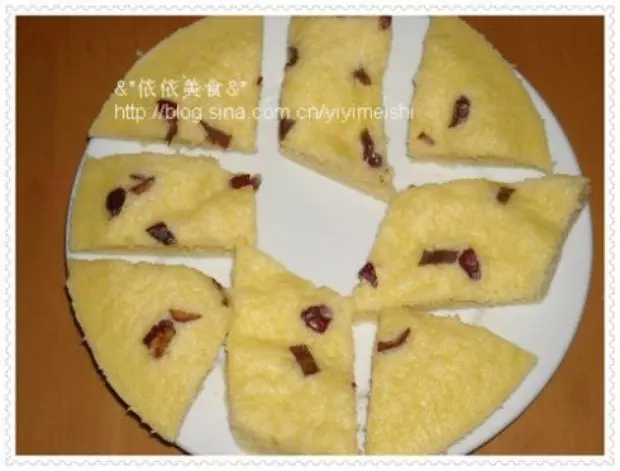
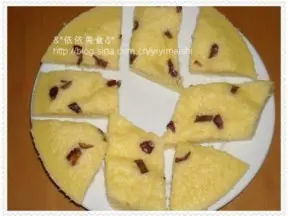
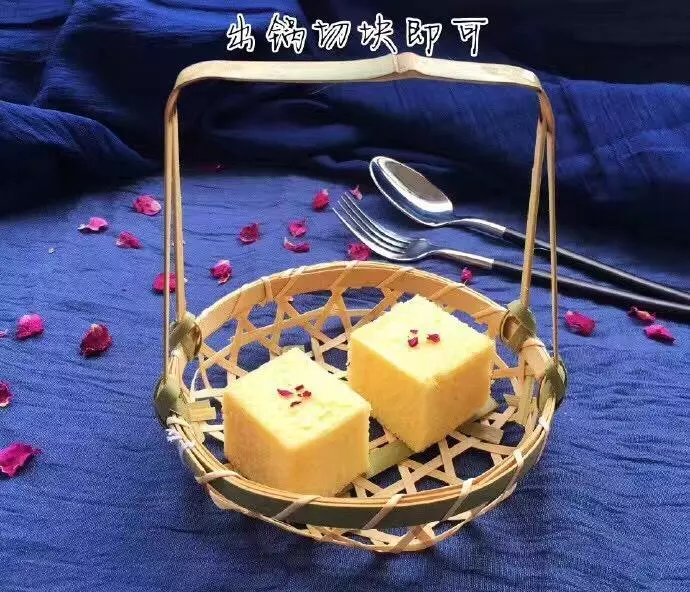
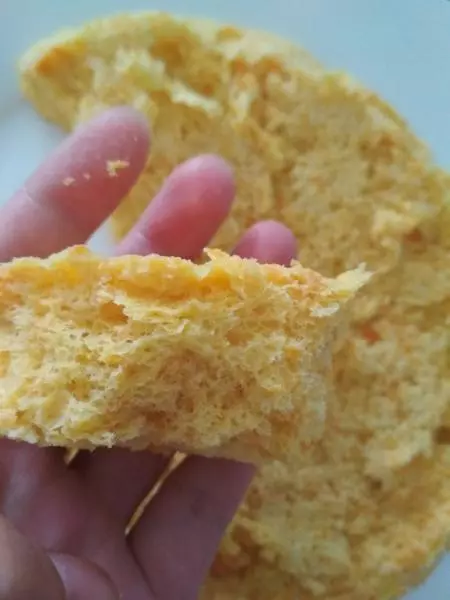
25切块 完美口感细腻非常适合小宝宝吃!
小技巧
1 我的方子糖分比较少 喜欢吃糖的可以多加10克! 2锅中热水烧开这个步骤大发蛋白的时候都可以烧水了、千万不要冷水上锅哦!